This is a read-only archive of the old Madabout Kitcars forum. New posts and replies are no longer possible, but every thread is still here to browse and read.
Carfolio is a good spot for all those dimensions. Mikes milia is designed for a herald according to his website, so check there. Or you could speak to him and ask.
Thanks guys.
I've researched, and it seems to be 8" on one set of data, and 8 1/2" on another.
With that kind of difference it would make considerable difference with the Miglia body proportions if Mike was to make the existing body fit my spitfire chassis.
Has anyone built a Miglia on a spitfire chassis?
Please own up!!!!!!
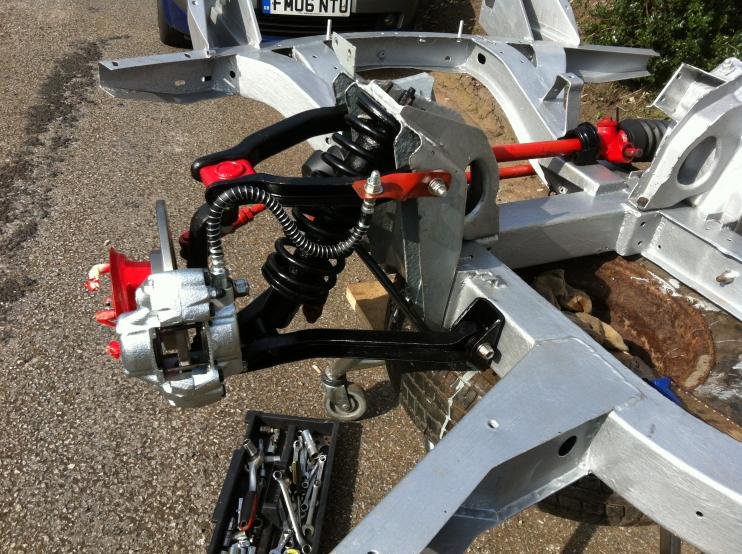
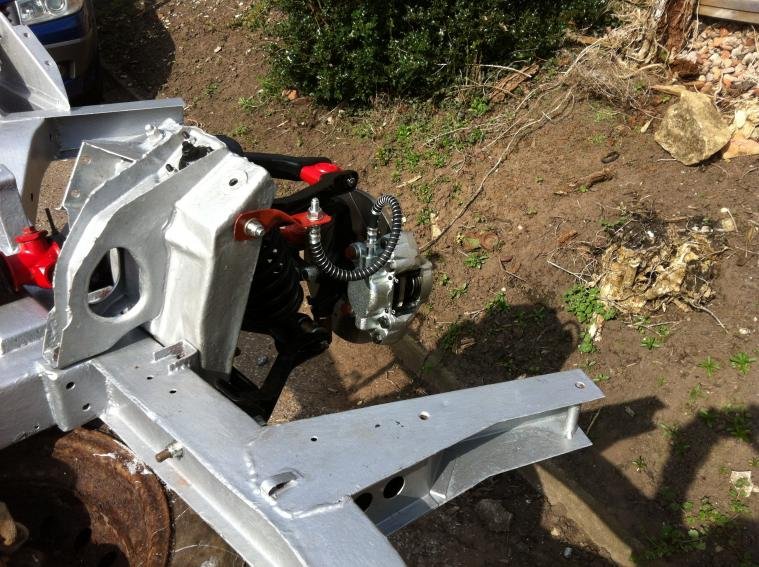
Last time I posted I was in the process of cleaning and painting my chassis.
Three layers on the top and four to the underside.
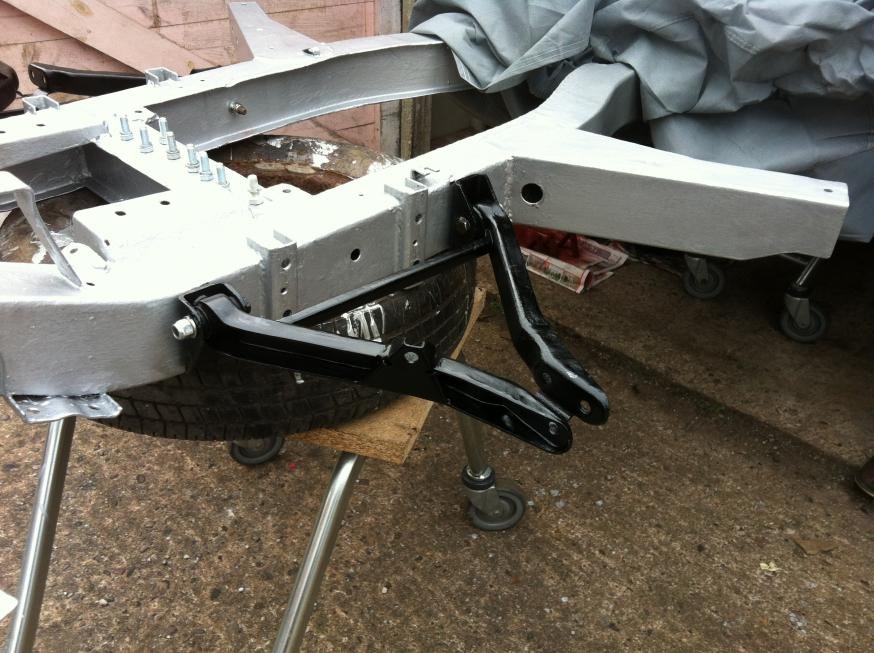
So here we have the final look.
its all hand painted in silver paint. Purchased the paint from Aldi on special discount. Bought three tins, and was able to put three thick brushed coated to the underside and two to the top. I'm very pleased with the final finish.
These have worked out great. Where my lockup is located there is a constant supply of baskets being left. once the basket is removed and a spare wheel is put on top of the wooden platform it becomes the perfect working height.
It also make the whole project totally mobile, when you need space on the right it can be pushed very easily. On good days the whole project can be pushed outside. I have found it really easy to work with and i didn't have to look very far for the items.
Looking at the spit chassis compared to the herald I don't know how you will do the floor? I was originally thinking of an under slung aluminium honeycomb composite, but cost and the difference in the relative heights of the bottom of the herald's main chassis rails and the outriggers changed my mind. However might work for you on the spit.
Tim
Hi CC, I do have the Spit based body in my garage and, IMHO, the proportions work just fine once shortened. For my car , Mike sliced and diced it by 9", and was planning to make a mould but, as that never happened, you will have two choices.
1) Lengthen your chassis - the Corsa Spyder guys do that, so you could probably buy the extensions direct from them
2) Shorten a standard bodyshell yourself (have you got a body, or has Mike definitely got one for you?). A good saw and some careful measurements and you will be done. But it needs a frame to support the sides of the body and crucially the rear radius arms.
Then, on Tim's point, Mike supplied me with floor pans that drop the floor down, but I think I will replace with aluminium. As a guide (and I won't know for sure until I get it up on stands), it looks like I could just plate from the bottom of the chassis across to the side members that my car now has. But if not I will make up aluminium drop boxes as I think they will look good. Haven't sorted what I want to do with seat and seat belt locations yet, but that will come. I will be buying a metal folder to make the task easier.
Edit: Also, you probably won't need the bonnet boxes - Mike cut mine off as part of the conversion. Won't affect your registration as far as I can see.
Yep al floor is what I may do, using mikes floors as templates. I contacted an aluminium toolbox maker with some rough plans for a folded up (origami Ali) floor.
I also did calls in shear and 2mm al should be ok depends on the alloy.
Good luck in your choices
T
2mm Tim? I thought Dave had used 1.2mm, I am loathe to go too heavy a gauge unless I need to. I did also look at honeycomb, but struggled to actually source any, and getting data that made sense to me (as a non engineer) was a nightmare.
But I will continue to ponder and listen to others' words of advice as I don't want my seats pulling out of the floor in an accident. Plating is an option of course, but I am aiming to keep the underside as smooth as possible. But safety is paramount.
Yup, I went for 1.2mm and they do the job lovely.
But remember that I constructed mine with lots of alloy L section on the joins which adds strength as I don't have the space or tools to cut-n-fold alloy sheet to a good enough standard
So it was sheets of 1.2mm Alloy, Alloy L section, some 1mm cutting discs, tin-snips and rivets. lots and lots of rivets!
In case it's of any interest here are mine during construction on the one small empty space on my garage floor!
And in place:
One thing to mention that I've noticed from driving is that if I did it again I would angle the back wall of the foot well boxes so that it slopes up to the cross member as it can be fiddly getting my heels comfortable when getting in and out.
WOW!!!!!
Guys, just when I thought it was to be plain sailing, I have a lot to consider.
Dave, Marc and Tim, a bundle of positives. I do have access to folding machine at the garage owned by BIG KEV. He is also a tremendous fabricator.
I would love to see a chopped body on a chassis, but my gut is telling me, extend my chassis.
I wish I had done the cut before completing the rolling chassis.
I've ordered my kit based on the Herald sizes. Mike is going to supply a standard Herald subframe which I will use to extend and build the required out riggers to the chassis.
Again I'm very lucky to have BIG KEV, his expertise when it comes to building and fabrication. I'll share with KEV the suggested thicknesses of steel that the guys have used on their builds, and post what we eventually use.
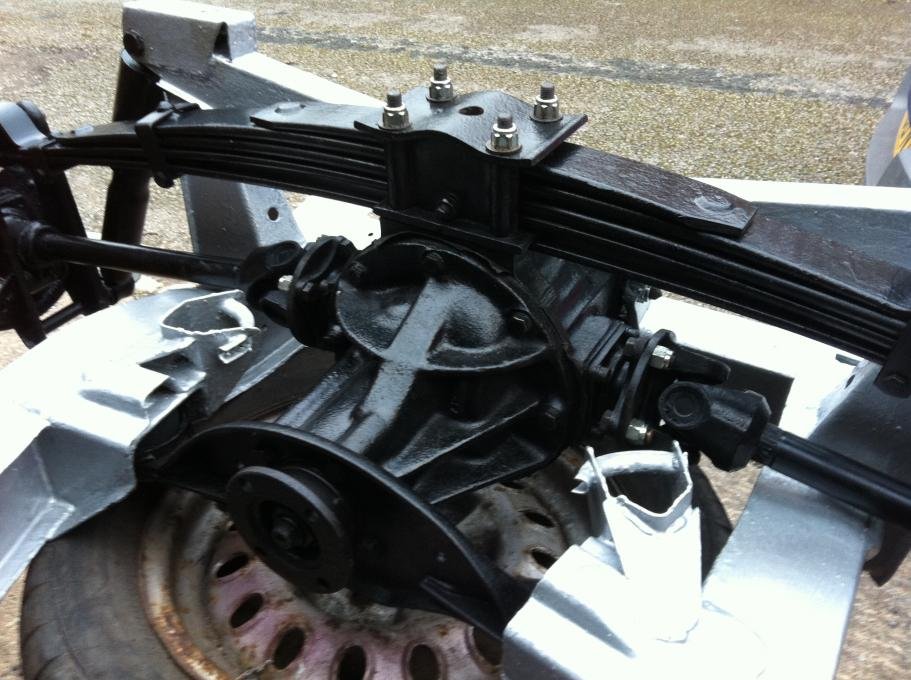
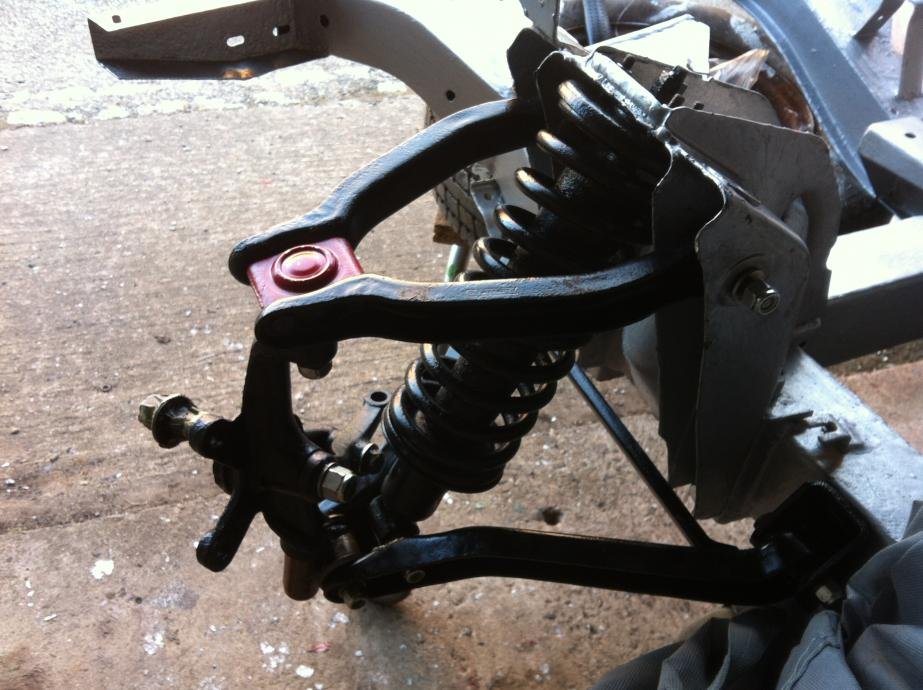
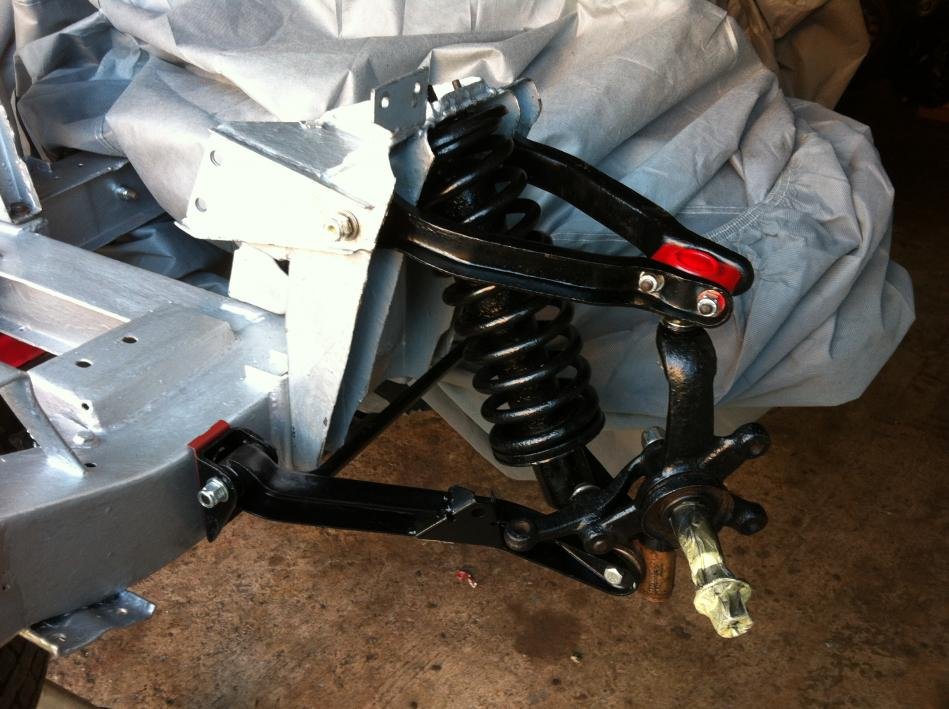
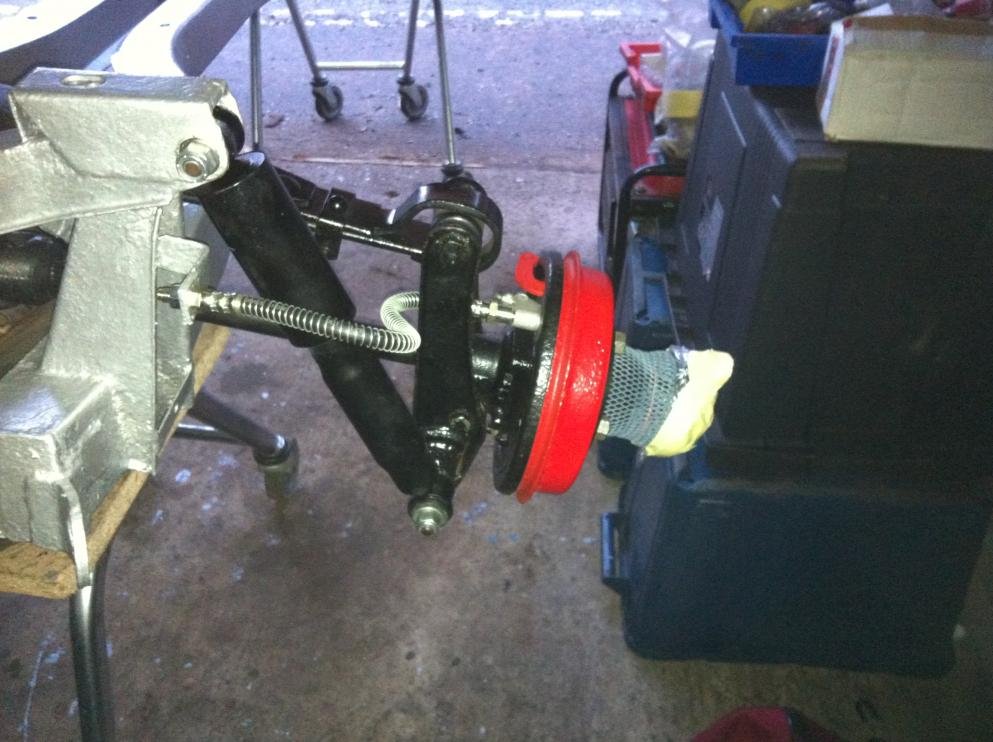
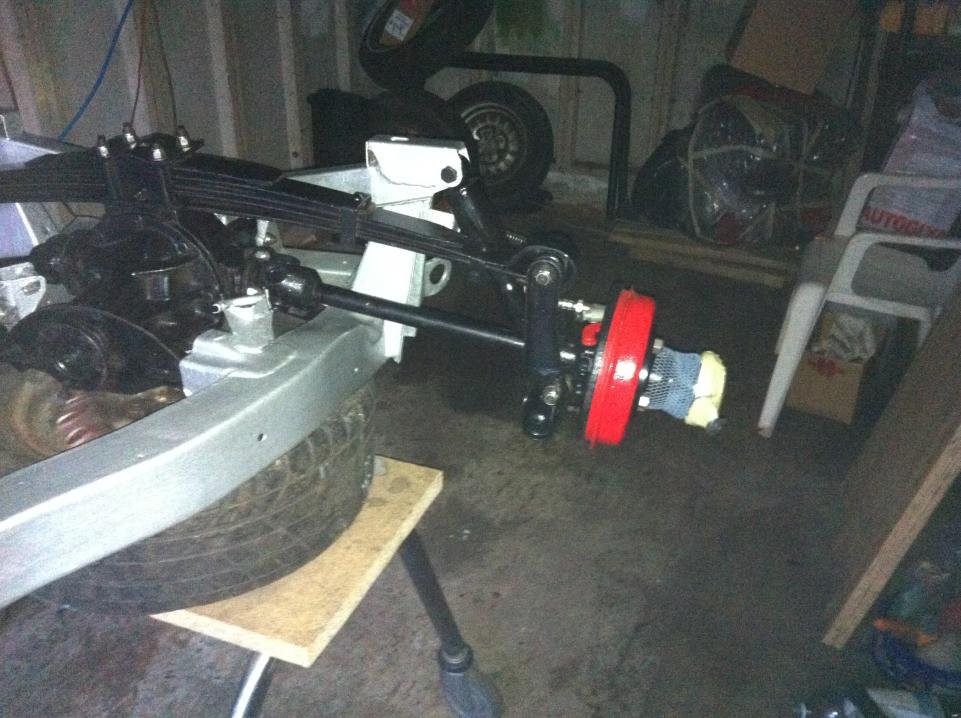
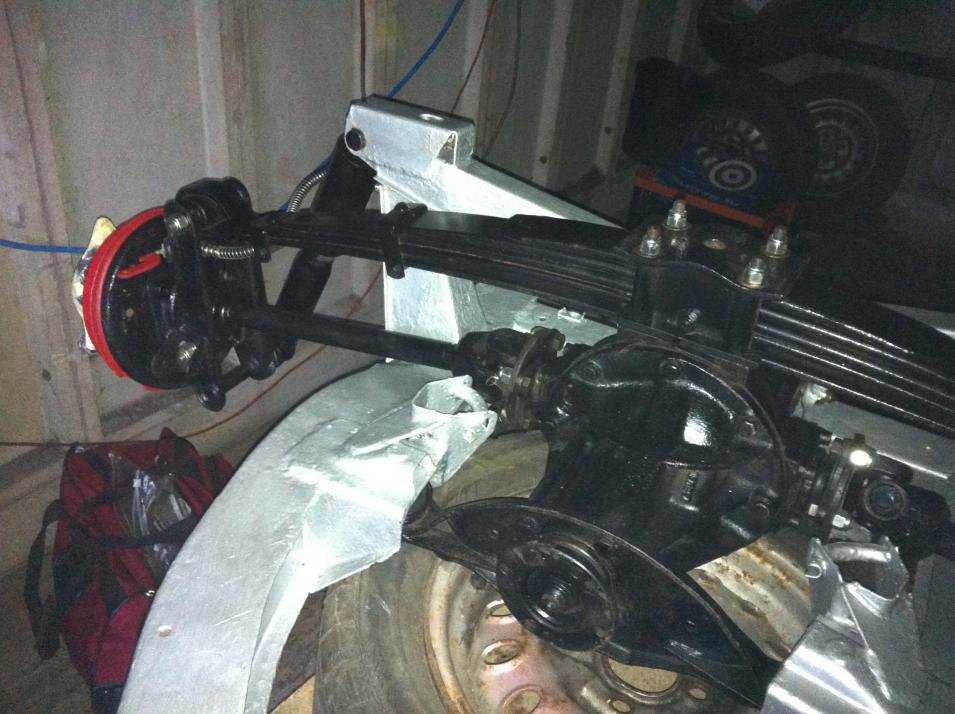
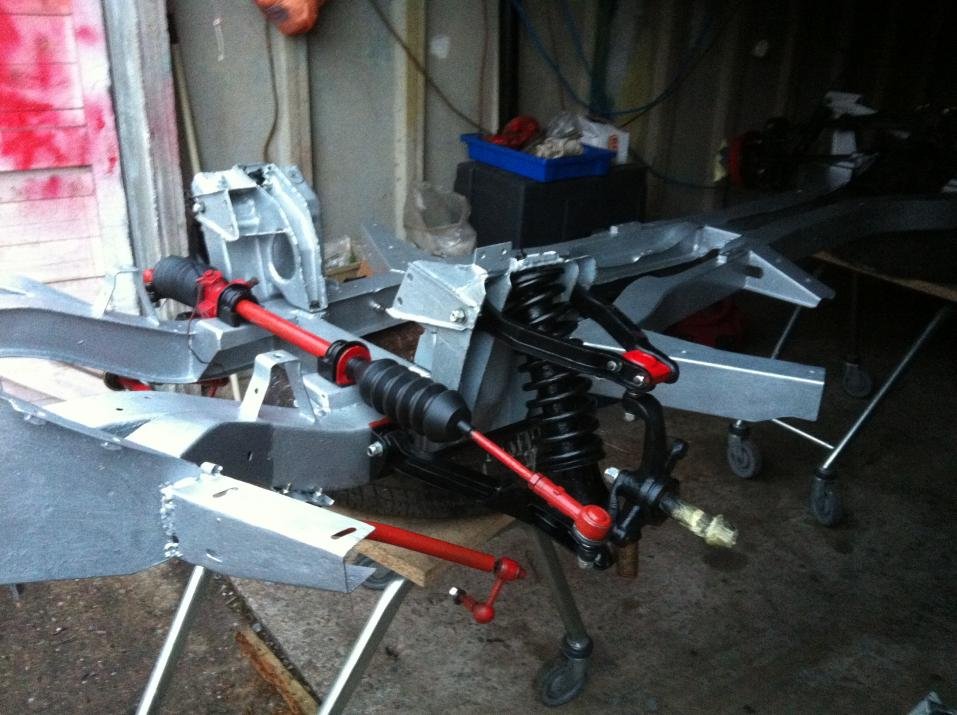
So the chassis build started at the rear end and worked my way forward. A couple of hick ups as the pics will show. Spot the back to front stuff all you keen builders.
Its all been changed now.
Attachment “IMG_0763.jpg” from the original forum could not be reliably recovered.
I don't think I published them, but I ran my calcs with a safety factor based on the force that would be experienced on a 100 kg passenger in the seat (given the geometry of the herald seat runners) and the force to compress the front springs all the way, in static fast load like a big bump. Given that al is less stiff than steel real world in extreme (crash) will be different due to bending etc. I'll go for 2mm in the strongest alloy practical. The original floor was about 1mm steel and ribbed for a stiffer shape. I'll be using a lighter grade sheet for the rest of the cockpit though. My heat shield is .5mm and that's really prone to bend, crease and dent, so I won't go that thin on the inside.
Anyway, just some thoughts while I can't sleep at 3am!
T
PS re the floor I also checked the raw stats of how thick the alloy had to be to match the strength of the steel and got a similar thickness. Depends on the alloy of al, varies hugely. 2mm al is still lighter than 1mm steel
G'night all
Agreed Paul, but the Type 49 Corsa guys do that, and do not appear to have issues. Whether they declare the mod I don't know but... Just saying.
Personally, I would run a Herald chassis with the full length body. CC - you could sell your chassis and swap to a Herald, and have a far simpler life. All your goodies will bolt directly on, so no real loss.
YMMV
Ally panelling - I will probably still go for thinner, and maybe look at adding ribs for strength. But my heart tells me the floor pan just needs to keep my feet off the ground - doubt it adds much in crash situations. And I plan on a centre tunnel with full structural panelling, along with the side chassis and frame rails. So should be plenty strong enough for me. Advantage of 1.2mm or thinner is ease of bending/forming. 2mm is going to increase the difficulty, and hence the chance of me getting it wrong.
BUT! Interesting that Mike has resurfaced and is making you a body - maybe he will be able to give me a receipt now (and my grill and side vents and headrest...). Will be good if he is actually back and active with the Miglia... IF anyone manages to catch him please do ask that on to this forum via one of the many threads please. He just seems to "not receive" my messages or answer my calls. Shame, as he seem(ed) a nice guy to work with.
But interesting to hear the other views - keep 'em coming.
Thought I would bring my build pics up to date as I await my subframe from Mike.
I am eager to cut and extend my spitfire chassis but the guys at the garage are stopping me until Mike sends the subframe which will be used to position all the outriggers exactly where they need to be.
Also they want to ensure the total length matches the body which has been designed to fit on the frame.
Attachment “IMG_0835.jpg” from the original forum could not be reliably recovered.
Attachment “IMG_0898.jpg” from the original forum could not be reliably recovered.