This is a read-only archive of the old Madabout Kitcars forum. New posts and replies are no longer possible, but every thread is still here to browse and read.
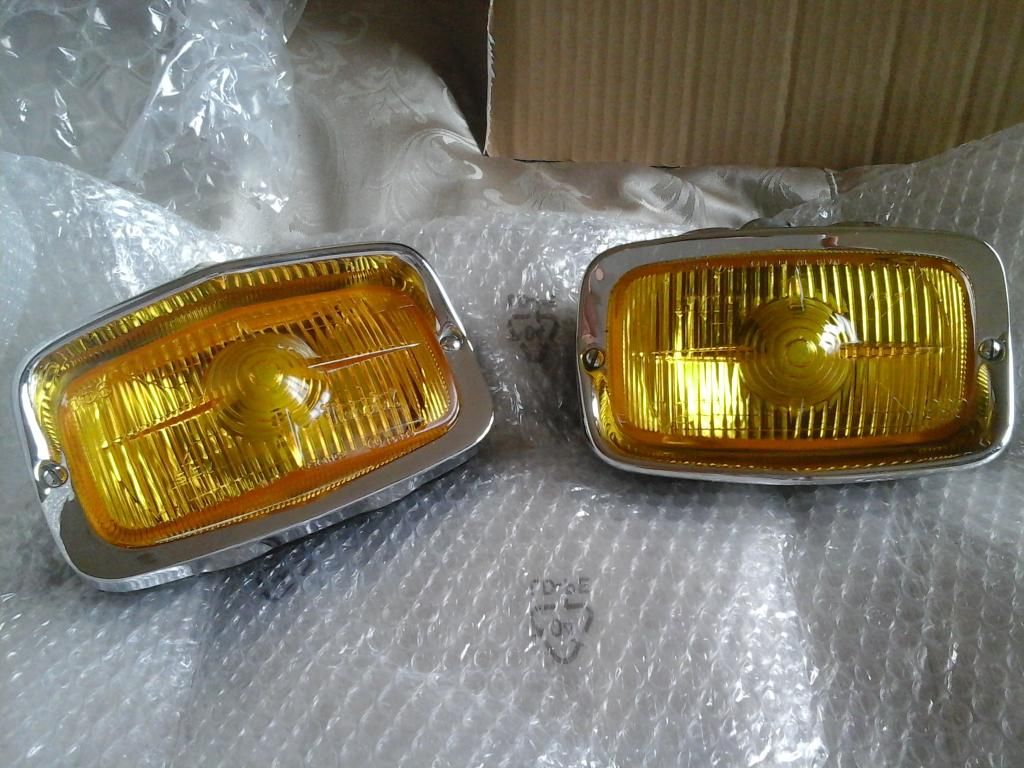
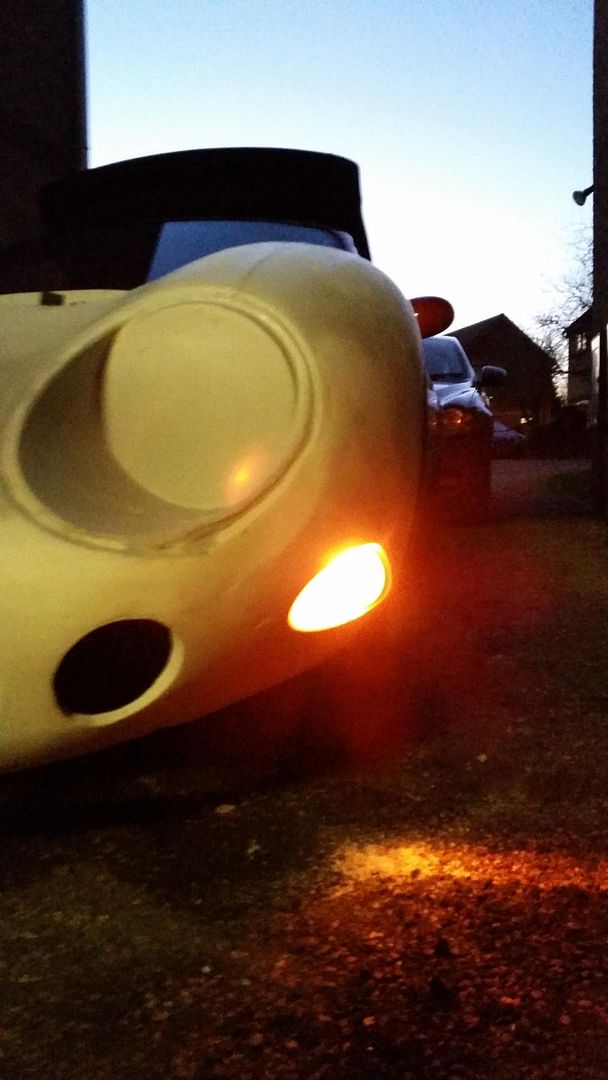
So I had an hour or so spare today but as I am still awaiting the postman to bring me more goodies I am kind of stuck with regards to measuring and fitting out rear lights and the frond headlights I thought I would crack on regardless and start with my front indicators and checking the aperture for the great looking Marchal fogs.
And yes it even works
Sad to get so happy about this but glad after having the kit for a while but distracted by lots of life things to get it moving forwards even if only small baby steps.
So today I woke up and brewed myself a strong coffee and to my amazement managed to get some smaller DIY jobs done, this appeased the wife and finally the headlight buckets came so great start to the day.
During the days after Christmas I had listed my mx5 front end parts with a caveat at the end mentioning I would in the future have some rear parts available. Within 2hrs the front wings were gone and a couple of days later everything but the rear bumper is sold
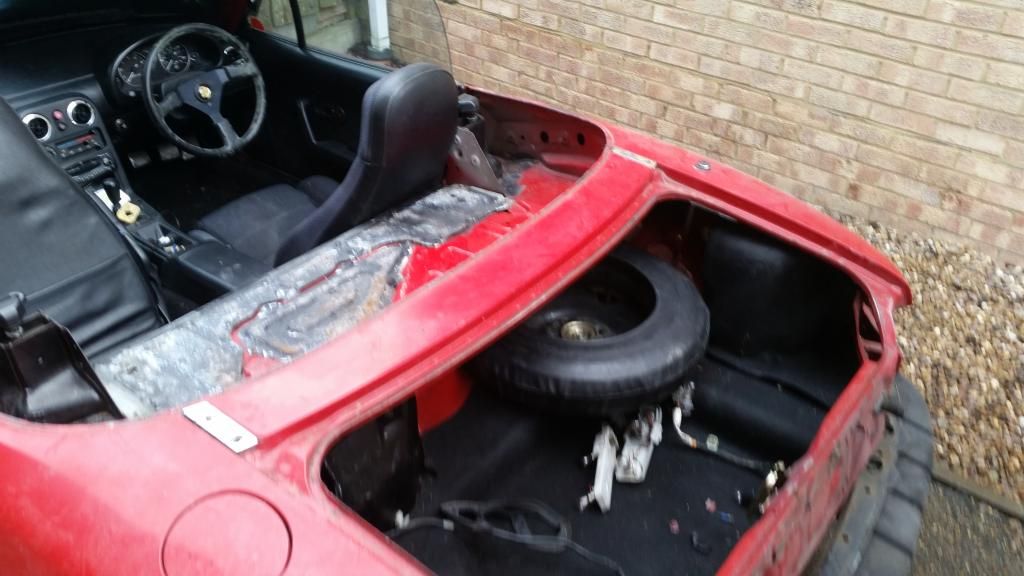
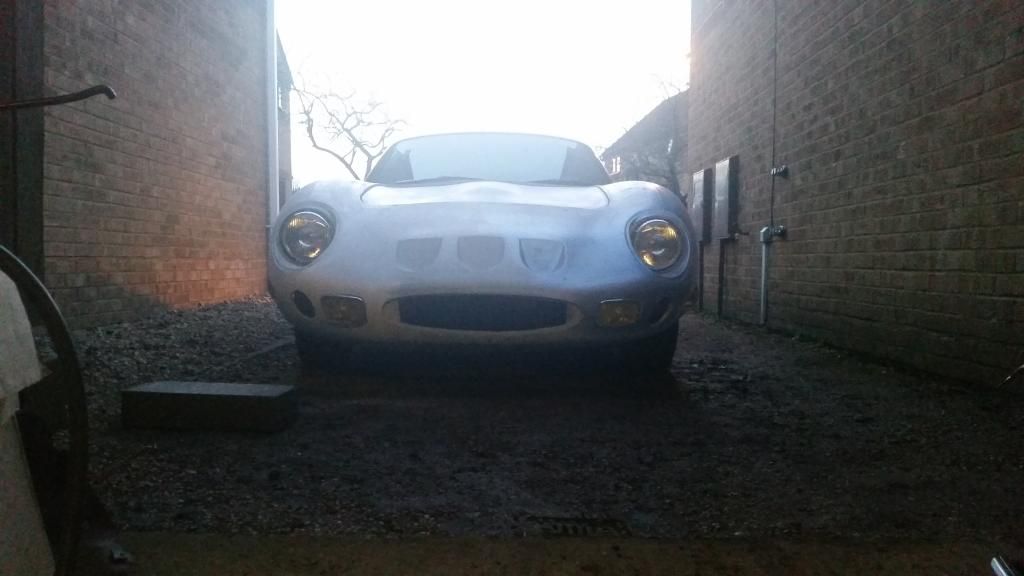
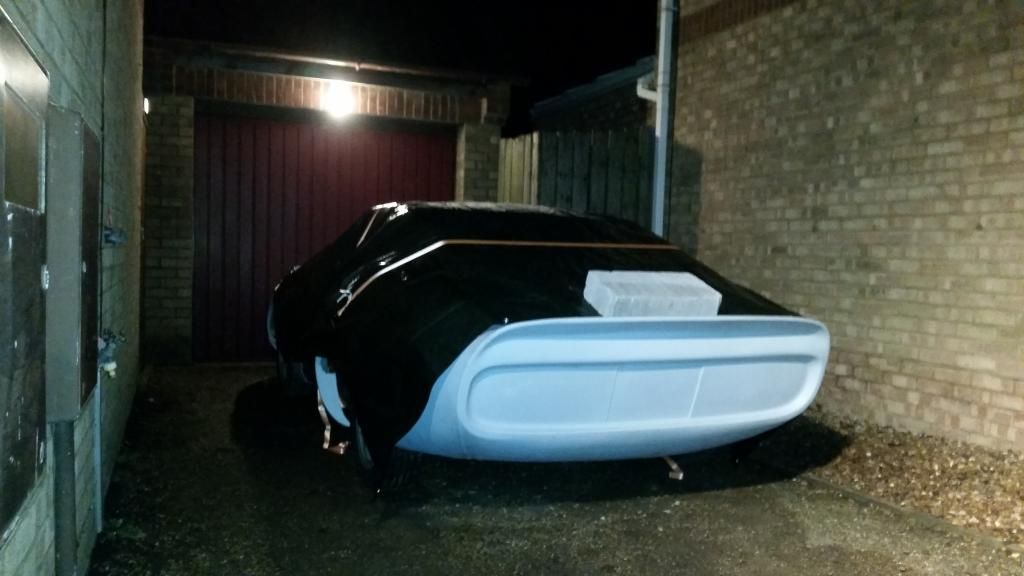
so with 2.5hrs to play today I removed the bootlid and bumper and everything is ready for the people to pick up on Saturday so I couldn't resist it. Time for a dry test fit, everything went on relatively easily and the roll cage is a great design. However the race against the light fading meant no pictures other than the car put to bed. Tomorrow I have permission to have the whole day playing on it, planning on having all front lights fitted and working. Can't do the rears yet as still waiting for a company to get back to work on the 5th to send the rear reflectors.
One thing I am pleased about is how straight my donor is and therefore how easily everything is unbolting - i bet the rest of the build will not be so smooth!
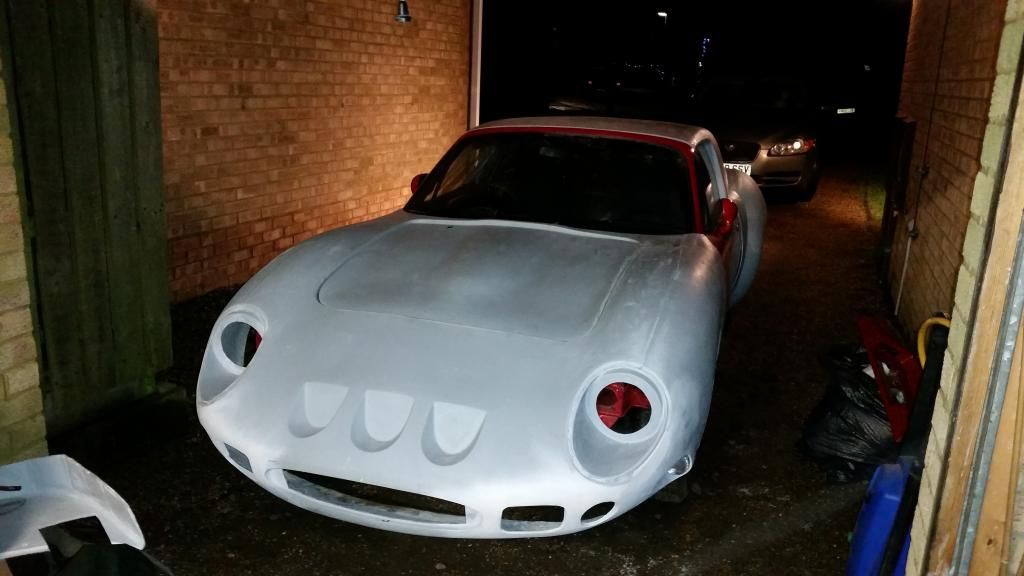
So its been a while since the last update, I have however been able to spend a few hours here and there and actually last Sunday managed to do a proper dry fit using all panels.
The pictures in the previous post are bit of a cheat I hadn't removed the hood etc from the vehicle and as I didn't want to ruin the bumper skin and the plastic retainer clips I took had removed the whole bumper including the impact bar. This is now back on the car with skin removed.
The one thing that i did spend hours on was trying to fit the roll cage properly - nothing seem to line up to a point that i was worried i had purchased a dud car!ray2: So out came the tape measure and started to do cross measurements to ensure the car was in fact square. Good news it was bang on It took a number of strategic bolts, a hydraulic jack and a lump hammer but it all lines up OK, has anyone else had the same issues? The question is do I now prep it and paint it on the car or risk going through that again and potentially scratching the new paint finish?
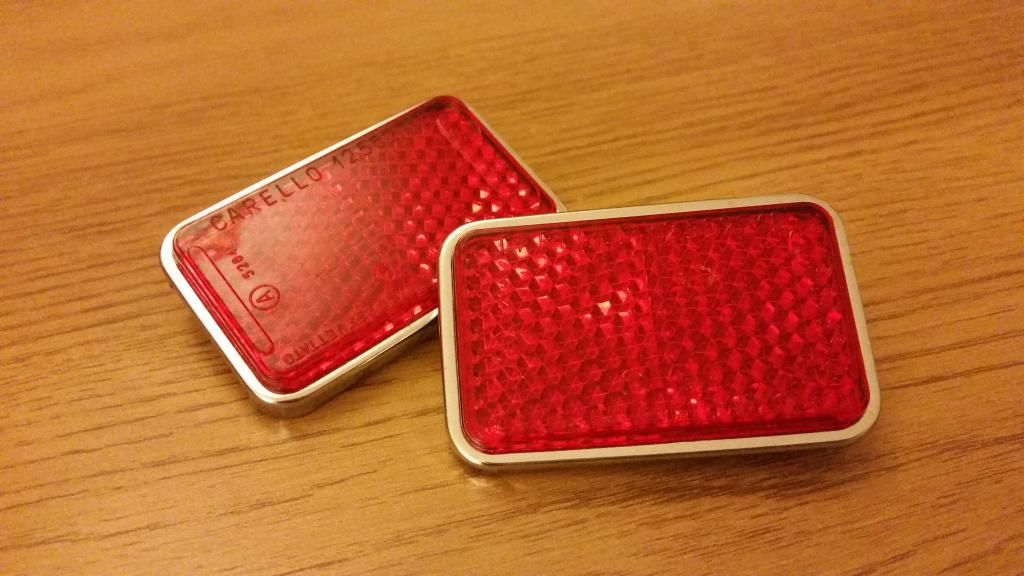
I have also been waiting on one pair of crucial parts before I could start cutting and fitting the rear lights - my Carello reflectors. Well pleased to say I got home tonight to find that they had finally arrived.
Now I have to admit although the right brand and style they are slightly the wrong size for the lights but only slightly so I am sure I can get away with it. Sorry Scottie I am already making compromises
I have also purchased some lowering springs however they will be stored until closer to the end as its nice to have such easy access at the moment to the car with its weight loss and thus rise in chassis height.
I have found as well that when you get into doing jobs on the build you kind of forget to take a picture at times that might be useful to other new to building kits such as I, compounded by the lack of daylight meaning when you do stop its normally because daylight has gone
It appears the -1 degree caused camera shake too!
The next quest is to bl**dy buy a MIG welder unless any of you live close and would be prepared to help me do some welding?
But this weekend will be positioning rear the lights and getting those wired - although still waiting on some electrical connectors to come in the post.
Hi Ian. Sorry to hear that you had some issues fitting your roll cage. It's a bit odd as all the cages are fabricated on our stripped out MX5 "jig" shell. Try loosely fitting one bolt per flange first, then you may need to put a screw driver in the holes to line up second hole, then tighten the first bolt up to hold the flange in the correct position, then insert the second bolt. From experience gained from the cars we have built the trickiest bolts are the 4 at the head of the windscreen, they don't enter the bodywork at 90 degrees as expected, but vertically, if you see what I mean. Give me a call if you need anymore pointers.
Hi Chris thanks for the response, I have to admit there was no question about build quality as I was there with you unbolting the frame off your jig shell.i did end up doing exactly as you described actually.
The wind put any hope of getting anything done over the weekend to bed. So status quo apart from the fact I ordered some more parts including some professional looking connectors that I will use for all the wiring for the lights enables the front to be easily removed if needs be.
The rest of the parts were for my XF daily runner that eats through brake discs and pads but I do a few miles... over 20k per year. I source genuine parts and then take the car to Jag to get them fitted - they hate it but they are yet to be able to get them for the same price.
Anway I digress back to my previous post? No volunteers to help with the welding!?!? Seriously though anyone based close or in Northamptonshire?
I've read with interest several of the MX250 build threads, particularly the MX250c, and do not recall the use of a MIG welder in this kit's build instructions. Entirely new to kit work and a ways off in Florida but do find the MX250c to be fascinating. We do have a similar MX5 based kit at Simpson on the west coast. It does a bonnet (hood) hinge connected at the front bumper that allows the bonnet to tilt forward ala Jag XKE. Very interesting. I wonder if it could be adapted to this kit. Also saw a story about a very expensive Swiss car that has its doors do a 90 degree spin to vertical on opening. Just noting some things that will make the car unique.
pauleouellette - you absolutely do not need a welder at all. I am just trying to make my life more difficult than needs be. Well I would be if the weather would allow me that it is!
pauleouellette - you absolutely do not need a welder at all. I am just trying to make my life more difficult than needs be. Well I would be if the weather would allow me that it is!
I have my old MIG welder under a bench at the workshop (2 when I think about it) you are welcome to borrow one if you don't mind buying some gas and wire for it. You could arrange a courier to collect it, to save the journey down.
Many thanks Chris, I'll try and give you a call tomorrow.
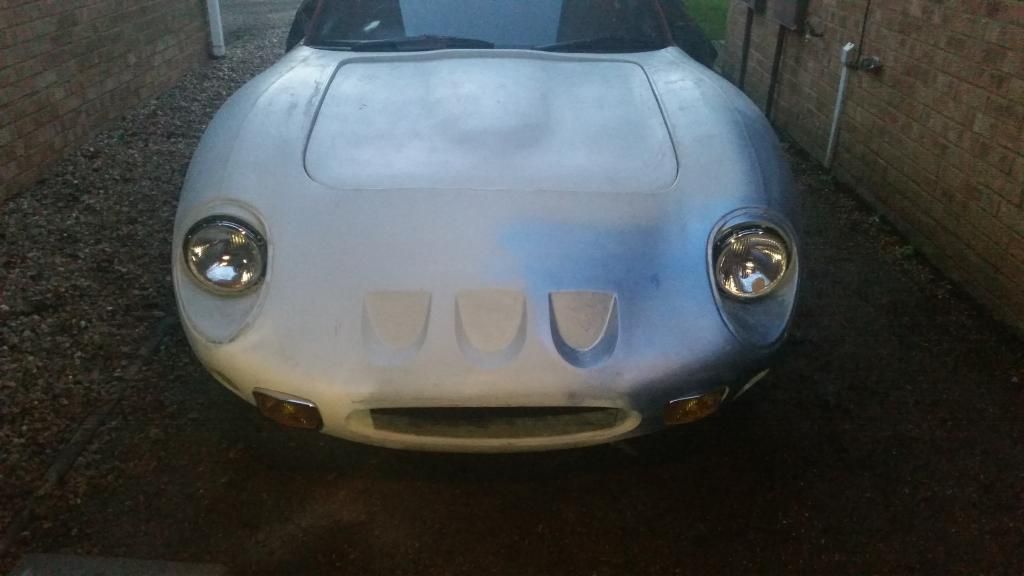
I did manage to drag myself outside to enjoy a 'fresh' afternoon working on the car. I managed to 'persuade' the metalwork behind the lights to accept the headlight bucket accordingly. I had some new connectors I have replaced the bullet connectors for the indicators so its more inkeeping with the existing wiring. So headlights now fitted just the spots to go and front will be just bodywork.
So not been active as of late due to work and some family stuff, oh and some freezing conditions that honestly just got the better of me! However things have moved forwards, I now have a welder (on loan) purchased a welding mask and a few other safety bits.
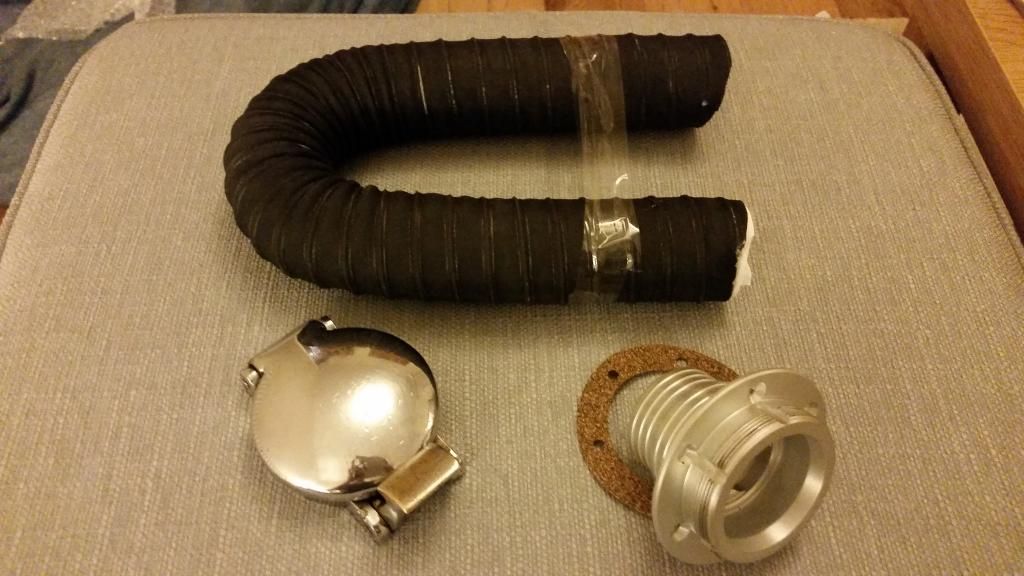
I did however realise I was not going to be happy with the gas cap I had purchased... so a did manage to buy a genuine original Enots Aston style cap. Today I got home to find the flange kit and fuel hose had been delivered so I really don't have any excuses to get on other than the fact I still haven't decided on colour of the headling yet. Well that could be because I haven't chosen the colour for the roll cage!
well no post of mine would happen without some token picture so here is todays...
So the risk of running the project outside is that when it constantly drizzles the whole weekend you get sod all done. Frustrating but thats the way this cookie crumbled this weekend. I have managed to tidy up the garage and sort a few bolts and nuts in size order and wire up the new connectors to the rear lights but small gains on what I was hoping to achieve.
So unfortunately as I write this I am a few hundred miles away from the build and seemingly the car build has ground to a halt. Work and just general life have got in the way, I now have all the tools and all the materials just none of the time - the one thing I swore to myself was not going to jeopardise this build.
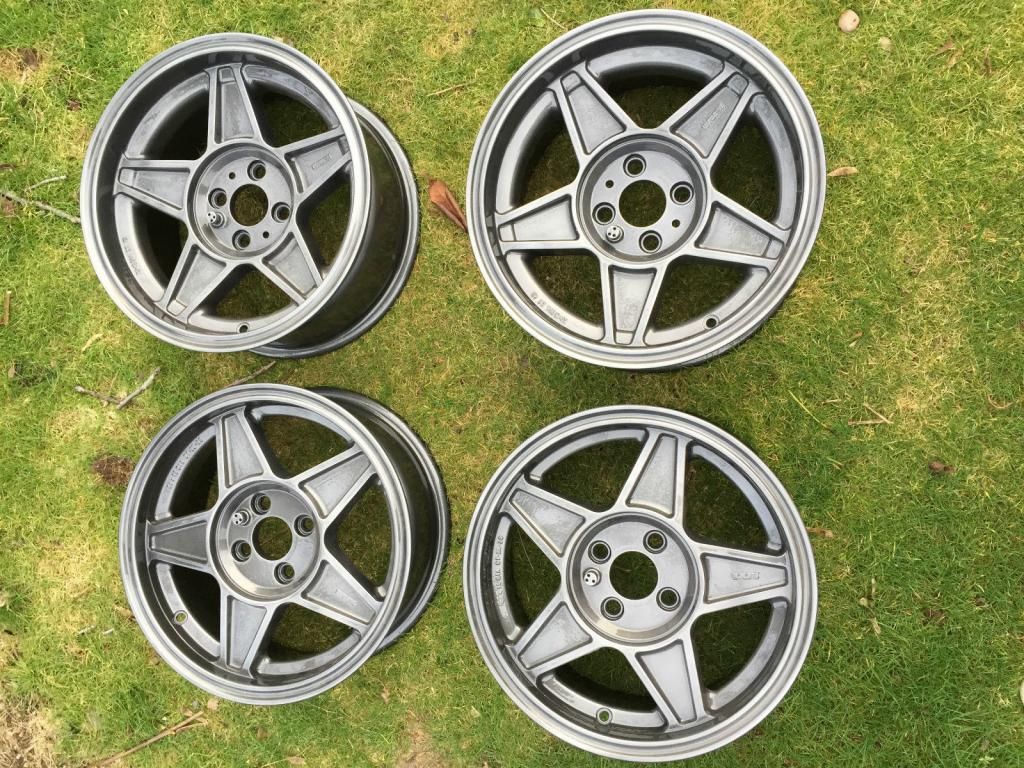
However there has been some progress as previously alluded to I now technically have everything I need, yesterday was the mile stone - there was one item(or actually four) that was going to be a big factor in the success of this build - the wheels!
So I truly wanted to tread new ground and do something different to the all the other great examples already built. I looked at some modern larger diameter wheels but just didn't like it, then looked at some modern retro wheels like the Rota's range. I then came across the Revolution wheels, was it four or five spokes? This seemed to be the only question left.
And the winner is....
COMPOMOTIVE FH! I saw this set being advertised and I had to have them, they are a staggered set, due to be delivered next week and then the cutting of the arches begins!
And we can see why- now the big question- silver or gold?
Haha yes this is the question - I think that will literally will be the last to be answered once the car is painted - I am going with a blue, I am deciding between two shades and that will determine the wheel colour.
IanA wrote:
Smaller question- what am I doing on here when I could be zooming round the countryside top-down in mine?
That will be rectified within the hour.
Oh and thanks after I complain my project has ground to a halt you decided to grab a cup of salt and firmly rub it in that wound!
So absolutely manic week at work continues, the wife is away in the big smoke for work for a few days leaving me to my own devices...
...well the evening got off to a good start I opened the front door and just inside was a tall stack of four boxes waiting for me. Well it would have been rude to ignore them so jacket off laptop bag slung to the floor.
With comprehensive wrapping and so careful knife work, Viola! 1 front wheel and 1 rear opened.
Front wheel -
Rear wheel
The hub caps are in great condition with the right locking bolts and perfect condition O-rings
So a good mid-week treat eace:
Plus the wheels are in such good condition I will be sticking with their colour for now for sure I think the shade of blue I will paint the car might change but lets be honest we are a Looonnnnnnnggggggggggg way from that stage
So taking inspiration from Paul I have stolen a few minutes from day to day activities such as work, chasing British Gas after the installed a new boiler yesterday but at 6am I found out via a very angry alarm that the shower pump wasn't working so needed them to fix that. turns out the engineer had mistaken the power switch for the pump in the loft as a non working light switch so left it off!
So determined to get a full weekend of sorts on the car to pick up the progress. I am biting the bullet at going to do the rear lights drilled and fitted. tonight was positioning. aware that the fight against the diminishing light was always one I will lose I made a template of the rear transferred it to the only bit of cardboard I have to start working out the placements. My obligatory photos:
Some guestimates...
The layout tonight is...
I had kept the template on the conservative side due to the curved edges so I am going to see if I can keep the spacing but move further outwards. We shall see tomorrow!
So a lazy start to the day but an hour or two later I am in full swing! Awaiting a delivery for some new welding gloves I got on with some other jobs.
1st up making the boot hinges:
I noticed they could be cut and then using the existing pieces it can be made into what I need. It will now be bolted to the boot rain gutter, I will support it with a metal plate on the topside to spread the load.
Then I got on and did the rear lights - Its an optical illusion on the reflectors looking out of line - measured about 10 times and then when I fitted look straight close up but stood back look out of line - will tweek closer to paint.
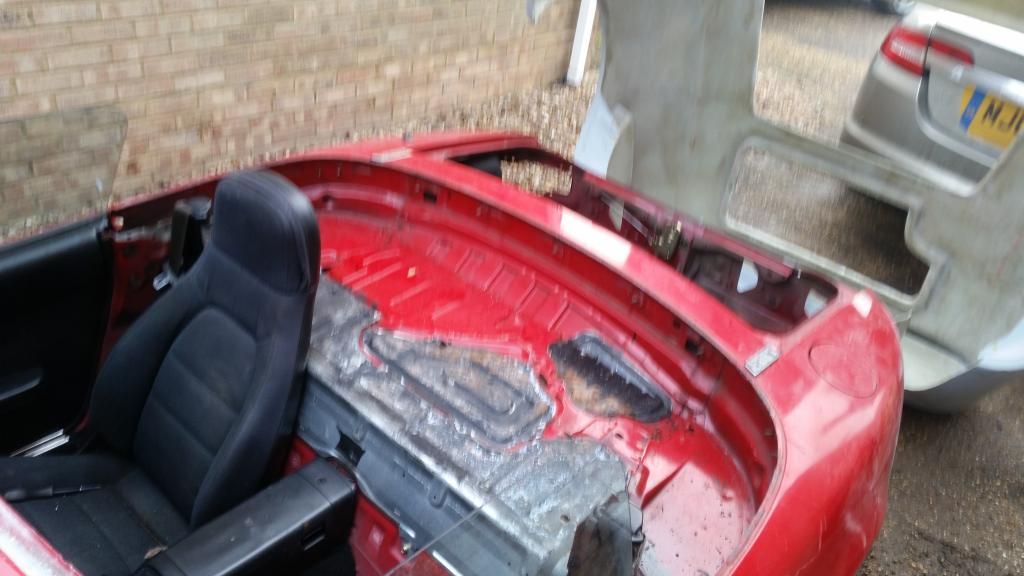
I paused before doing the other side and decided I needed fulfill some cutting stuff urges as it started to cloud over at this point and to do the cutting i wanted I had to remove the rear shell.
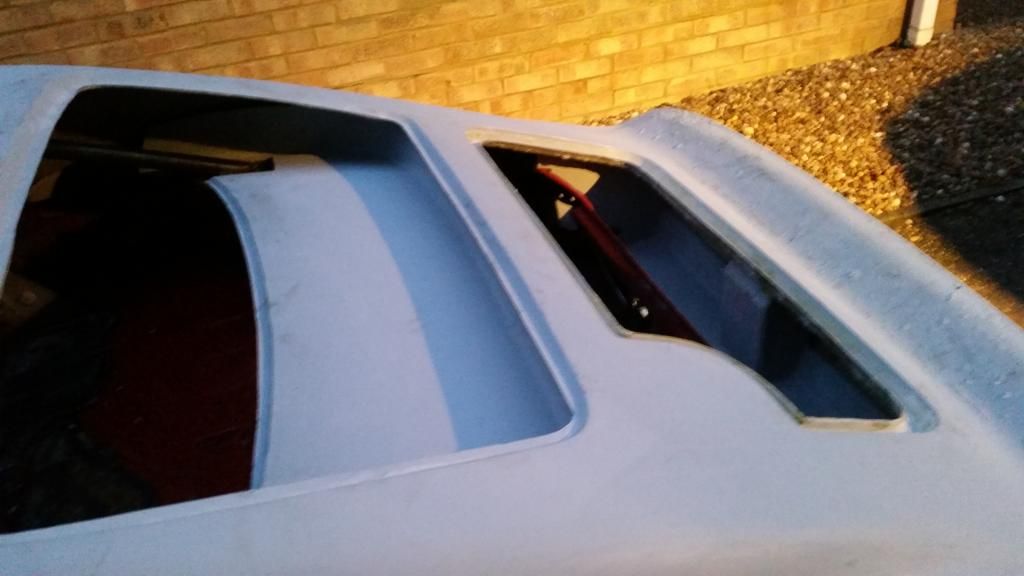
Yep I wanted a single boot only...
So with the clouds ever darker I put the car 'back together' good the cover on and clamped down and then got back to the lights. I jacked up the car on one side and stuck the spirit level on to make sure it was perfectly level. Grabbed the template and started marking out and drilling holes. This is what I am left with:


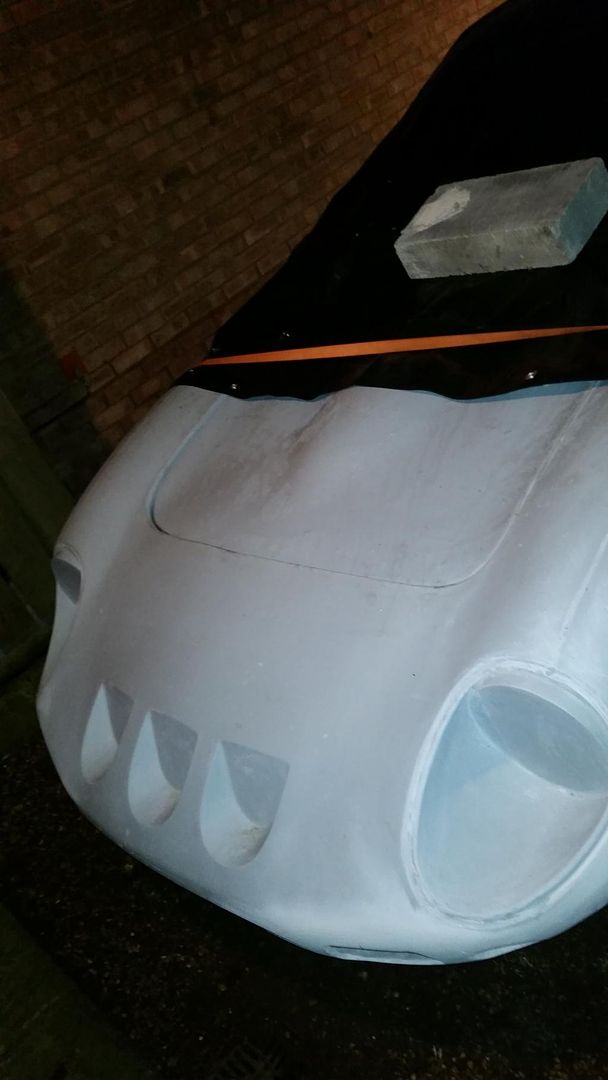
 ray2: So out came the tape measure and started to do cross measurements to ensure the car was in fact square. Good news it was bang on
  It took a number of strategic bolts, a hydraulic jack and a lump hammer but it all lines up OK, has anyone else had the same issues? The question is do I now prep it and paint it on the car or risk going through that again and potentially scratching the new paint finish?