This is a read-only archive of the old Madabout Kitcars forum. New posts and replies are no longer possible, but every thread is still here to browse and read.
Hi Nick great to see your progress so far, I am building the body before yours I think # 16. I am keen to know how to contact James the wheelman I am thinking of having a set of 15 inch steels banded cheers .
Hi Nick great to see your progress so far, I am building the body before yours I think # 16. I am keen to know how to contact James the wheelman I am thinking of having a set of 15 inch steels banded cheers .
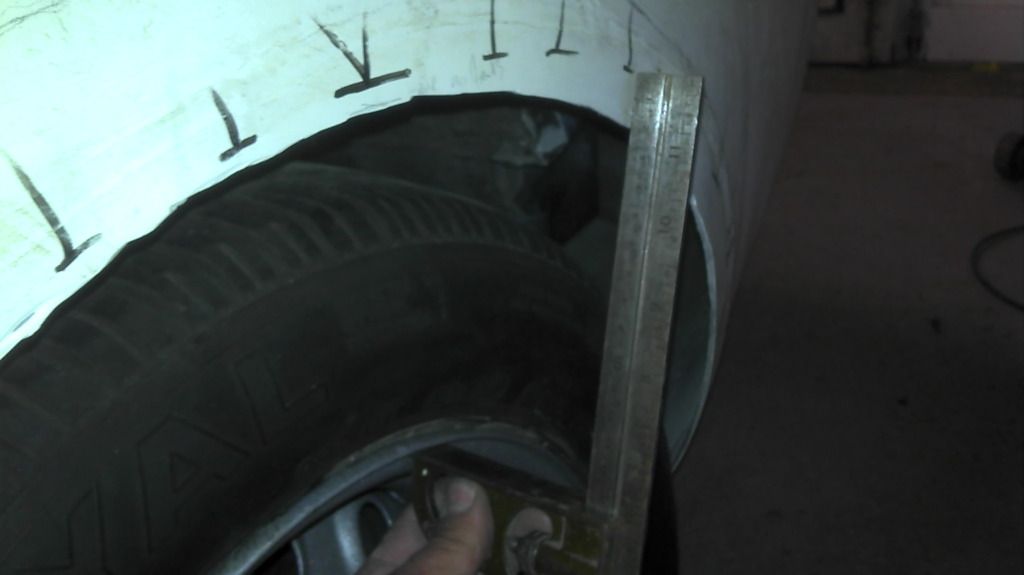
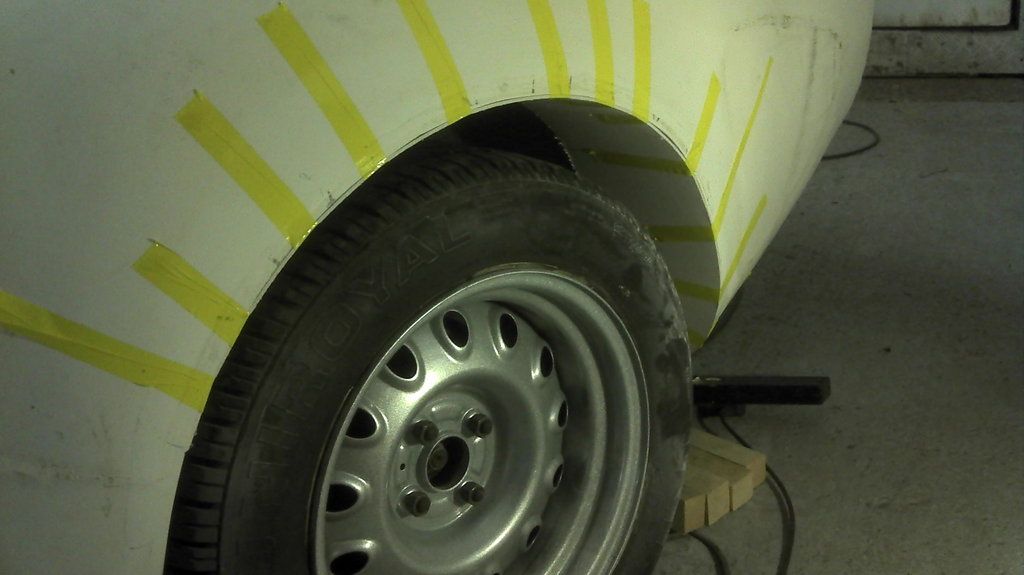
Heres how I marked out the new arch shape, using a square set to match the inner wing/ max suspension travel, up against the rim.
[IMG][/IMG]
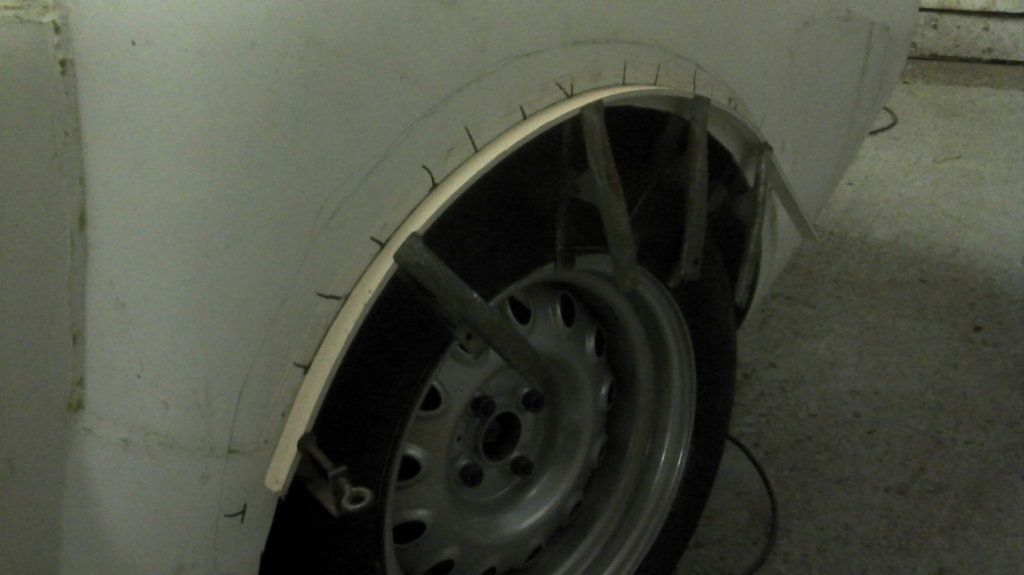
then a fairing batten to check the shape.....
[IMG][/IMG]
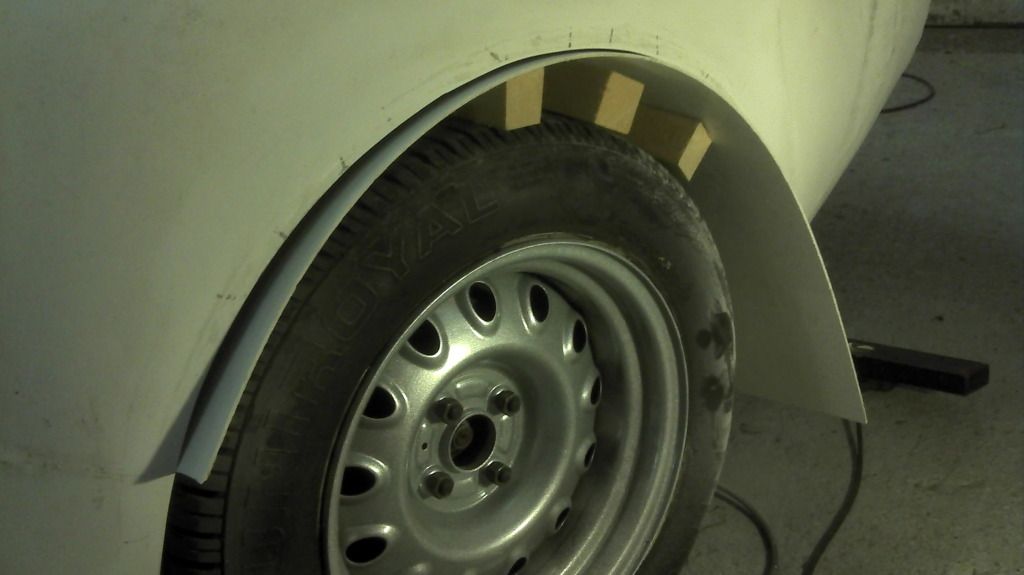
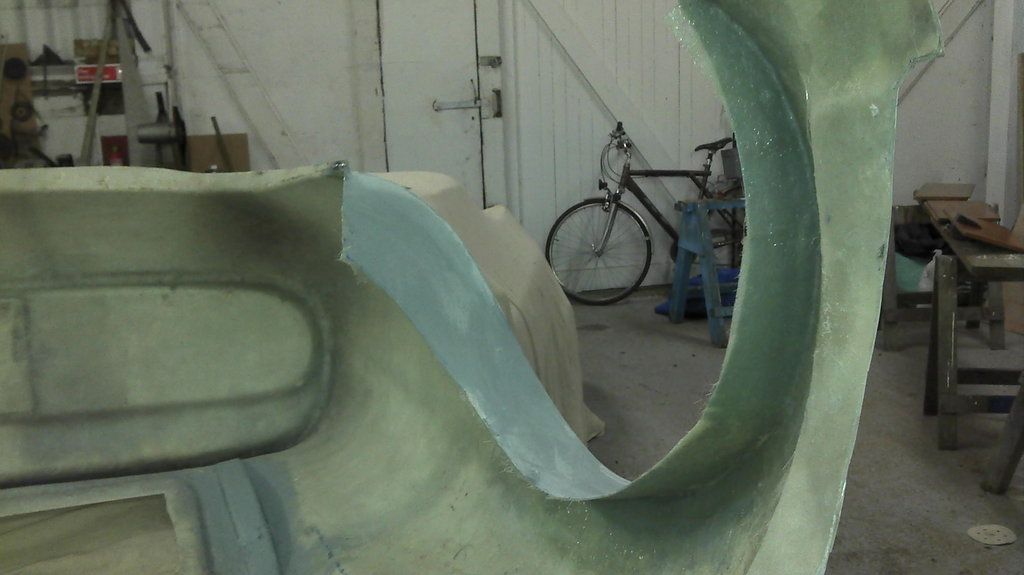
Blocked up some flexi plastic stuff to form a mould and marked of the outer gtp wing.
[IMG][/IMG]
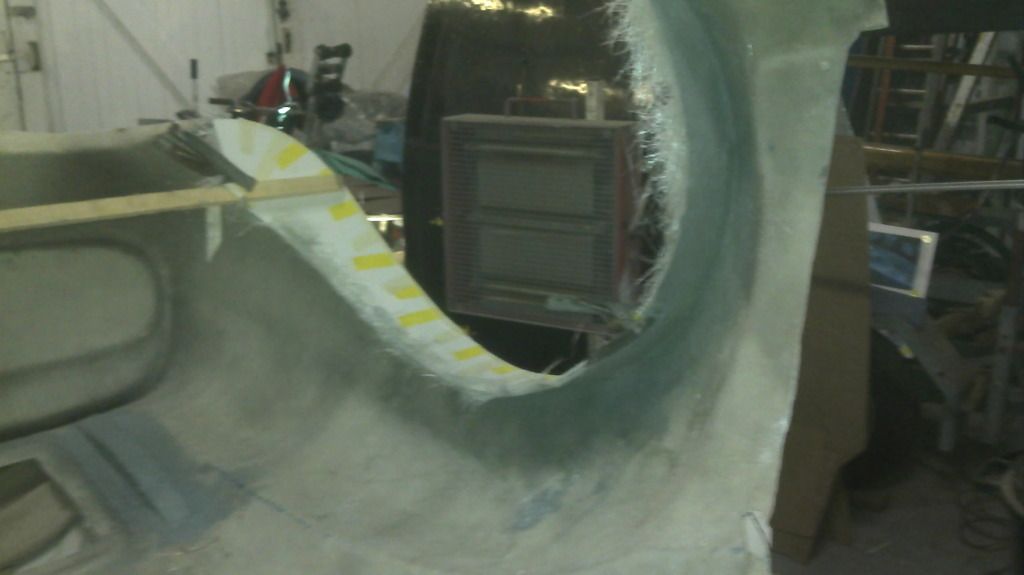
marked the distance in to the inner steel arch and cut out..
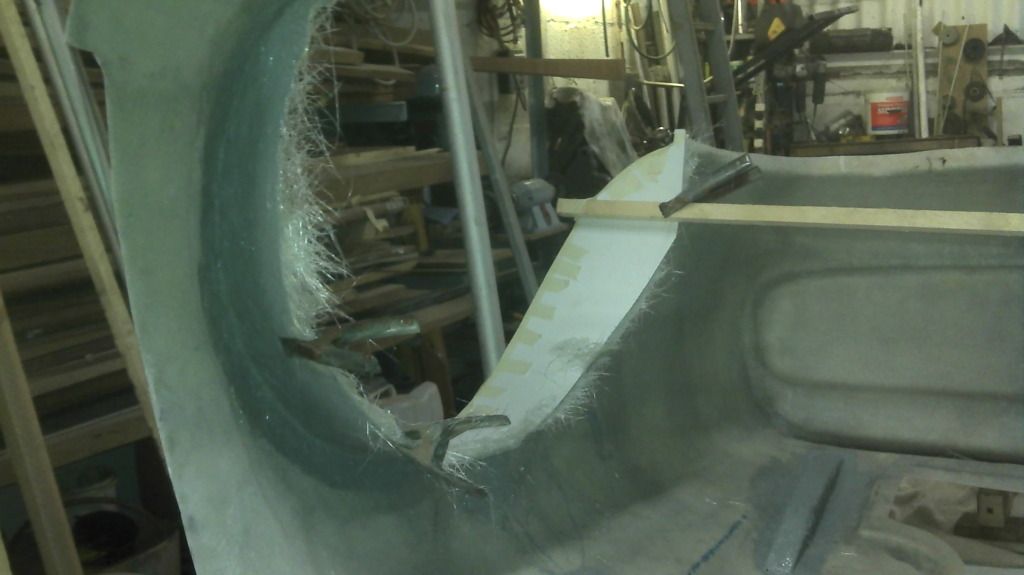
taped in position, batten to make it run square across, the a layer of gell coat the t[IMG][/IMG]hree layers of 2oz csm.
[IMG][IMG]http://i250.photobucket.com/albums/gg263[IMG][/IMG]/Seanick_bucket/104034610_photobucket_159182_.jpg[/IMG][/IMG]
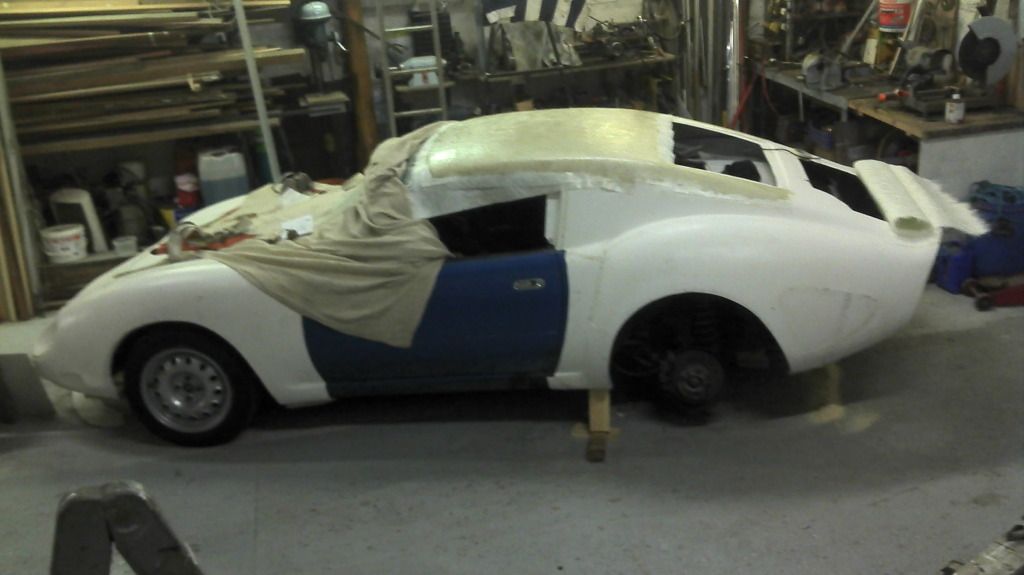
Put the body back on this eve. It was a right pain as of course Chris beautifuly fitting kit now took loads of trimming and tweaking to get it to sit right again.
Not sure its worth the hassle of changing the rear arches from the original kit as supplued
Put the body back on this eve. It was a right pain as of course Chris beautifuly fitting kit now took loads of trimming and tweaking to get it to sit right again.
Not sure its worth the hassle of changing the rear arches from the original kit as supplued
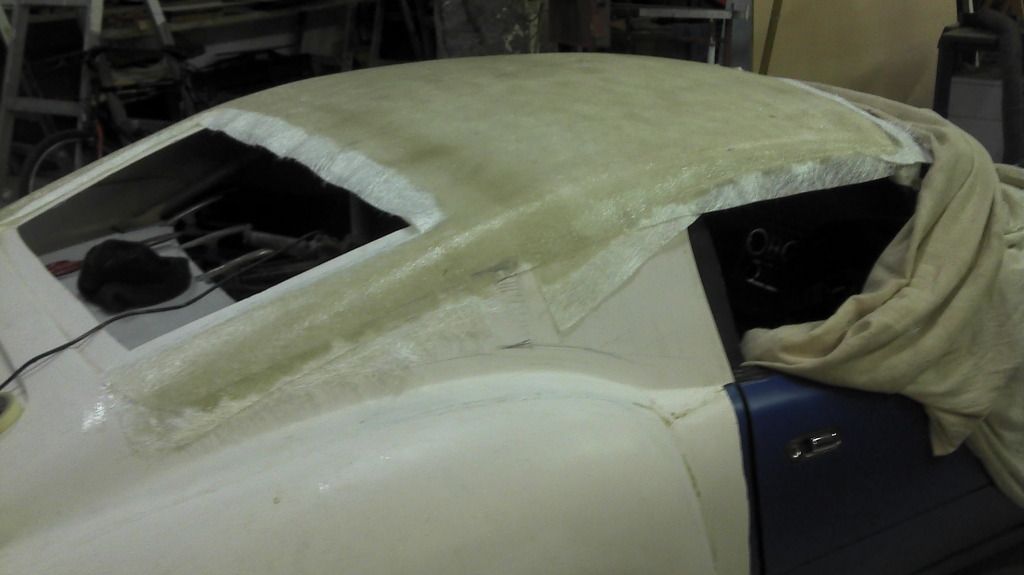
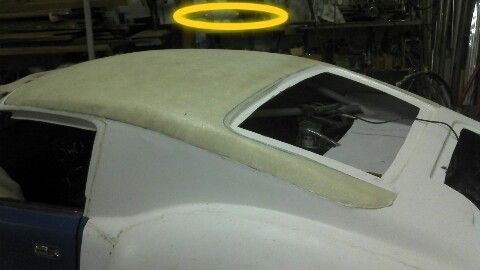
[SIZE="3"]The new former for the headlining came of really easily (phew!)
trimmed up the edges and thats all I had time for this eve.[IMG][/IMG][/SIZE]
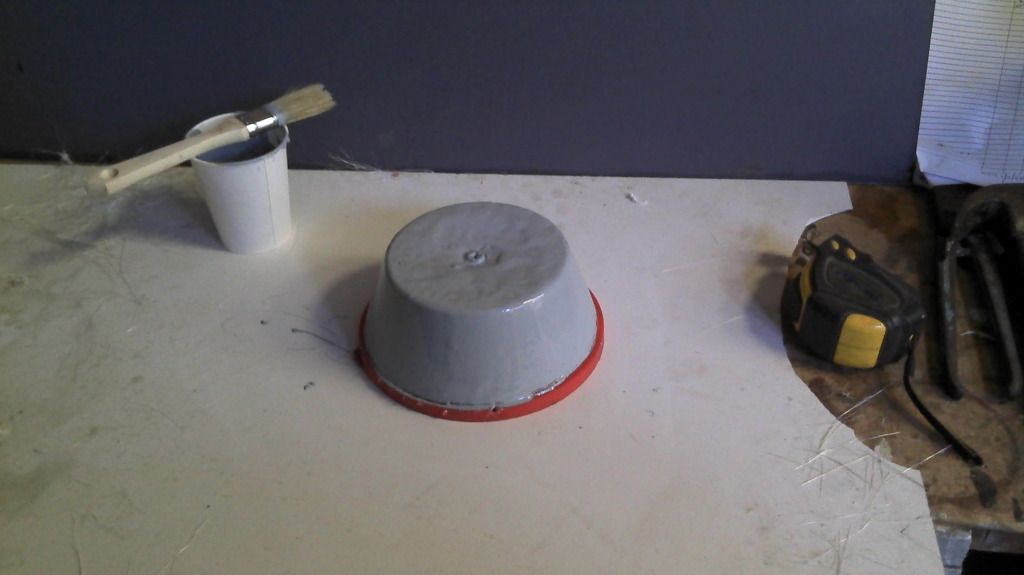
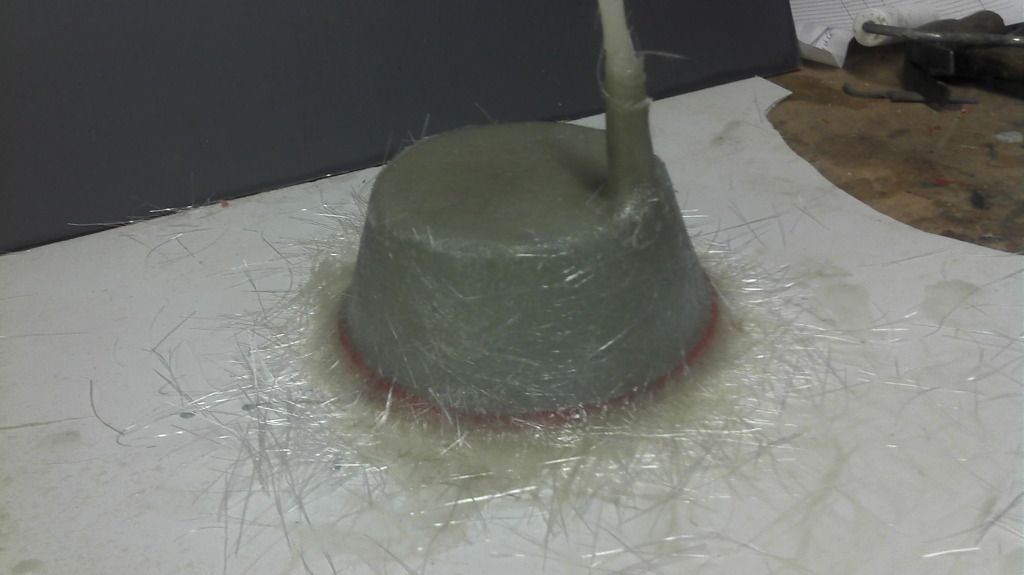
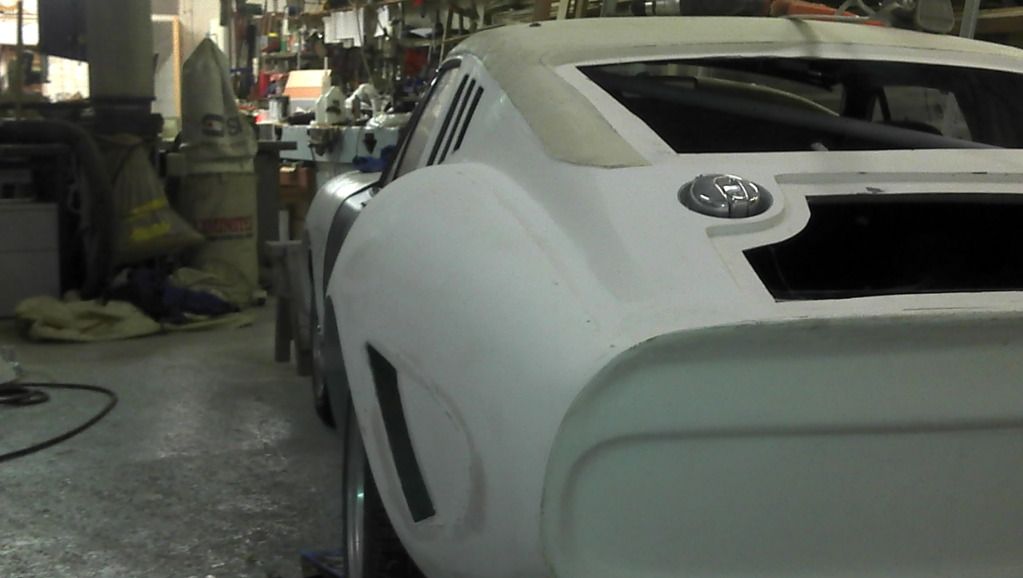
I have sourced a fuel filler, so scoured the kitchen and workshop for something to use as a mould to make a recess for the filler. Found an old paint lid, screwed it to a bit of plastic on the bench. Covered it in release wax then gave it a thick coat of gell coat.[IMG][/IMG]
When that was dry, added a drain tube and built up some layers of grp.
[IMG][/IMG]
Just back from a rather nippy workshop, brrrrrr
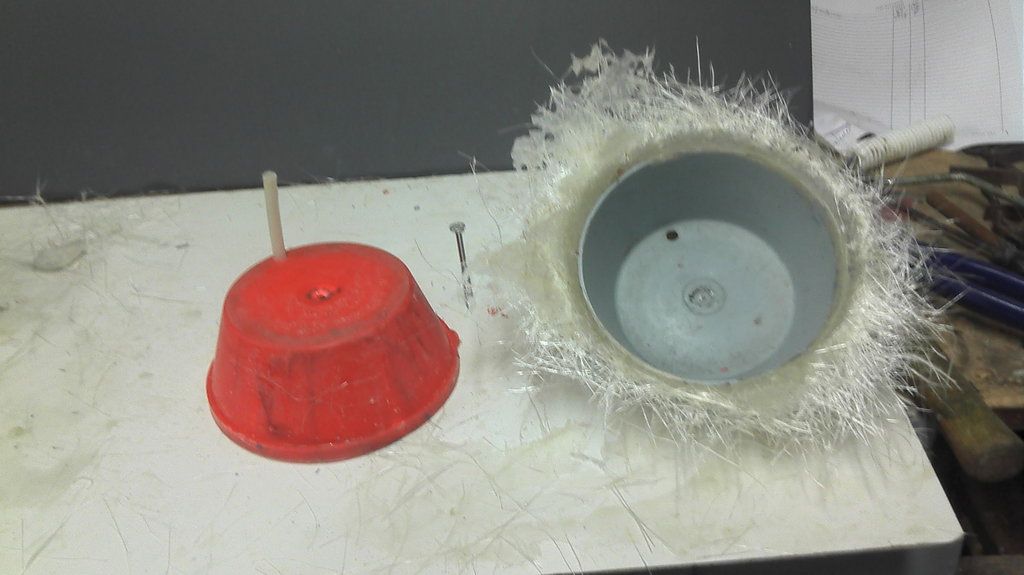
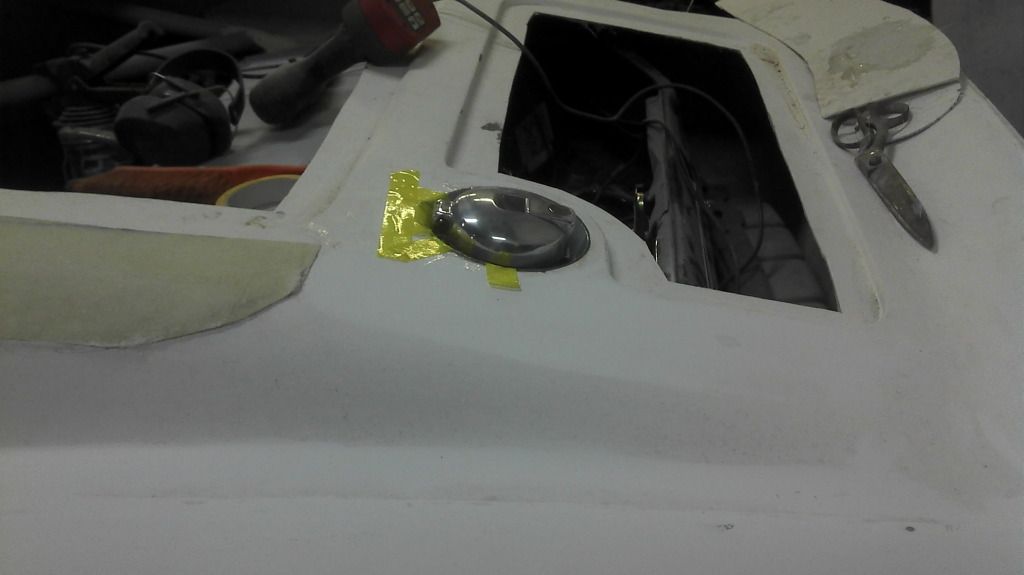
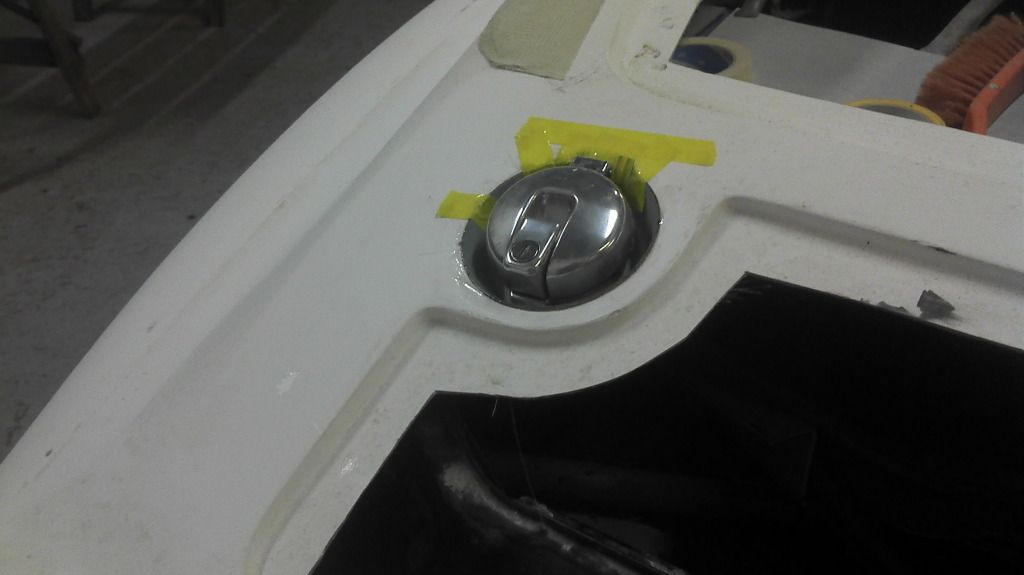
Anyway, popped the filler recess off the mould, trimmed it, cut a hole in the body, fitted it and glassed it in lightly from underneath. I do a bit more glassing when I take the body off again.[IMG][/IMG]
Hi Peep s, yup nice cap, with a key, 20 squids. I am not sure if I will need the rubber gaskeprobably make another, as my drain is now central, not on the side.
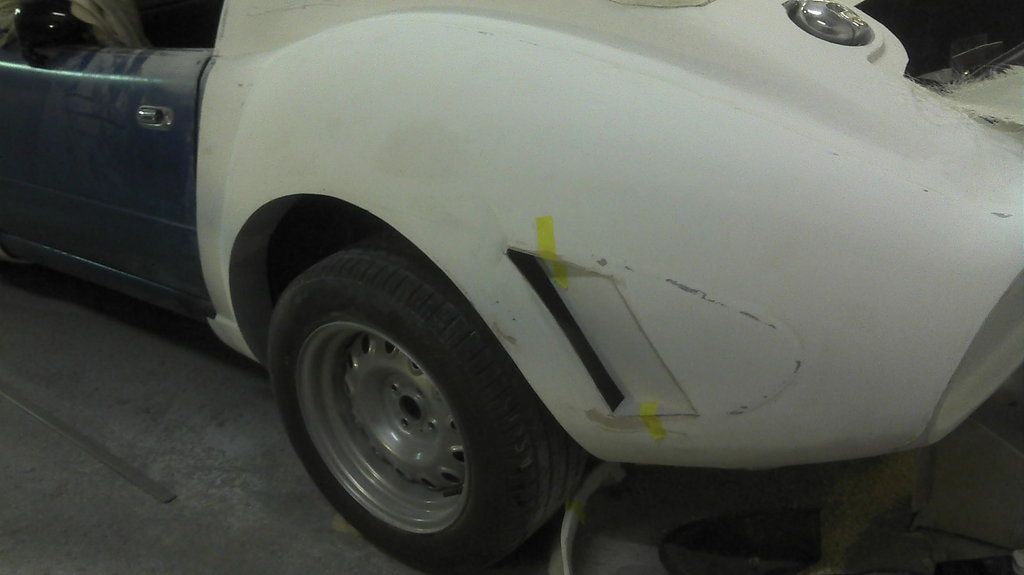
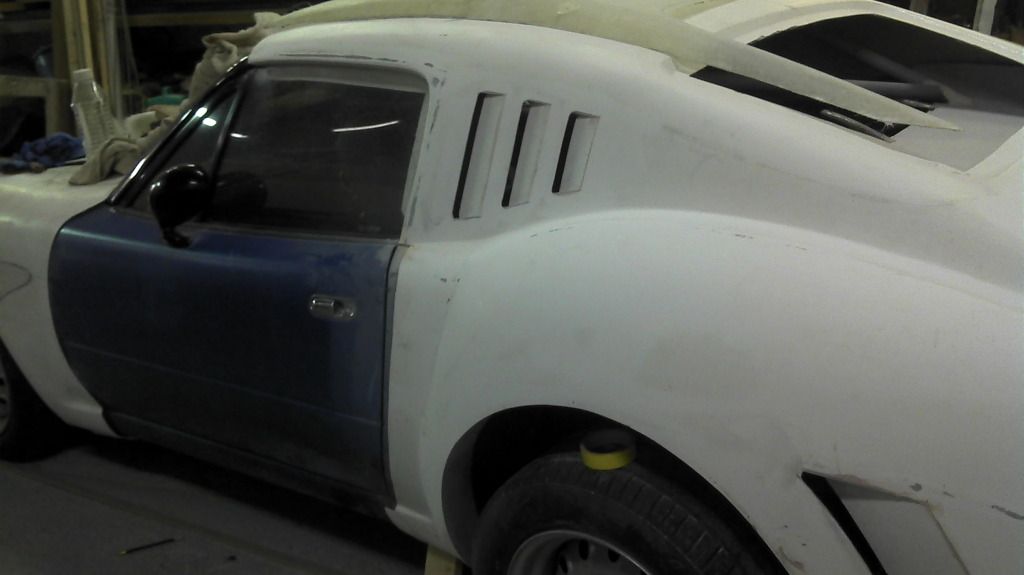
Not much time this eve, but took the plunge and made my take on the rear vents.....
will glass later and fill in from behind. I will connect them so they pull some air from the inner wheel arch.
[SIZE="4"]Wadda you think? ?? [/SIZE](apart from mocha, whose opinion I am not interested in)
Great looking filler....but I am biased as I have a coupe! Is yours restored? Doesn't look like it has any of the normal white oxidisation marks. £20 is a cracking price for a restored one too.
Hi Peep s, yup nice cap, with a key, 20 squids. I am not sure if I will need the rubber gaskeprobably make another, as my drain is now central, not on the side.
Not much time this eve, but took the plunge and made my take on the rear vents.....
will glass later and fill in from behind. I will connect them so they pull some air from the inner wheel arch.
[SIZE="4"]Wadda you think? ?? [/SIZE](apart from mocha, whose opinion I am not interested in)
[IMG][/IMG]
Nick, you are doing a cracking job! Love the vent and love the speed of your progress!
The fillers are ex Fiat Coupe , a car I had not really looked at before, but its worth a look on Wiki. So its '92, and unrestore
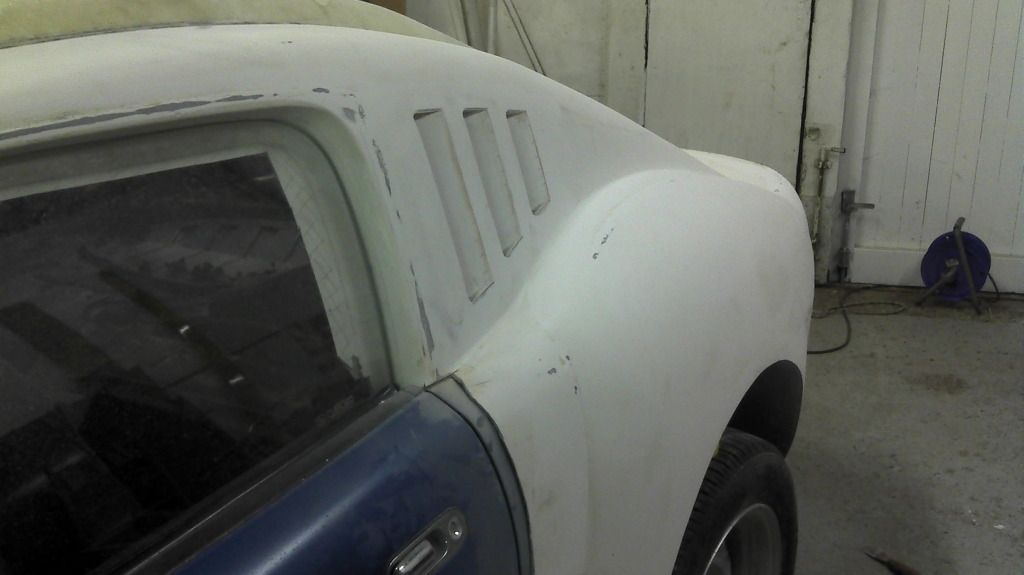
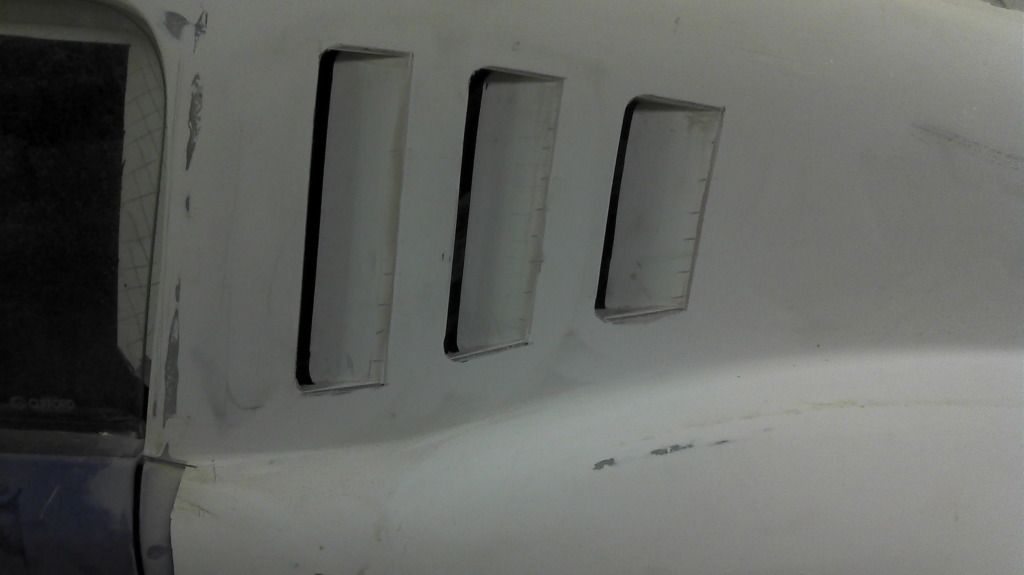
Glad you like the vent, subject of a lot of umming and arring. I was going no-vent, but that rear quarter needs breaking up as its a big area, I think. However I found the existing vents too large, so heres my inbetweeny.
Re progress, thanks Chris, its just an hour after work, or two hours after eight when the kids are in bed
Heres this eves result. Inspired by the 275, and imho a need to break up the rear quarter view. For a couple of hrs marking, snipping and pugging I am pleased. Still needs a bit of fettling.
[IMG][/IMG]

 [/IMG]
 [/IMG]
 [/IMG]
 [/IMG]
 [/IMG]hree layers of 2oz csm.
 [/IMG]/Seanick_bucket/104034610_photobucket_159182_.jpg[/IMG][/IMG]
 [/IMG][IMG]
 [/IMG]
 [/IMG]
  [/IMG]
 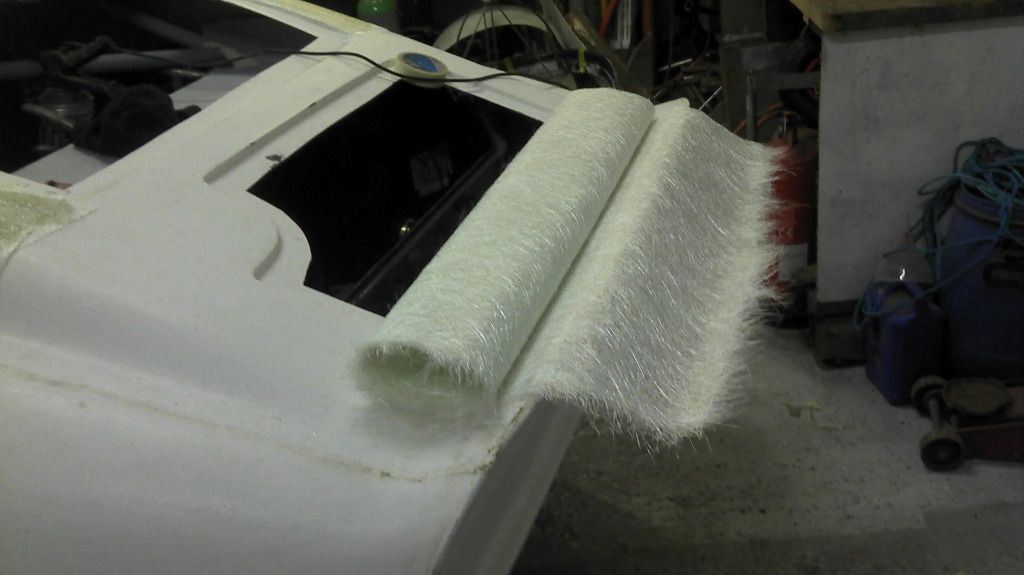 [/IMG][SIZE="5"]Is this the only body that comes with a fibreglass roll holder, with raised lip for when you need a torn edge??
 [/IMG][/SIZE]
  [/IMG]
 [/IMG]
  [/IMG]
 [/IMG]
 [/IMG]
 [/IMG]


 [/IMG]
 [/IMG]
 [/IMG]
 op2:
op2: 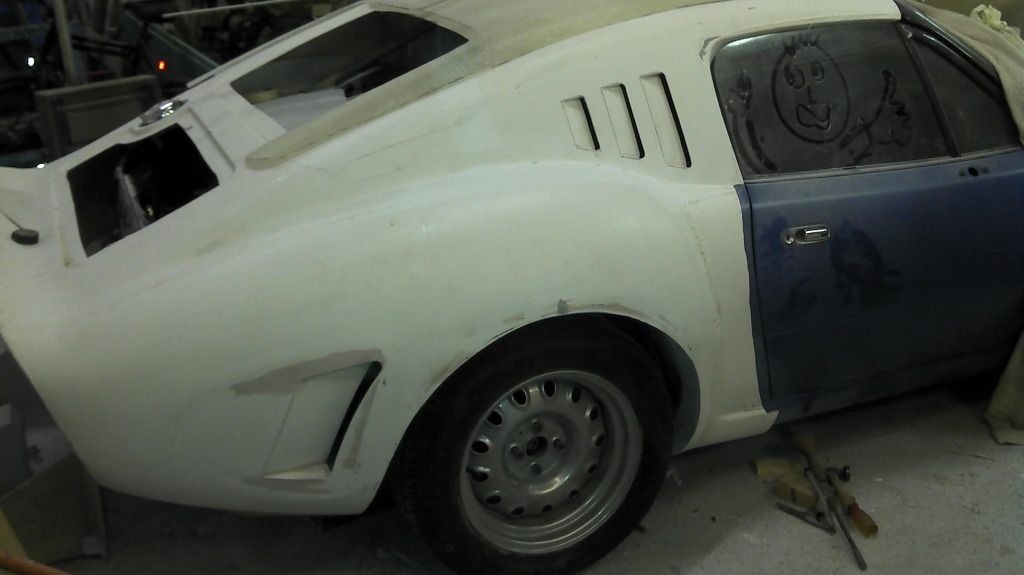 [/IMG]
 [/IMG]