This is a read-only archive of the old Madabout Kitcars forum. New posts and replies are no longer possible, but every thread is still here to browse and read.
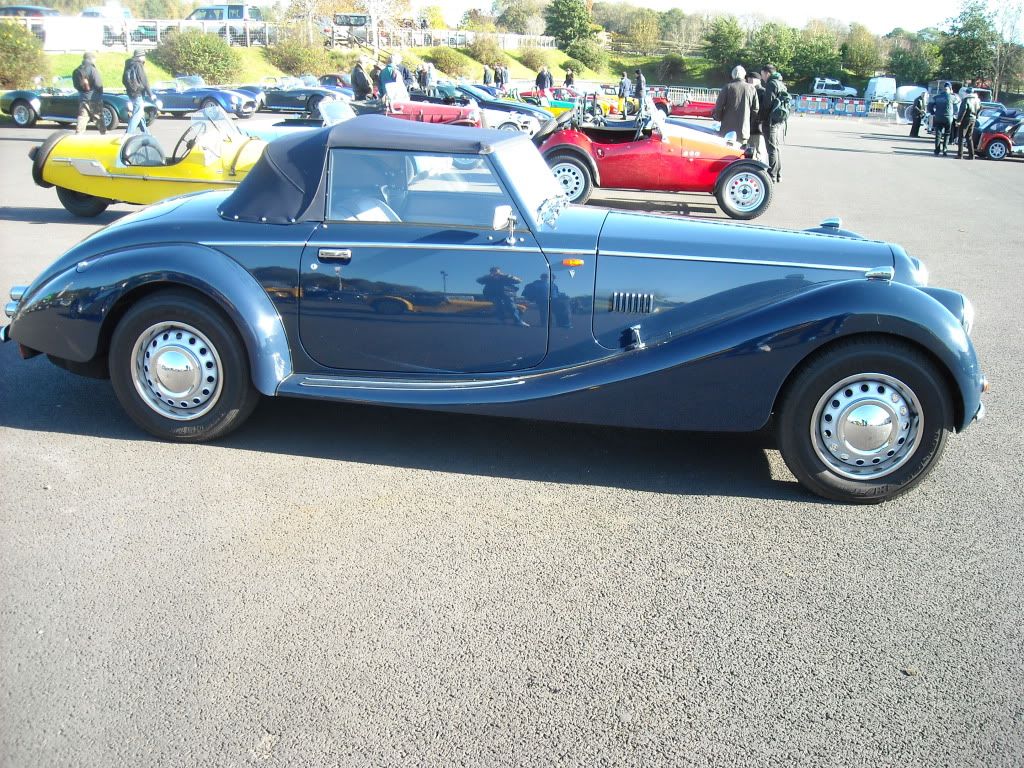
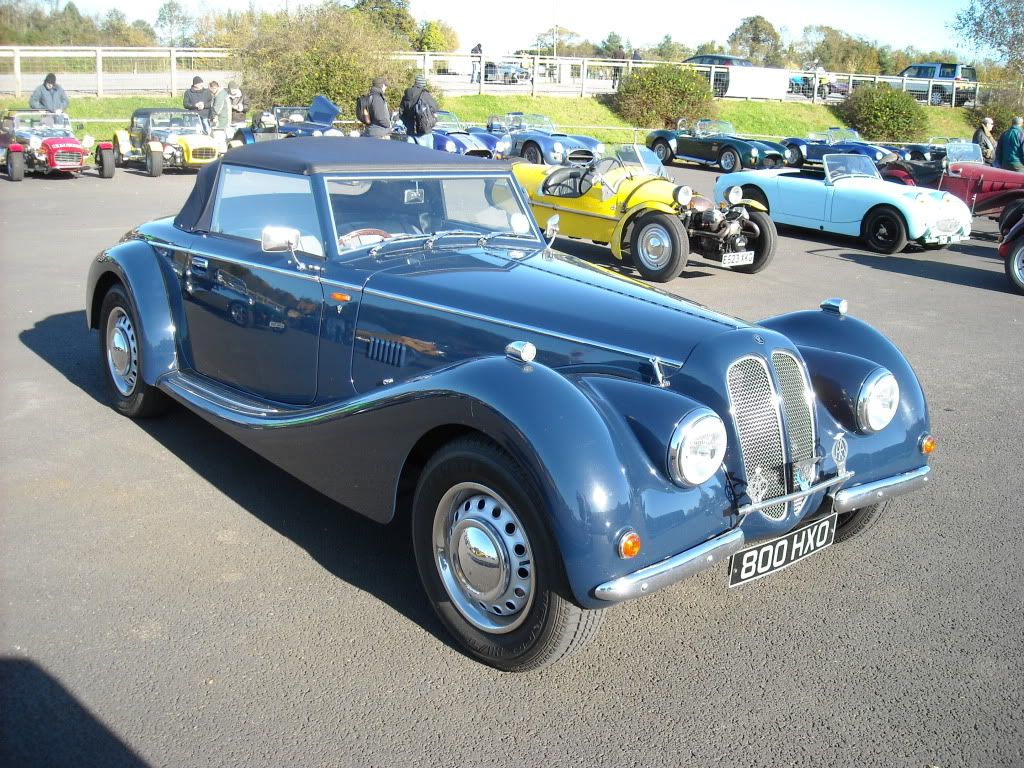
Its so reserved. One of the few kits that really does not look like a kit. Im loving those steel wheels too, and the triple wipers.
What plans for your wheels Peter?
Its so reserved. One of the few kits that really does not look like a kit. Im loving those steel wheels too, and the triple wipers.
What plans for your wheels Peter?
I'm a long way off choosing my wheels but I do like the look of the steel wheels. Colour coded steels can look very smart and I've already picked up a set of old chrome hub caps of that well known auction site. But SWMBO likes wire wheels, so we'll have to wait and see what budget is left.
The steel wheels on this car are particularly nice. Anyone know what they are? Maybe German 'winter tyre' rims?
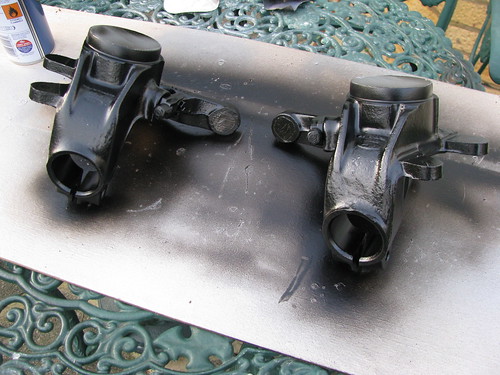
Not much to see this week despite putting a good two days work. I've been dismantling and cleaning up the front suspension components. Lots of work but not much to show
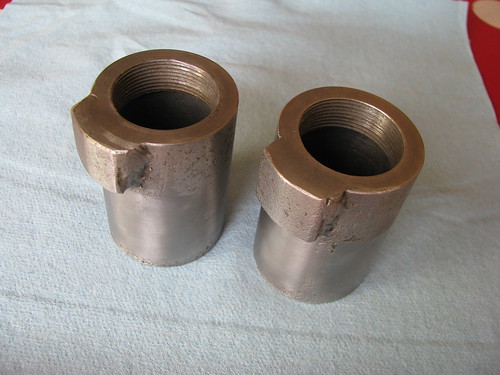
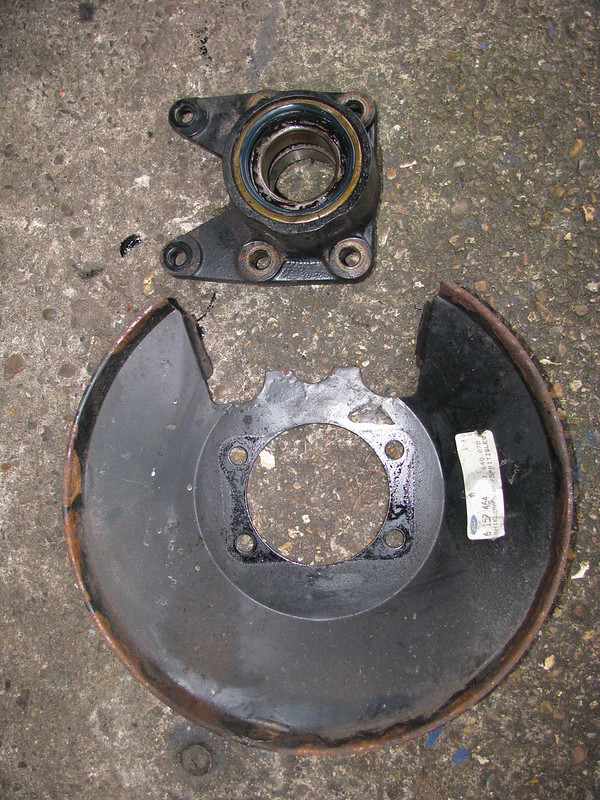
The Royale ball joint adaptors have been de-rusted and cleaned up ready for some paint. These were never painted by the original builder so some some corrosion pitting is evident. These fit in the top of the Sierra front hubs and then take a Metro type ball joint.
I'm a long way off choosing my wheels but I do like the look of the steel wheels. Colour coded steels can look very smart and I've already picked up a set of old chrome hub caps of that well known auction site. But SWMBO likes wire wheels, so we'll have to wait and see what budget is left.
The steel wheels on this car are particularly nice. Anyone know what they are? Maybe German 'winter tyre' rims?
Wire wheels do look great but, as many of the Pembleton owners have found, they can mess up the handling big time because of the increase in unsprung weight - especially if you are having to use an adapter rather than an original splined hub. (Could be a good excuse not to be persuaded by the SWMBO :icon_lol
Wire wheels do look great but, as many of the Pembleton owners have found, they can mess up the handling big time because of the increase in unsprung weight - especially if you are having to use an adapter rather than an original splined hub. (Could be a good excuse not to be persuaded by the SWMBO :icon_lol
Robin
Thanks Robin, I had not heard that before. Maybe it's more significant on a very light vehicle like the Pembleton.
Following your story with interest. I have an option to buy one of these cars however it currently has an automatic gearbox (ford 2.8 i) Would it be possible to fit a chevy small block, would it be too big or too heavy??
Following your story with interest. I have an option to buy one of these cars however it currently has an automatic gearbox (ford 2.8 i) Would it be possible to fit a chevy small block, would it be too big or too heavy??
Cheers......Geoff
Hi Geoff,
I've not heard of any Sabres with a chevy block but I think I have seen one advertised with a Rover V8 engine. I don't think the weight would be an issue as the Sabre chassis is extremely strong and the whole car is quite substantial.
Well week 11 update seems to be all about new parts.
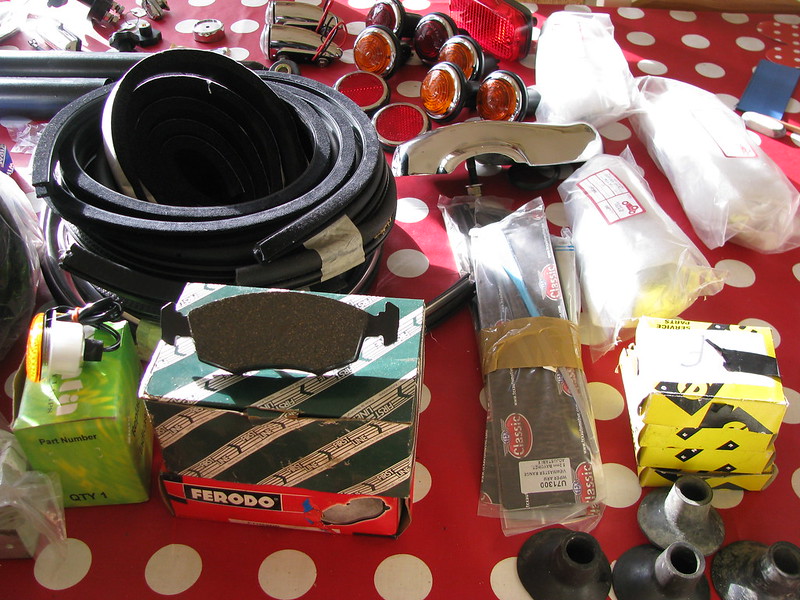
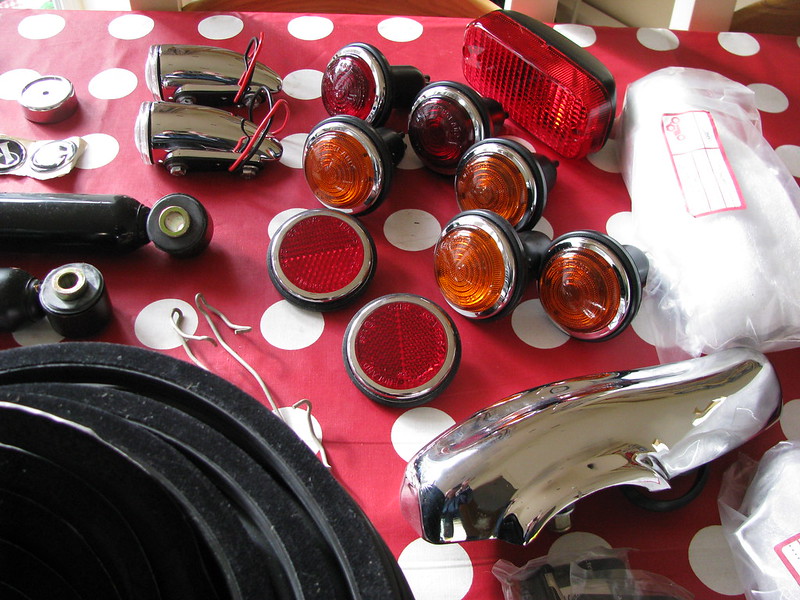
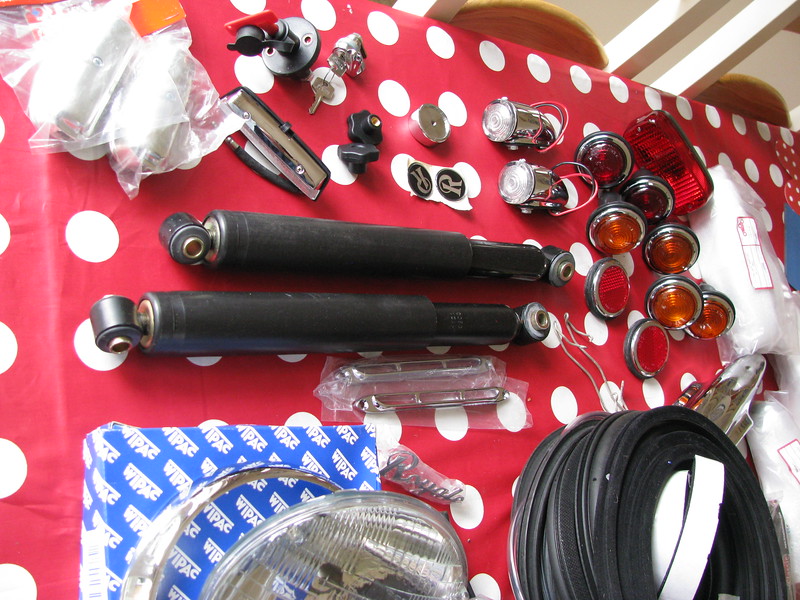
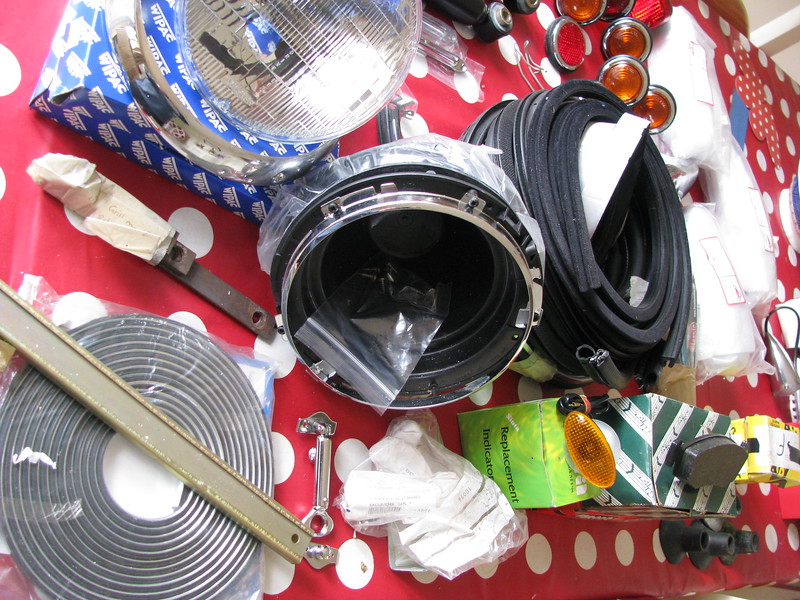
It's a bit of a long story but when I bought the Sabre the guy selling it said he had a box of new parts that would be included. The problem was that when it came to delivering the car he couldn't remember where the box of stuff was. It's taken a long time but finally I picked up the box of bits yesterday.
I took the big box home and it was like a Christmas tombola as I gradually pulled out each small package to discover what I had. When the box was empty I had nearly covered our kitchen table with lights, trim and all kinds of fittings and spare parts. It will probably save me a few hundred pounds in the rebuild.
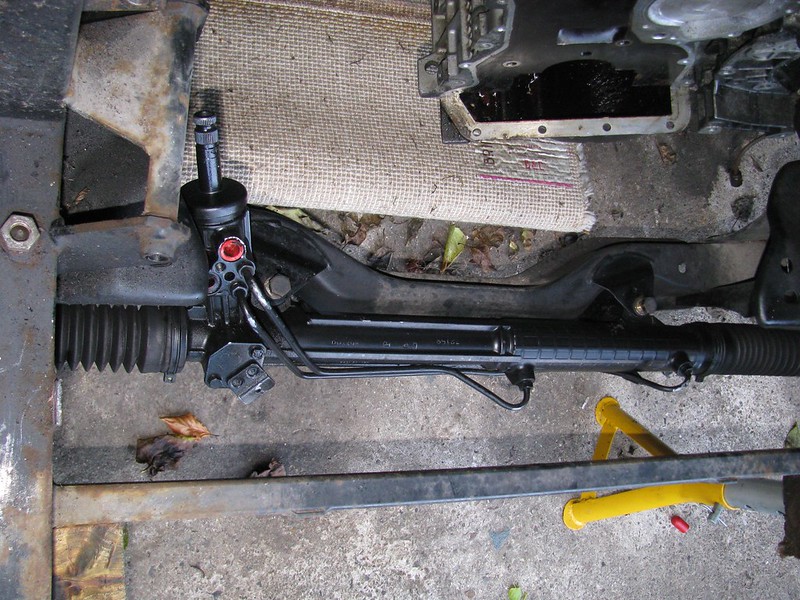
I also picked up on ebay a reconditioned power steering rack for only £24!!
I've now got to find some pipes and hoses which will probably cost more than the rack!
That's the make that Phil Gregory supplies for the Pembleton. They are certainly well made and seem to do the job (Pembleton is a bit lighter though lol)
That's the make that Phil Gregory supplies for the Pembleton. They are certainly well made and seem to do the job (Pembleton is a bit lighter though lol)
Robin
Thanks Robin. An online search hasn't thrown up any negative feedback so far. A little bit more expensive than standard GAZ dampers but cheaper than AVO and they look nicer :-)
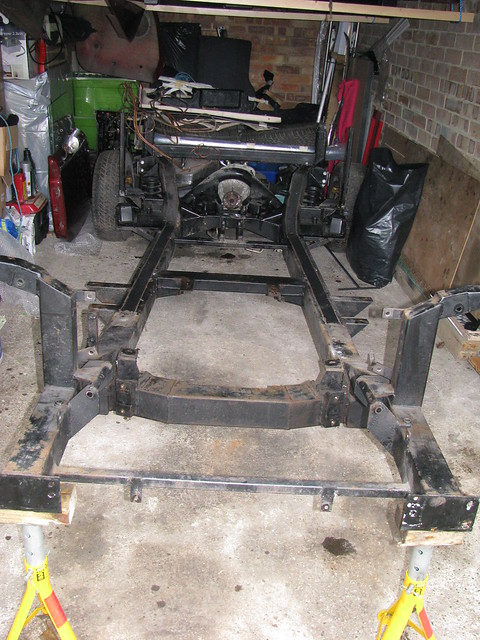
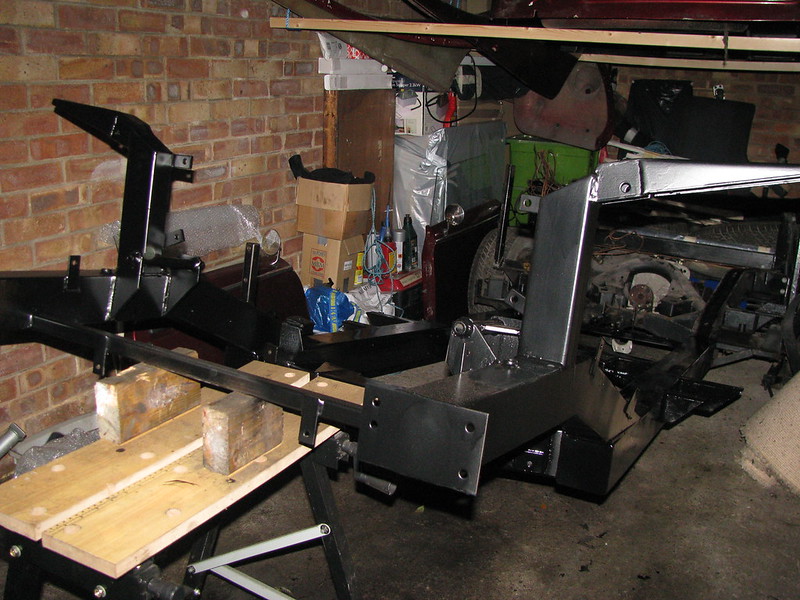
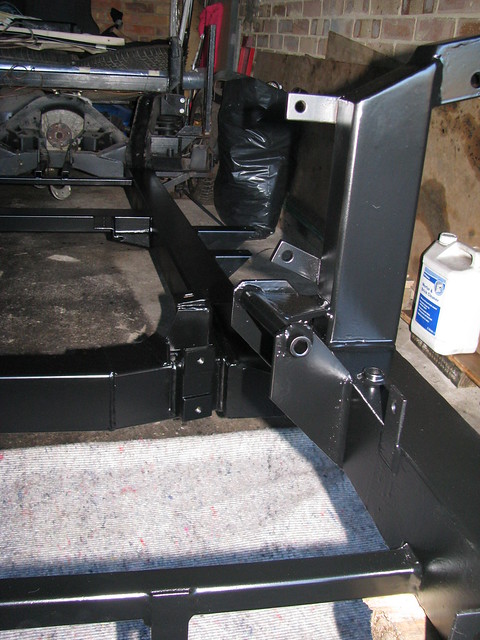
Not a lot to see this week as I've been cleaning, sanding, de-rusting and painting the front end of the chassis. (The plan is to do the front end, rebuild the front suspension and then turn the car round and do the back end). It's not been the best of weather for painting and it gets quite dark in my garage. I'm using hammerite satin as it's very tolerant to multiple coats and I can put some more on next summer when it's warmer and drier. The rust is only superficial and the chassis is like a battleship.
I raised the front of the chassis up on a workmate to make it easier to work on.
In other news, I bought a complete set of Royale Owners club magazines from 1995 to 2009 so I'm spending hours reading all the building tips from the past!
Hopefully, I'l have some more interesting pictures next week....
Week 14 has been exciting as I have been able to finally start bolting things back together and truly start the rebuild.
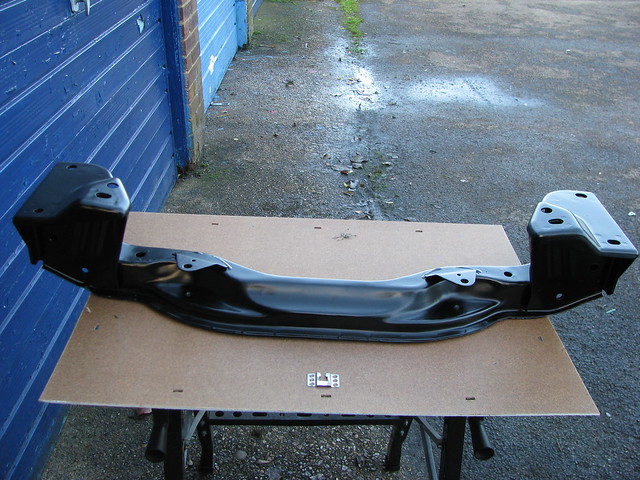
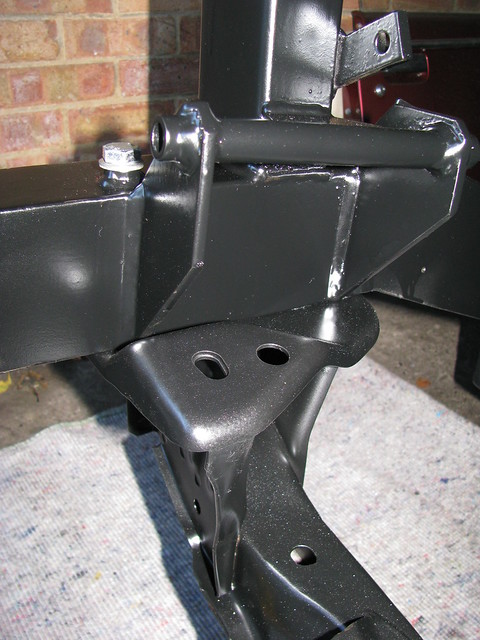
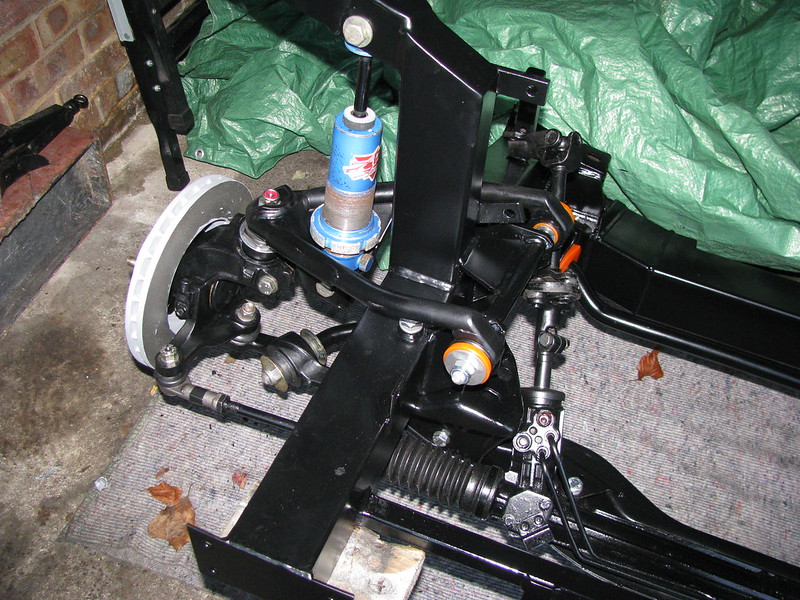
Despite the appalling weather I managed to get a few coats of paint on the chassis. It's come up looking like a new chassis so the rebuild of the front suspension can begin.
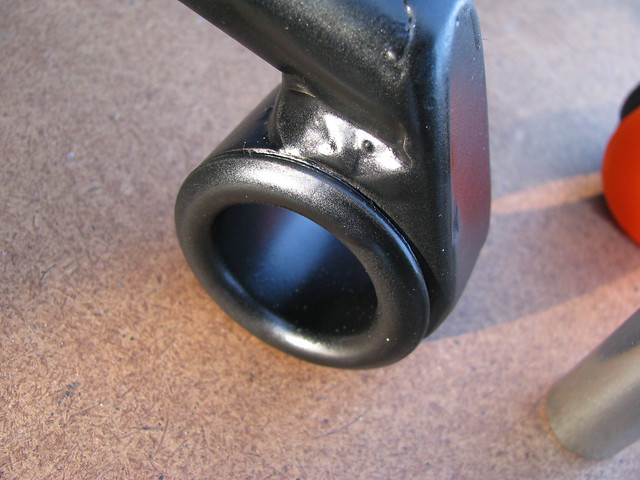
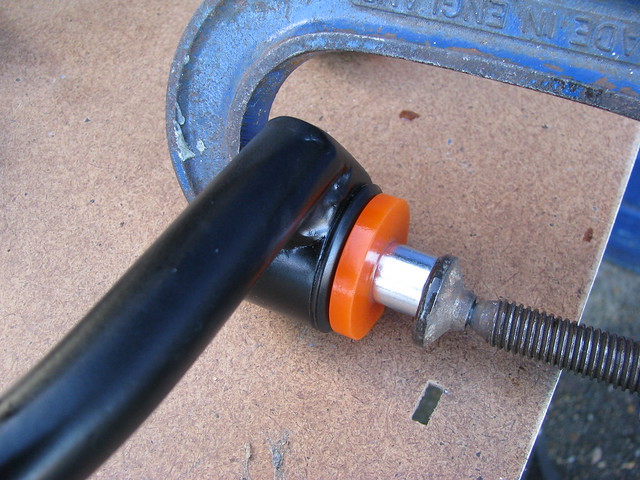
The upper wishbone bushes are Ford Cortina Mark 3. (this is a real vintage car!!). They have an outer metal casing that has to be pressed into the wishbone. I didn't fancy swapping these casin but found out that Flo-flex do a poly bush that sits inside the old metal casing. I was worried that the old rubber bushes might be 'vulcanised' to the casing but they weren't and slid straight out, leaving a nice clean hole for the poly bush.
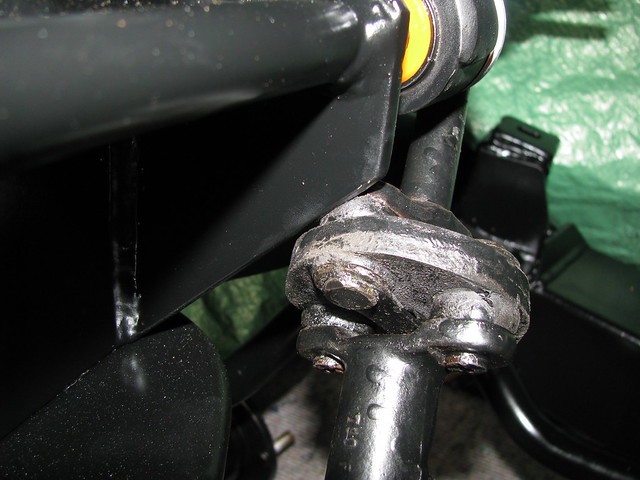
The wishbones are about 6mm wider than the chassis mounting points. The original builder had done the wishbones up tight to close this gap putting them under strain. I will put washers in here to give me some caster adjustment, just like the Sportster.
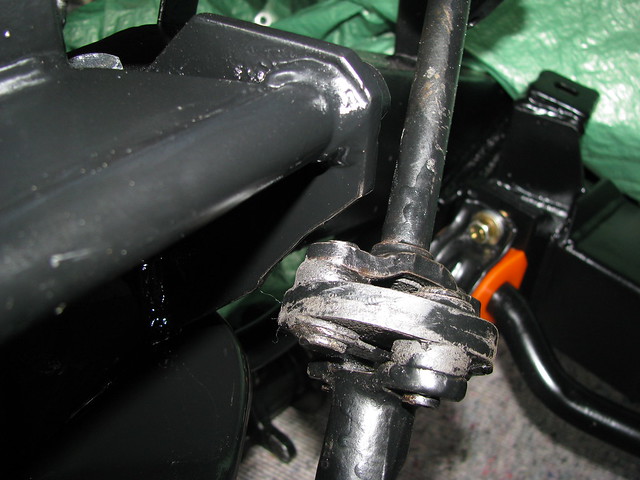
As previously mentioned, I want to fit a power steering rack. I've now got a column extension piece off a Mark 2 Granada which is the right length but just fouls on the chassis.
Hi Peter
Really enjoying your build, you are going to end up with a fantastic car. You spoke of IVA earlier in your thread, is that because it is not registered correctly ?
regards
Roger (Tribute Build )
Hi Peter
Really enjoying your build, you are going to end up with a fantastic car. You spoke of IVA earlier in your thread, is that because it is not registered correctly ?
regards
Roger (Tribute Build )
Hi Roger,
glad you are enjoying my updates!
It will need IVA because although the car was started in 1994 it was never finished by the original builder so has never been registered on the road.
But I knew this when I bought it so was expecting to have to go for IVA. It should be interesting, (and the extra cost is a PITA) but there shouldn't be anything insurmountable with a little thought and planning.
Week 15 - great progress this week (mainly because the weather's been too crap to do anything else!!)
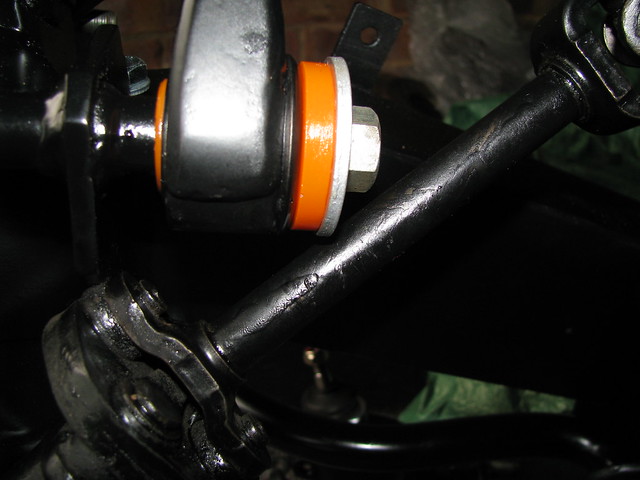
I've re-assembled the front suspension sufficiently to be able to wheel the chassis out of the garage and turn it around to work on the rear end. I've still got a few things to do like fit new shocks, lock nuts and swap that track rod end which is on the wrong side in this photo. The power steering rack is also a tad too long so I need to shorten it or fit the track rods from the manual rack which are 2cm shorter than these. I've ordered a Granada Track Control Arm which are rumoured to be a bit longer than the Sierra TCA's to see what that does to the suspension geometry.
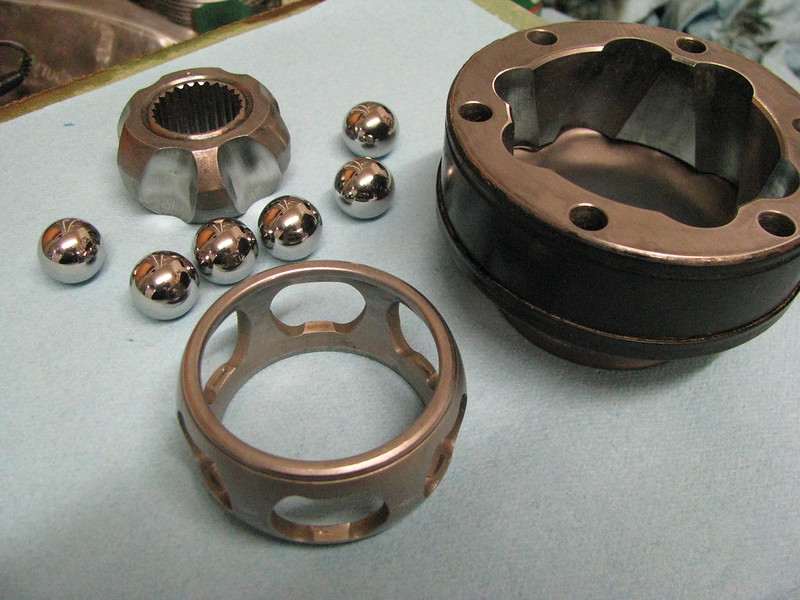
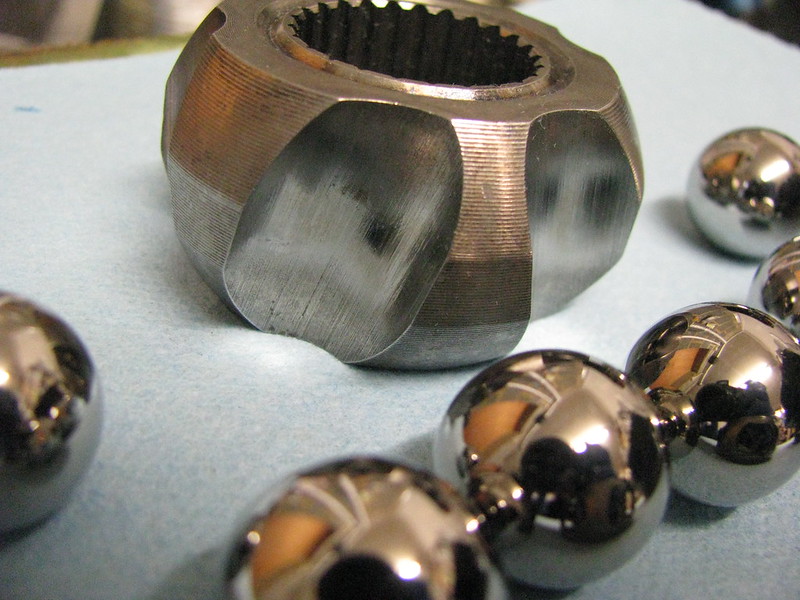
(I love that last photo of the ball bearings :smile
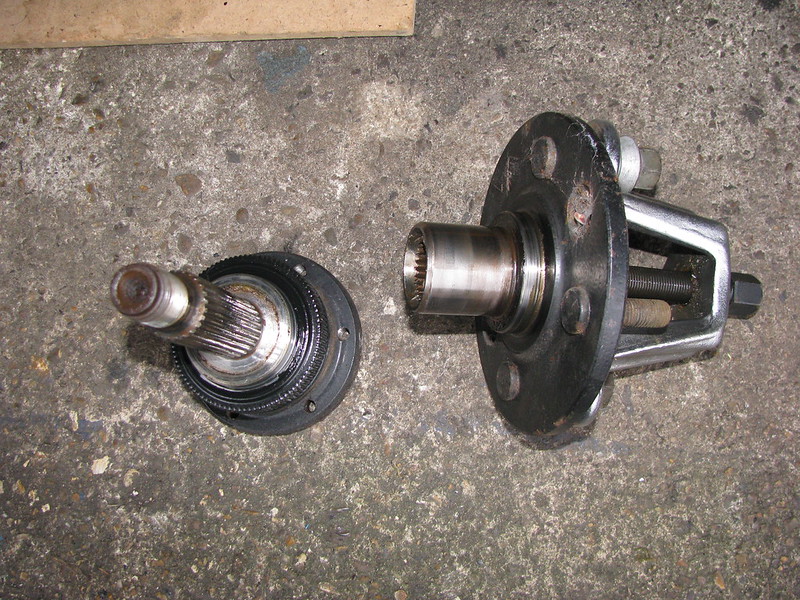
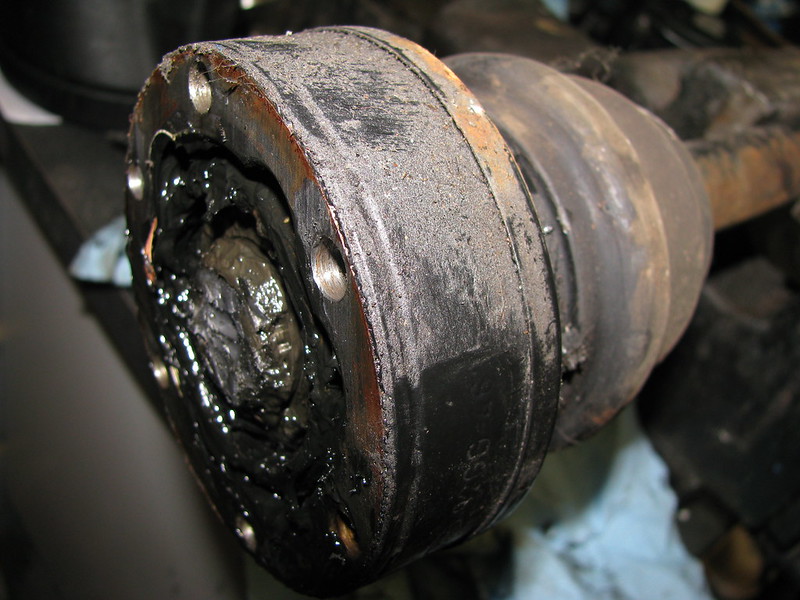
The joints are now being painted and I have four nice new rubber boots and CV grease.
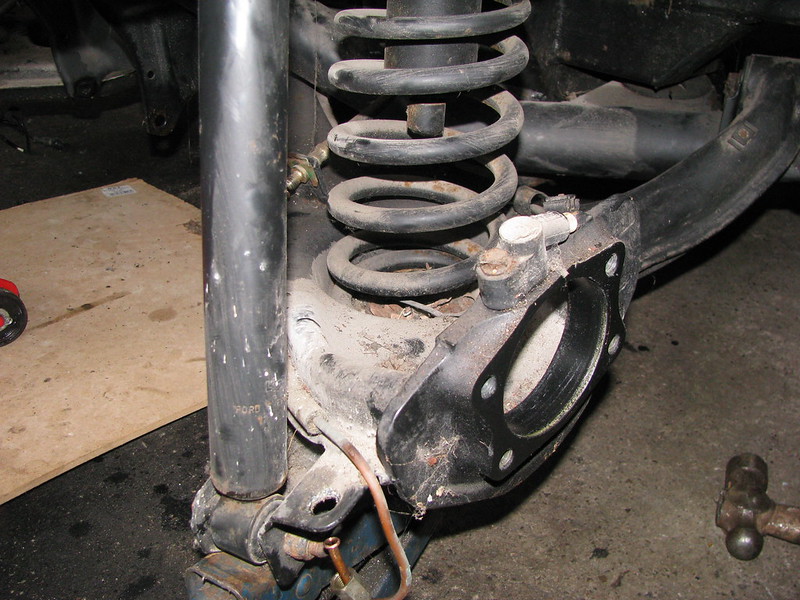
I've now got lots of bits to refurbish and repaint and then I can get back down the lock-up to finish removing the rear suspension and painting the chassis.
Lots to do......
Good work Peter. Lovely finish on the chassis. Sprayed or brushed?
Also good to see progress despite the cold.
"By endurance we conquer" (Shackleton).
It's Hammerite Satin spray cans, 3 or 4 coats. You'll see the concrete floor now has a covering of black over-spray. I've got through about 11 cans so far
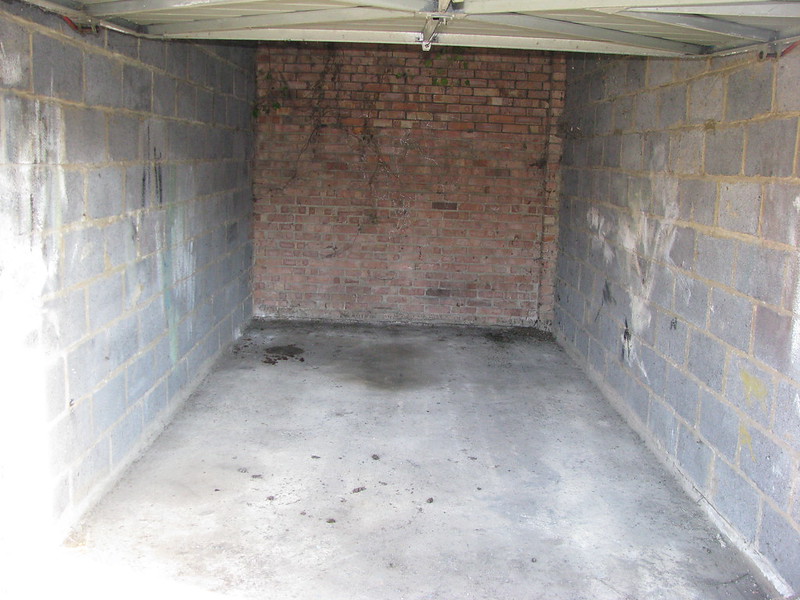
If I wrap up well and wear gloves (mechanics) I can do about 2 hours down at the lock up before nipping home for coffee, lunch, warm up, etc
The joints are now being painted and I have four nice new rubber boots and CV grease.
CV grease ughh. I did a similar job on the 2CV joints a few months ago. I have never come accross such an 'orrible preparation as CV grease. Half way between oil and (normal) grease. The bl**dy stuff gets everywhere lol.
Should have some picture of my bike engine rebuild soon. There have been some - err - issues to sort out....
It's Hammerite Satin spray cans, 3 or 4 coats. You'll see the concrete floor now has a covering of black over-spray. I've got through about 11 cans so far :e
Eek indeed! Have you considered buying a cheap compressor with a spray gun? Probably cost about the same!
If I wrap up well and wear gloves (mechanics) I can do about 2 hours down at the lock up before nipping home for coffee, lunch, warm up, etc
After being in our (unheated) workshop all day I too can only managea couple of hours on the car in the eve before I have had enough!










 excellent progress