This is a read-only archive of the old Madabout Kitcars forum. New posts and replies are no longer possible, but every thread is still here to browse and read.
I'll have to let you borrow my polishing mobs to keep the engine and body work (you are polishing all that loverly hand formed aluminium, aren't you?) spick and span.
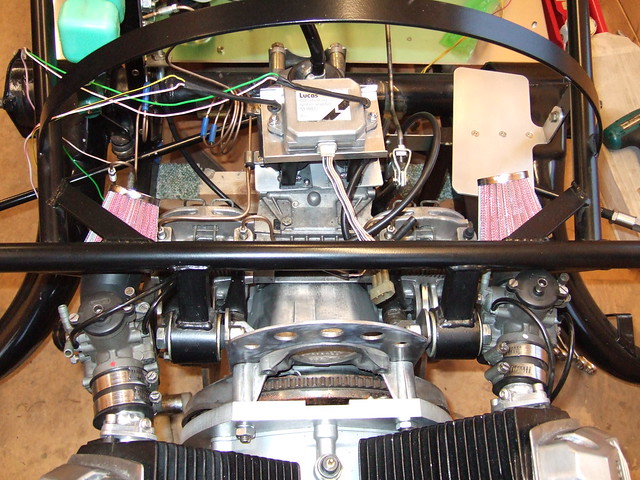
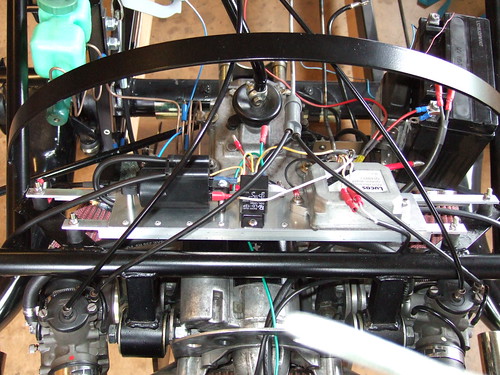
Small update on the carb mounting. When I tried to fit the nearside carb it still fouled the chassis - doh.
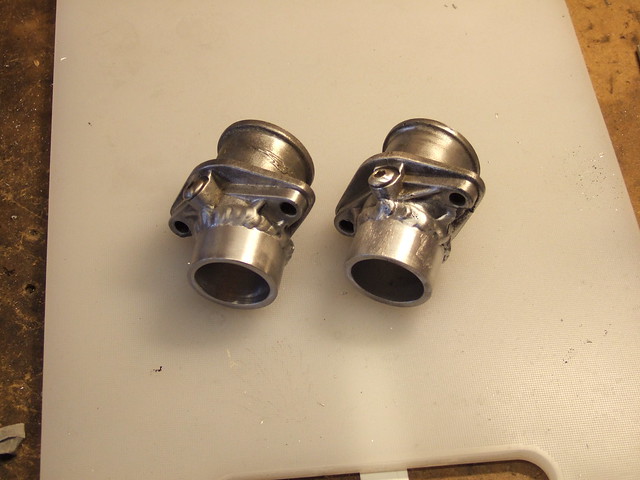
So I bit the bullet and modified the inlet stubs adding a new bit made from 1 3/8" ally tube which just happens to be a good match. (No it's not my welding....)
I only need to make half a dozen folds or so but didn't fancy the suggested blocks of timber approach. Tried to find a straight piece of timber recently?
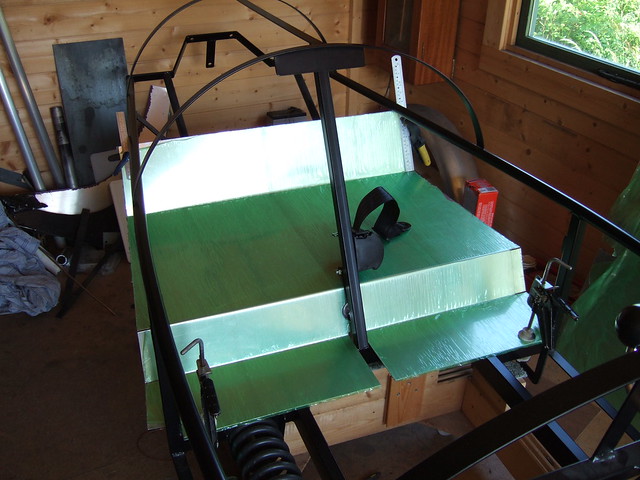
The first part to be folded was the rear floor. Seems to fit OK....
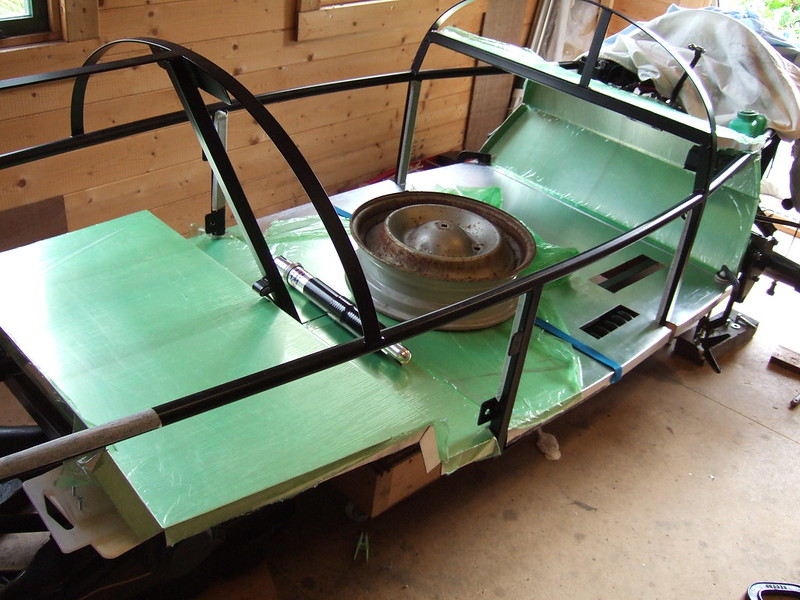
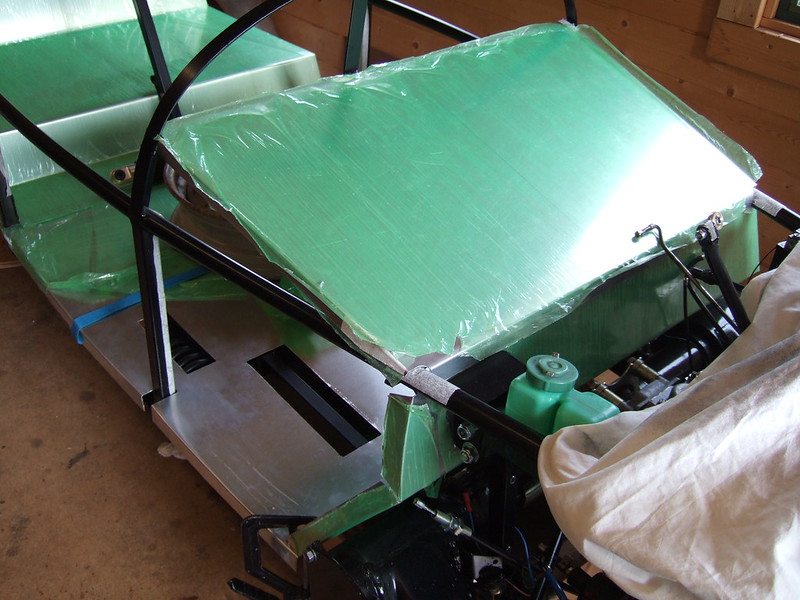
I have almost completed all the inner panels now. It's taken longer than I hoped but it's important to get these right as the floor in particular defines the shape of the body at the lower extremity.
It might all look quite simple but what is not obvious from the pictures is that many of the flanges have subtle curves in them. Getting them all to line up is the tricky bit!
<a href="http://www.flickr.com/photos/robinmartin/9610934031/" title="DSCF1878 by Robin J Martin, on Flickr"><img src="http://farm3.staticflickr.com/2836/9610934031_c2ba06fc80_z.jpg" width="640" height="480" alt="DSCF1878"></a>
<a href="http://www.flickr.com/photos/robinmartin/9610935117/" title="DSCF1877 by Robin J Martin, on Flickr"><img src="http://farm3.staticflickr.com/2884/9610935117_80999129fd_z.jpg" width="640" height="480" alt="DSCF1877"></a>
I have almost completed all the inner panels now. It's taken longer than I hoped but it's important to get these right as the floor in particular defines the shape of the body at the lower extremity.
It might all look quite simple but what is not obvious from the pictures is that many of the flanges have subtle curves in them. Getting them all to line up is the tricky bit!
That's some seriously impressive work - very nice Bending without a metal folder doesn't work that well as I found out when making the scuttle panels on the Sportster - a part I would redo given the choice.
Ali is 1.2mm thick - as recommended by the instructions that come with the chassis. It seems a bit flimsy to start with but once you start adding a few bends and joins it soon stiffens up. One builder used 1.5mm but he struggled to form some of the panels using that thickness.
More progress! Trial fit of the first body panel. I spent a lot of time getting the floor right so it fitted without too much hassle. DSCF1912 by Robin J Martin, on Flickr
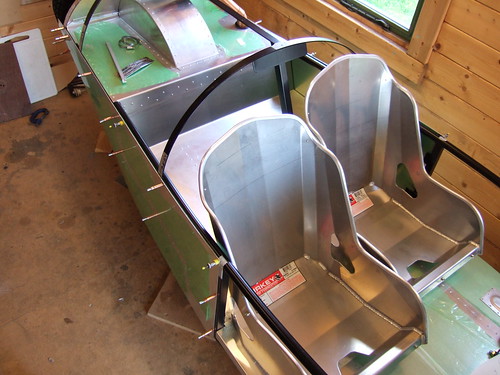
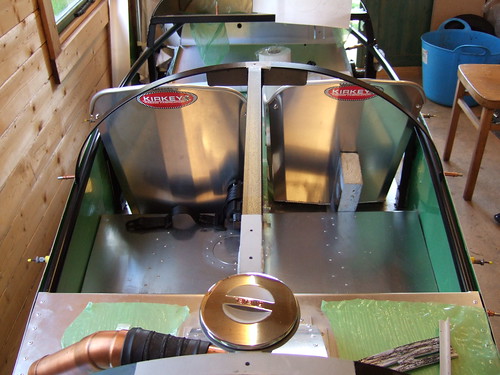
And I treated myself to some seats. The standard seating is a simple bench but, unless you have a passenger, it means that you slide around a lot. These should do the job. The plan is to stagger them so that the driver and passenger shoulders miss one another. All the way from Canada. And yes - I will be fitting some squabs...
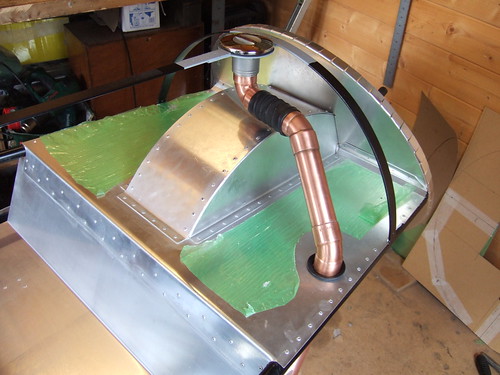
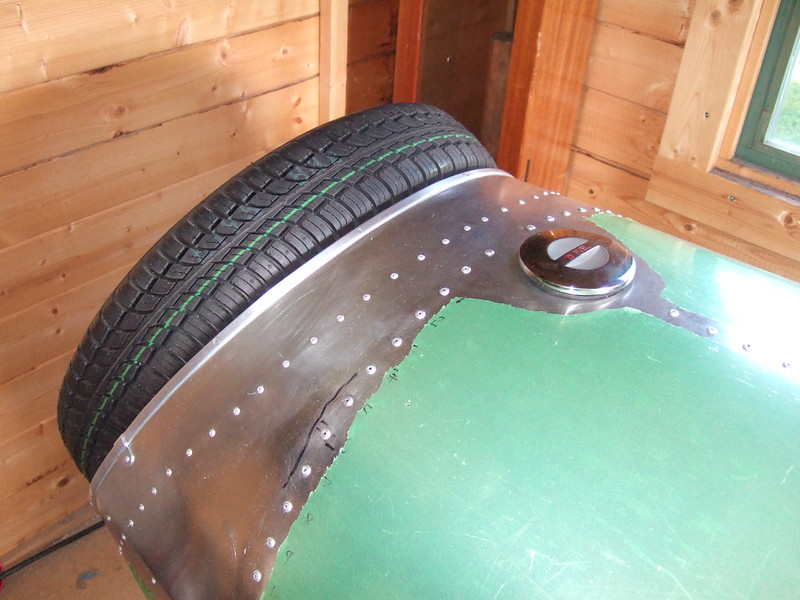
Well the rear is now pretty much complete. Just need to add the lights and then that's it. As you can probably see there were hundreds of rivets to set and, just to make it even more interesting, the rear top panel is also bonded with epoxy resin. The result is very strong!
That just leaves (bodywork wise) the dash top and bonnet to do. Light at the end of the tunnel at last.
I am hoping to polish it if I have the patience ;-).
The edging is the same as used on the Morgon 3 wheeler. Fellow Pembleton builders used to have a source but unfortunately it seems to have dried up....
Well the rear is now pretty much complete. Just need to add the lights and then that's it. As you can probably see there were hundreds of rivets to set and, just to make it even more interesting, the rear top panel is also bonded with epoxy resin. The result is very strong!
That just leaves (bodywork wise) the dash top and bonnet to do. Light at the end of the tunnel at last.
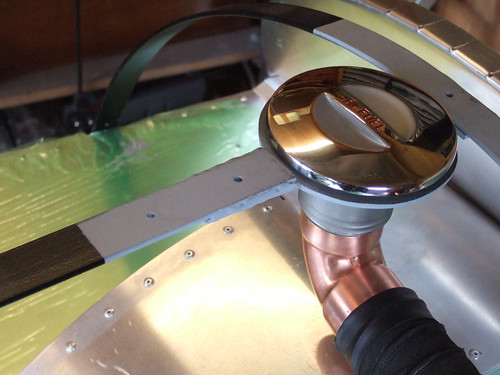
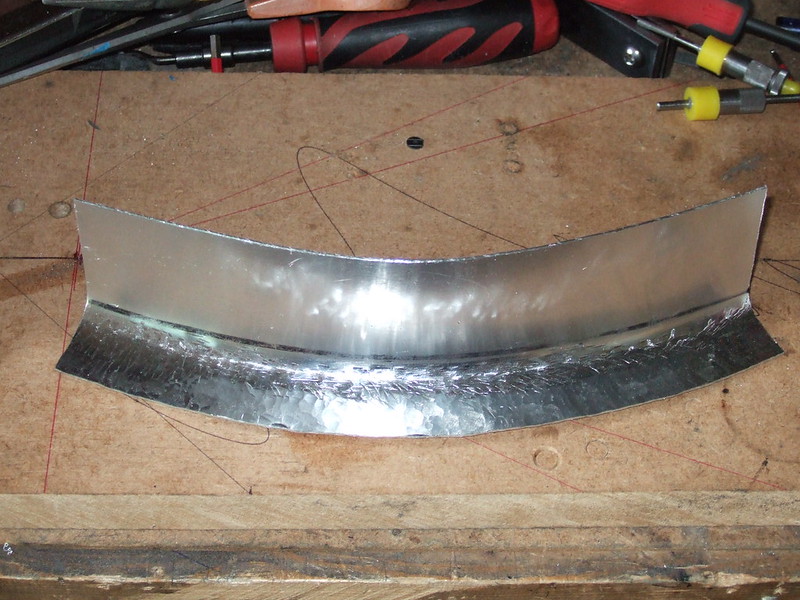
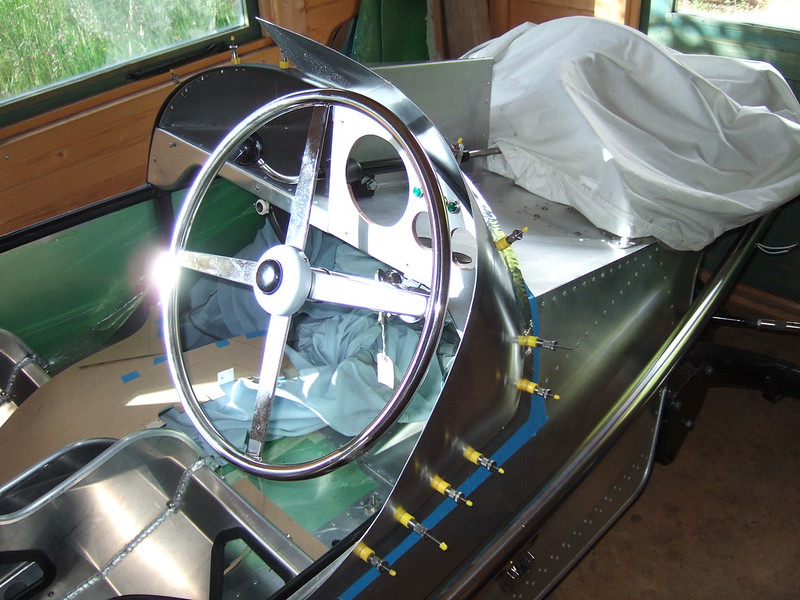
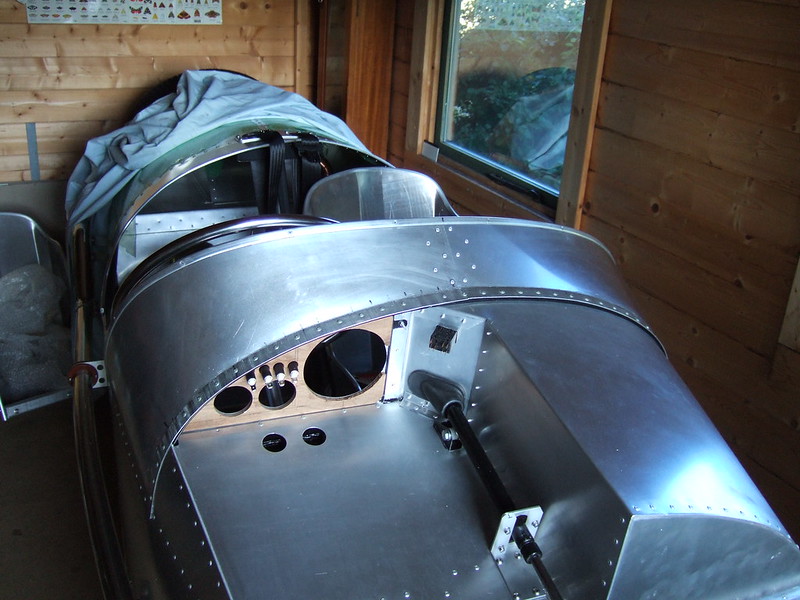
Some more progress despite the fact I have been also spending some time fault finding on the Sportster. I have made a prototype of the drivers side dash top, cowl - call it what you want. It's not bad for a first attempt although I will make it again now I have had some practice.
The flange that fits allong the dash hoop has to be stretched in order to get the shape. After evaluating various methods and tools I have used the old fashoined way of belting it with a hammer. Ok - so it's a special stretching hammer - but much cheaper than buying a proper shrinker/stretcher as used by some bodyshops. The marks left by the hammer will be hidden by the bonnet tape.
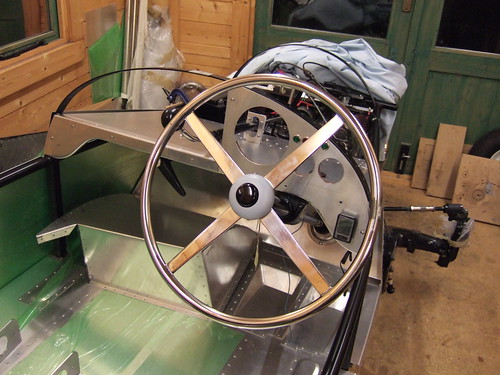
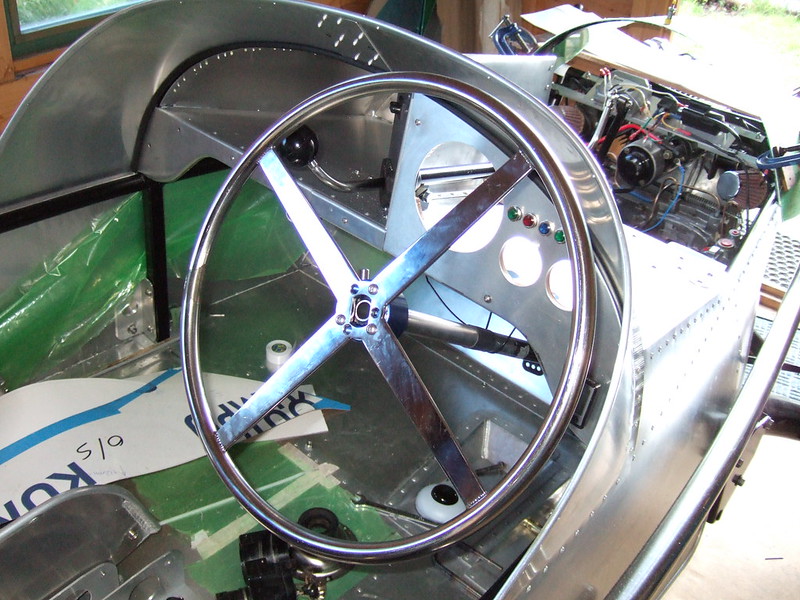
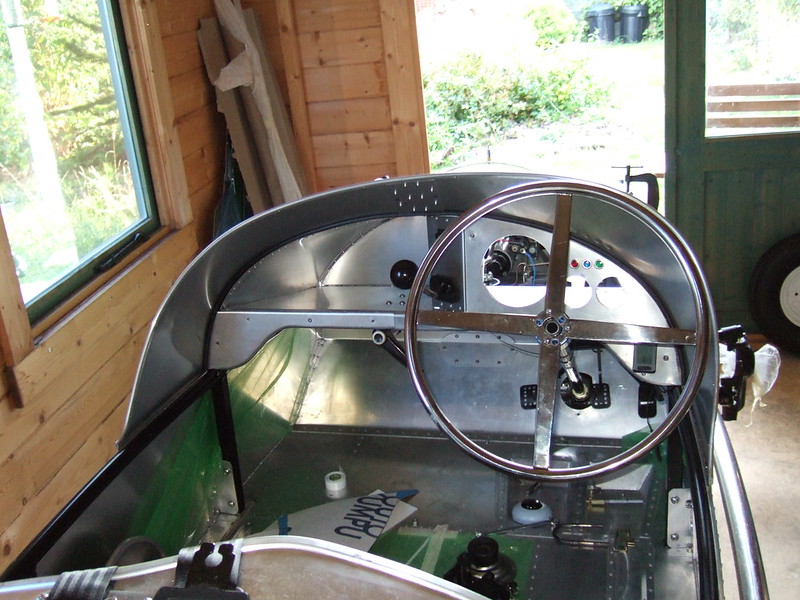
I have shaped the cowl in such a way that it covers the steering wheel thus hopefully preventing hands getting too cold. bending it in such a way means it is suprisingly strong. Even so I will be re-inforcing the edge with a U shapped ali trip strip.
I have completed the scuttle top. In the end I gave in and bought a shrinker/stretcher to make the flange. And to answer my wife's question (lol) yes it is supposed to be asymetric! The offside has been modified to follow the outline of the steering wheel.
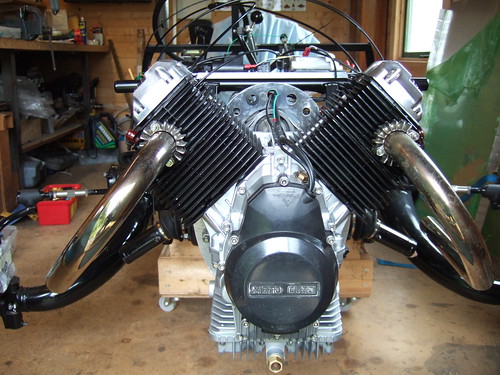
I have been working towards getting the engine running. Lots of little jobs to do first.
New bracket for clutch cable. The original one that was welded to the chassis meant the clutch cable was poorly aligned and right at the end of the adjustment. DSCF1741 by Robin J Martin, on Flickr
Robin
Robin
Beautiful workmanship it will be a really stunner when finished.
Can I just ask , was this bracket made of aluminium ?
Not a kit car builder myself yet , however have done loads in the bicycle world and we gave up on aluminium for brackets as the weight saving is negligible and if something is going to break with load and vibration it will be the most awkwardly placed bracket.
Thanks for the encouraging words Paul :-). No the bracket is made from a bit of galvanised steel I had hanging arround the workshop. Hence the funny colour!