This is a read-only archive of the old Madabout Kitcars forum. New posts and replies are no longer possible, but every thread is still here to browse and read.
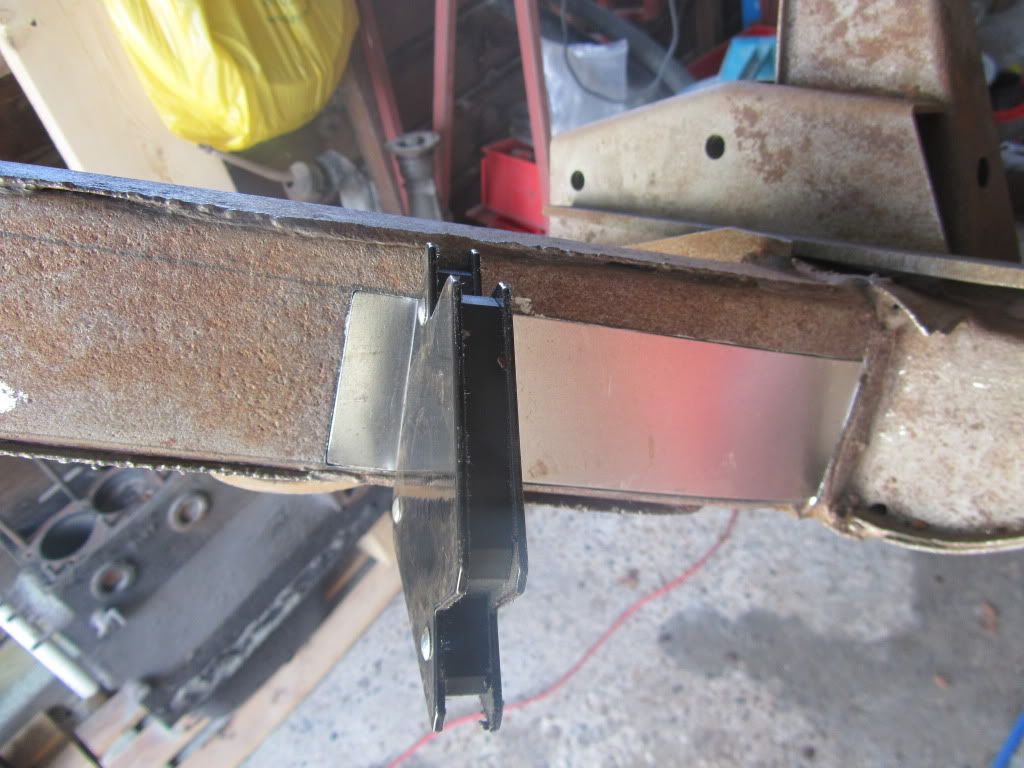
I would consider plating the whole side, bending a flange on each edge to give you a channel section so you can weld onto existing doublers. Then you can prep a bit harder before you weld as the metal is thicker, up the amps a bit and get a stronger weld. Before the final fit either remove the old section or take out some metal with a hole saw so when you finally inject some waxyoil it gets where needed.
yrs, Nick
I would consider plating the whole side, bending a flange on each edge to give you a channel section so you can weld onto existing doublers. Then you can prep a bit harder before you weld as the metal is thicker, up the amps a bit and get a stronger weld. Before the final fit either remove the old section or take out some metal with a hole saw so when you finally inject some waxyoil it gets where needed.
yrs, Nick
I'd love to do that, but have no folding equipment. And those outriggers are more than 24" and tapered... thanks for taking time to offer advice.
And i will up the amps!
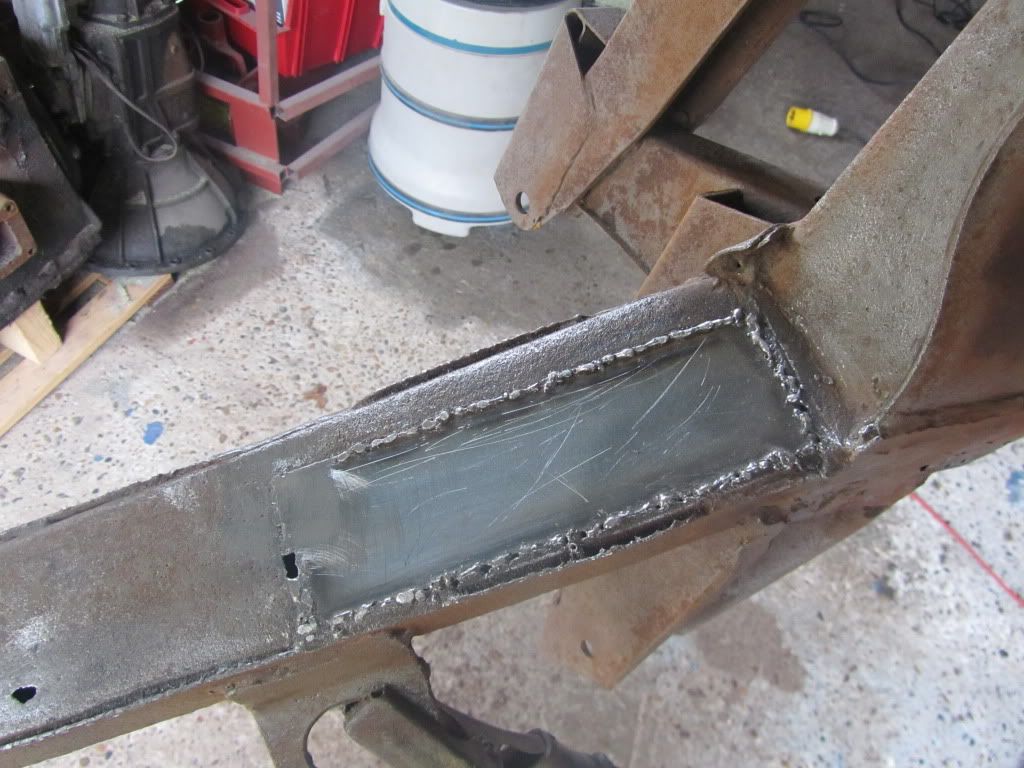
Yep, up the amps, and move slowly, the aim is to 'puddle' the molten metal and 'drag' it along the join.
Also, you can make up larger holes with several smaller patches to make it easier to shape. Have a hammer handy and as the metal gets warm with the welding you will find it is much easier to bend into shape and form curves etc. it will 'stretch' a certain amount too. I have an assortment of bodyshop hammers with points, flats, shrinking heads etc which come in very handy! You can never have too many hammers!
Well done, though, it is the start of a very satisfying journey!
Can i fill the small holes with weld? and if so, whats the technique?
yes you can. I am assuming you are MIG-ing it.
You will need to do it in short bursts. Work around the edge of the hole and that will give you something to bridge the gap. Again, don't be afraid of holding the arc in one stop to let it puddle. you will get good penetration of the weld then.
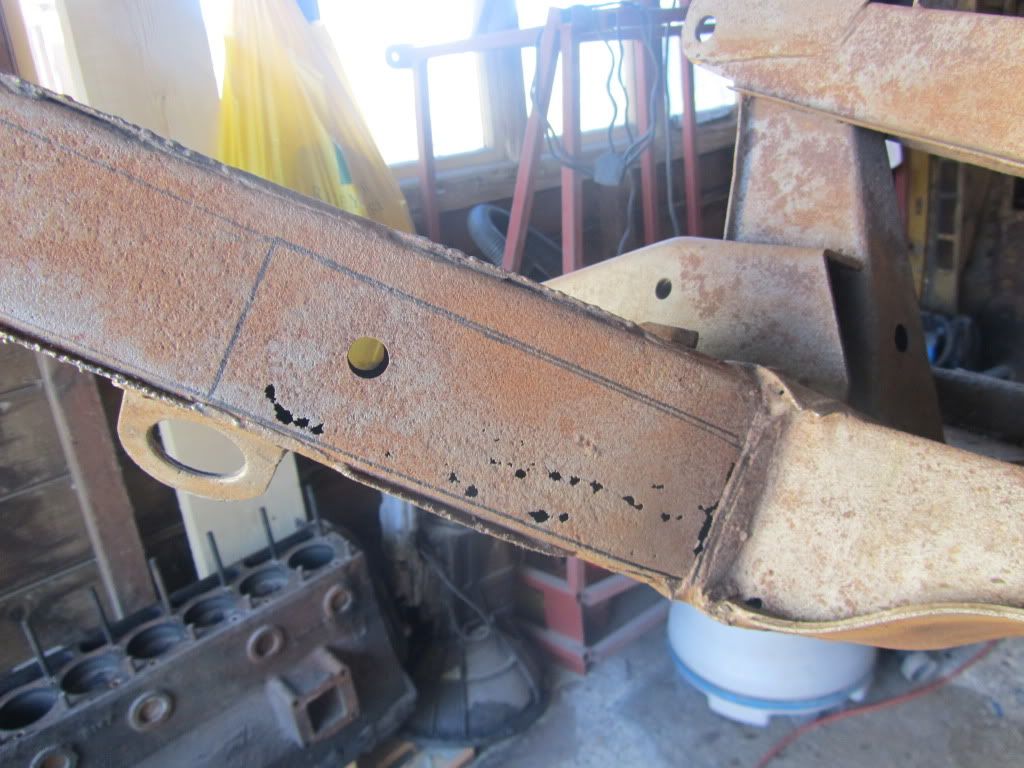
If you are filling holes you made whilst welding then this is fine, if you are looking to fill small rusty holes then it may be better to put on a small plate as you will find the small hole will grow and grow!
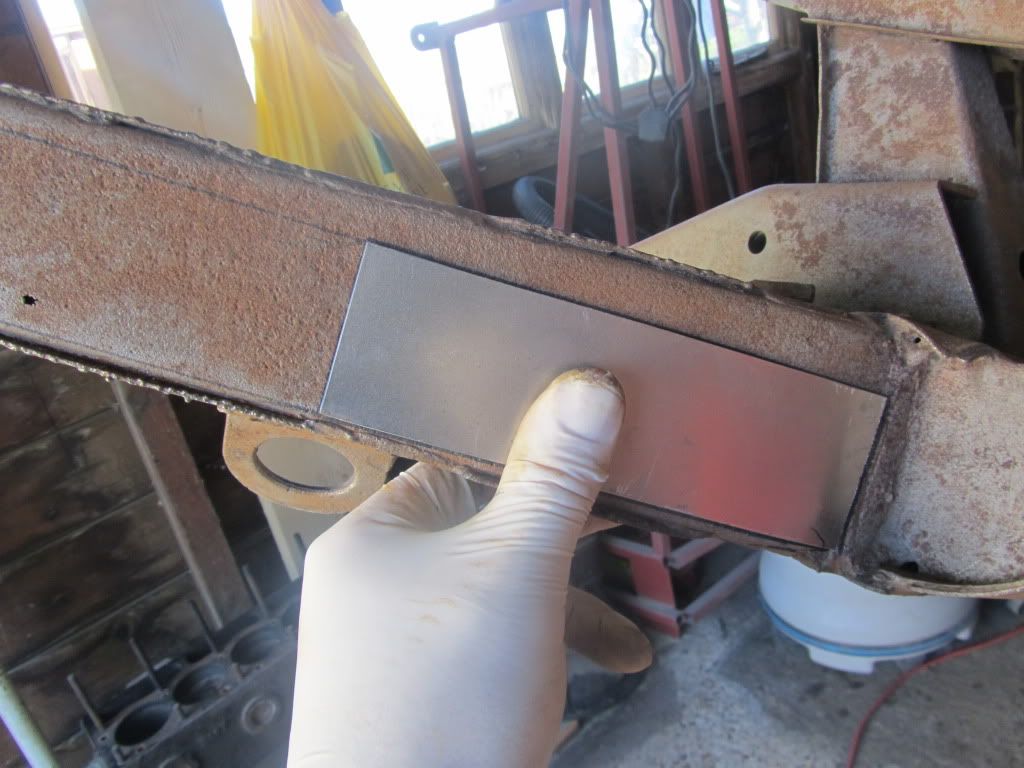
As mentioned, it is sometimes better to cut out the rusty bits and put on a plate about 10mm bigger than the hole, so when you waxoyl the box section, it will get where it is going to protect the plate. Otherwise the waxoly will sit on the inside of the rusty bits and not get on your new plate.
It may also be worth getting hold of some "seam-sealer" (I use the U-POL P88 stuff) which is brushed on like a thick paint over the welds and adds another layer of protection before you paint. It can be painted into the nooks and crannies that the MIG gun won't reach.
It may also be worth getting hold of some "seam-sealer" (I use the U-POL P88 stuff) which is brushed on like a thick paint over the welds and adds another layer of protection before you paint. It can be painted into the nooks and crannies that the MIG gun won't reach.
I Have bought Metal ready prep spray/ POR 15, then i was going to use a cellulose u/coat and topcoat.
I'd love to do that, but have no folding equipment. And those outriggers are more than 24" and tapered... thanks for taking time to offer advice.
And i will up the amps!
To make a nice fold you just need some 4x2" timber, preferably Hardwood but pine is fine. Mark out the steel, and cramp the timber either side on the fold line. Stick it in the bench vice and use another piece of timber and a hammer to work the fold over. Mark out the taper, slice a wedge of the other edge and fold as before. Surprisingly neat and very quick. Folding between two bits of angle back to back gives a sharper corner if you want an OE look.
Nick
I will give this a go Nick as the ends need doing. I know they will have to come off, but i may as well do them for some practice.
Question. I am trying to take the old bushes out of the wishbones, the metal sleeves seem to be very hard and i can't get a full size hacksaw blade through the hole, any suggestions?
Nick just did my wishbone bushes this week. They were solid but a heat gun applied let the bushes supple up and slide out pretty easily,putting the new ones in was easy by comparison.
pops
Thanks Pops/Nick, sounds obvious... When you put new bushes in - grease them? It doesn't hurt the rubber?
Another question, getting the pulley wheel off of the water pump?
I got my old ones out with a blow torch. There was then a metal sheath which I had to cut through with a hack saw and then hammer the shite out of them to get the metal sheaths out.
Putting the new ones in was easy with a bit of fitting grease for a couple but the majority were right brass studs. The first photo shows the metal sheath before I realised it needed removing
That was handy, i like the look of all that machinery... i wish i knew an engineer as i want to make a gearknob like they use on lightweight E types. I have seen one for sale but they want £65!
I can ask him. What size, thread, material?
Not sure if he will, he is a friend I ride mountain bikes with which always ends with beer in the garage. He offered to help with the bushings after seeing my efforts with the vice
How long can you wait? I'll be making some out of ali but workload means I'll not have time for it until the end of May. It'll cost you postage plus about five bob for the ali for either a round ball type or long one like the C Types had.
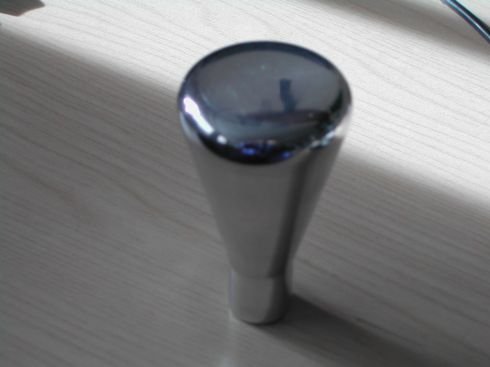
Thanks for the offer S and WCA, but i really want to make it myself. I have bought some ali 50mmx100mm. I have done the shotblasting, trying the welding. i have the powdercoat equipment/oven, and will probably do everything else as well. Something i am looking for is a DVD on rebuilding my 6cyl. engine?Here the picture of the gearknob.
If you do stumble across a vid please share the link as i've always said that after an initial summer of fun, i'll most probably be rebuilding mine in the winter.
The picture of the vice and ply reminded me of all my efforts in getting the new bushes in using G clamps, large hammer and all sorts.
I then had a divine inspiration moment and got some threaded rod, and washers some sockets to pull against....plenty of washing up liquid and heyho a bush replacement tool....they wound in with no effort at all...
The removal of the old ones was a bit of a bitch.....I drilled through the rubber and then had an old log with a hole in....placed an old bolt a washers in the bush and beat hell out of it with a lump hammer....in the end with suprisingly good results.


 , just to tease you a little...

