This is a read-only archive of the old Madabout Kitcars forum. New posts and replies are no longer possible, but every thread is still here to browse and read.
Roybo , good colour scheme for the revo's but Madmark may have something to say on that subject, they are his!
Headlight covers, a long way off yet but Gary has a solution
Roadster, yes that is exactly the sound I am looking for anyone one who considers putting in a radio to a V8 creation needs help from the men in white coats!
Madmark has some great ideas on colour schemes for the G46 two best are yellow (Jallow) over black bonnet stripe around fish mouth and along the cills, same in red with yellow(jallow) for the stripe and cills and you can't rule out white with Blue for the stripe & cills.
1950's Ferrari, Ferrari and Maserati colour schemes I believe.
I've got to admit that those American V8's sound very distinctive, but I find them, dare I say it, a bit brash. A bit big mac and bucket of baskin robins, perhaps, where the smooth roar of a straight six is more my brie and grape baguette. Just listen to the last twenty seconds of Phil Jacklins shakedown run and you might just get what I mean. If you have a soul...
When Charman Tech states colours his lack of literacy shines through ' jallow' is not correct. Giallo Fly with Nero is the colour, baring in mind his wifes heritage, it is an appalling mistake.
So mainly' yellow' body with black areas as stated, black seats and yellow piping NIRVANA
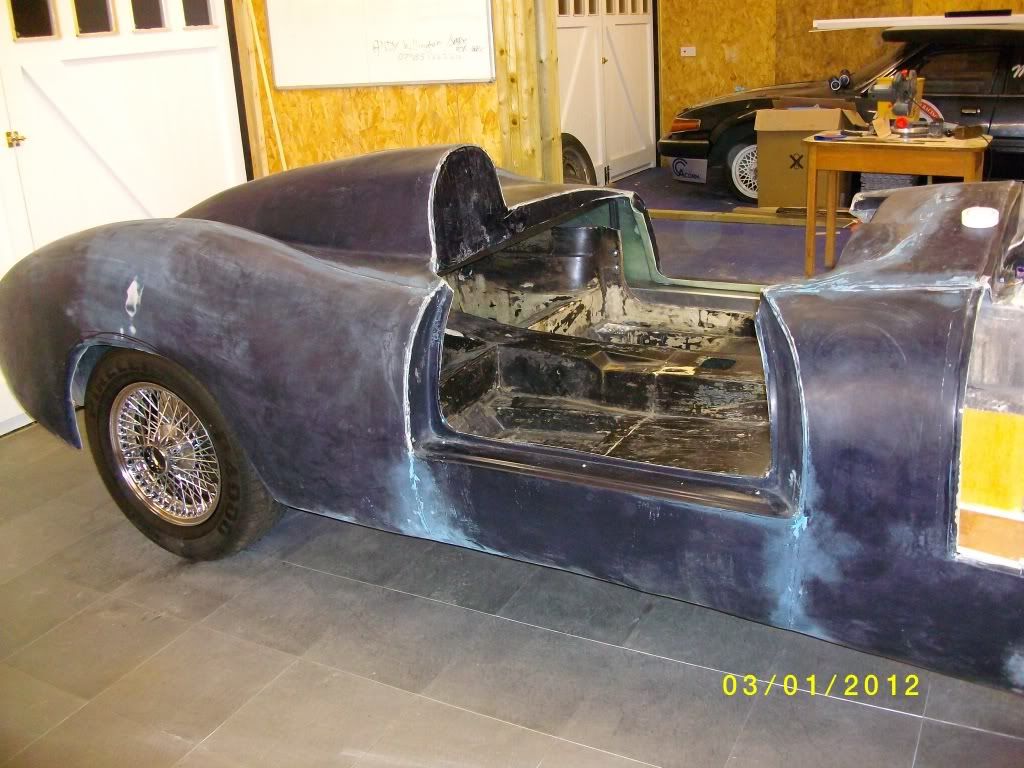
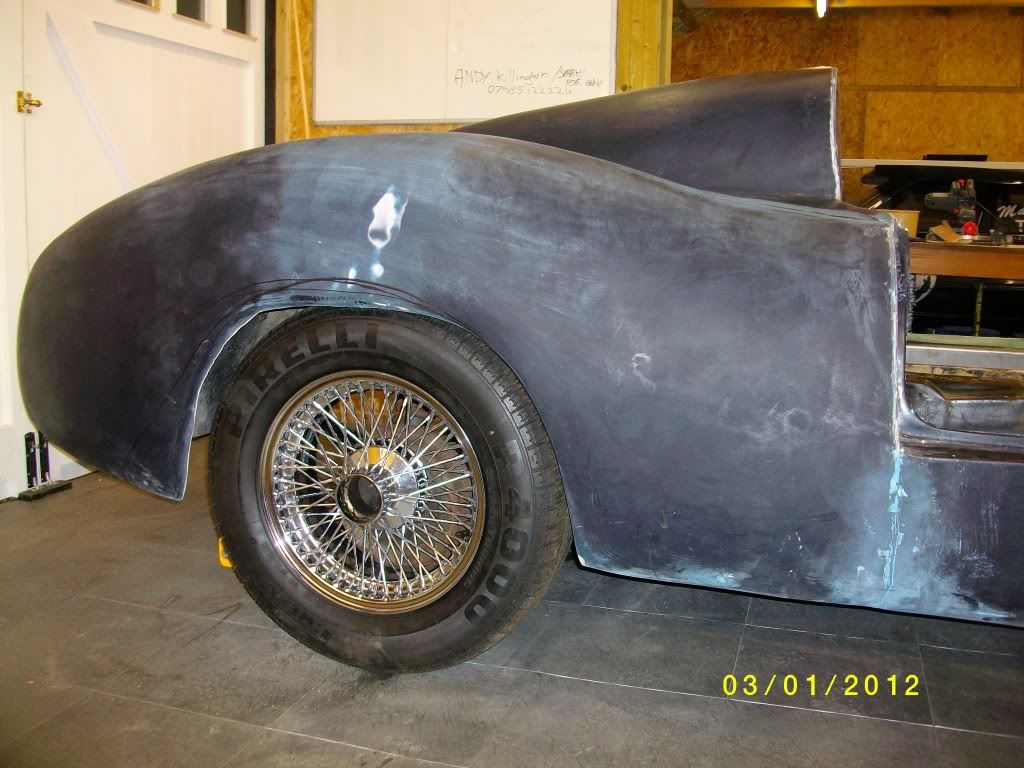
We borrowed a couple of wire wheels off a friend this evening to see how they look on the car
They are from a series 3 E type so quite available as will the hub adaptors. We noticed image do a very nice alloy wheel which replicated the D Type wheel, whist reasonable when compared to some still expensive.
Tyres & wheels sizes are 205 70 15 inch, I think they look very period and I think they would go with jut about every colour scheme
They are 72 spoke wheels
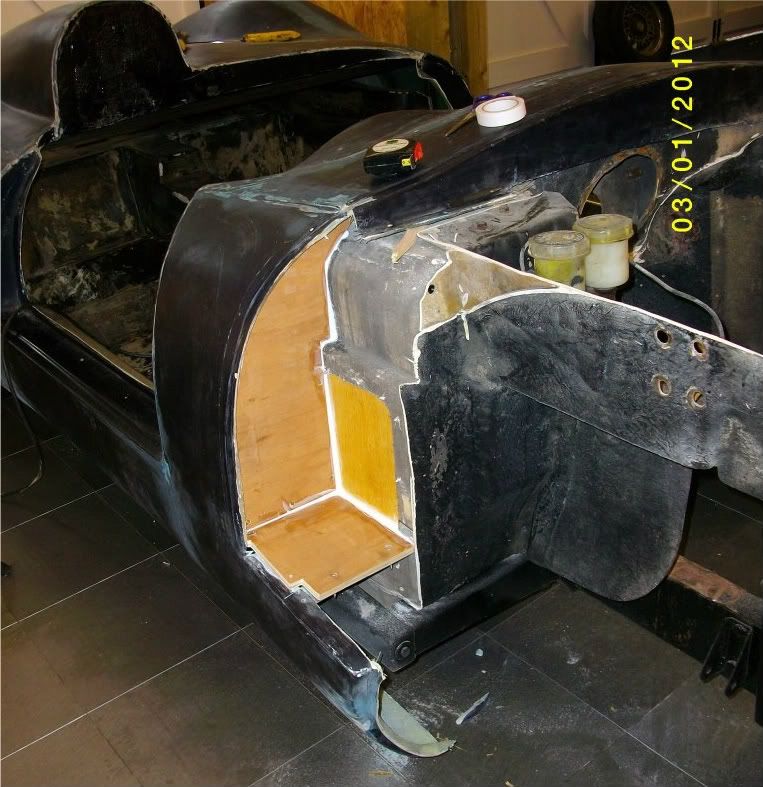
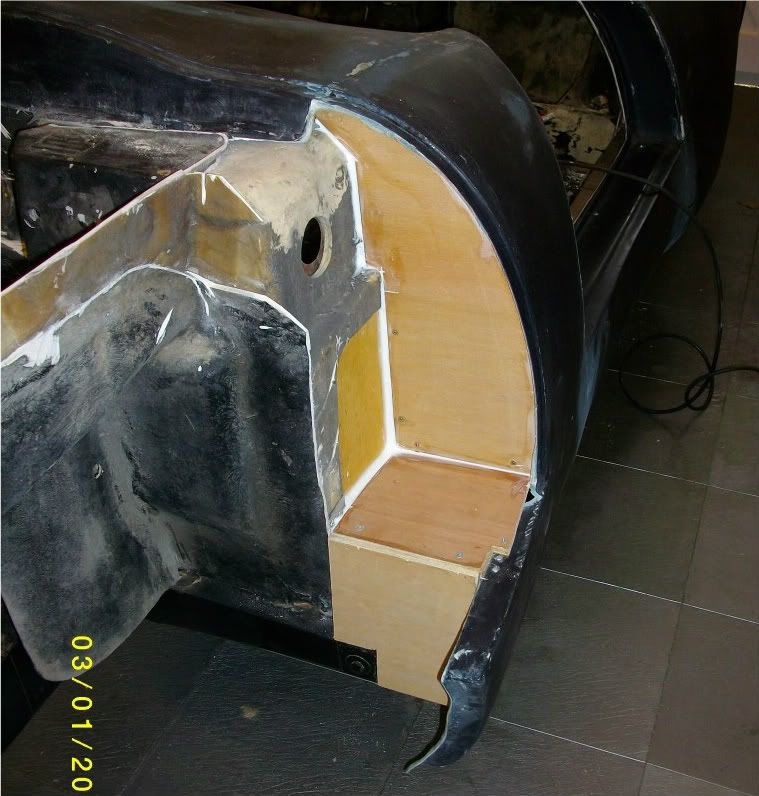
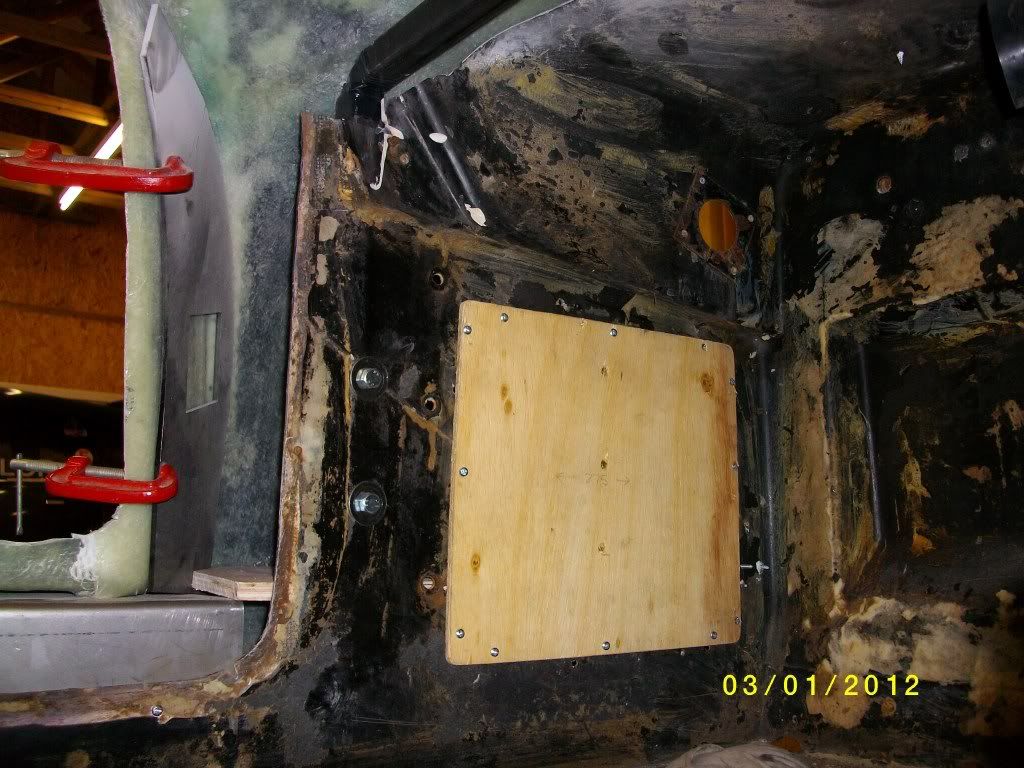
We also finished the front bulk head sides using cardboard templates which will replicate and send to Gary for future use by other builders we cut then quite tight leaving enough gap for a silicon seal
using a 10mm ply and the rectangular footwell infill in a 6mm ply also using some battens to secure the panels to each other and self tapped together as Gary said in earlier posts the whole body work takes on unbelievable strength when this all comes together
The front and rear goal posts are now bolted in position and door cills bolted to to the body and the floor plan, lots of adjustment and fettling needed but we have ended up with each side being dimensionally equal with acceptable tolerance.
We are liking the wire wheel option for it's period character, availability and cost, but would appreciate comments or suggestions
Is that a slightly radiused rear arch marked out there I see....?
Keep it coming , you are doing a great job...I know people have looked concerned in the past when they collect their floppy glass bodyshell , but as you say , it becomes really strong when all the bulkheads/ bonding etc is done....
I was hoping to do my floor / bulk heads in aluminium or steel.
Any clever ways to bond the ally plate to the round steel chassis without the metals reacting?
Any clever ways to fix the steel plate to the round steel chassis without the ability to weld?
If I work out what I am doing, and eventually get round to starting, I too will send you the templates for future builders to use Gary.
Nice work on the G46 so far. I would have come up to see this week but the weather has been terrible. Have you got a link to where I can get some of those wheels. I am not sure mine suit the G46 :
Wasn't sure about riveting into the chassis tubes. I have a feeling I will need to learn to weld.
i saw on one forum a bloke using double sided 3M tape to hold Alu sheets onto a metal frame for a motor home he was building. Not sure I fancy double sided sticky tape holding my body to the chassis.
TVR's finest steel. Doesn't seem too rusty either. I think I will try to find someone with a welding kit I can borrow to practice on. How hard can it be ...
I was hoping to do my floor / bulk heads in aluminium or steel.
Any clever ways to bond the ally plate to the round steel chassis without the metals reacting?
When I worked on jet fighters we plastered everything that had an ally-steel contact with a paste jointing compound to prevent electrolytic corrosion between the dissimilar metals. Can't remember the brand but a quick google search threw this one up and it looks similar:
Without it the aluminium turned to white powder very quickly and the fighter jets tended to turn into smoking holes in the ground, which could be detrimental to your pension if you'd put the part together that failed.
Just as an example of what electrolytic corrosion can do, back in the mid eighties the ammunition that went in the aircraft guns started spontaneously exploding.
Luckily(?) it was the propellant that was detonating rather than the high explosive in the projectile, so it was a relatively small explosion with only a little fragmentation of the cartridge cases (which are about the size of a 250ml beer bottle). It would still spoil your day if you happened to be holding it at the time though.
It happened so often that we had to wear body armour, a face shield and kevlar gloves while handling the ammunition and loading the guns. Without getting too technical and breaching the official secrets act, the ammunition has a steel cartridge case with an electrically initiated brass firing cap set in the centre, which is isolated from the case by a plastic insulating ring.
After lots of head scratching by the boffins at the armament research lab they discovered the following: The ammunition was being manufactured for the British by the Italians to a German design. The specification sheet called for a particular type of varnish (shellac, made from recycled beetles, very green. Erm, brown, actually) to be applied over the base of the cartridge to prevent moisture from collecting between the case and the firing cap. If this were to happen, dissimilar metal corrosion would quickly turn the moisture into an electrolyte, making the cartridge into a ferrous/copper battery. Once sufficient potential built up in that battery the firing cap would initiate as advertised and the propellant would go bang, blowing the case apart.
Only the Italians didn't have any of the special varnish so they used something they saw a chap pasting on pizzas in a Bistro. Which was acidic and turned every cannon shell they produced into a time bomb. All for want of a Lira's worth of varnish.
But you tell the young folks that these days and they don't believe you, no they won't...
Oh, and welding's not so difficult. Give it a try, you might surprise yourself.
what would you gamble the final weight will be?considering the scim is 1188kg
i know it's early to be thinking about that but with saving 50kg + on the engine
having no glass, roof ,rear seats carpets insulation you should be easily under the ton
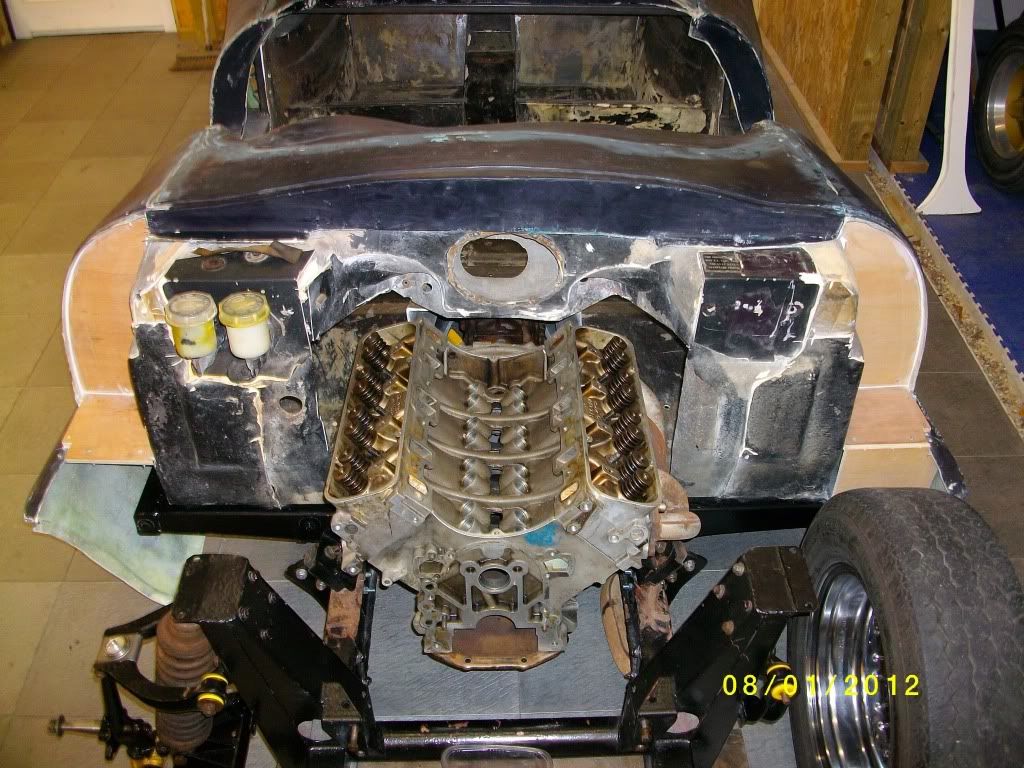
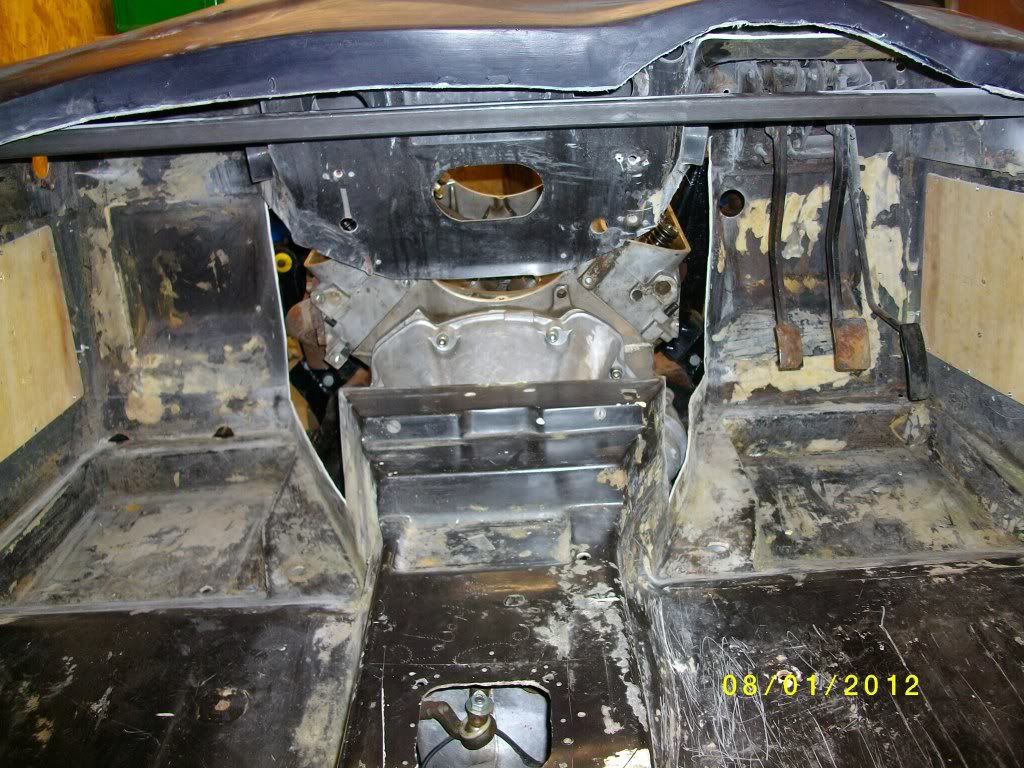
Well we thought we had chopped away as much of the old scimitar as we dare, but decided we had better test fit the V8 engine and box and as a result the old angle grinder has been out and more of the bulkhead had to go.
From the engine bay, we had decided to set the engine further back than the SE5 boys do as we have the luxury of having the space, we may have to move the pedal box back as well
from inside the car at least we wont need a heater!!!!!!!!!!!!
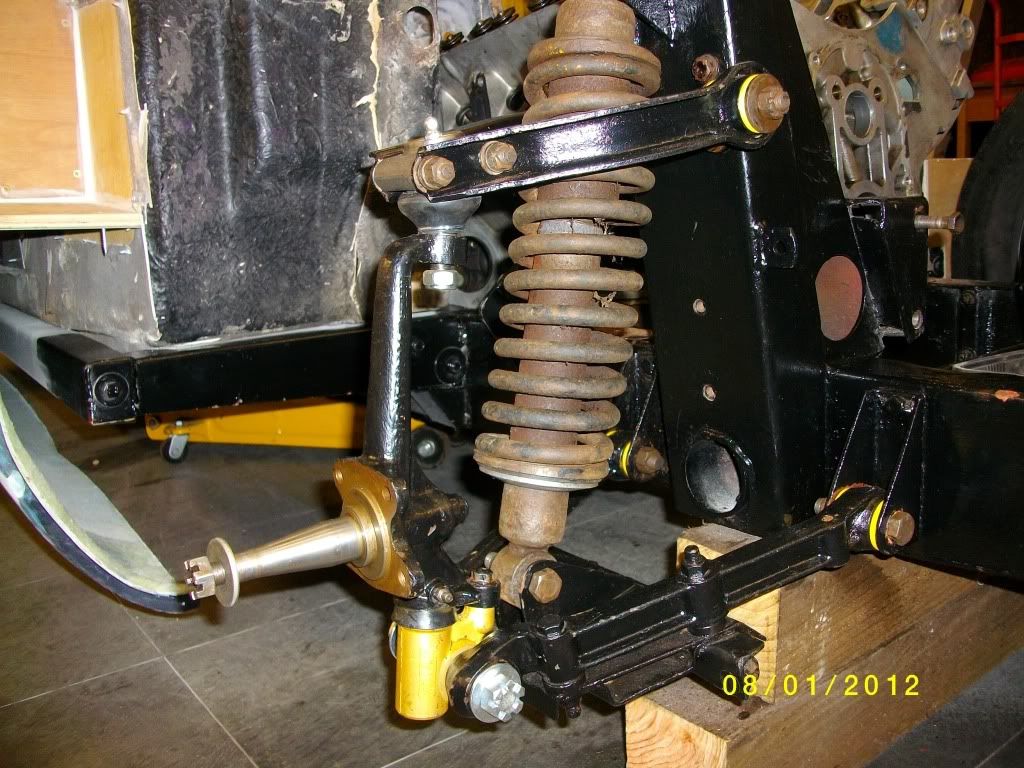
We have also decided to test fit the front suspension to see whether we could actually get the exhaust behind the wheels, we are using E Type series three wire wheels with 205 x 15 x 70's tyres
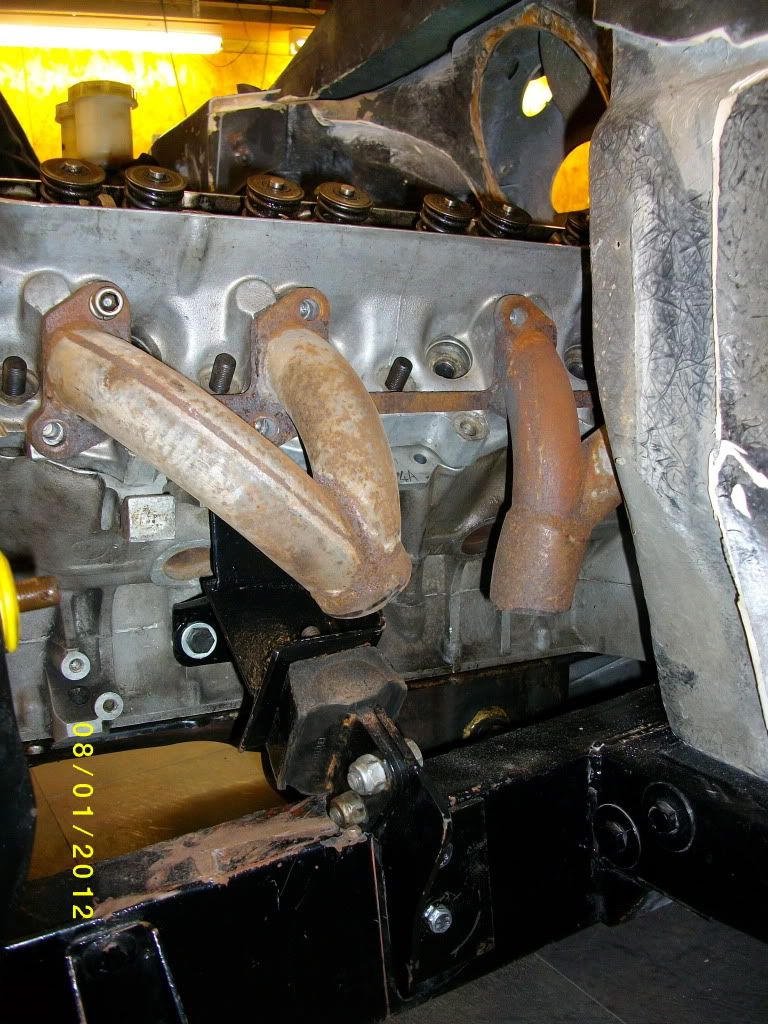
We acquired off e-bay last week for £132.0 at set of TVR 350i and discovery headers and the next photo shows our efforts last thing this afternoon to cut and fabricate them to suit our motor we are thinking of taking them under the door cills both sides and exiting them from behind the doors on the a bit like the DB3 Aston Martins, there is more than enough room in the side cills to lose the cherry bomb silence but we do not want to loose the line of the car, so it's an idea in development
Gary I like the door hinges you have used on the Vitesse based car you are doing
Re the weight of the finish car I think we will be down around 800 - 850kgs the Hawk 289 I build some some years ago came out at 80kgs
Been a slow week what with work and more of the same next week
We must add the the old coil overs are there just so we will be able to move the car a nice man from AVO said that he would make the new coil overs once the car was finished if we gave him the ride heights now the finished weight and the height we wanted to run at and all for about £90 (from memory) a corner.
Went to Race Retro on Friday with Madmark we are members of the Classic Touring Car Club. Did some meet and greets on the stand and got to have a good look around the show.
Now fired up to get going again on the G46 came back with boxes of nuts, bolts, washers, split pins etc etc and more importantly supper thin angle grinder blades, God I love an auto-jumble and on that point off to Ardingley this morning (South of England show ground) for another auto jumble I have a list of wants.
Weather helps as well.
Saw some lovely door hinges on the Europa Spares stand but nigh on £50 a pair, have you had any further development to hinging the G46 doors Gary?
Cracking morning here in Surrey got to be a car day whether inside or in a garage.
Expect to read reports of everyone's progress this evening.
I am doing my best to catch you up. You old engine is still in the back of the truck buy I have fitted your dizzy and carb to my engine. Need to get the engine running to check the gear box, sides are being welded next weekend and then it is off to Gary for the body work.
Or as Charlie says fortune favours the brave!!!!!!!! lets get cutting
[IMG][/IMG]
We by cutting back the rear bulkhead by 200mm
[IMG]http://[/IMG]
This is lifting the section out after cutting.
[IMG][/IMG]
We cut the excess from the rear door shut and have fitted a rear filler and dry screwed the door section back into the car, we intend to glue it all up after the dry fit, remove the screws and then fibreglass mat the rear of the panel.
[IMG][/IMG]
These are the rear round wheel arches, lots of marking up planning etc etc, we are please with the outcome, we first strapped the front and back of the arch with S/S ties as we were removing the lip and are surprised how firm the panel has remained. We need a detail for the edge some form of wire bead fixed around arch and filled, any suggestions of pointers in the right direct would be welcome.
[IMG][/IMG]
The tape lines are where we are going to form a recess under the door so the side exhausts run within the cill area.
[IMG][/IMG]
Final job this afternoon was to cut the bonnet aperture into the front flip section. Had considered the consequences if we got it wrong, but were pleased in the end with the result.
I have finally decided not to move the cab back but will be rounding the wheel arches. Take lots of photos and comments on problems you overcame please.
Here is sort of the look I am aiming at. G46 with a windscreen and double humps
Why O why O why, do old motors including my cordite base only come with two wheel nuts per wheel O well, I've got a stash of 1mm disc blades for when I get the body shell so will be interested in how you'll be sticking the sections back together, Pat


 out:
out: 

 [/IMG]
 [/IMG]
 [/IMG]
 [/IMG]
 [/IMG]
 [/IMG]
 [/IMG]
 [/IMG]
 [/IMG]