This is a read-only archive of the old Madabout Kitcars forum. New posts and replies are no longer possible, but every thread is still here to browse and read.
The build manual CD I got was a collection of photos and a Word doc. The instructions aren't as much help as the info you get on this forum. There are no diagrams or specifics about what torques or fasteners to use and a lot of the info seems to relate to the older ford based kit.
You're just as well to sit back, look at all the bits you have and take it from there, posting questions here if you're stuck.
Thanks for the kind offer Peter, I think that is what I have already (I was being a bit simplistic!). I agree with you Ian, I will unpack everything and then throw myself on the collective mercy of this forum! Thanks in advance to you all....
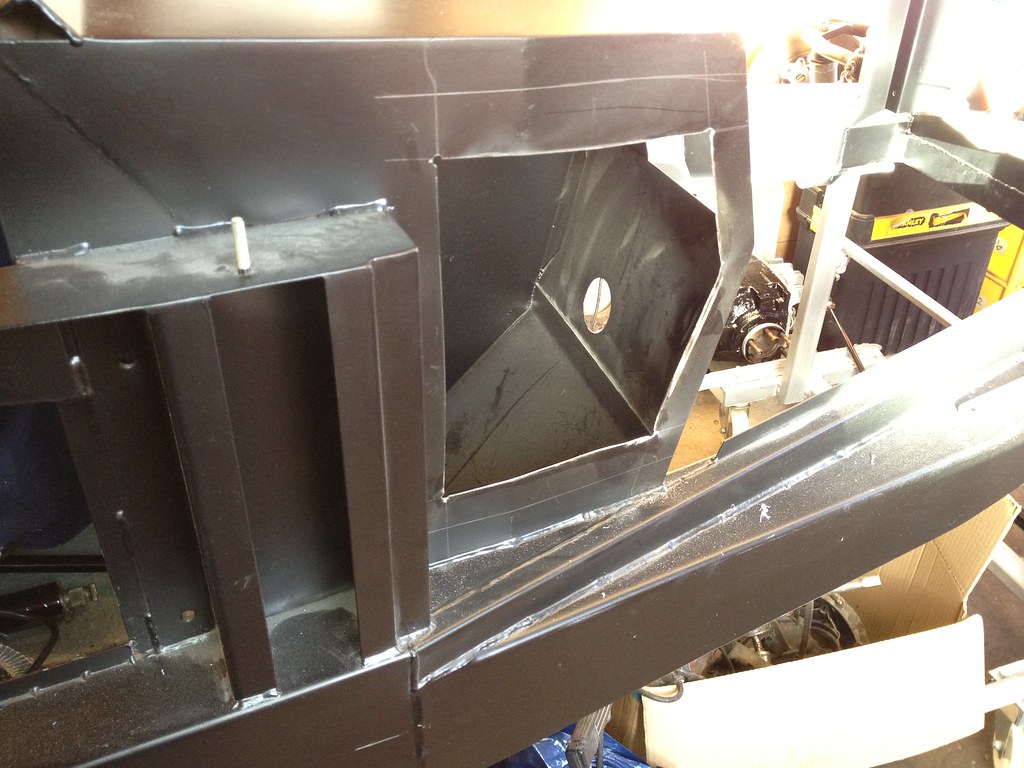
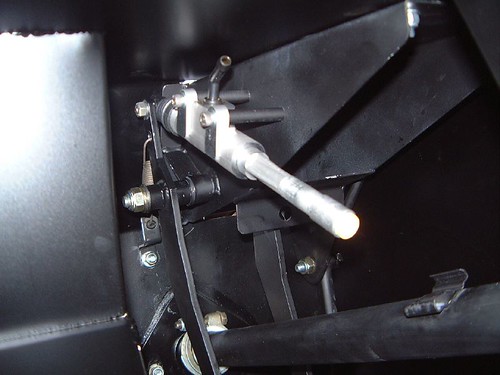
OK well I have started! I have decided to start with the pedal box which I will modify following the advice from Mike and others. First off I have made an adaptor to allow the clutch MC to be fitted - I had the same problem as GOO in that the pedal box was not designed for the MC I have, some angle and tube sorted this out but I will need to source a clevis to connect to the pedal. I have also cut out the first access hatch to help get at stuff. None of this has been as precise as I would like but I am just getting back into using my hands and will improve.
This burst of enthusiasm also co-incides with me having to spend the whole of February in Canada for work - damn! Never mind, it will give me thinking time! John ps pics to follow when I work out how - just changed for Photobucket to Flikr...
This is how to post pics on this site, it was supplied by Peterux from a previous post, lots of us have trouble posting pics until enlightened :-
In Flickr....
Click the 'Share' button...
then click the the 'Grab the HTML/BBCode'
then click the 'BBCode' radio button...and select the size you want.
then copy and paste the code in the box into your Madabout message box.
This creates a picture that people can click and go to your Flickr site. You can edit the code to remove the text if you want to after you've pasted it in the Madabout message box.
You can test it works by trying 'Preview Post' in Madabout
Dennis you are a gem! thanks a lot. I cahnged to Flikr because everyone said that it was easier and indeed, when you know how, it IS!!! Also, I didnt realise about the "preview" feature because I use the quick reply a lot.
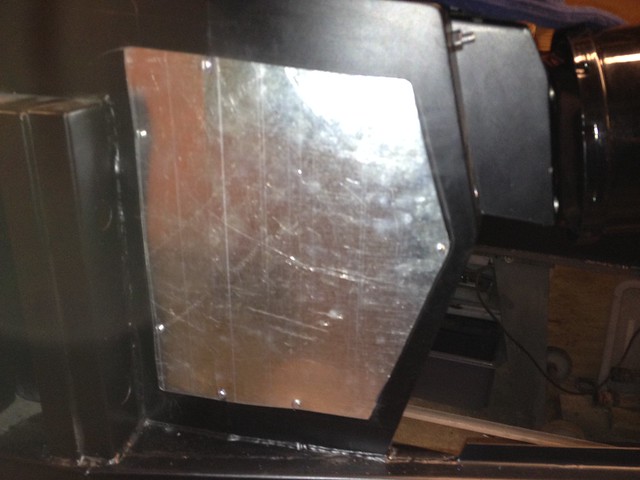
I will make up a cover plate for the access panel and rivnut it on but I am still pondering on edge sealing. Whether to use a stick on neoprene on the cover plate or to find some sort of edging for the hole which would also remove the sharp edge.
Well, I have achieved today, not a lot but progress none the less. I am "working from home" prior to departing for Canada for a month so into the garage! I have finished the cover plate for the access hole I cut it is attached with 4mm rivnuts with some neoprene strip to cushion it. Needs painting etc but I think it looks fine. I have cut an identical cover for the other side which has not had the hole cut out yet.
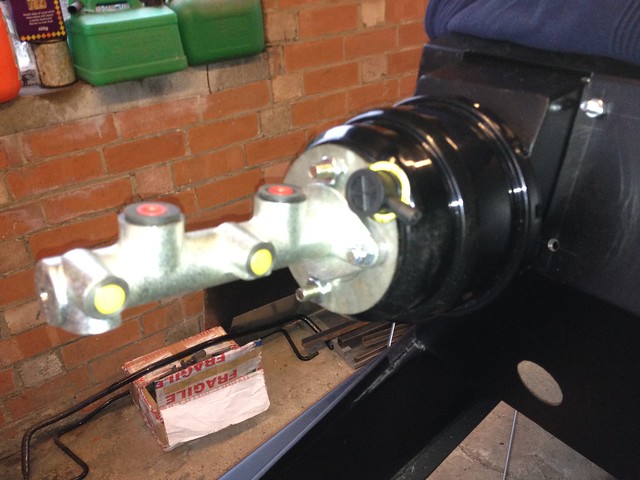
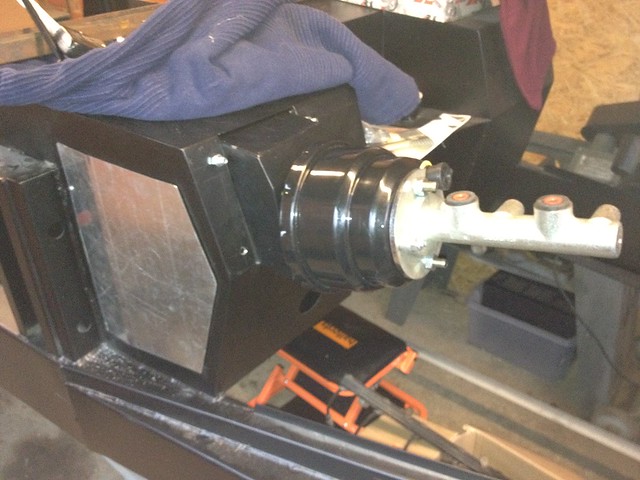
I also managed to finish the brake master cylinder/servo assembly and fitting. I used M* machine screws to attache the MC in the end, the countersink for an M10 head is huge. This is a 20mm diameter Cortina MC so it will be interesting to see how it works when I get it plumbed!
Looking good!
It will be interesting to see how the Cortina MC peforms, it looks identical!
Working in a cold garage will be good practise for your Canadian trip!!
Thats it! Off to Canada tomorrow so the Marlin is on hold. Managed to recondition both of the rear calipers this weekend. Both of the front ones had the bleed valves already broken off. I have never had any luck removing broken bleed screws in the past and have tried several methods so I guess on my return I will look for some recon ones outright or to buy some used ones and recon them myself. Bleed valves/screws/nipples are one of my pet gripes actually. They are universally underengineered. Manuafcturers know that once a car gets older, maintenance slips and these little bu**ers will seize solid.
Next tasks are to finish off the pedal box, then finish the suspension fitting and add the brakes.
Oh well, hopefully it will be warmer when I return in March! John
I would send one of your old bleed screws to them to match up though. the ones they initially sent me, though their data said it matched the donor car, were too big so I had to send one off. either that or the measurments
Hi all, back from Canada for a bit and am making steady progress, pictures to follow later today when I take some!
I have completed the clutch MC assemble and am really pleased with it. The pedal box is offered up so that I can get on with plumbing the copper piping.
One of the big problems I have is that, having bought this kit as a collection of parts (i didnt strip the donor) I am having a big issue with finding/identifying bits. I suspect there will be many more cries for help on this subject!
One issue I have at the moment is with the diff which I am just about to fit. I have found all the Marlin brackets and worked out where they go, there are no bolts but I can sort that. The large circular rubber mounting is puzzling me. It has already been fitted (not by me) and is new but it has an oval hole not a round one. I can see some logic in that but in what orientation should it be fitted? The Bentley manual shows a round hole but does indicate that the mounting needs to be orientated in a particular way. Mine does not look like theirs.
I think it is ok as it is. The long axis of the hole is horisontal and the bush has a sort of "arrow" shape which is pointing (more or less) straight up.
Does this sound right?
[IMG]http:// IMG_0571[1] by oldpropuk, on Flickr[/IMG]