This is a read-only archive of the old Madabout Kitcars forum. New posts and replies are no longer possible, but every thread is still here to browse and read.
Gary ...we cut a hockey stick from 6mm ply by using the body bulkhead as a template....hold the ply against the bulkhead and draw a line from top of bulkhead to bottom , this gives you the curve ...draw a parallel line about 3'' in to give you the section.
This then fits inside the bonnet as shown and should keep your lower wing at the right profile to match the bulkhead....hold it in place with a little body filler , hot glue gun , sikkoflex etc. and then glass fibre both sides ...we wrapped it totally but you won't do it in one go , glass both sides and just fold about an inch over the top both times....this will then be sanded to remove splinters before paint.
Gary ...we cut a hockey stick from 6mm ply by using the body bulkhead as a template....hold the ply against the bulkhead and draw a line from top of bulkhead to bottom , this gives you the curve ...draw a parallel line about 3'' in to give you the section.
This then fits inside the bonnet as shown and should keep your lower wing at the right profile to match the bulkhead....hold it in place with a little body filler , hot glue gun , sikkoflex etc. and then glass fibre both sides ...we wrapped it totally but you won't do it in one go , glass both sides and just fold about an inch over the top both times....this will then be sanded to remove splinters before paint.
I had planned to bond a metal reinforcing strip into my bonnet but this is a priceless tip. Mine will definitely be wearing ply-glass strengthening fillets when I get to that bit.
just make sure you mount it far enough forward to avoid the bulkhead but not to close to the wheel....ours sits against the inner arch at the bottom and leans forward slightly in the closed position to make sure it clears ok...
When I need to make a stiffening piece for a door, trunk, bonnet, I use foam tubing that is used to insulate pipes. Is is available in a variety of sizes. I glue it where I want to lay it. Then fiberglass over the foam. in my experience this creates the perfect "channel" support.
One thing, when you glass in any support you want to avoid using tight right angle lay ups. When the glass cures it will pull on the exterior of the part. The result is that you will end up with a line on the finished side that you will be able to see. If you give the lay up a good radius it will eliminate this.
Not saying this is what Gary is doing. Just sharing from my experience.
When I need to make a stiffening piece for a door, trunk, bonnet, I use foam tubing that is used to insulate pipes. Is is available in a variety of sizes. I glue it where I want to lay it. Then fiberglass over the foam. in my experience this creates the perfect "channel" support.
.
Excellent idea.
That's why I love this forum, there's always someone who's been there and done that when challenges crop up.
These are going to be moulded in two halves bonded together with a ply insert , they will be a decent weight and will have an inch wide flange along the bottom to bond/rivet etc the panel on.....
picture of mould below.... The flange around it is mould only - fins will be smaller than shown !!
mould will be released tomorrow , cleaned up , prepped and hopefully gel'd to get Barry's actual fin made.
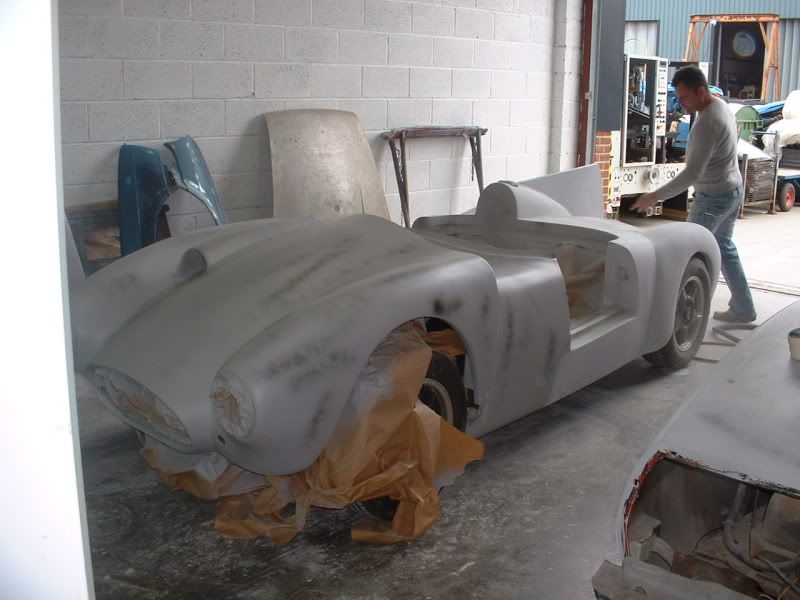
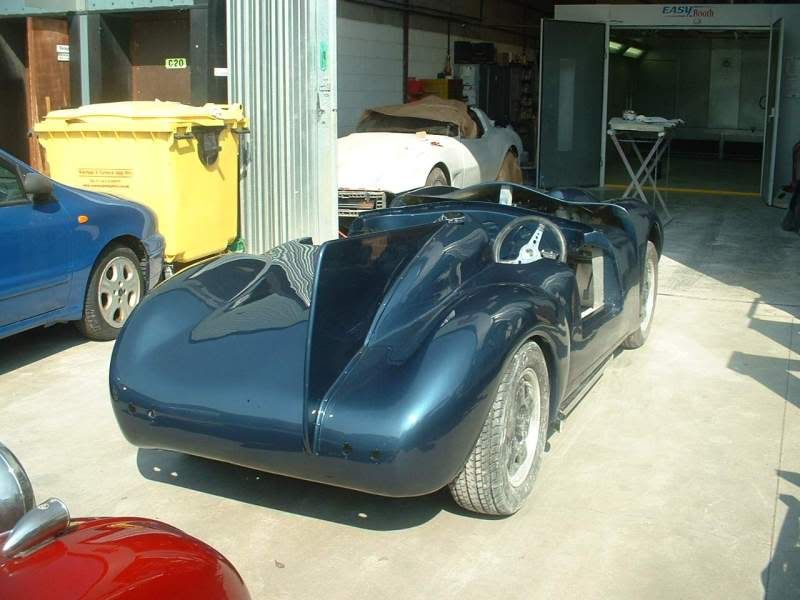
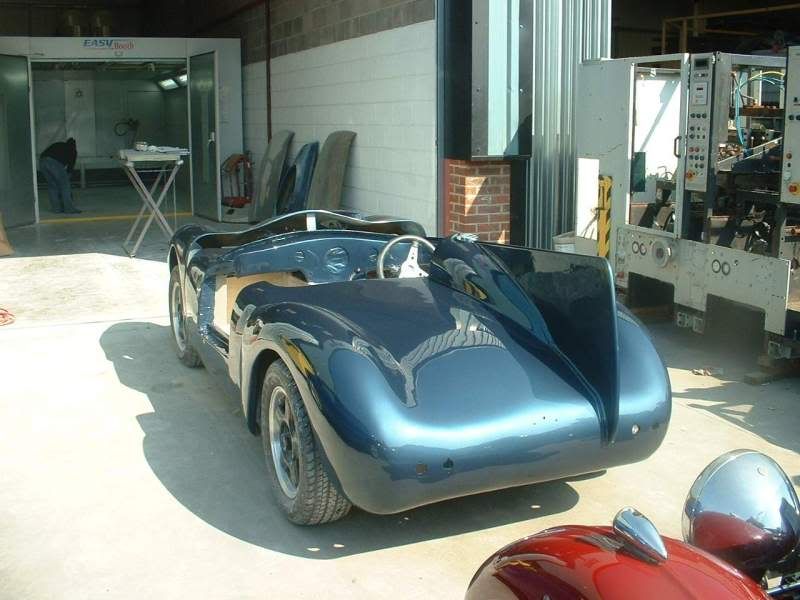
HAVEN'T UPDATED FOR A WHILE .....Simply because we haven't done a lot ....
Barry has expressed an interest in getting the car completed for the end of May and is talking about another soon after , so I thought we had better do a bit !!