MadaboutKitcars

This is a read-only archive of the old Madabout Kitcars forum. New posts and replies are no longer possible, but every thread is still here to browse and read.

Engine rebuild question

18 Dec 2011, 5:31pm
M52 Engine

peterux wrote:


We whipped the old engine out this morning and parked it back in the lock up.
My lock up now looks like a museum of BMW engines :lol:


Have you still got your M52 engine?
18 Dec 2011, 7:51pm
Mike wrote:
Have you still got your M52 engine?


I still have all the parts but the engine is in bits! Something you need?
18 Dec 2011, 8:09pm
peterux wrote:

We whipped the old engine out this morning and parked it back in the lock up, but now we have a kind of heavy rain/sleet storm so I will take an update picture later. Luckily the car was all nicely tucked up back in the garage before the sleet started.


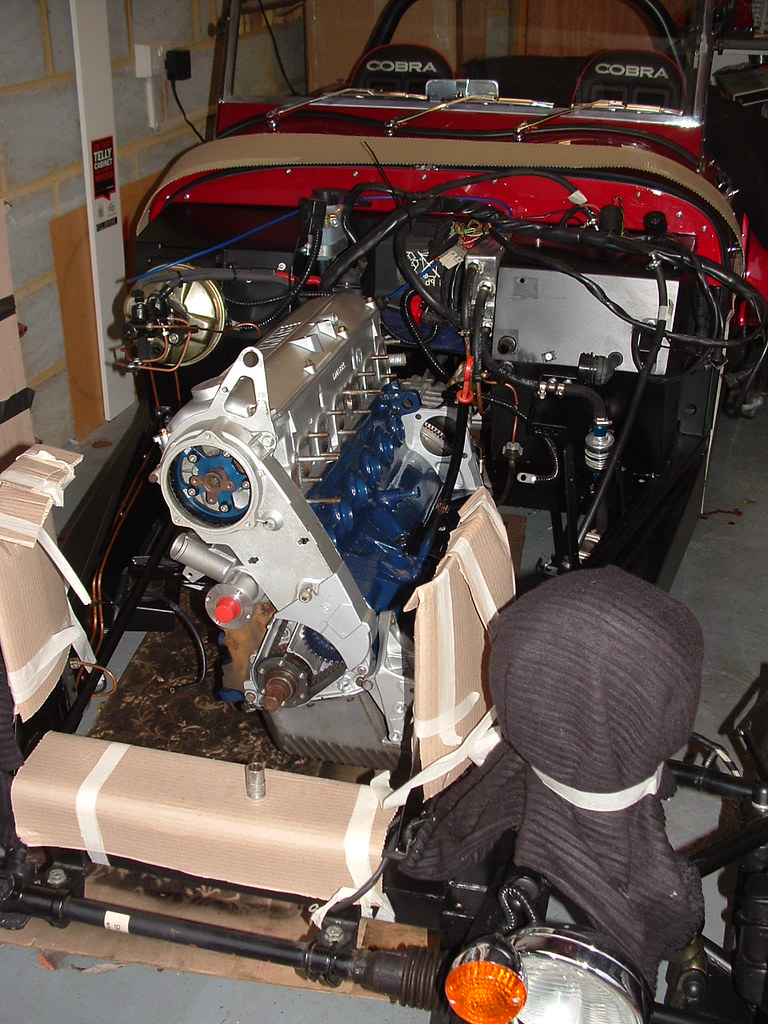
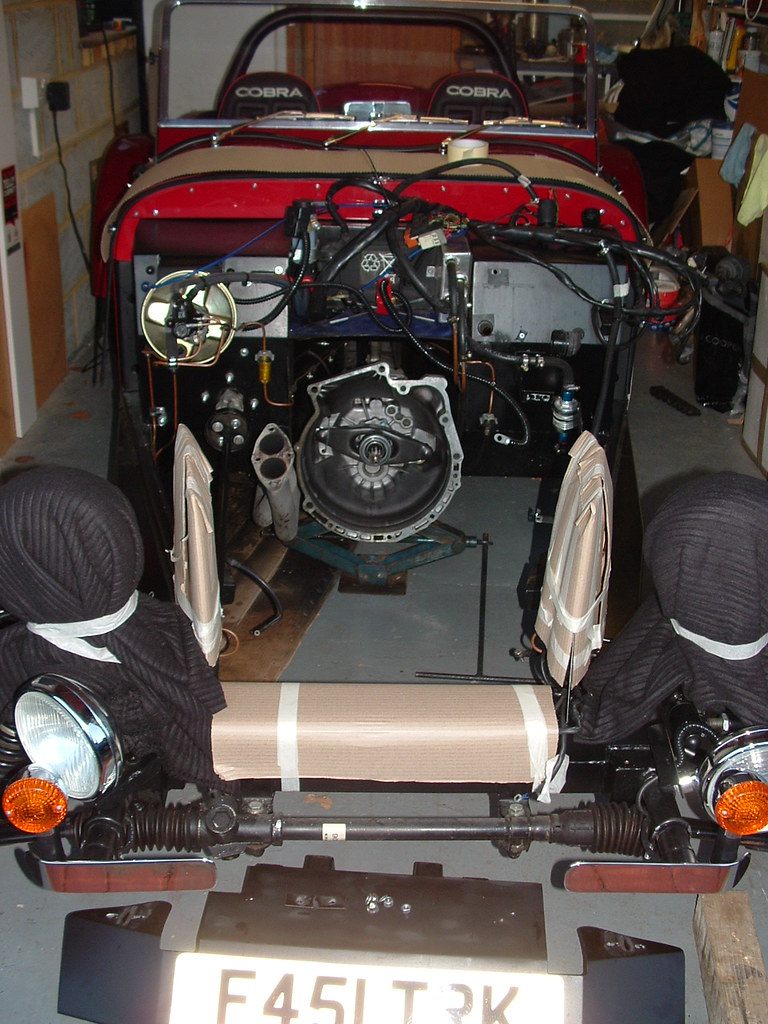
Well here it is gone.....


And there it was gone... by marlinpeter, on Flickr
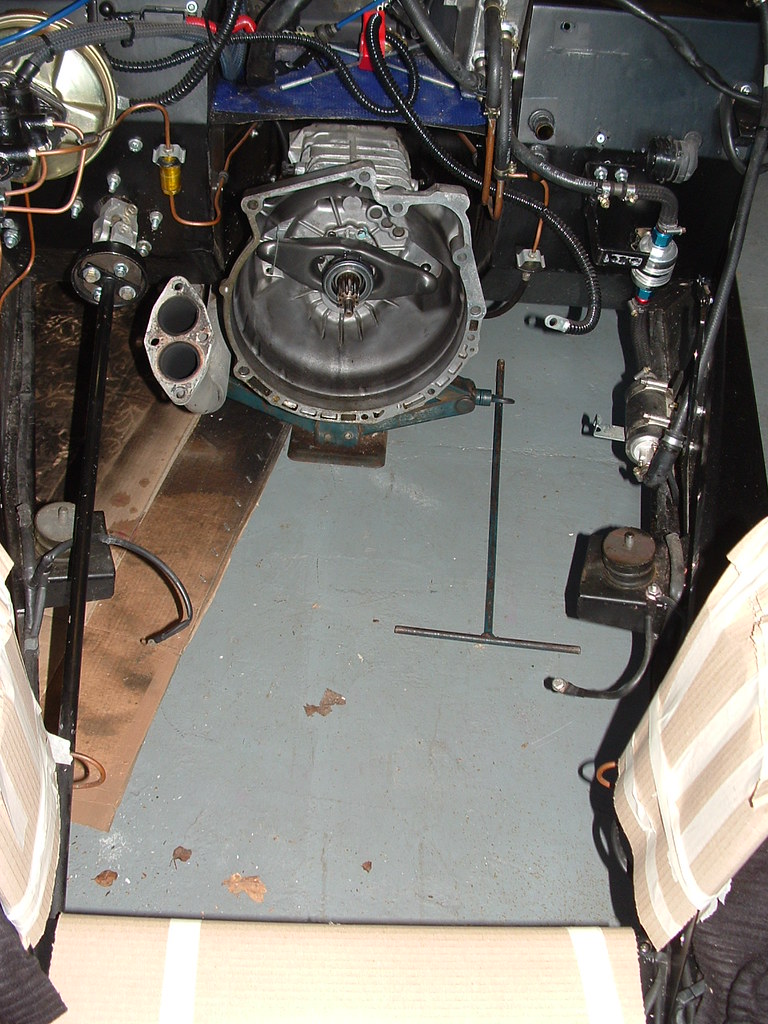
Vunerable parts were covered to prevent any damage if the engine slipped. I had to remove the number plate holder to get the engine hoist legs under the car.


And there it was gone... by marlinpeter, on Flickr
I will give the engine bay a good clean and repaint any areas that need it. I've now found about 30% of the powder coating is flaking off the engine mounts so they will be cleaned and repainted.

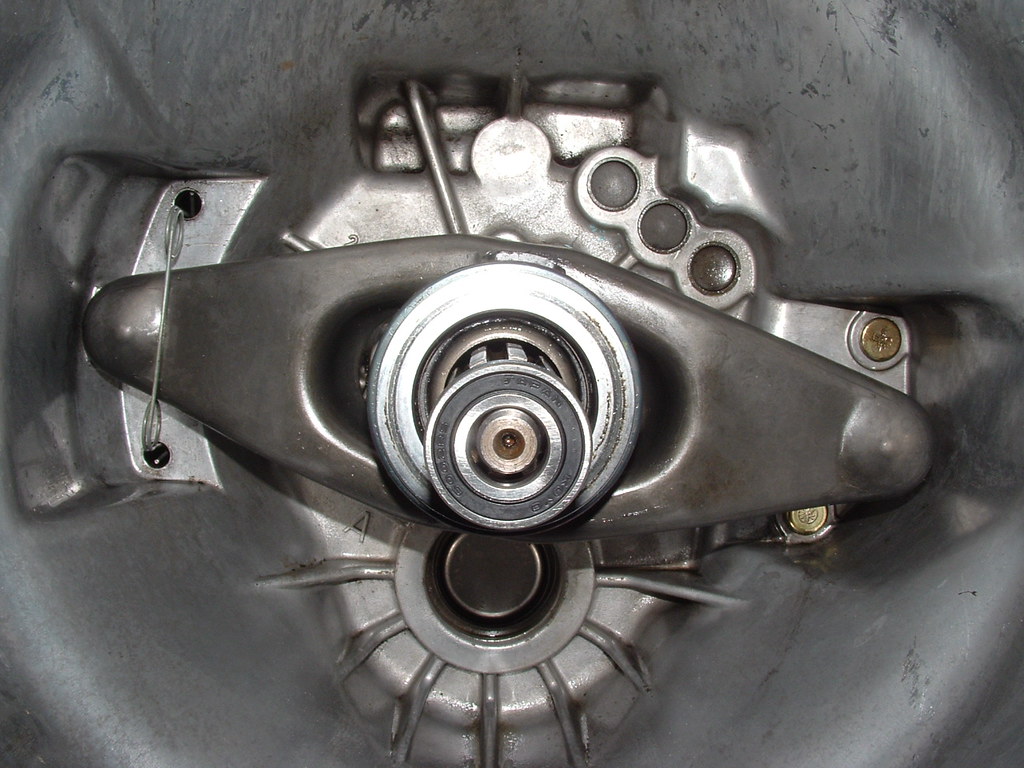
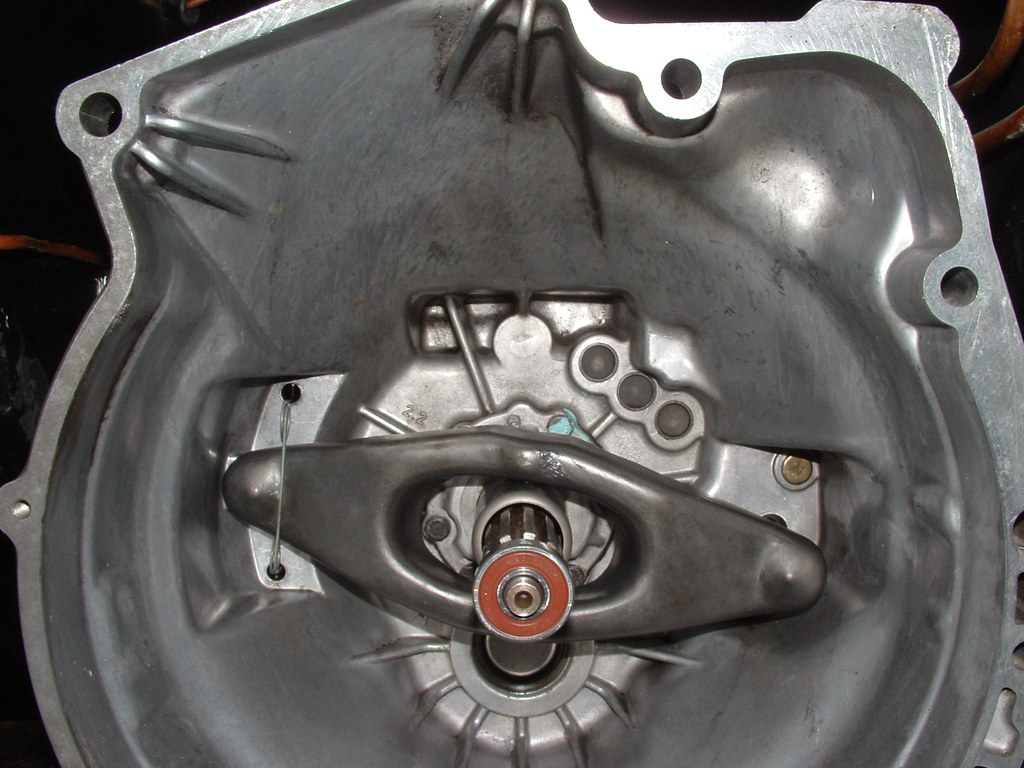
Slight problem with the new spigot bearing....


Wrong size spigot bearing... by marlinpeter, on Flickr

I will have to get one the right size with a 12mm hole.
18 Dec 2011, 10:23pm
Amazing how much space there is in there with out the engine :)
19 Dec 2011, 10:25am
Patrick wrote:
Amazing how much space there is in there with out the engine :)


Yeah, enough space to hold a party...:party:
19 Dec 2011, 10:34am
Are we all invited? I'll bring the Q20-50 (oops that shows my age).

BTW, Happy Christmas and all the best for 2012 to all my fellow kit-car enthusiasts.

Sorton
19 Dec 2011, 3:52pm
Sorton wrote:
I'll bring the Q20-50 (oops that shows my age).


My Dad used use Duckhams in his Ford Zephyr 4. Now I'm showing my age!!

And a Merry Christmas to you as well.
...peter
20 Dec 2011, 7:45am
Now if you want to show your age how about Castrol-R ?

Merry Xmas
20 Dec 2011, 10:07am
Oh the smell of Castrol R....lovely!

Happy Christmas all!
29 Dec 2011, 2:08pm
Cor how the other half live, eh? Carpet on the garage floor - that's dead posh... ;)

Looking good - fire her up new years day?
29 Dec 2011, 2:40pm
GreatOldOne wrote:
Cor how the other half live, eh? Carpet on the garage floor - that's dead posh... ;)

Looking good - fire her up new years day?


Yeah, but it's not carpet, it's a piece of cardboard that my wife used whilst spraying a blind.(don't ask!!)

At my speed, engine should be running by New Years day 2013 :wink:
30 Dec 2011, 2:19pm
I've got carpet on my garage floor:biggrin1:

Advantages:
1) Stops cold bum when sitting on it.
2) Dropped things don't break
3) Dropped things don't roll far.
4) Soaks up spilt fluid.
5) Can be vacuum cleaned

Disadvantages:
1) Catches fire when hit by weld splatter
2) Soaks up spilt fluid.
3) Needs vacuum cleaning.
30 Dec 2011, 6:35pm
All of the above is very true, getting use engine oil out of carpet is a loosing battle... however it worked pretty well while it lasted :D
1 Jan 2012, 8:16pm
Inlet manifold fun!

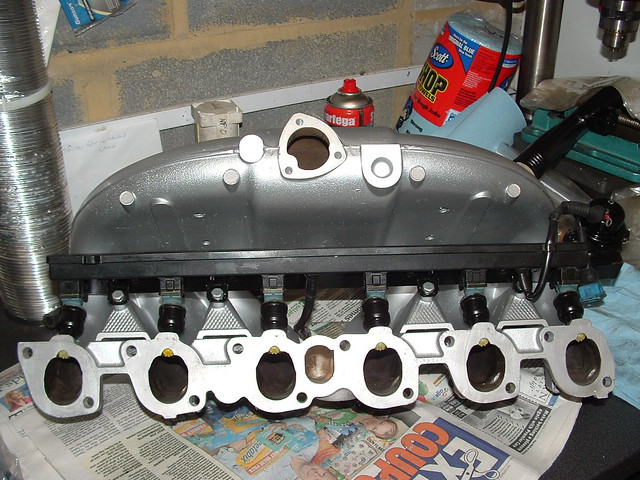
After slowly recovering from the late night celebrations, I thought I would sneak out to the garage for half an hour to assemble the fuel rail and injectors in the inlet manifold.
I wanted to use the injector loom from the old 320i engine because.....
a) it was already modified to connect to the Auotometer water temp sensor and, b) I know it works with the rest of the engine loom already installed in the car.
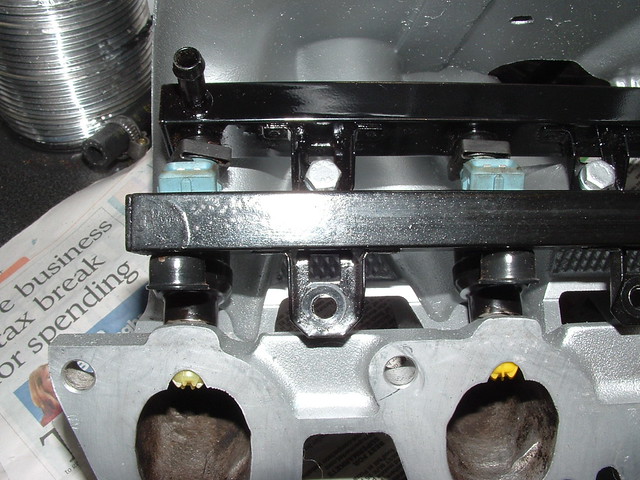
After assembling the fuel rail and injectors, I then discovered that BMW had changed the design of the fuel rail between '88 and '89. The early fuel rail has a fuel hose connector at the rear of the engine which clashed with the new type loom.
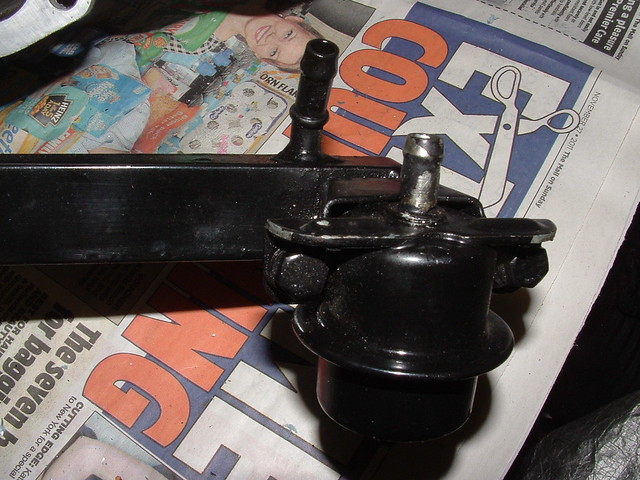
No problem, I thought, I'll just swap the fuel rails, so whipped the old one off the 2.0 litre manifold. Whilst checking it over I discovered that the 2.0 litre fuel rail has a 2.5 bar regulator whilst the 2.5 litre has a 3 bar. So I had to swap the fuel regulator as well.
About 2 hours later, I finally got it all assembled!!

Happy New Year!


Early and late fuel rails by marlinpeter, on Flickr


Later version fuel rail by marlinpeter, on Flickr


Inlet manifold assembly by marlinpeter, on Flickr
19 Jan 2012, 11:38pm
peterux wrote:


Here's my new alloy Radiator.


Fitting the new taller alloy radiator has resulted in an unplanned consequence that my header tank is now too low :doh:
Ahem.....
2 Feb 2012, 4:09pm
The beast is alive!!

Well it's all back together and the coolant reservoir is re-fixed 35 mm higher.
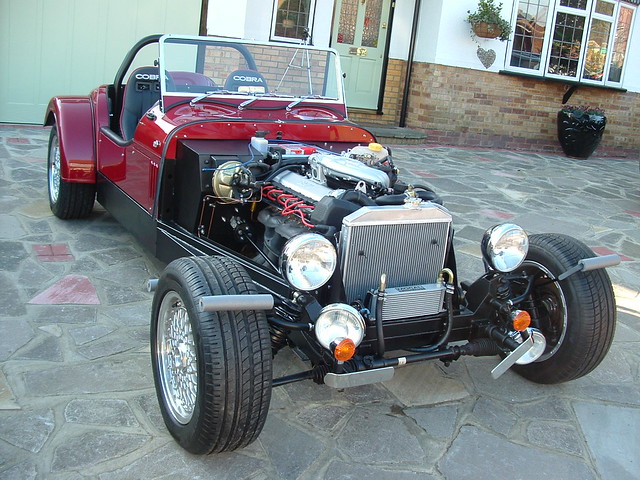

M20B28 Installation complete by marlinpeter, on Flickr

And so the day came today to start the engine after the rebuild.
Just a reminder an M20B28 stroker engine consists of a 325 block and pistons, an M50 crank from a 328 (modified to fit the M20 block) and 320 conrods. I decided to stick with a (new) standard 325 crank as I didn't want the engine to be too hairy. I've got the original 320 ECU fitted with what was sold as a copy of an Alpina C27 map chip. And I'm using Bosch W7DCR plugs gapped at 0.7mm.

So everything checked and torqued. Oil, coolant, petrol all checked.

There is lots of conflicting information on this here internet so in the end after hours of research (well a couple last evening) I decided to follow the advice of Piper Cams as they should know what they are talking about. http://www.pipercams.co.uk/pipercams/www/tech_camshaft_installation.php
The essence is to start it up and run at 2500 rpm for 20 mins!

And so the time came on a very cold but bright and breezy day to start her up!!

Very boring video to follow.....

http://www.youtube.com/watch?v=wgQrofNmbaY&feature=mfu_in_order&list=UL

Some points to note are.....
Engine started after only 5 seconds of cranking.
Oil pressure rises smartly in the first 4 seconds after firing.
The engine then coughs and splutters whilst I feather the throttle to coach it up to 2500 and then I tie off my piece of string on the throttle so that I can get out of the car and check it all over as it warms up.
After 45 seconds the engine is running smoothly on all six cylinders but there is some tappet noise as the oil circulates and everything settles into its right place. But there is good oil pressure so I cross my fingers.
After 2 minutes the engine tappet noises dies away and the engine runs smoothly for the next 20 minutes.
(I have a video of all 20 minutes, but its very boring. :yawn:)
The engine warms up and the thermostat opens. No need to top up as I filled it completely. Then the oil stat opened and the oil cooler got nice and hot. The oil pressure droped back to a steady 50 psi. Followed by the electric fan that cut in and out again as it was a very cold day.

And boy, does it feel like a beast. No road testing yet as its currently SORN'd and the lack of bodywork might attract too much attention.:lol: But the engine roars when you you blip the throttle and tries to leap out the chassis!! :madgrin: It feels really strong and idles OK at about 950rpm

No sign of any leaks, so far, but I'll check it all over again tomorrow.

Am I pleased....you bet :smile:
2 Feb 2012, 4:18pm
Well done Pete!

You also need to change that servo... ;)
2 Feb 2012, 5:54pm
peterux wrote:
Well it's all back together and the coolant reservoir is re-fixed 35 mm higher.


M20B28 Installation complete by marlinpeter, on Flickr


No sign of any leaks, so far, but I'll check it all over again tomorrow.

Am I pleased....you bet :smile:

Peter

Congratulations - what a fabulous feeling when you have built the engine yourself. Well done. The oil pressure sounds very good. I've tested mine and thought 30-35 psi was good at tickover when warm, and around 60psi at raised revs, but you are holding around 50psi when warm at only tick over - those new shells were obviously worth it!

......I think your Street rod looks pretty good as it is now - just leave the rest of the body work off!
2 Feb 2012, 7:22pm
yay, well done peter. I agree, drive it as it is, it looks good but you will find yourself in a drag race at every set of lights. The only bit of bodywork that looks remotely wrong to me is the nearside front bumper :)
2 Feb 2012, 7:34pm
Mike wrote:
Peter

Congratulations - what a fabulous feeling when you have built the engine yourself. Well done. The oil pressure sounds very good. I've tested mine and thought 30-35 psi was good at tickover when warm, and around 60psi at raised revs, but you are holding around 50psi when warm at only tick over - those new shells were obviously worth it!

......I think your Street rod looks pretty good as it is now - just leave the rest of the body work off!


Thanks, Mike, yes it was a great moment!
Slight misunderstanding due to the way I wrote my post. The 50 psi was still during break-in period at 2500 revs. It drops to about 25 psi at idle, which I think is fine on this old beast.
It was more nerve-wracking starting this engine than the first engine just because of all the potential issues. You find yourself thinking... 'did I really tighten all the main bearings'.........etc. :smile:
2 Feb 2012, 7:35pm
GreatOldOne wrote:
Well done Pete!

You also need to change that servo... ;)


It's on my list.......:smile:
28 Mar 2012, 2:53pm
peter - have you had a chance to assess the new radiator yet?

I'm running an old 316 rad in mine and it can't really cope with the 325 M50 under the bonnet.

Have seen a few like yours opn ebay for £115 and was after an opinion from someone who's clearly put some thinking into it!

Also got an pics of the relocated header tank?

andy