This is a read-only archive of the old Madabout Kitcars forum. New posts and replies are no longer possible, but every thread is still here to browse and read.
A fair bit of progress of late but not a lot to show in pics just yet.
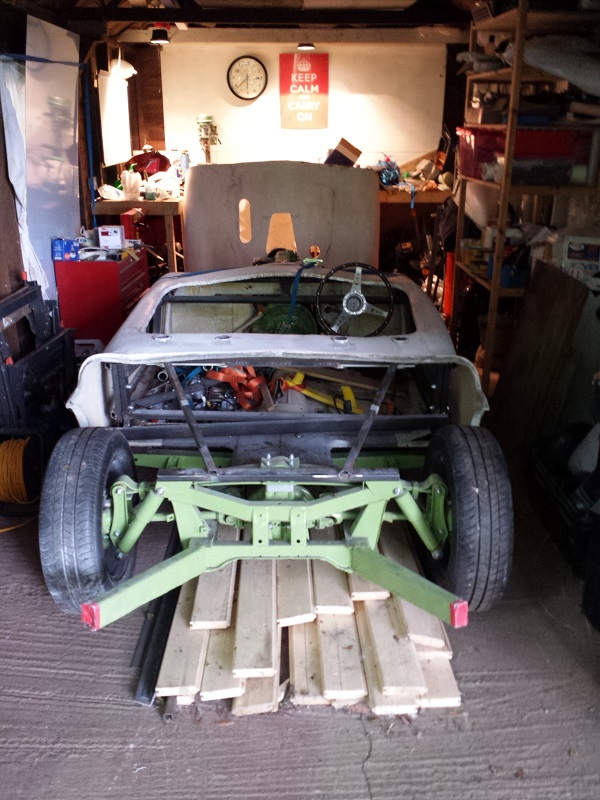
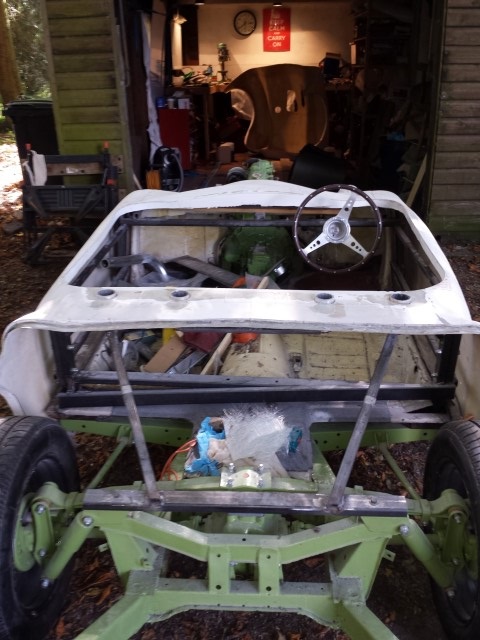
Garyh - I have a new phone so here are some pics, but the dappled light from the tree-cover is still there.....and I must learn to hold the phone still.
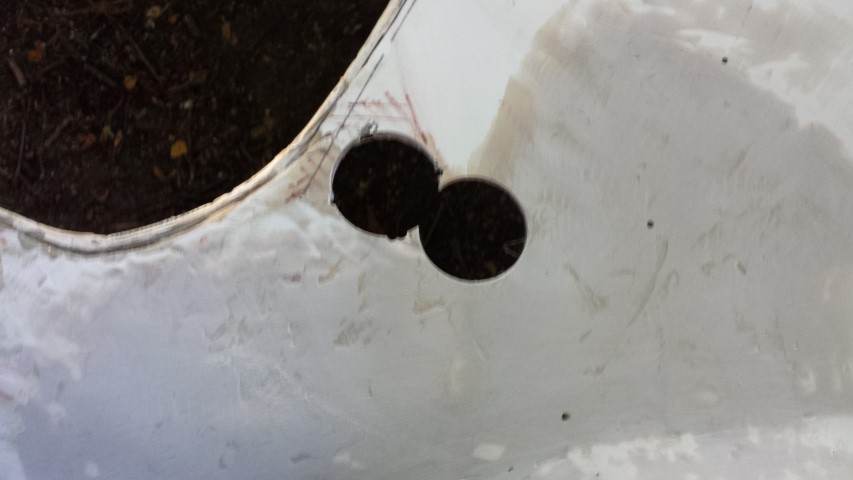
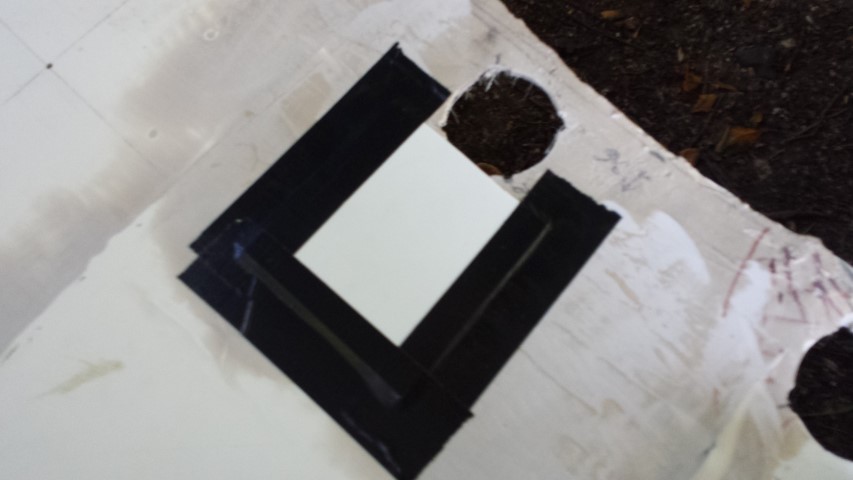
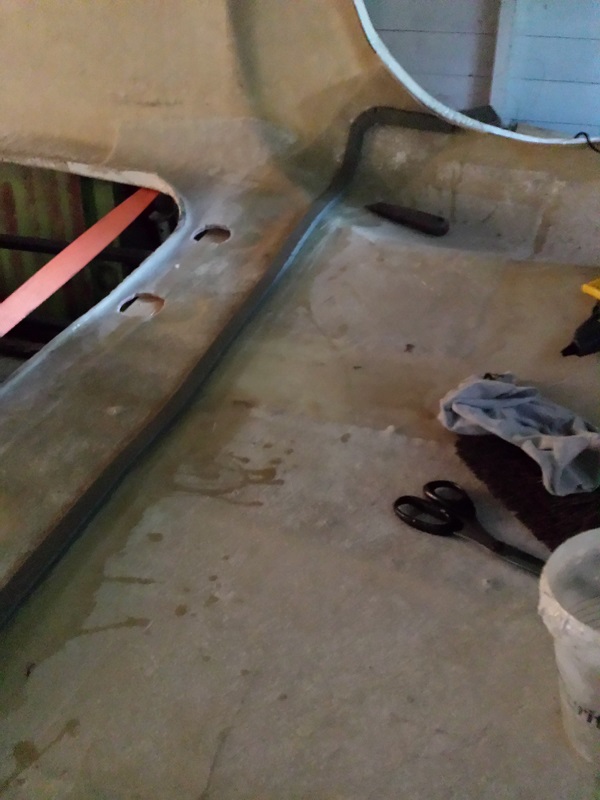
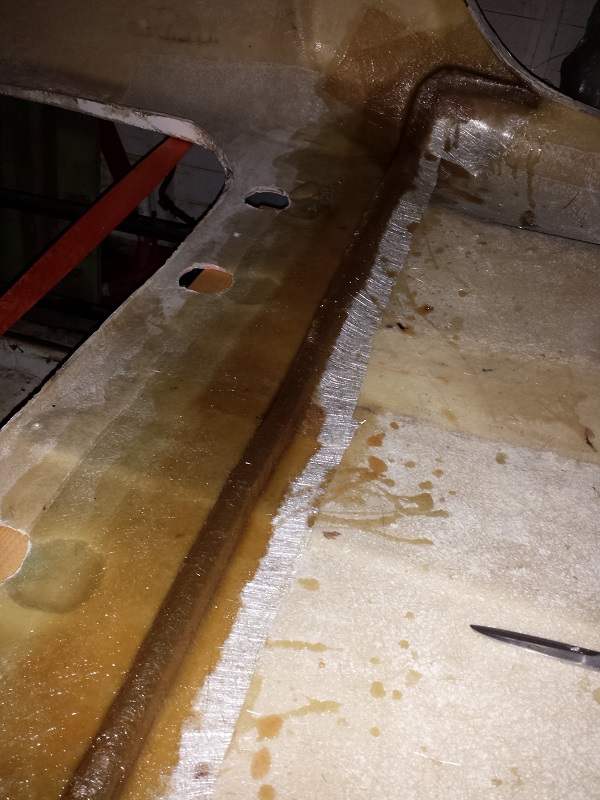
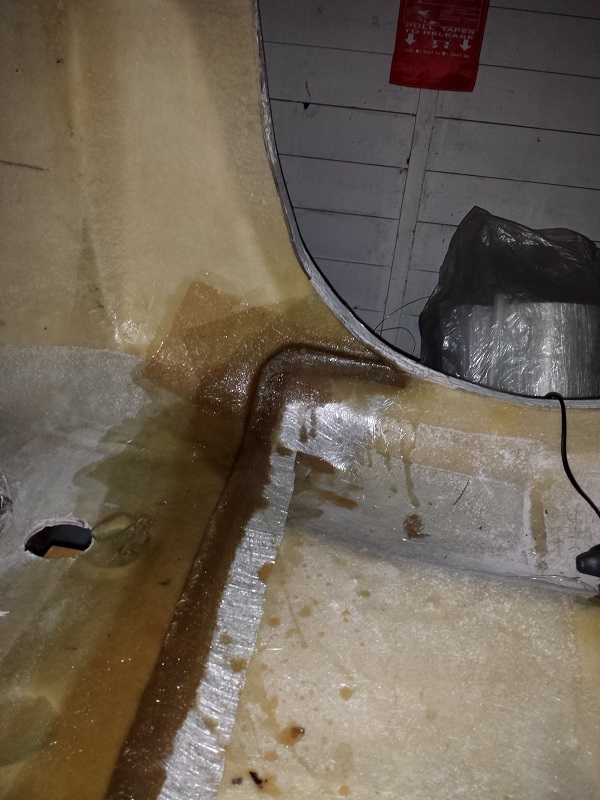
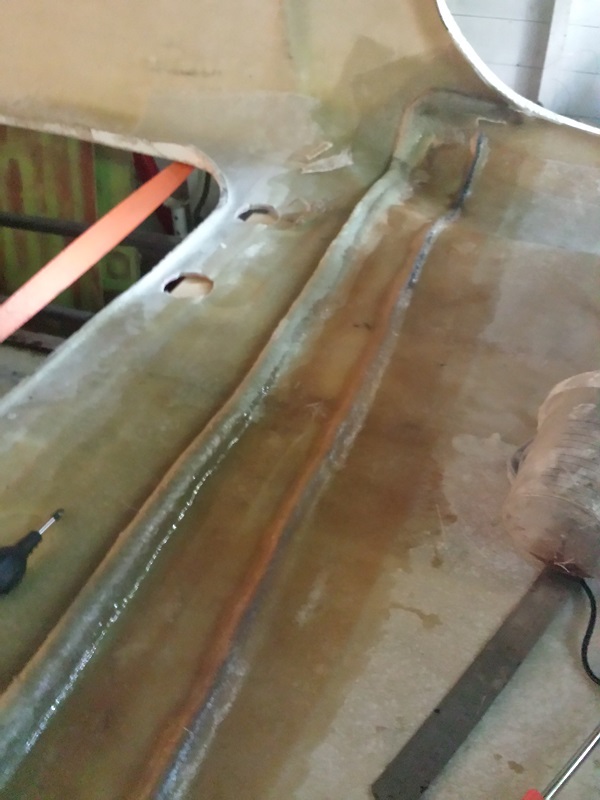
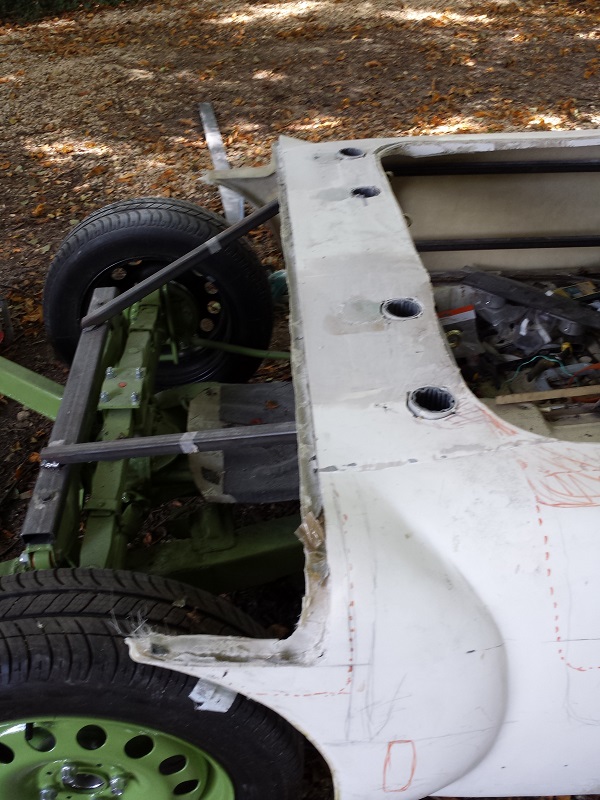
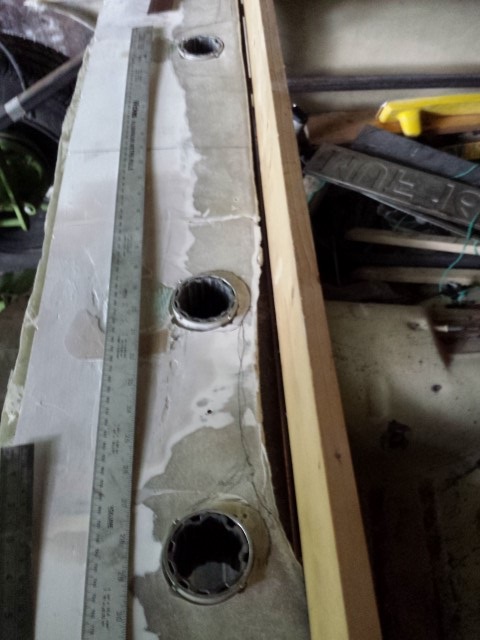
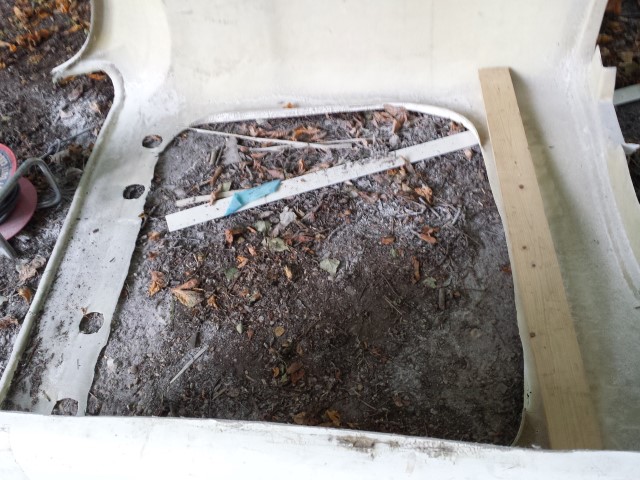
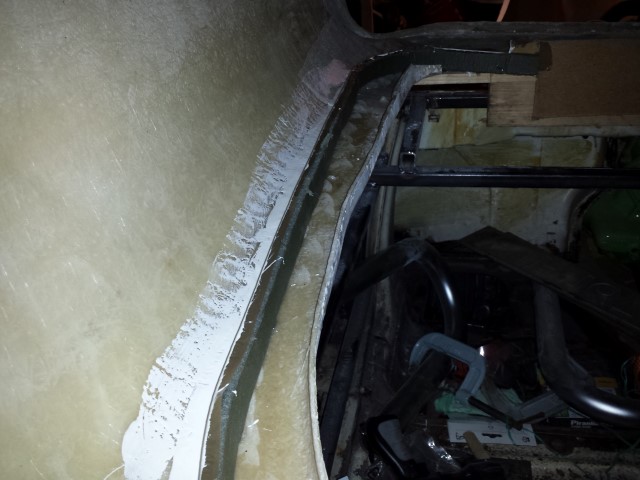
When I was cutting holes for my roll hoops I had brain fade and managed to cut three (!!!!) before I realised that I was following the wrong line. So, it was time to fill these. Feather the underside with the grinder and lay some plastic card over the top.
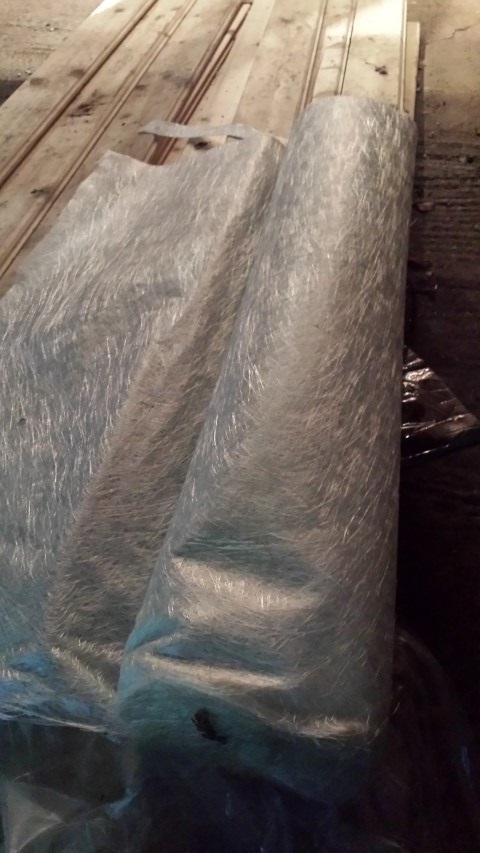
Then get out your massive roll of CSM and cut some lengths and lay it up across the inside.
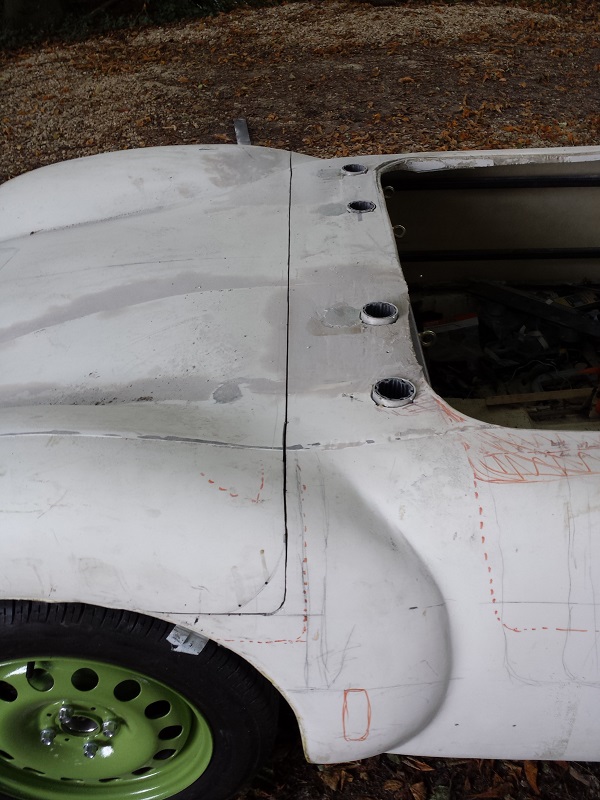
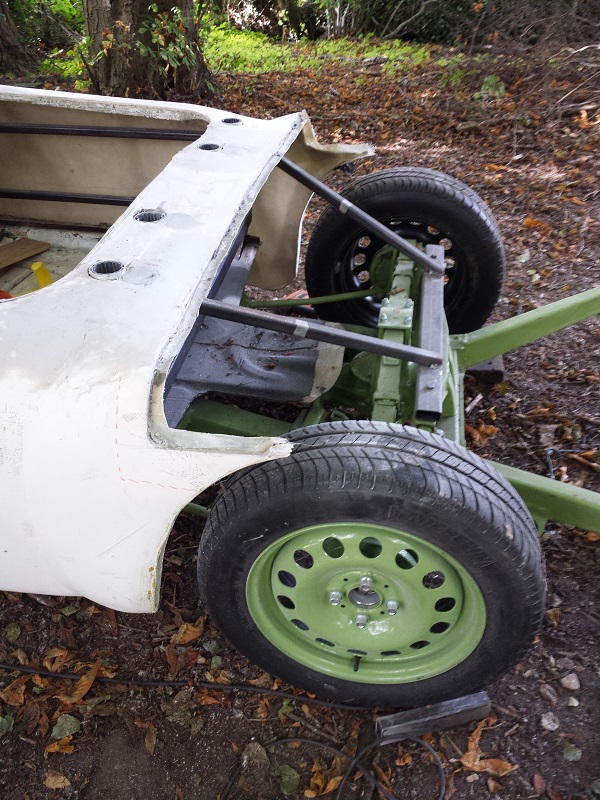
But, hang on a minute......why is he laying up all across the rear deck........because the bl**dy idiot is preparing to cut-off the back so that it can flip up. Yes, I am strengthening the line of the cut and I will also put a return on it before I cut.
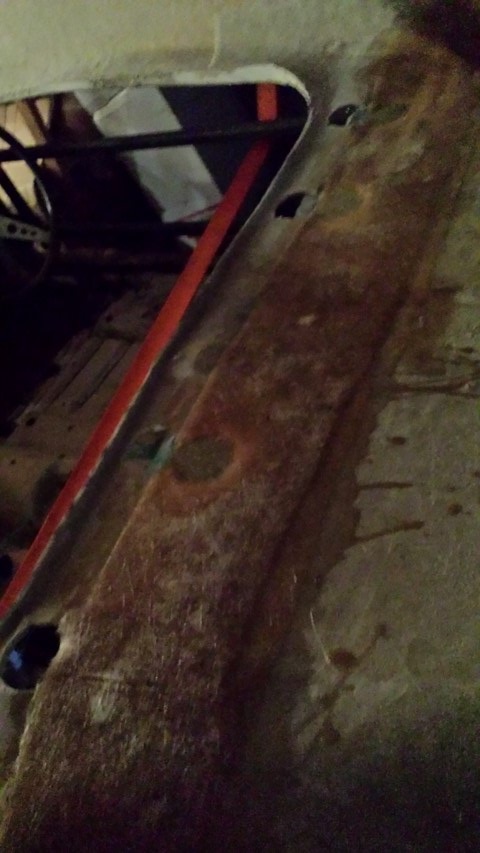
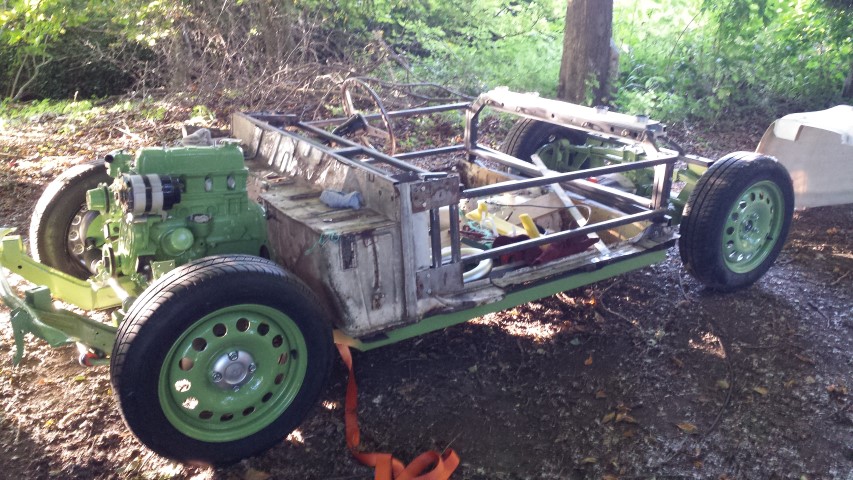
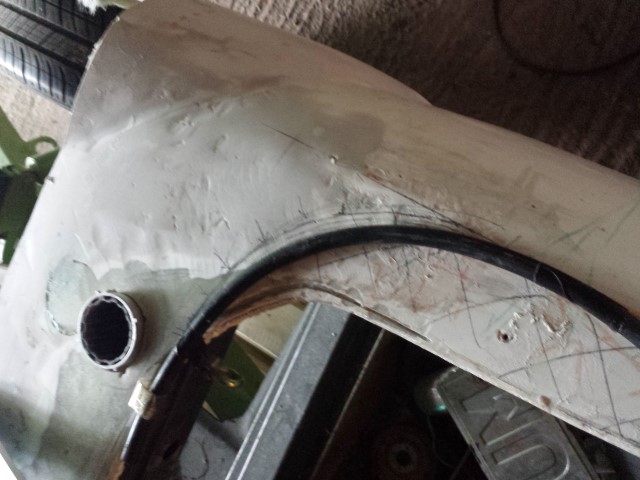
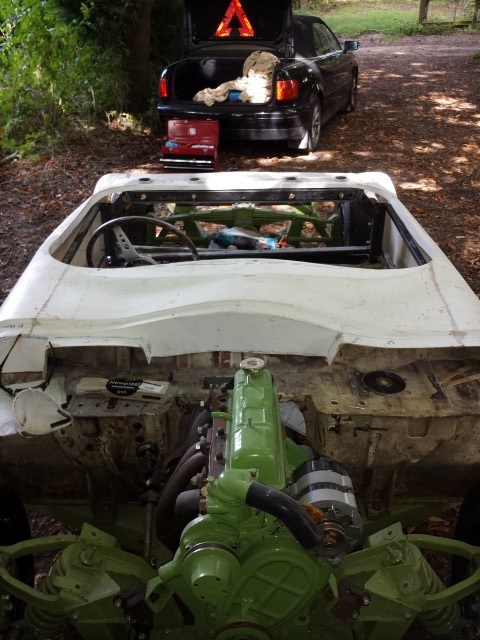
And, a non-milky gratuitous pic with the body off. I can't wait until the bulkhead and floor go off to be blasted. It looks such a mess.
Tonight I hope to get a bit more glassing done. Softly, softly, catchy monkey.
I haven't finalised how I shall fit the body but the aim is to do so in a manner which will allow me to remove it. That is one of the reasons that I am going for a flip back - so that the middle tub is a manageable size.
By hook or by crook, the chassis bolts will be accessible. This may mean access holes or panels, but I am not fixing anything that I can't undo.
The internal cockpit panels will act as the bracing/fixing around the top of the cockpit. I plan to add a large horizontal flange along the inside of the side panels and these will sit on the sills and sandwich a thin layer of sealant and be bolted.
The rear deck has a neat fixing courtesy of the roll hoop appendages.
The bulkhead will be attached via flanges and ali panelling.
Please note: The above information was correct at the time of going to press and will almost certainly change completely within the next 24 hours and each subsequent 24-hour period.
A few evenings and this afternoon have given me the chance to make some progress with the rear end. This may turn-out how I hope, or it may be my biggest mistake so far. I don't think anyone else has done this, and there may be a reason........
So, I hot-glued some closed-cell foam along the line of the cut and covered it in parcel tape and releasing agent.........
Glassed it over........and went home.
The following night I hot-glued some 10mm nylon rope and glassed over to act as a rib and provide some extra rigidity.
Today the angle-grinder came out.........
The foam remained attached the the rear deck......
And it pealed off easily.........
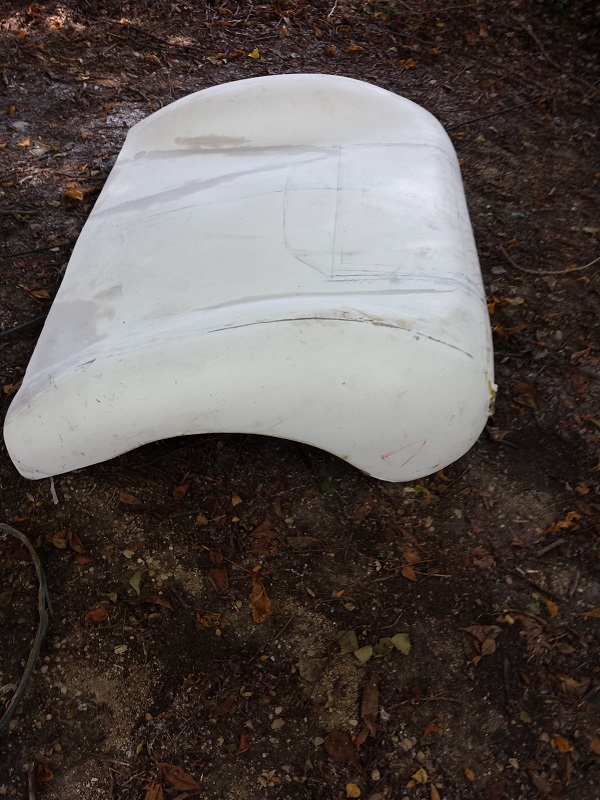
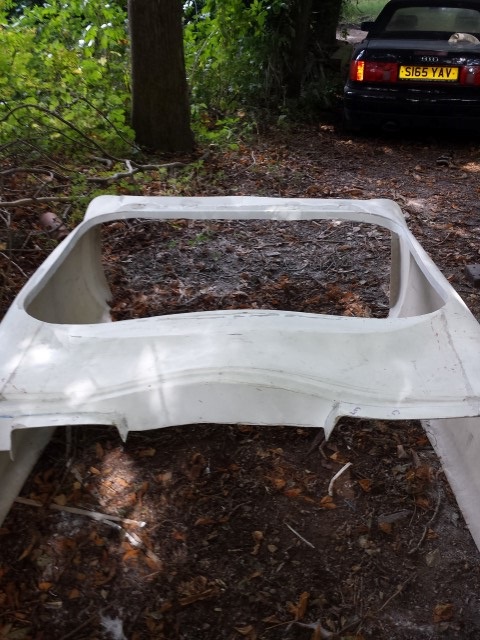
New-look tub.......
And a third part of the bodywork........
A new view in The Glade.
I plan to do the same as Mac and add the bottom legs of the bonnet to the main tub. These horns will be at the same height, but more prominent than those on the rear.
One reason for doing this now was to make the tub easier to manhandle. I have no assistance down in the woods, so this move will make life easier.
I have the hinge system ready for the new rear deck to flip so as I can get at the fuel tank and rear suspension.
Next up is sorting out the cockpit surround to give me more shoulder room and to square things up (ha ha) a little.
T, Paul, Gary, Swifty and Scottie - thanks for the positive comments.
It should look good but will, no doubt, give me some grief on the way. I shall chronicle all aspects just in case another idiot wants to give it a go in the future.
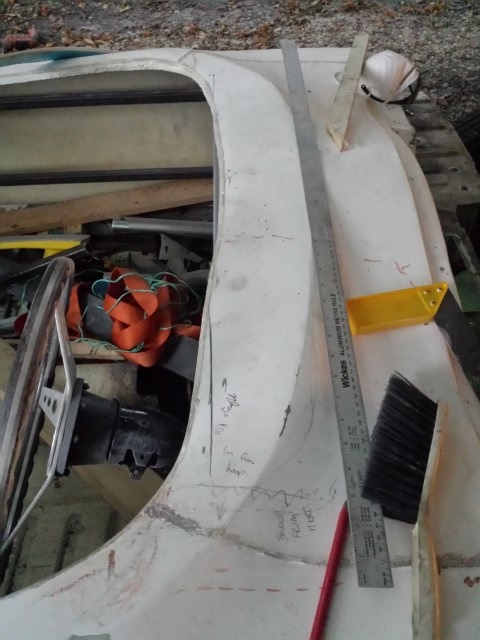
It is well known that Sammio cockpits are not the place for a tape measure or a straight edge.......
Front.....
Rear......
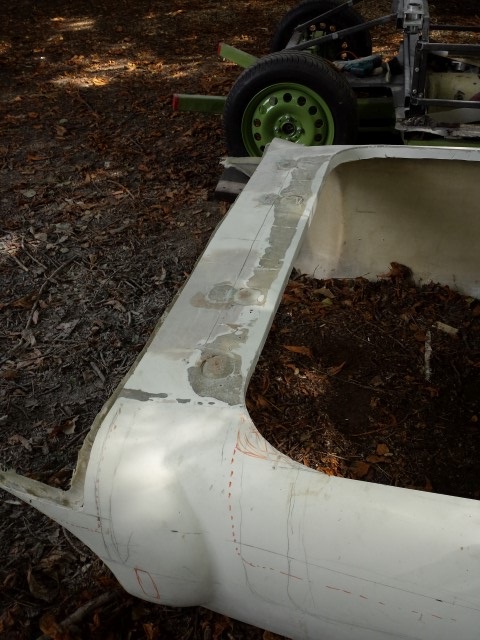
The crossmeber for the roll hoops makes for a good datum point so I marked a cockpit opening that is within 5mm of being true front-to-back and side-to-side.
and used a bit of hose to get the corner radii looking right (150mm for front and 180mm for rear).
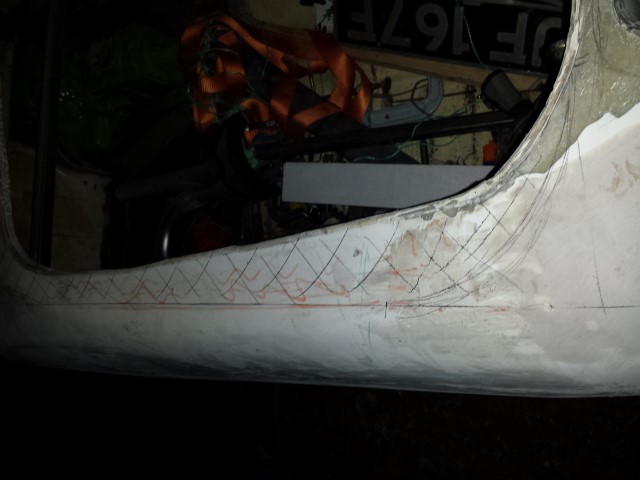
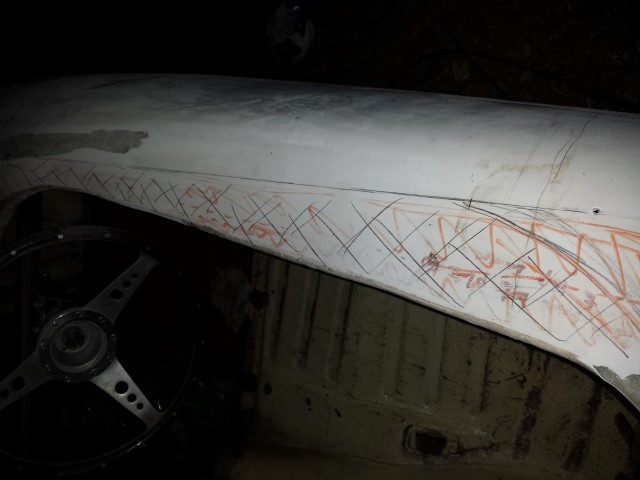
I then drilled holes from above along the outline so that I could see the lines from the inside of the shell.,,,,and cut off the unwanted return.......
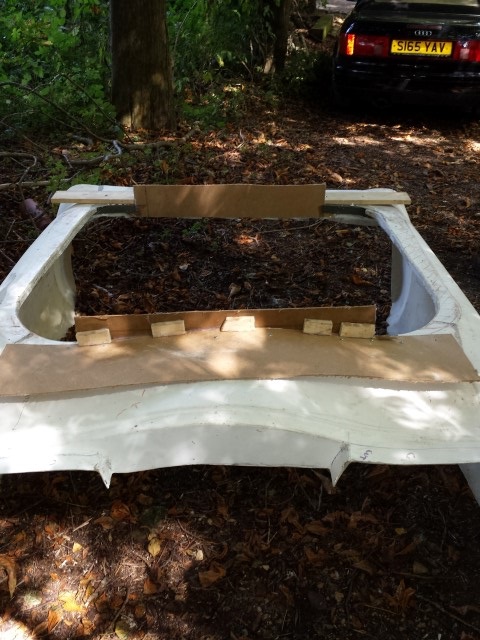
and put some formers in place.
I'd planned to use some uPVC strips to provide a former inside but I couldn't get a constant radius with a heat-gun or steam.
So I used 25mm high closed-cell foam. It is 10mm wide so you can get a good contact with the hot glue gun. I parcel-taped the foam before glueing, and then hit it with some gelcoat.
...........after some lunch I went back and laid-up a a couple of layers of 400gsm mat.
This took a couple of hours but the pictures are a bit boring.
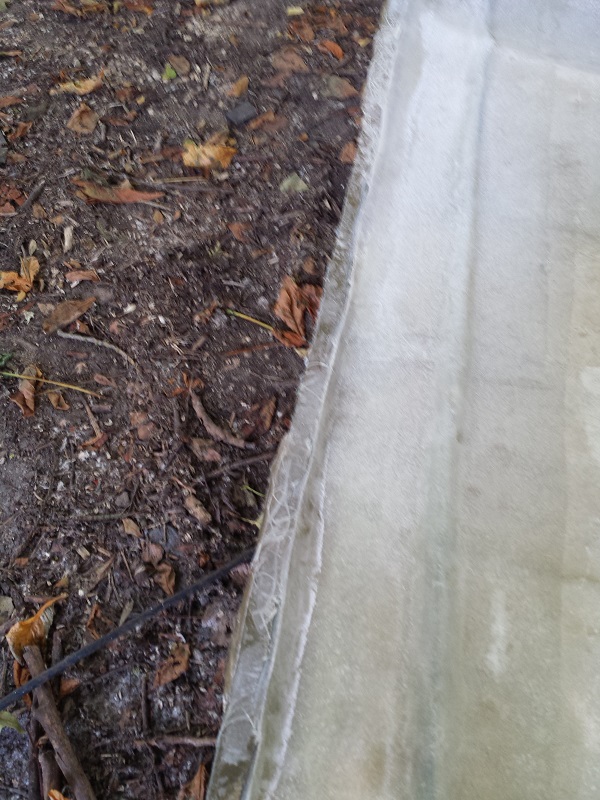
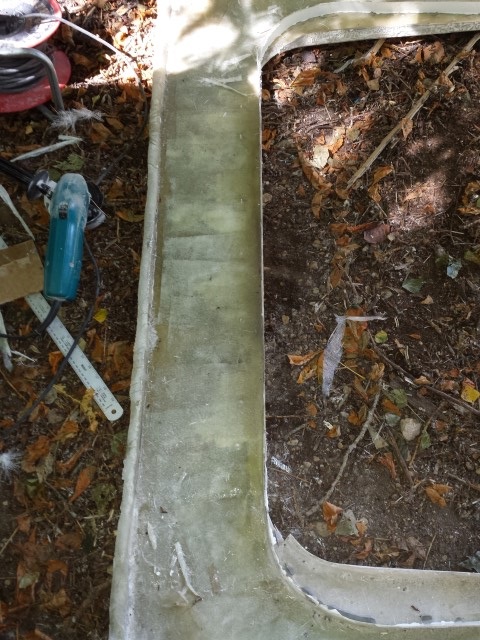
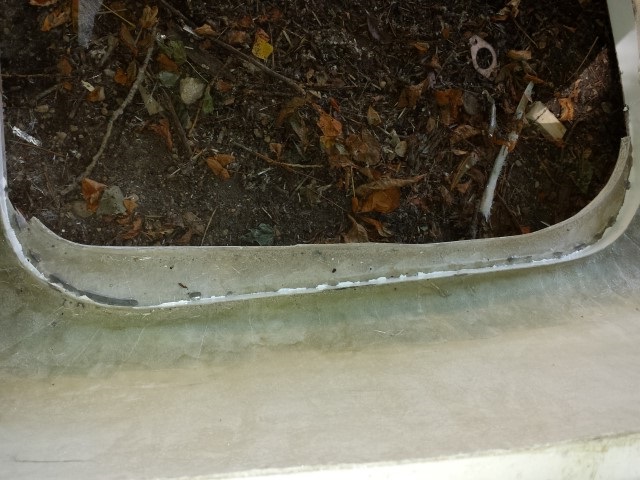
This afternoon I returned to start peeling off the wood and the foam and I was really pleased......this is the back.
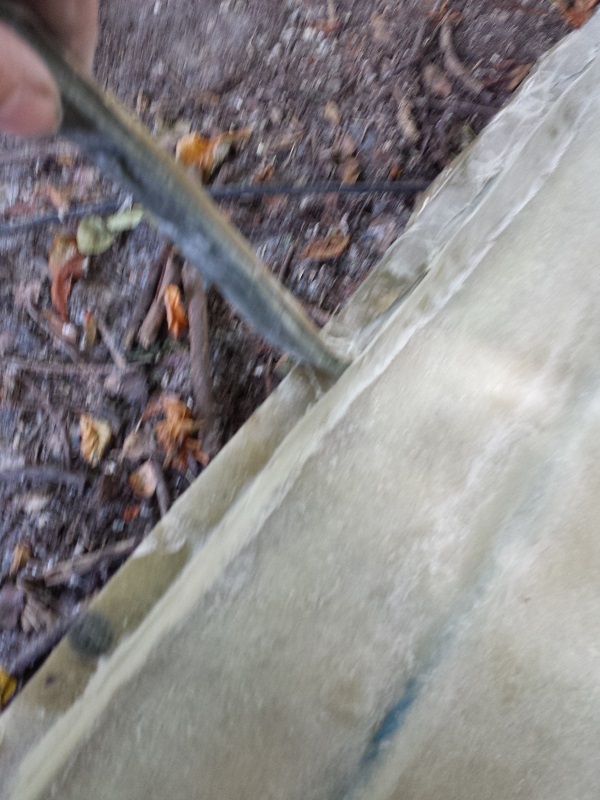
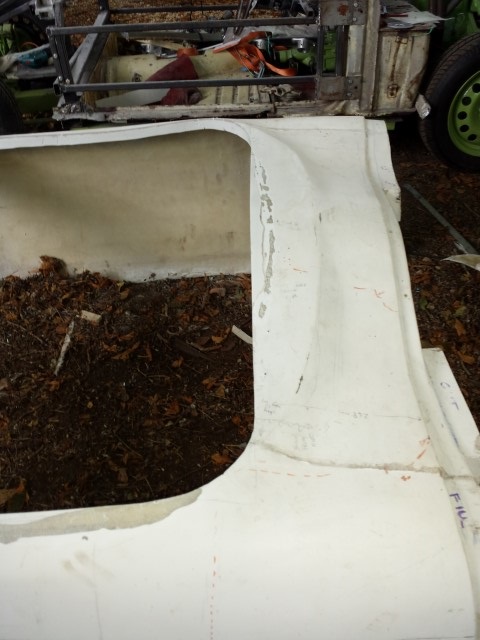
The side before the original edge is removed.
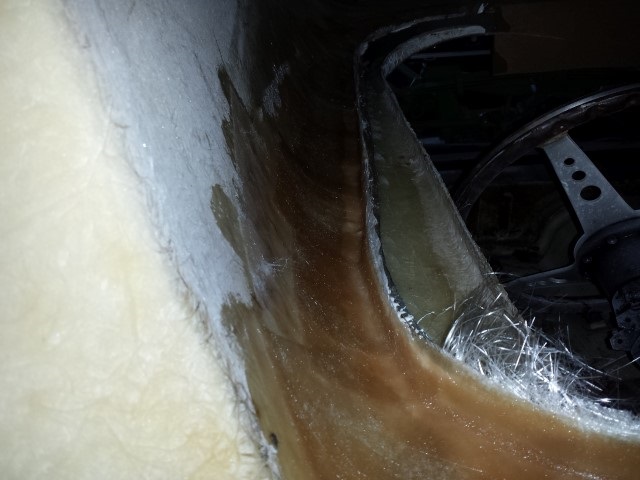
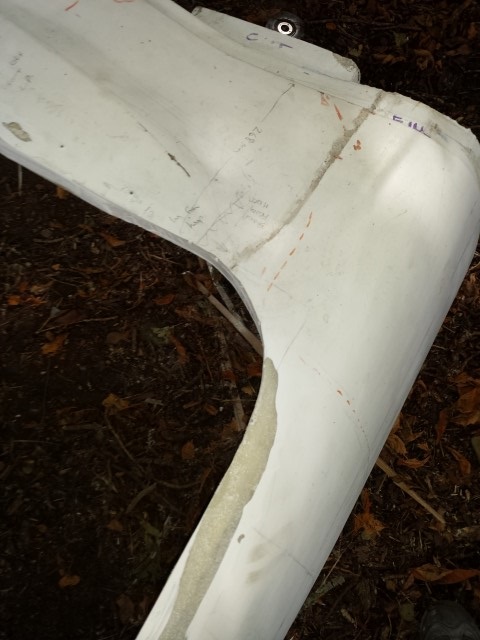
I trimmed all four edges back to the new lip.
There is now plenty of shoulder room in the driving position which makes life much more comfortable, and there is good space between the steering wheel and the edge. The edges are now in the same plane as the side bars in the frame (and at the front and back).