This is a read-only archive of the old Madabout Kitcars forum. New posts and replies are no longer possible, but every thread is still here to browse and read.
Looking good now,and very clever to make a cardbord template out of cardbord..
Much easier as making cardbord templates out of steel
Keep up the good work.
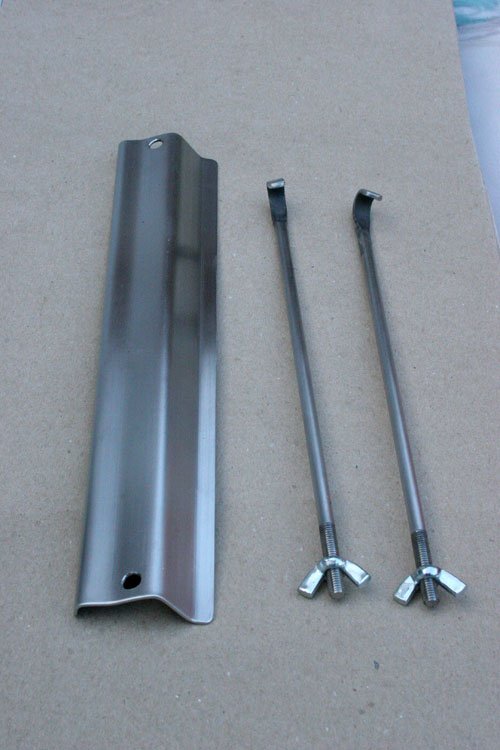
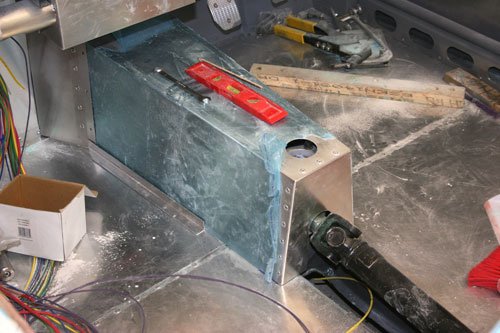
A little more progress made, finished the battery clamp made from 1.5mm stainless.
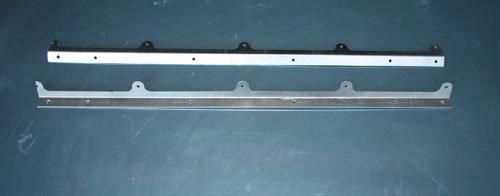
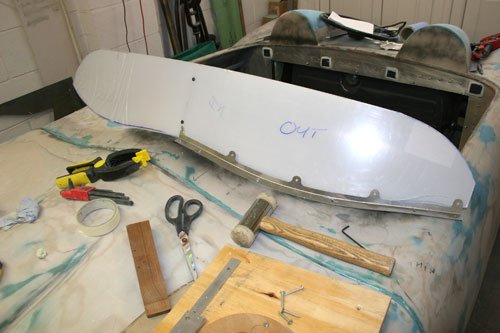
Finished the screen mount machined on the cnc mill out of 1.5mm ally sheet, similar to what is fitted on the old Ferrari's. To make it easier to shape to the curves of the body i've annealed the ally to make it act like putty (very easy to bend in your fingers) this was done after the profile was milled. The annealing is easy to do with an acetylene torch first light the acetylene to give a sooty flame don't use the oxygen just yet, run the sooty flame over the ally surface covering in soot but not too thick as it takes longer to burn off now turn on the oxygen to give a blue flame and run this over the sooty surface about six inches off and don't stop the flame moving as the ally will melt very quickly, once the soot has burned off the ally will be at the correct temperature for annealing which i believe to be 700 degrees which is virtually the temperature ally melts, then leave to cool to room temperature don't quench as you will undo the annealing process.
Machined lugs evenly spaced to bolt the screen to the mount. Made in two halves joining in the middle to make it easier to work with when shaping to the body.
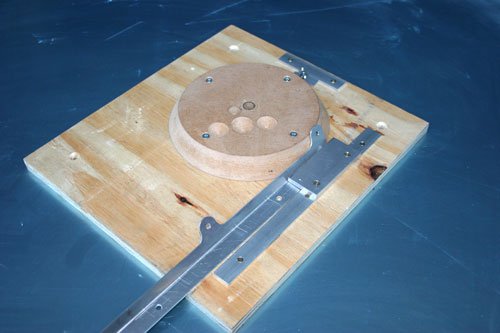
Jig made to curve and bend the trim or at least i hope it will.
The acetylene flame is one way but you can do it with a blow lamp, have a thin splinter of pine wood and when the splinter blackens when touched onto the metal it's hot enough to anneal it, allow to cool slowly. A tip from a retired local shipyard worker.
No,air gun is nothing more as a glorified hairdryer.............
I have a professional hot air gun at work,it reaches about 650 degrees celcius at the glow head but the heathed piece of metal never reaches over 500 C.
The metal should be 700C.
Yep you need the ally up to 700 degrees to anneal, another way to tell when the temperature is correct is to smear a little liquid soap on the ally surface and when this goes black the temp is correct not sure if general liquid soap is ok as i was taught with the creamy industrial type but i suppose there's no harm in trying test piece.
This weekend i've been working on three jobs switching between them when i got bored.
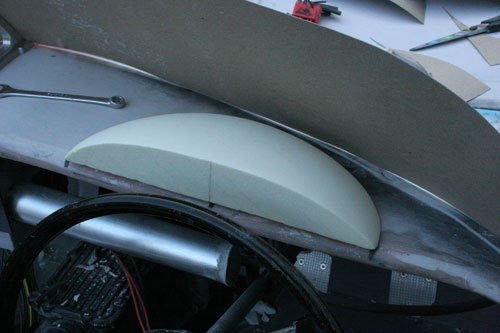
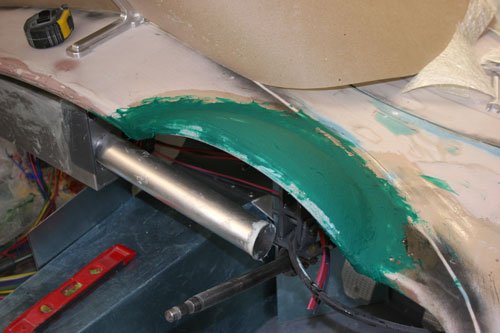
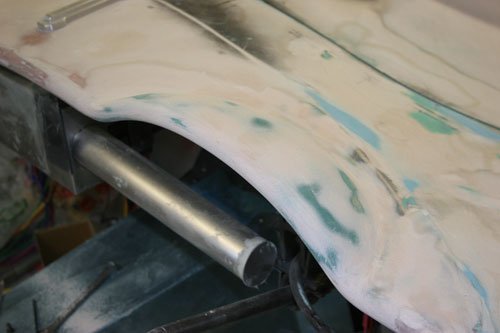
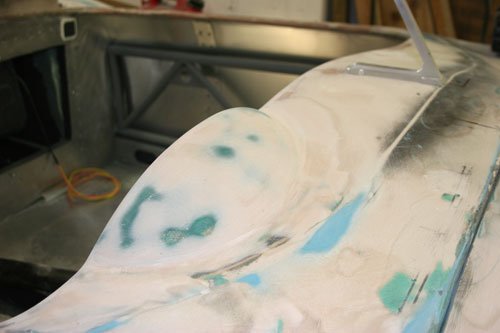
Molded the dash section with fiberglass over the oasis mold made earlier then glassed onto the dash board and covered in fiber filler.
Finished off with body filler then flatten off ready for the under coat, the eyebrow trim now means a 100mm tachometer will comfortably fit behind the steering wheel area.
Made good progress with the gearbox tunnel, made from 1.5mm ally sheet. I was going to roll the top surface but decided to leave it flat and possibly roll a separate piece to fit on top and see what it look like, one advantage with the flat top is that a small tray can be used to hold say a mobile phone.
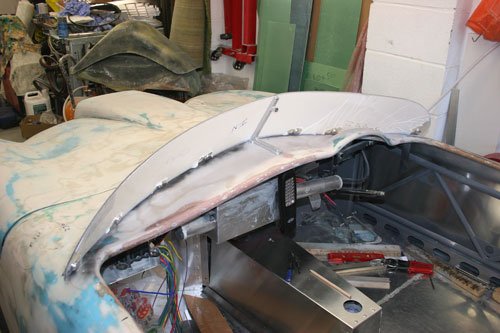
Cut the screen out to suit the body profile and started to bend the ally trim made earlier to follow the body profile and screen edge.
Great progress and I had exactly the same thoughts about a rolled vs flat dash top! TBH I've gone with flat for the time being and it's been very useful during the built to put things on, but that may change in time..
Not a lot of progress made due to the fact i've bought a 4x4 that lets say was not running perfect but due to this i got for a song, started to remove the engine to replace the piston rings and hopefully will be able to move on quickly.
Did get a chance to finish the screen mount and it looks the business, now looking at ways to age the look of the ally used to make the mount.
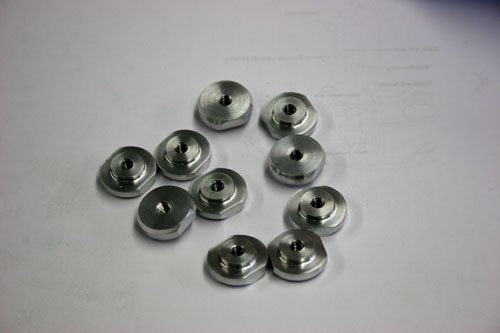
Turned some nuts from ally, these are what hold the screen to the ally mount. Made to the same diameter as the lugs on the outside ally mount which helps the whole look of the screen mount.
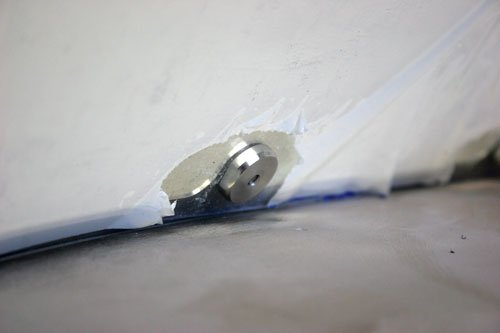
Rear view of the nut in place on the inside of the screen.
Attachment “IMG_5293.jpg” from the original forum could not be reliably recovered.
Made a cover mirroring the shape to hide the center join, the screws are temporary for now as i think i will pop rivet the mount in place once the paint job is finished.
Attachment “IMG_5289.jpg” from the original forum could not be reliably recovered.
Screen in place with the protective film still in place, the ends have been left slightly longer as i am toying with idea of may be machining a couple of end brackets but will live with how it is for now.
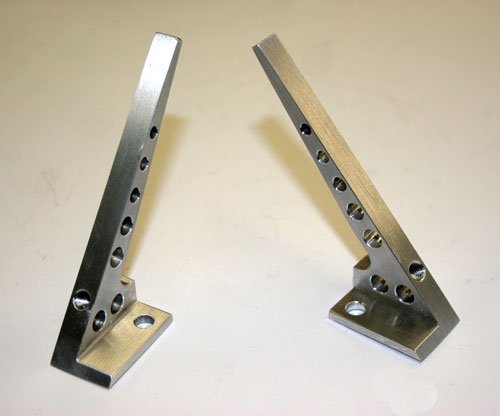
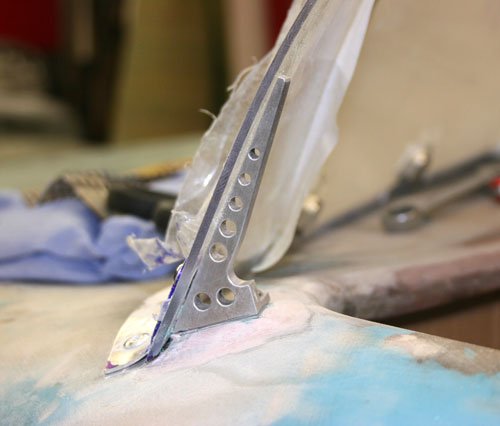
Very slow progress of late. Made a couple of ally brackets to support the screen ends.
Attached to the body which i have slightly built up with fiber filler to give a flat surface to mount to.
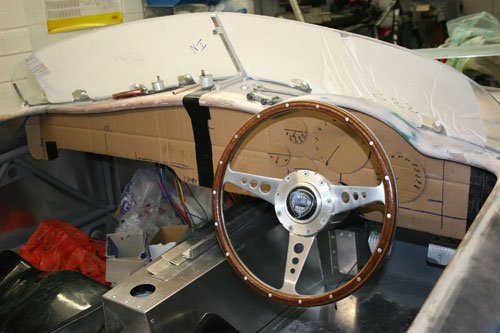
Made a rough cardboard template for the dash to work out what goes where, i intend on using 3mm ally sheet for the dash and having it powder coated. Have been playing around with the clocks to make a final decision before placing an order, does any body know of a good supplier of dash clocks?
Done some machine work this week to some parts that are for the dashboard.
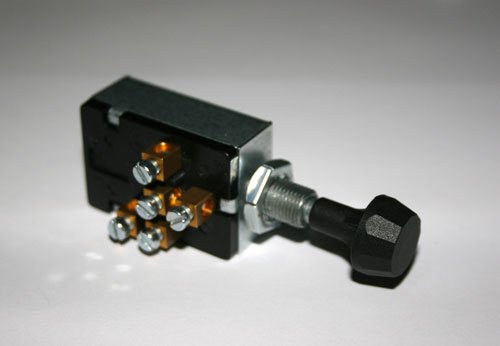
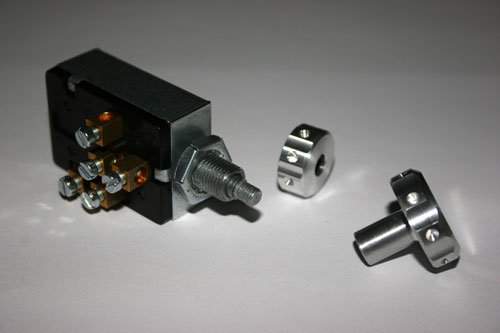
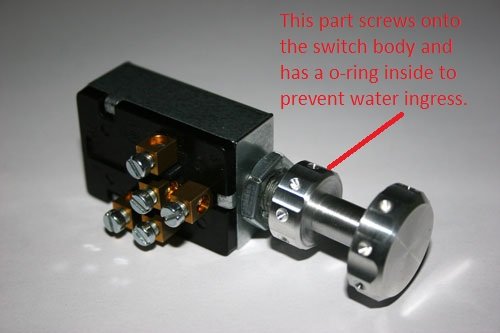
Wasn't to keen on the black plastic knob fitted to a two position pull switch which will operate the headlights so i decided to make a new ally knob.
Whilst i was on i also thought that it would be wise to prevent water getting into the switch and shortening it out so i made a threaded collar with a small o ring sandwich between the collar and switch shaft.
Added a little detail around the ring edge and collar by cutting in with a 12mm end mill on a dividing head then moved the dividing through 90 degrees to spot drill the dimples.
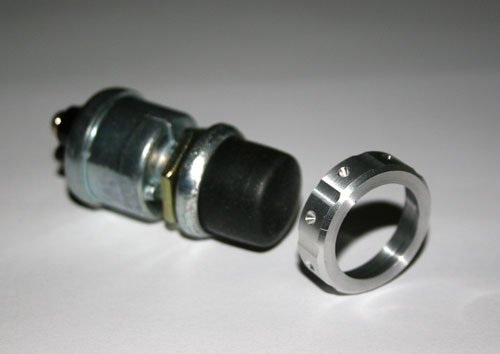
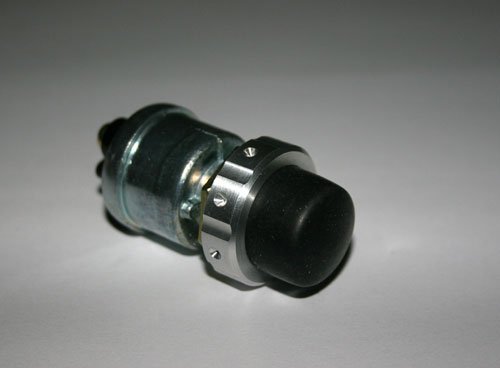
Bought a waterproof push start button which has a rather naff ring holding the rubber boot in place so made a ally ring to slide over to match the other switch gear mods.
I am hoping to finally order the clocks for the dashboard this weekend that's once i have worked out the correct mechanical drive ratio for the speedo, fitting the type 9 gearbox has slightly made things a little complex. I did look at the electronic speedo's which is the easy way to go but the lcd mileage/trip display will spoil the overall look of the car so i am keen to go down the mechanical root.