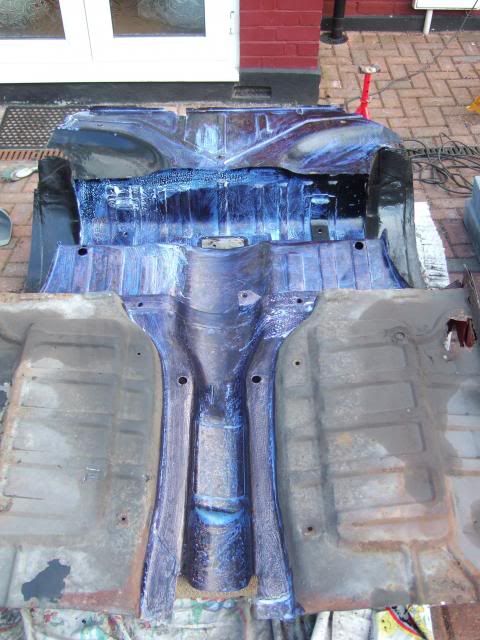
Body Shell Test Fitting - Continued:
Based on the weather forecast I knew I'd only have a short while to do any work before the rain came.
So I spent a while planning & getting everything ready, so I could get the angle grinder going shortly after midday.
( Well it was Sunday morning and I'd like to continue to be on speaking terms with my neighbours.

)
I knew that the Spitfire body shell was fouling the Cordite bodywork & needed more metal to be cut away.
However, it quickly become clear that there was no way of keeping the original door opening section intact.
Which means if I try to use the whole Spitfire shell, then I will need a more comprehensive supporting frame.
However, if I end up just using the rear wheel arches & floors, then cutting this away make no difference.
So I removed the Cordite body work (again) and gave the arches another trim.
Driver Side - Before:
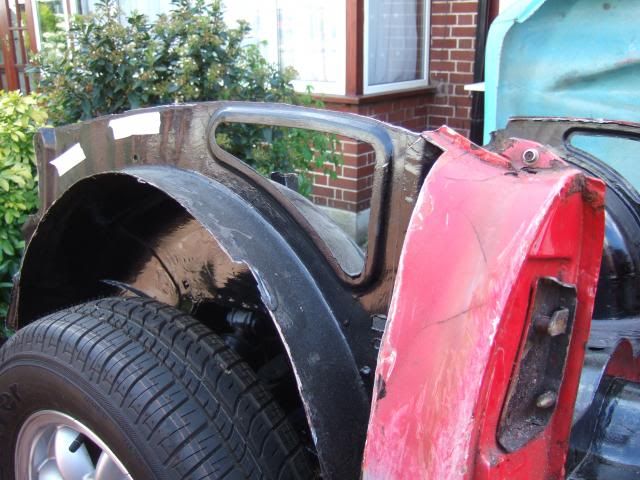
After:
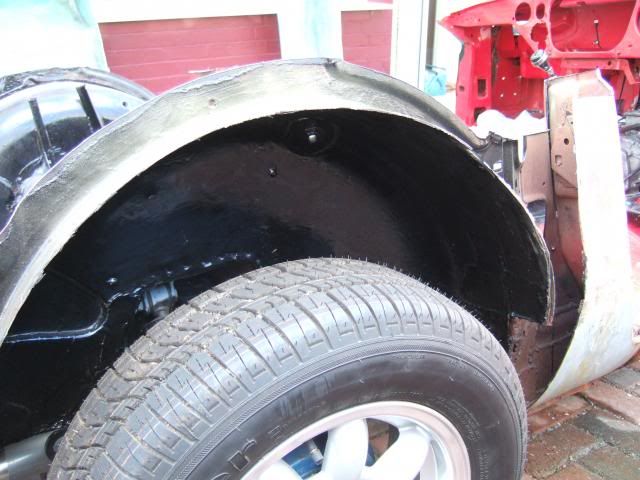
Passenger Side - Before:
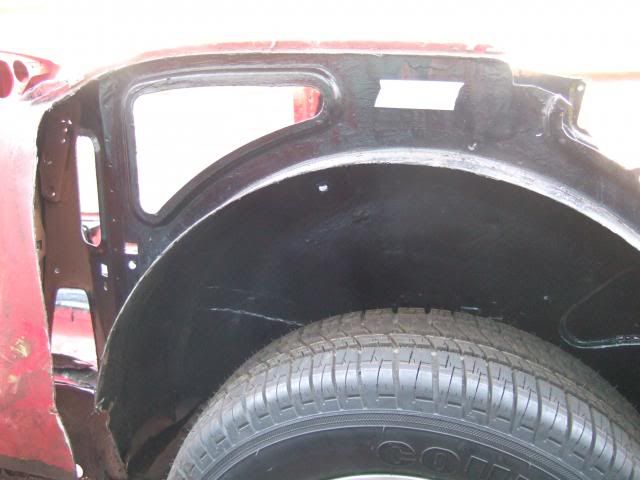
After:

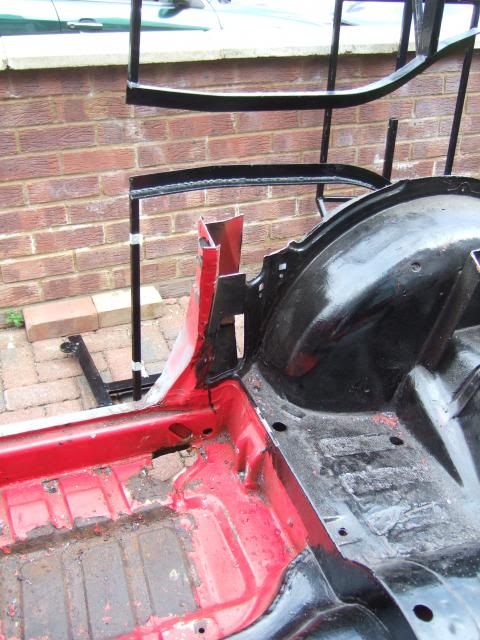
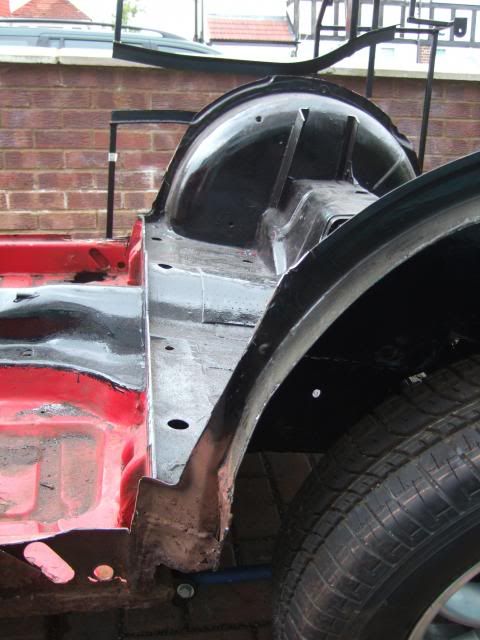
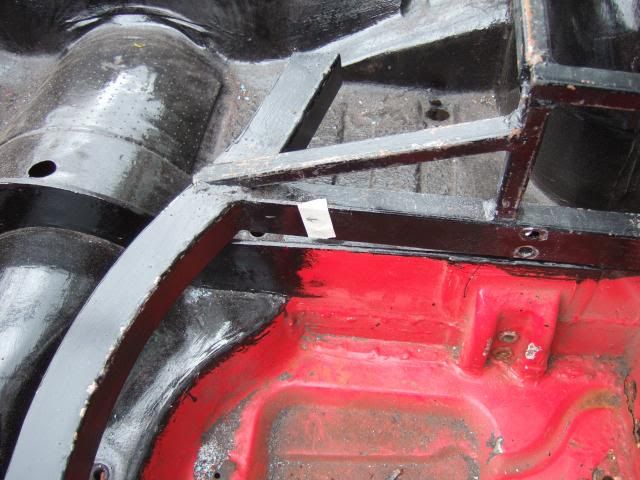
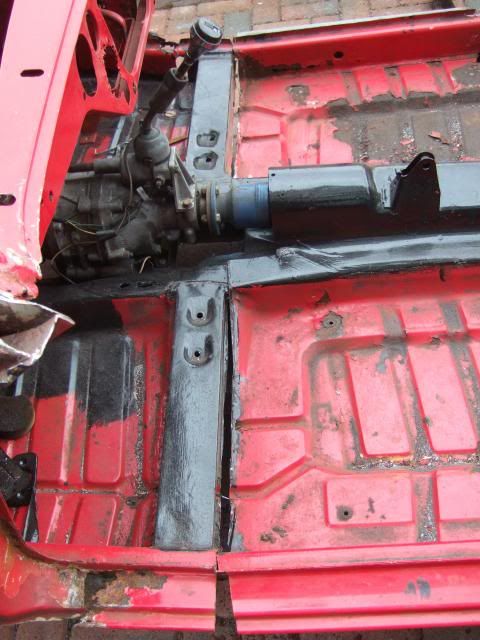
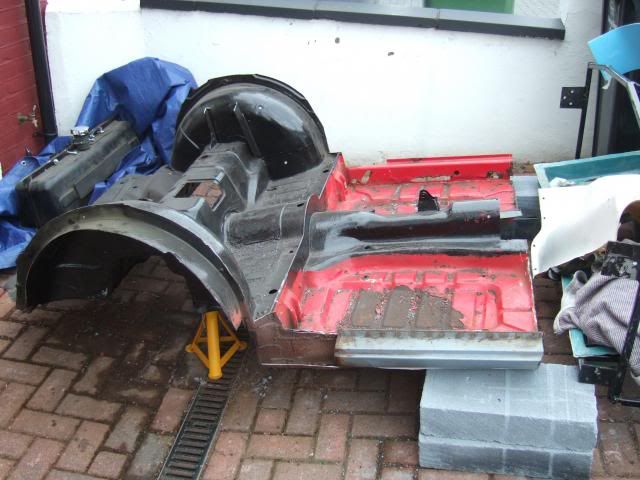
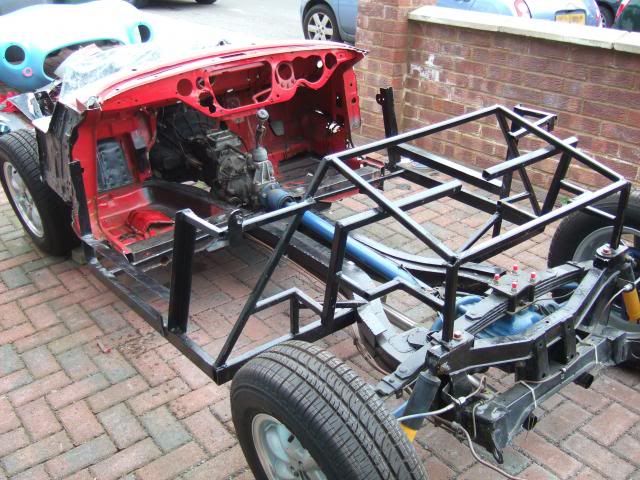
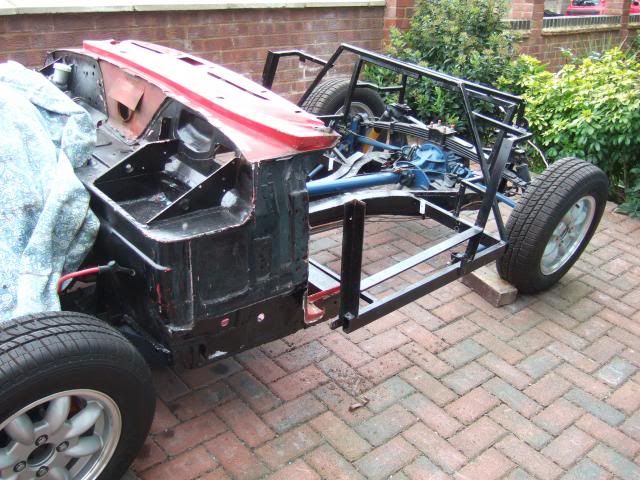
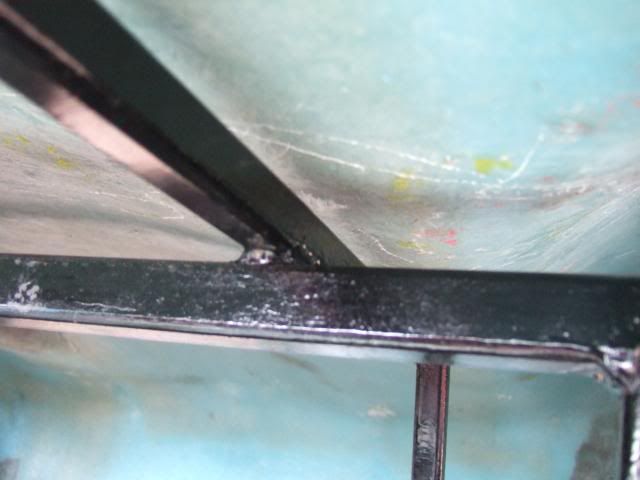
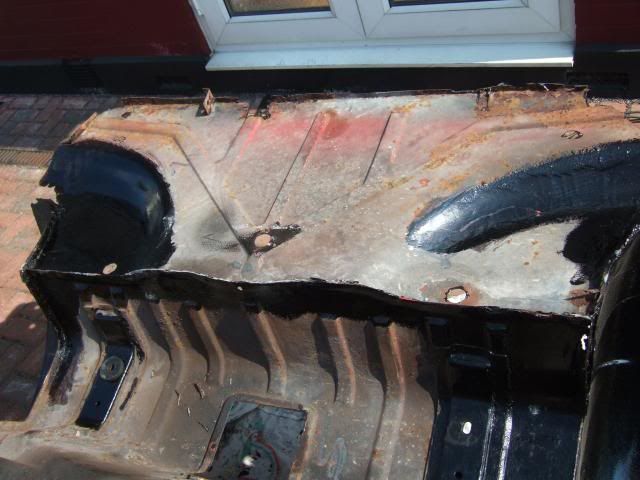
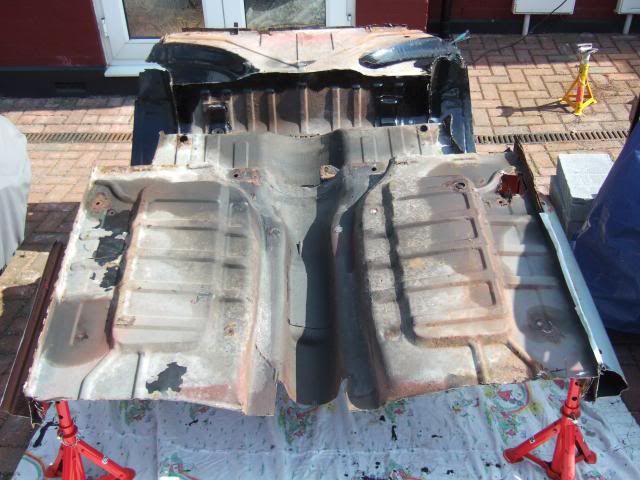
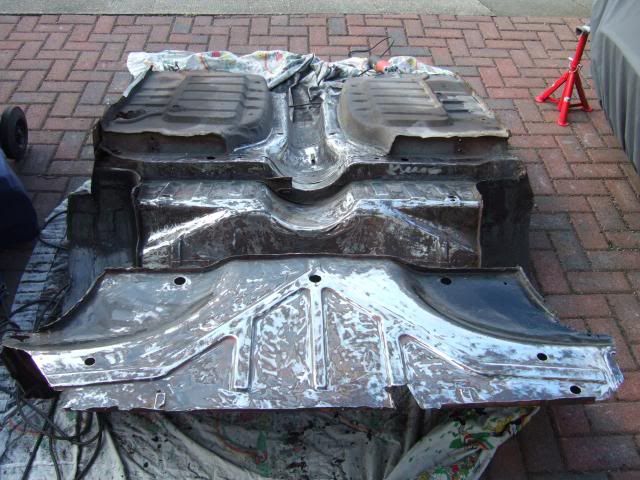
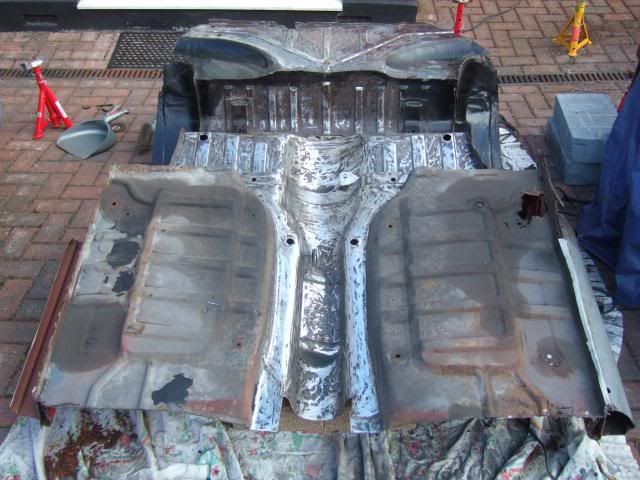
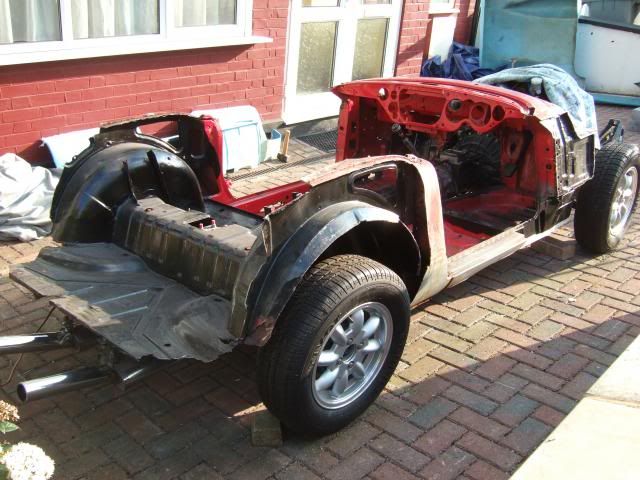
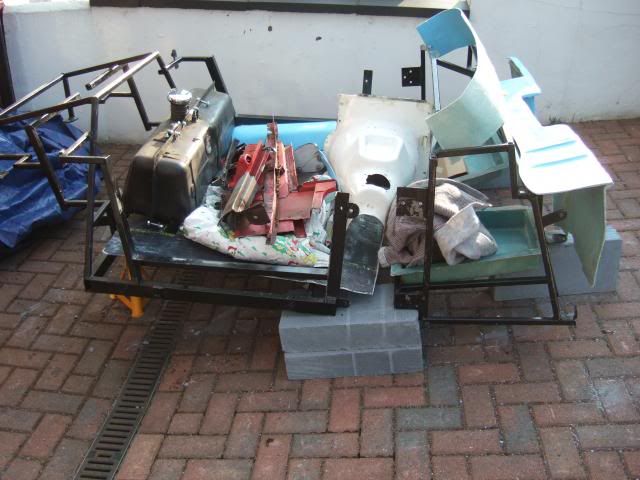
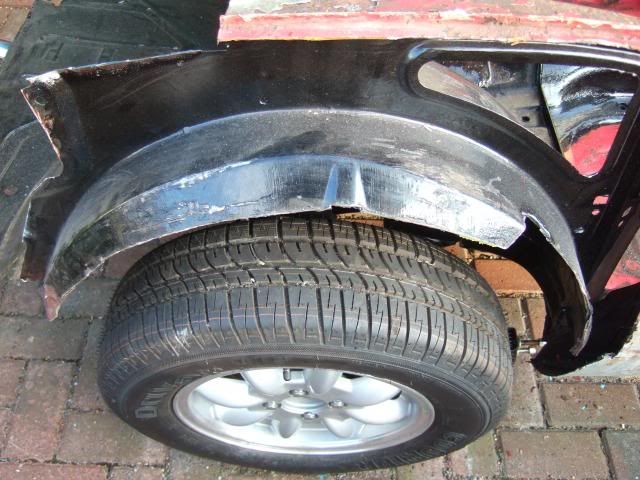
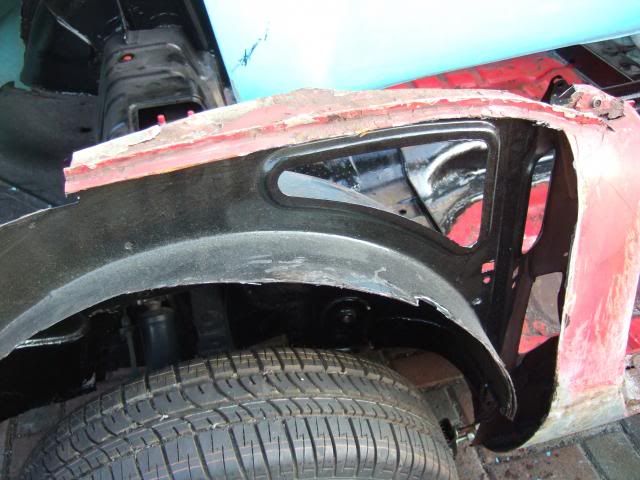
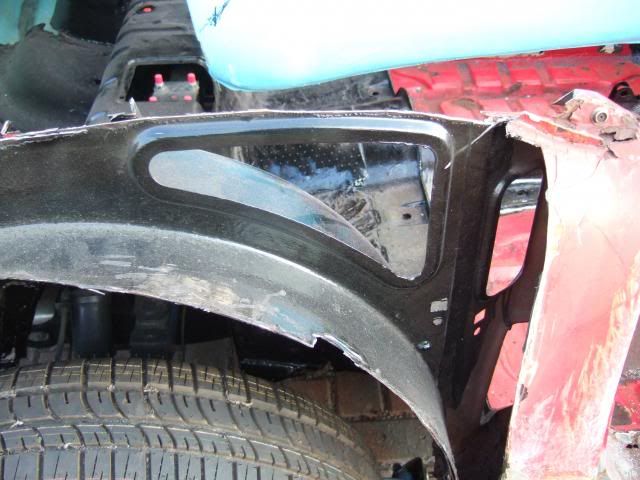
This left the rear section of the shell looking like this:
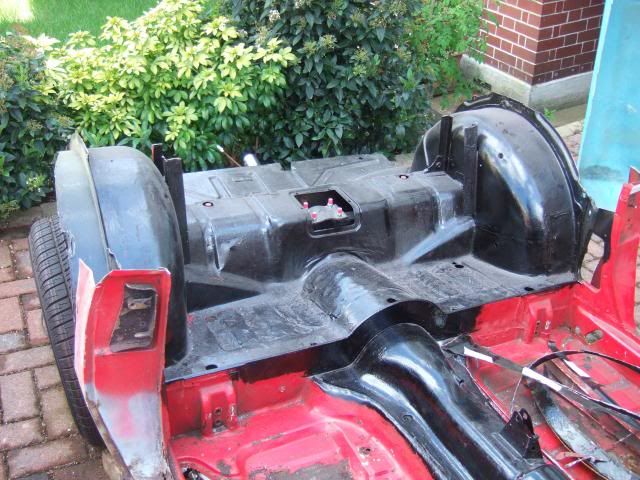
Note:
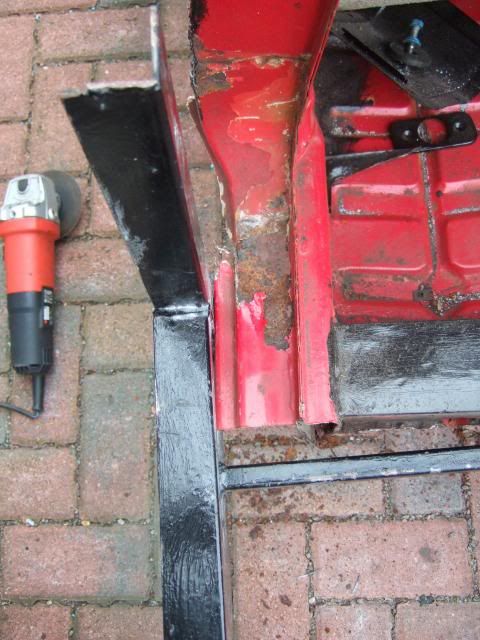
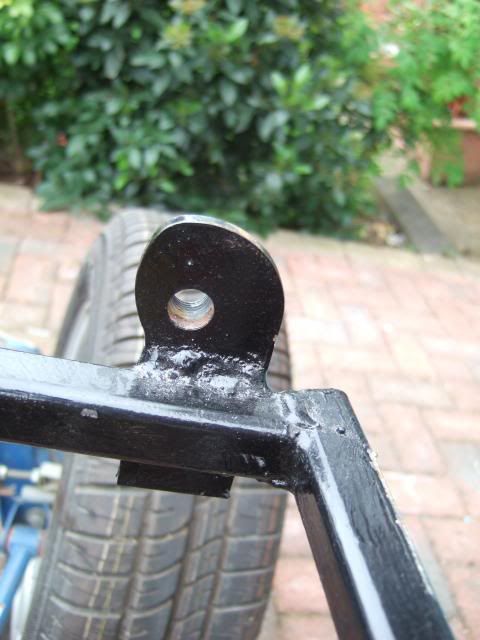
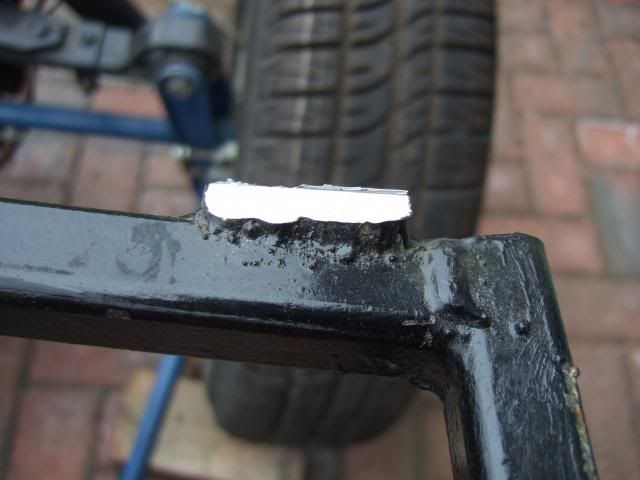
The pair of upright brackets on both wheel arches were given a trim after this photo was taken.
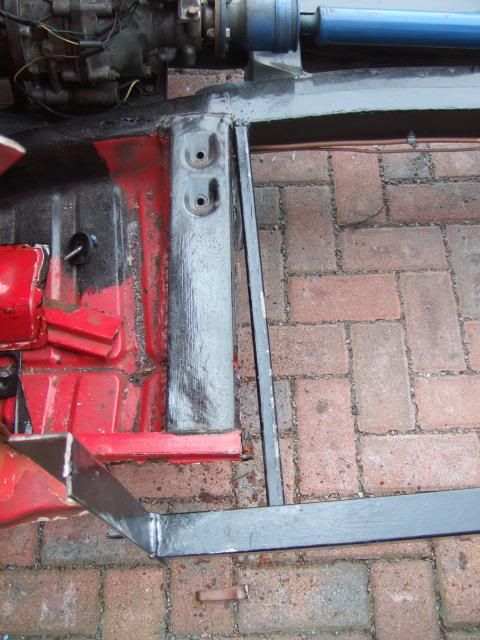
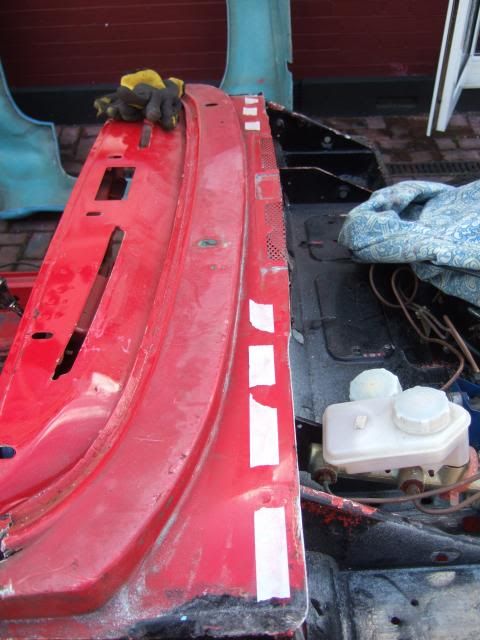
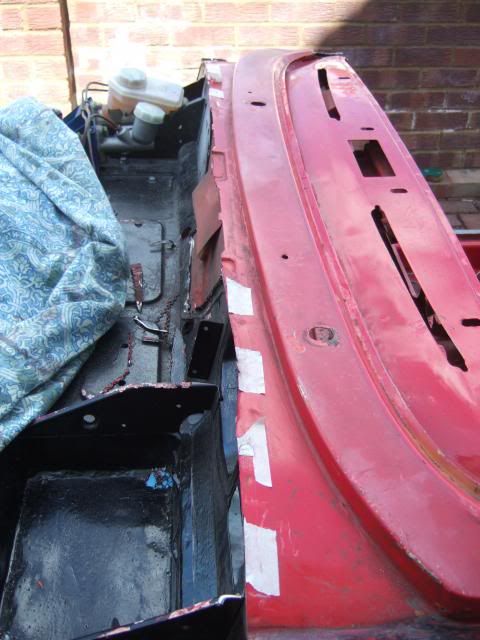
I also shaved a thin strip from the bulk head to see if that would help.
Before:
After:
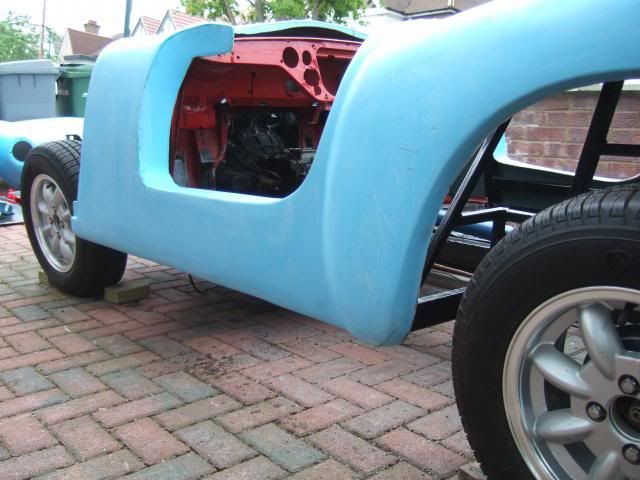
After putting the Cordite body back on, my twin exhaust pipes were now fouling:
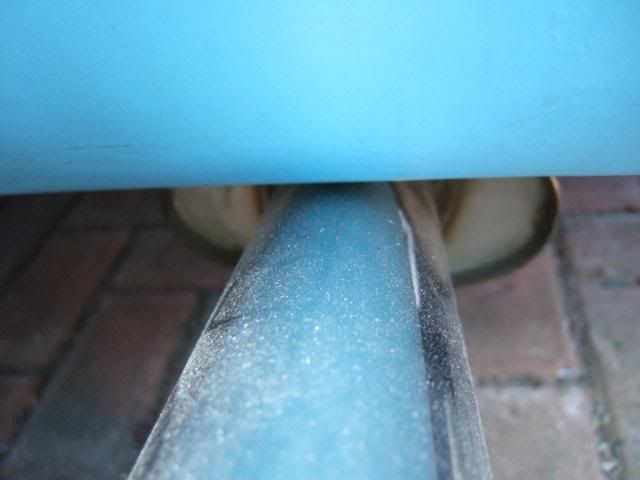
They are only pushed in place for now, so I simply removed them.
If push comes to shove, I may need to have some "cuts outs" in the rear body for the pipes.
The good news is that there is nothing to stop the rear section getting nice & low.
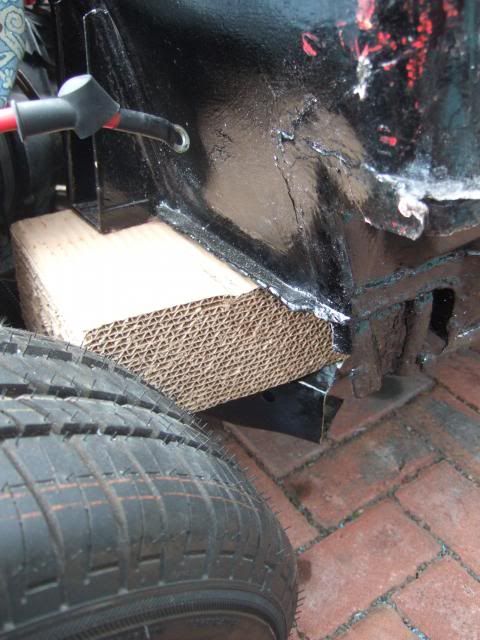
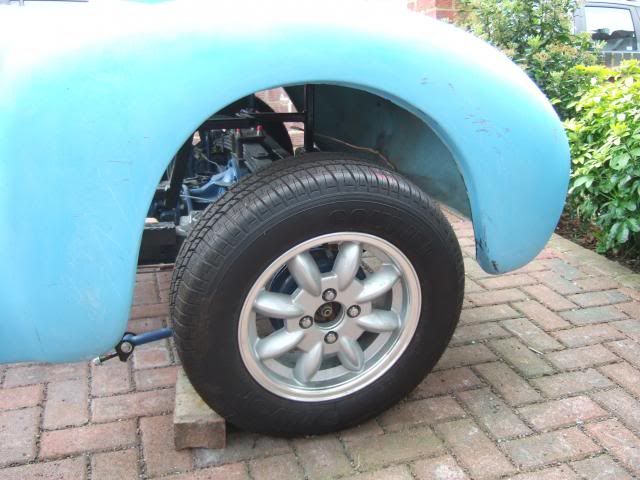
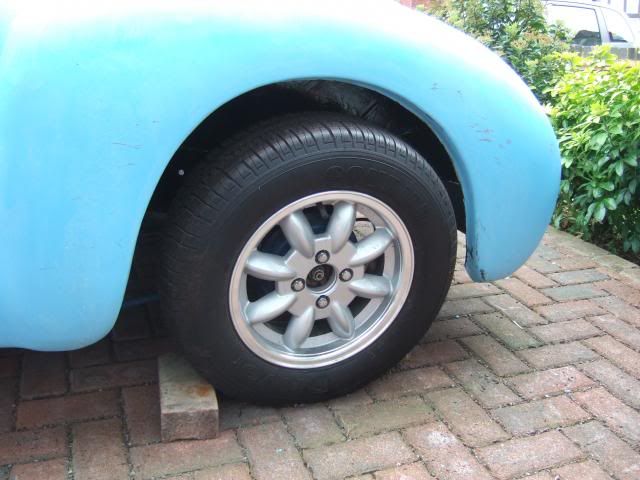
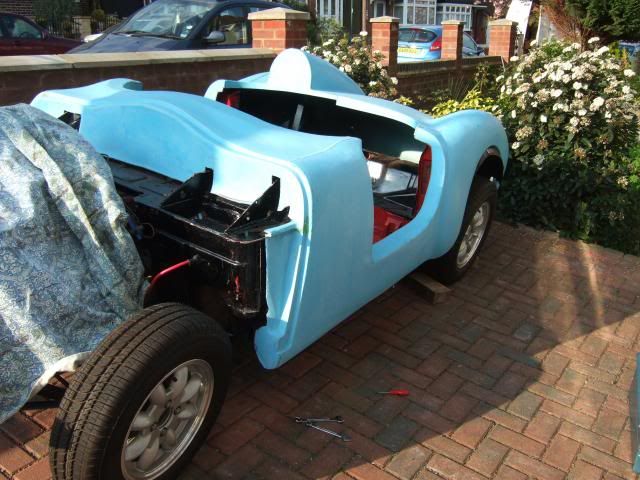
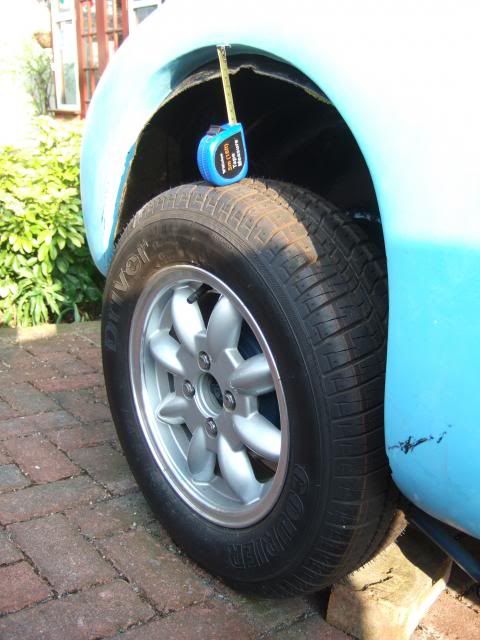
This is the rear wheel arch now:
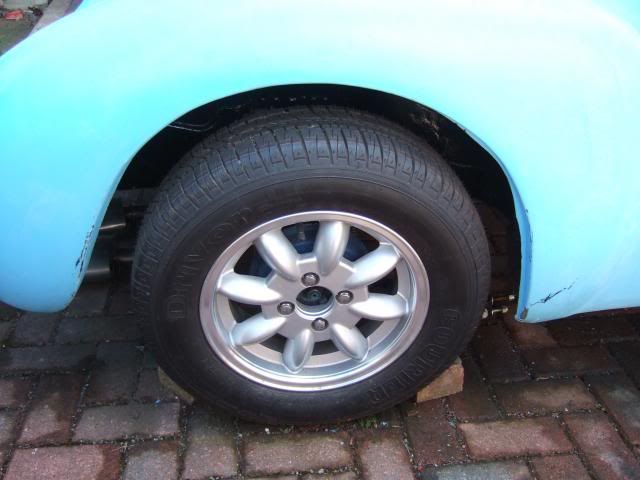
The bad news is that, as expected, the Spitfire bulkhead is too high by comparison.
You can see that the Cordite body work is now pointing upwards from back to front.


I've compared this last photo with the Ribble "Silver" Navigator photo (see previous post).
On that car, the bottom line of the body work sits below the centre of the front wheel.
Before I tried to work out what to do next, I just wanted to check the bonnet location.
With the front brackets still in place, I needed to rest the bonnet on top of them...
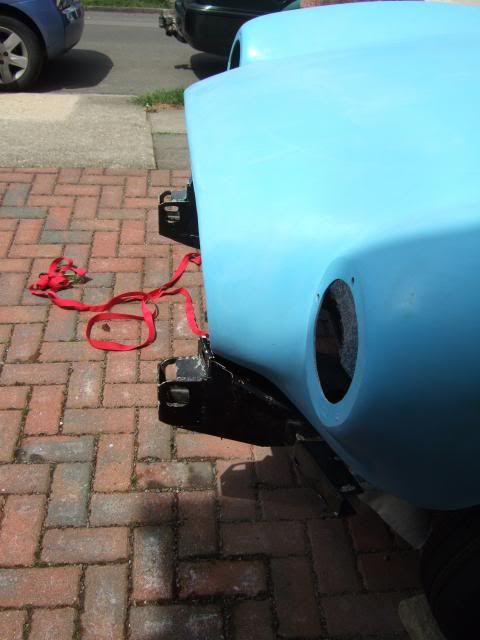
Obviously this sent the front end skywards, but you can tell it would settle down roughly in place:
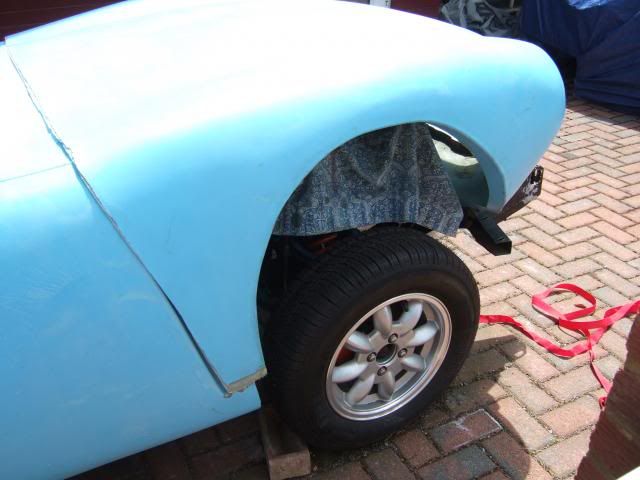
So thankfully, the position of the bulk head would still allow the bonnet to fit.
More Thoughts:
Now while the rain has been lashing down outside, I have been scratching my head a bit.
"Why is the Spitfire bulk head so high compared to the rest of the body work?"
After going back through old threads I think I have a better idea of what is going on.
First of all, here is
DaveCymru's Herald's bulkhead before it was cut down...

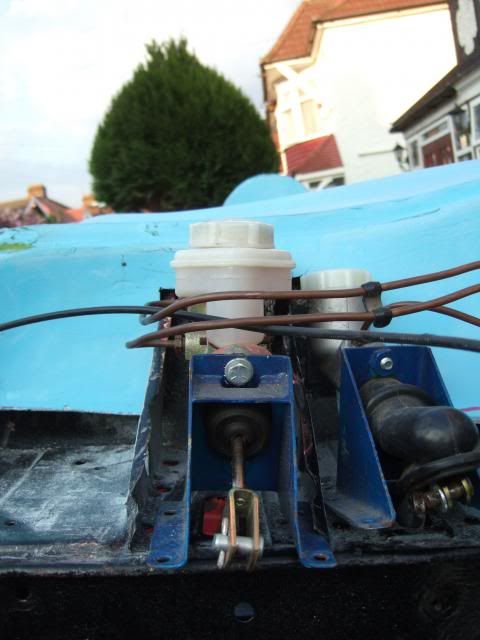
The reason the bulk head "chop" works for the Spyders is the gap above the master cylinders.
There is plenty of excess metal available on the Herald, that is simply not there on the Spitfire...

Note:
This is still one of my favourite photos from the build.
( In those happy days before I'd actually tried to fit the kit!
)
When the original Cordite prototype was being developed there was no Spitfire body, just a rolling chassis.
So a Herald bulkhead was used as the basis of the bulk head within the Cordite body shell.
I've been looking at this "still in development" photo....
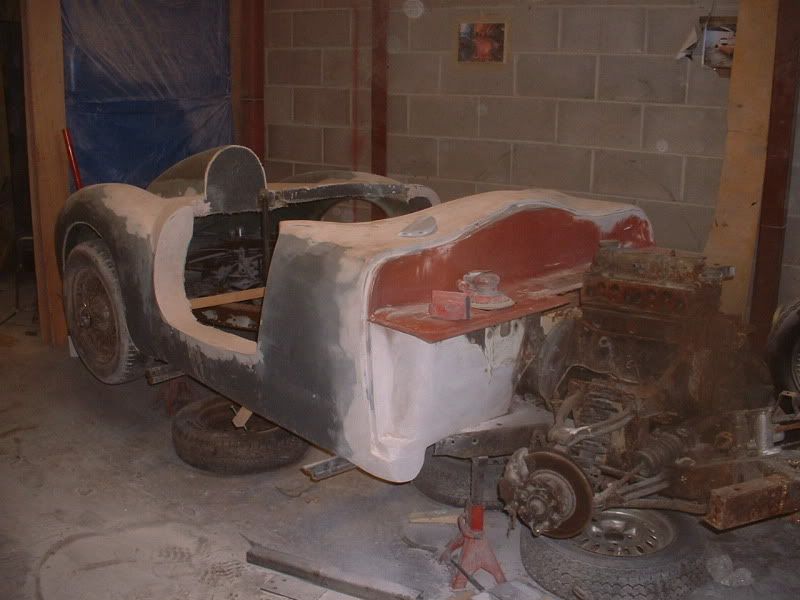
The bottom horizontal line of the fibre glass bulkhead sits on the Spitfire chassis.
If you then extended the line of the chassis it would be above the side "lip" for the bottom bonnet edge.
This is a photo from one of my previous test fittings of the Cordite body & the Spitfire shell...
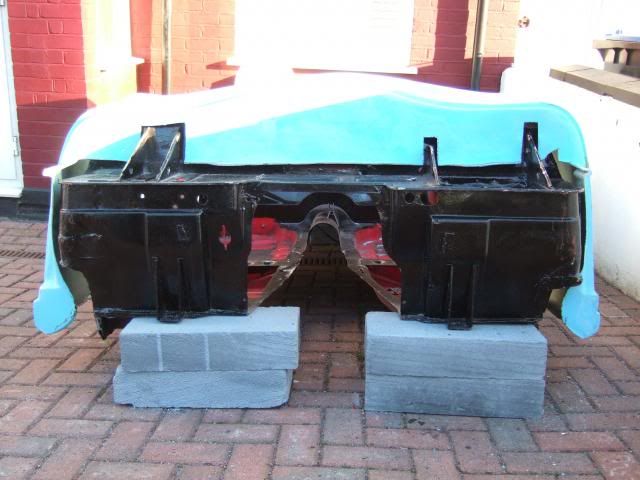
Here, the breeze block is where the Spitfire chassis would sit & a horizontal line can be extended from there.
Now imagine lowering the Cordite body until that bottom bonnet lip was in the same place as the other photo.
At this point the fibre glass horizontal bulk head "shelf" would be much lower than the Spitfire one.
So the good news is that I am not going mad, there is a good reason I'm struggling to line everything up.
The bad news is I am effectively trying to fit a square peg into a round hole!
Not sure I know what I can do from here, but I will go away and think some more.
Until next time, take care, Paul.











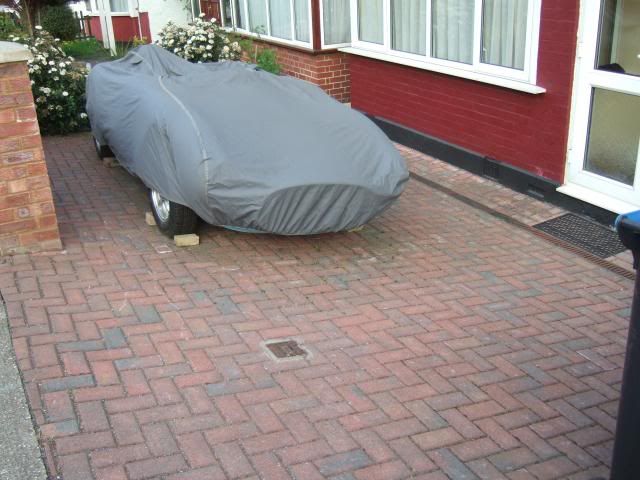

 At least you're lucky in that you can do it all on your drive and can stand back and see how it sits. I had the misfortune of doing it all in the garage and it wasn't until i rolled it outside for the first time that i had that
  moment.