This is a read-only archive of the old Madabout Kitcars forum. New posts and replies are no longer possible, but every thread is still here to browse and read.
At ******** last, I have managed a morning down at The Glade. I hope it is the return to normal service.
For those of you new to this forum, I am using a full steel floor and am incorporating removable roll hoops.
Also, I didn't want to alter the geometry of the suspension too much, hence I have kept it simple with a 1" lowering block and slightly shorter front Spitfire springs. This means that the only way to get the correct stance is to sit the body much lower than most other builders have. The mid crossbeam looks very low, and the negative knock-on effect with bonnet (not) clearing the engine will become apparent in the coming months.
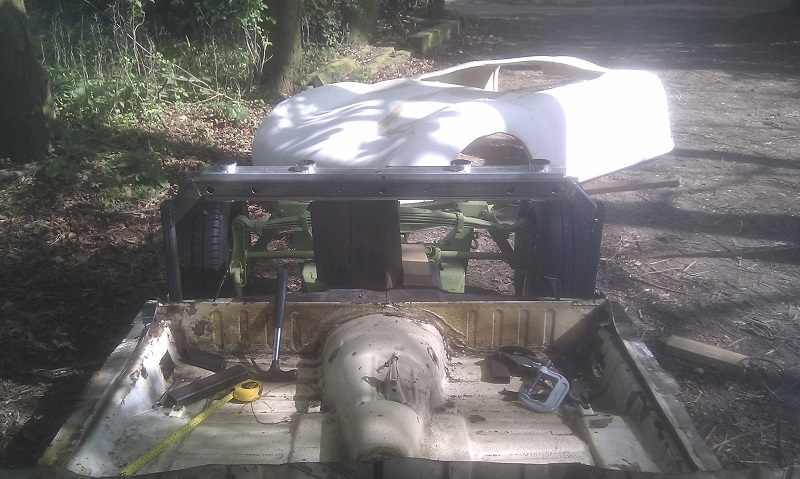
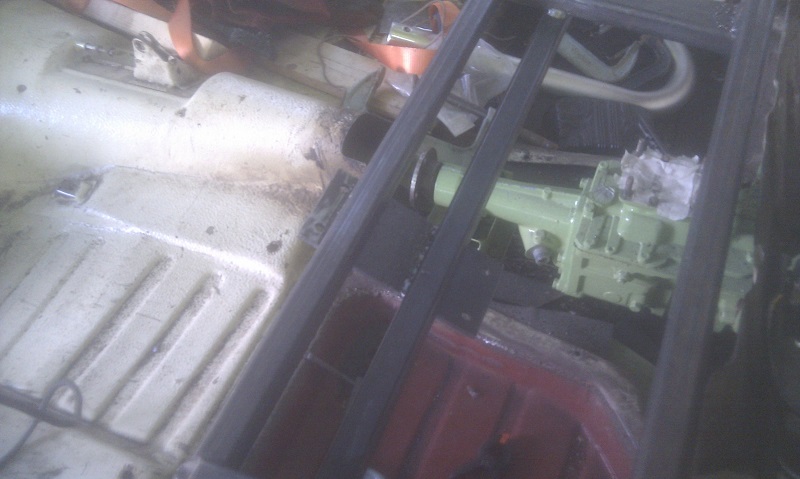
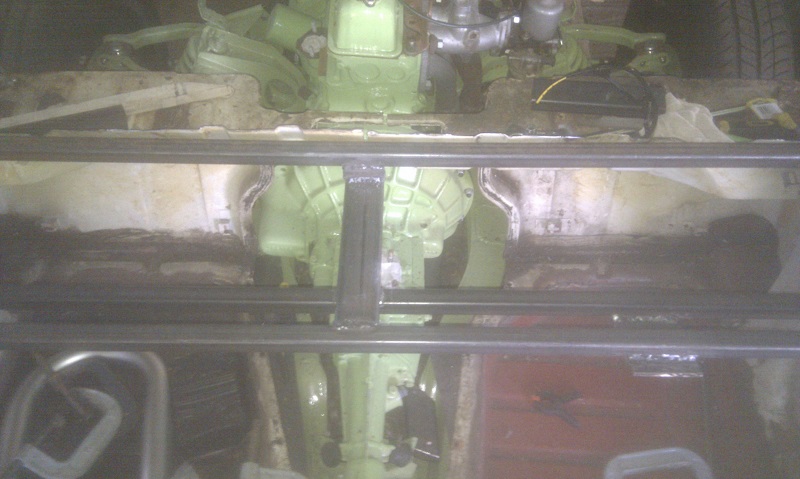
So, first job was to set the height of the mid-bulkhead frame.
The dark block in the middle is a bit of railway sleeper that I should have removed for the pic.
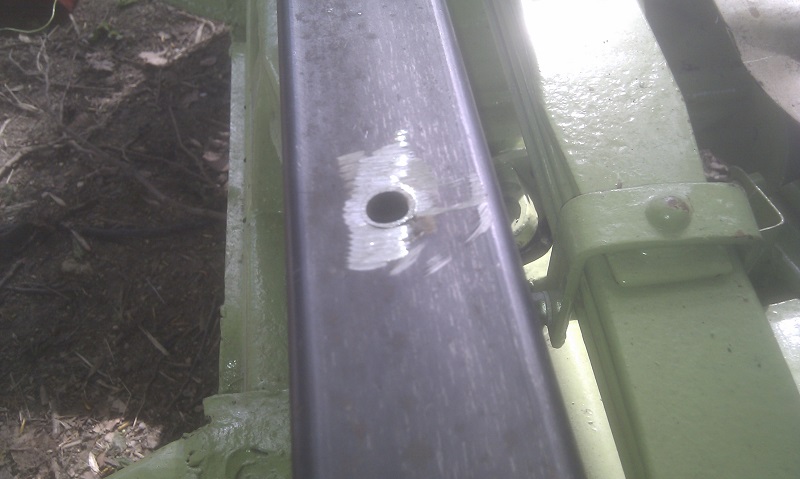
Then, I inserted my first crush tube......
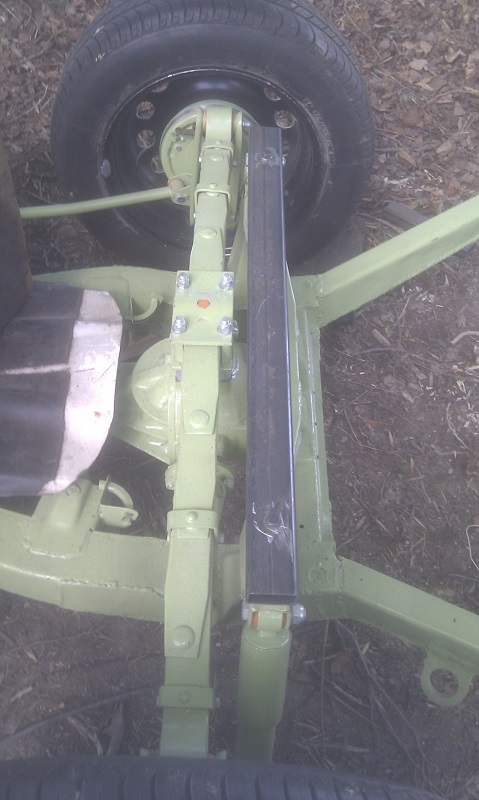
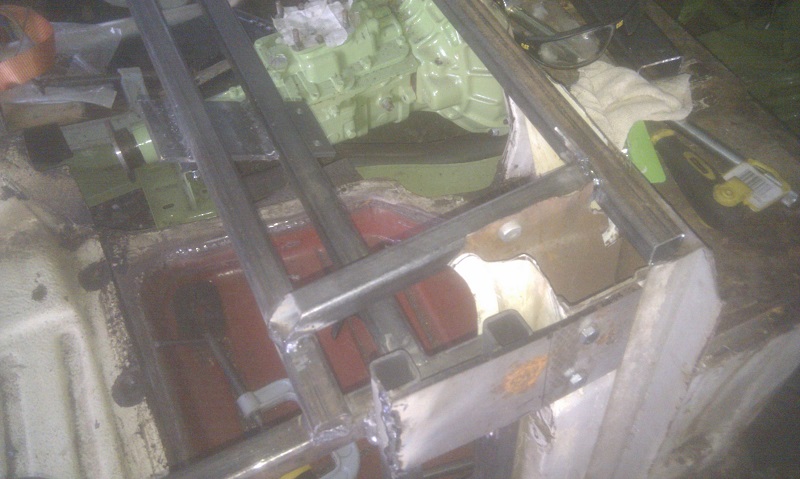
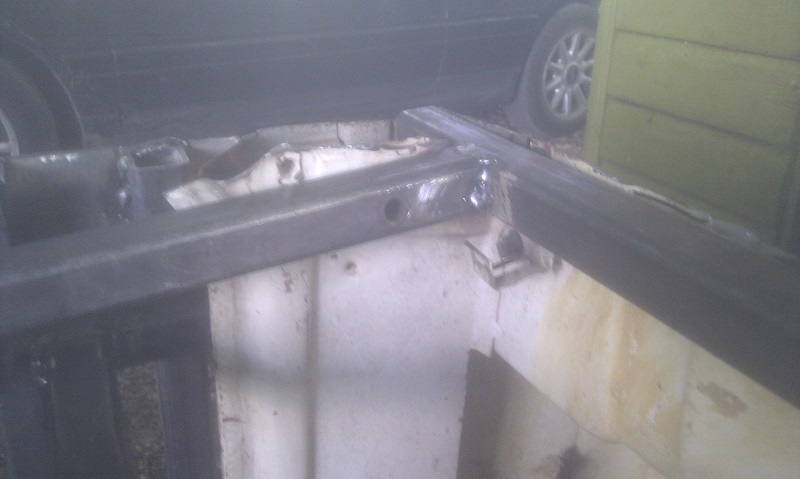
This beam goes sits across the top of the two shocker mounts.
Now I need to cut some box to link this beam to the back of the roll hoop support.
Incidentally, I bought my chop saw on eBay and assumed that its cutting power was "normal", i.e. hard work. Well, I changed the blade and it goes through 2.5mm wall box section like a knife through butter and almost silently. Result.
One upshot of the lower body is that I really can't see the point of doors......and this is somebody who really wants to confront the challenge.
Nice work Oxford1360 with the nights getting lighter and warmer the opertunity is there.
I do remember reading some where in your thread that you used products from the oil industry on the chassis but you didn't name them, what were they as i will be starting my chassis soon and are doing a bit of home work on what's out there.
Search for Vactan rust converter on eBay. I rate it.
I am also using Rustoleum Alkythane products from Promain. They will mix any BS colour for you. There is flex in this product and they recommend it for GRP as well. However, I might just go cellulose for the body.
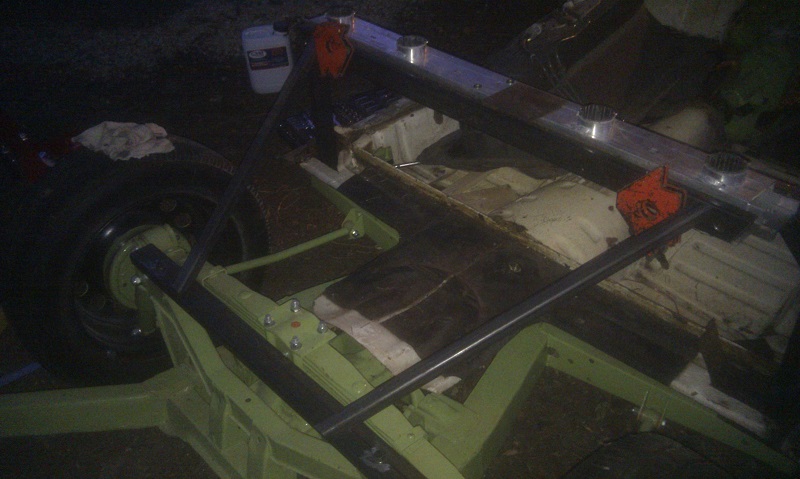
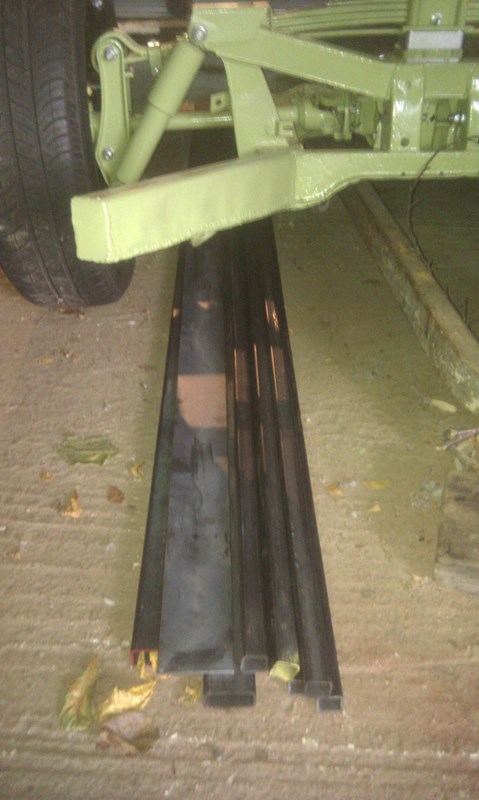
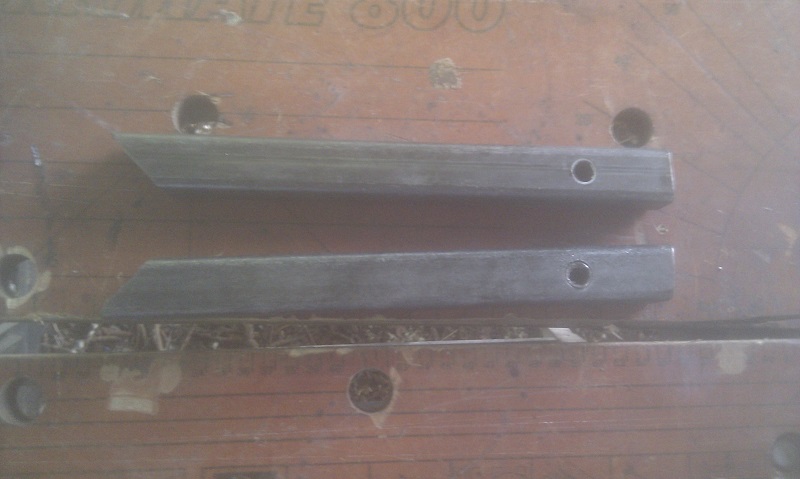
Another quick trip to the woods to cut a couple of box sections for the rear frame. Ran out of light to weld which was a shame but they are ready for next time. They're held in place with welding magnets in this pic.
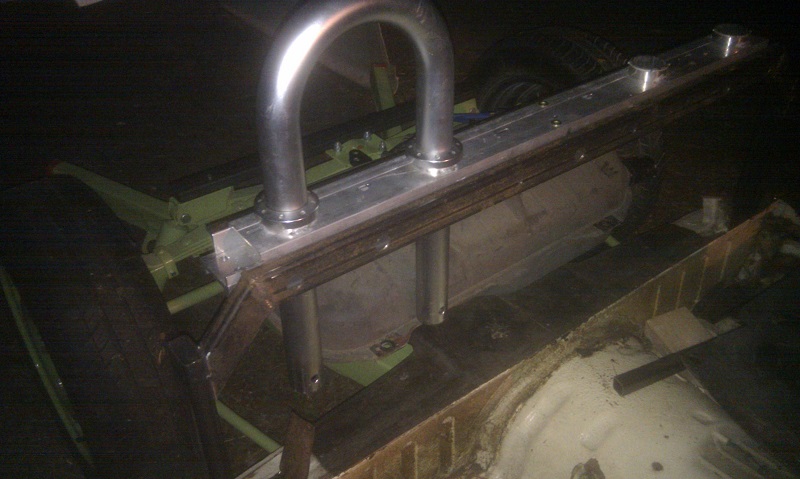
Finally, I couldn't resist sliding a hoop in place. Obviously it needs a base plate on which to sit, but it's quite encouraging to see.
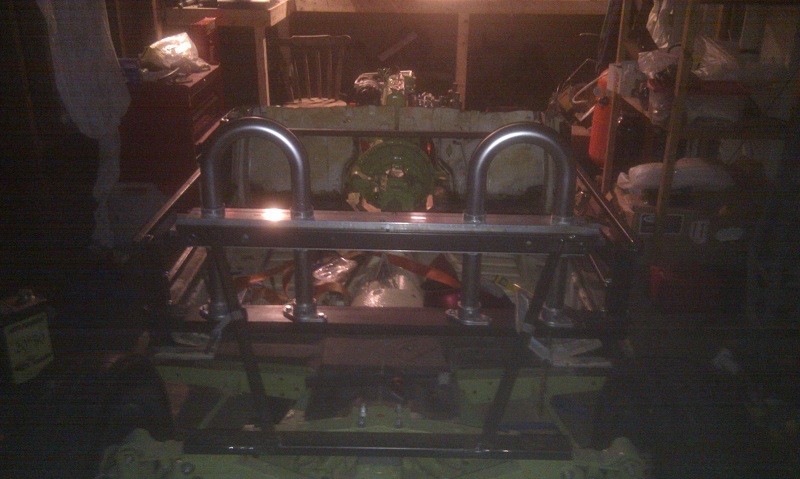
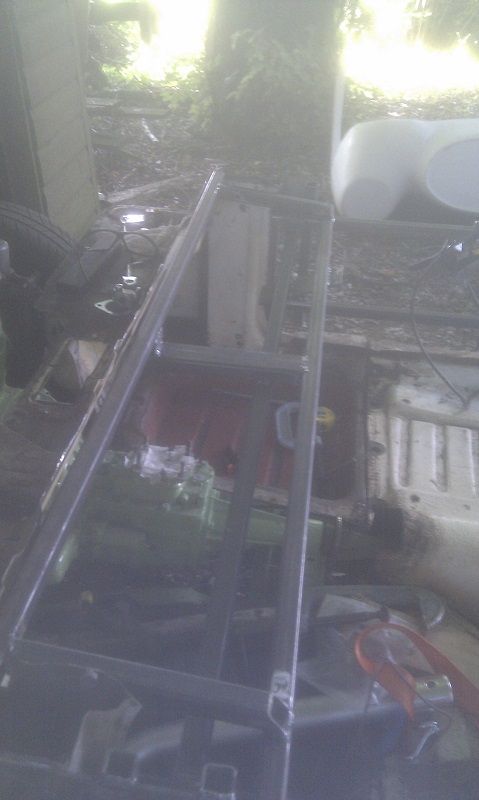
Just to prove that I am still alive and making some (slow) progress, here is a pic to show that the moon rover stage is getting closer. Apologies for the poor quality, but it was getting late and so was I.
The frame is currently tack welded together and I am reasonably pleased with it. I've included lots of mounting points with crush tubes. Some are being used already, and others are "just in case" because I don't want to butcher it once it is primed. For the attentive readers amongst you, you will remember that I am using the full Herald steel floor. This will be blasted once I have finished tweaking it.
This afternoon I decided it was time to stop fannying around with a gas MIG that isn't quite up to the task of welding the box section, and I have ordered an eff-off arc welder. Behold the power of the stick!
Oh, and after months of "will I, won't I" I have opted...........not to go for doors of any sort. And, that is my decision........unless I decide to change it before the body is bonded.
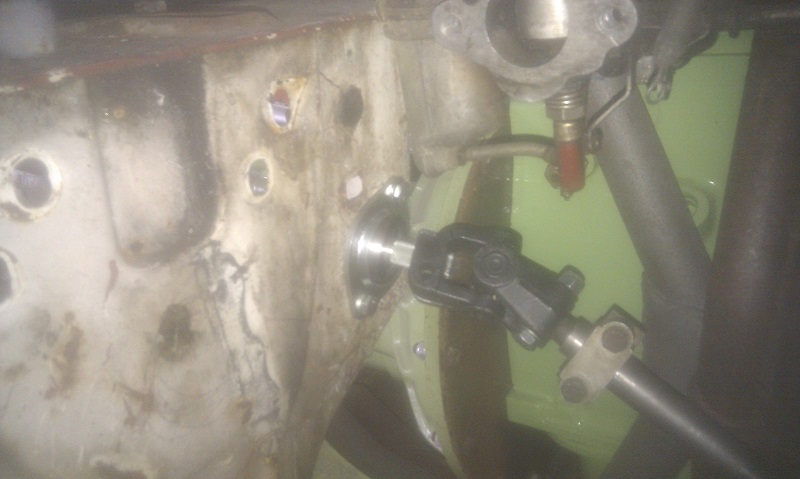
Tomorrow I plan to do some trials for the position of the steering column/wheel. I have added two UJs so that it sits centred and square-on to my driving position. Who said life should be easy?
Audi TT hoops and crossmember. They are easily removable and I won't use them most of the time. However, there will be times when I feel the need for a little added protection. They won't provide much but would support the car in a gentle roll.
Morning G,
The original outriggers had rusted to nothing on the ends. This can be seen in some of my early pictures. The very ends remained attached to the tub when it was removed. I bought two new outriggers and at the time that I was going to fit them I realised that the bases where they met the chassis were very solid. It seemed crazy to cut them off when I didnt need them to serve any purpose so I just fabricated some very rudimentary sleeves from 1.2mm mild steel and welded them on. So, if anything, the chassis is more original, and at the same time, less so!
If they had been solid, I would not have hesitated to trim them, despite all the valid arguments not to. I remember Gary saying that some cars had been inspected successfully having already been trimmed. I would never alter the main backbone, but given that you can buy replacement outriggers from any Tom, Dick or Harry, I find it difficult to treat them the same way.
Gary: It's 54cm from the top of the deck behind the driver to the lowest part of the steel floor (where the rear passenger's feet used to go). This may be less than on most cars because I have sat the body low to get the stance I want - rather than lowering the suspension by much.
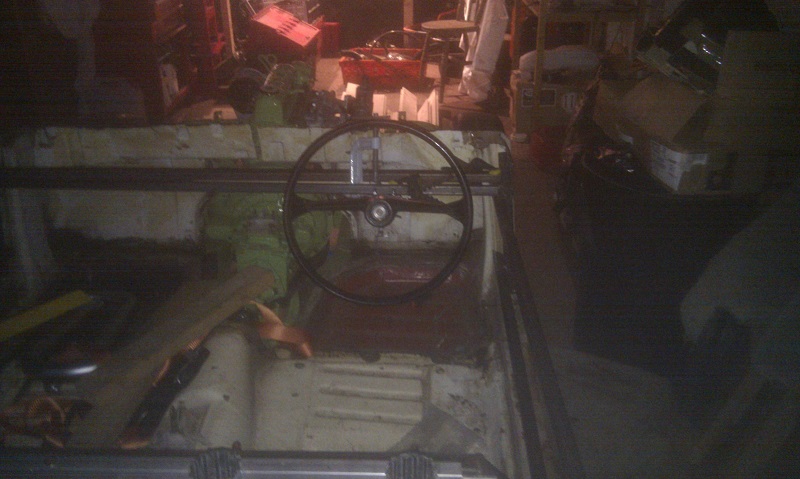
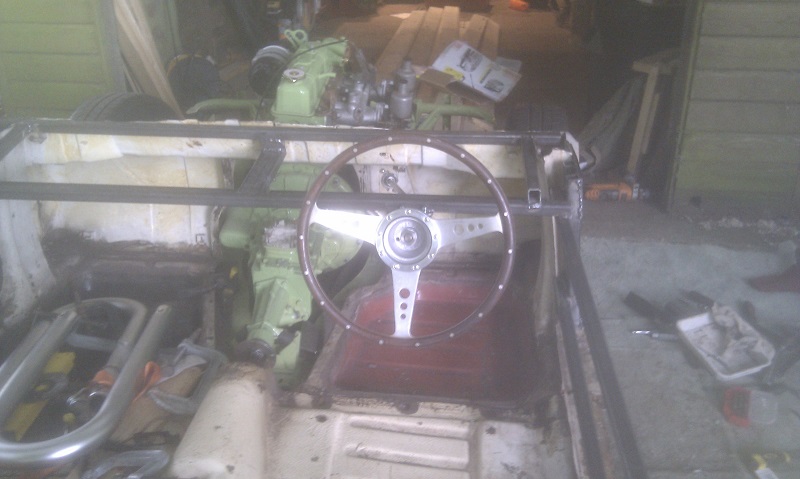
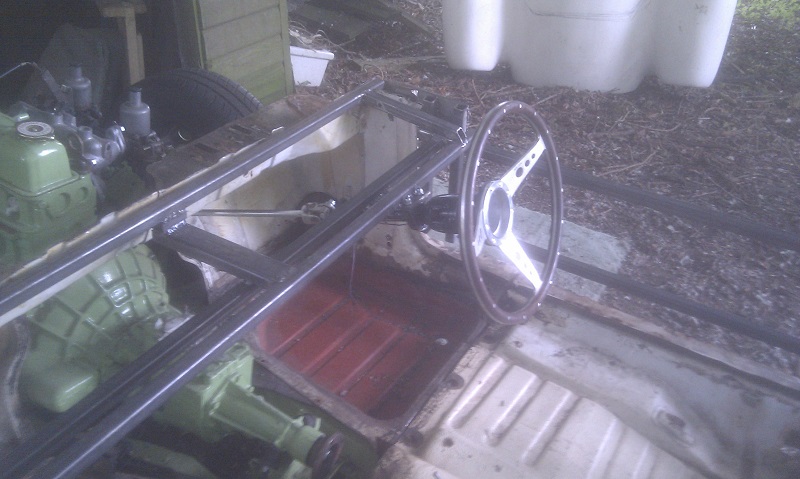
Another picture taken by candlelight. Nothing much but behind the mess is some real progress. By deciding to build the frame myself I have to decide the position of the steering wheel - height, rake, distance from driver. And, I have to do this without knowing exactly my seating position. I got myself comfortable and put the wheel in the ideal place.....but this made it almost impossible to get out. So, a few compromises later and it is now central and square to the driving position. It may not look like it in the photo, but the wheel is perfectly in line with the roll hoop.
I shall connect up the new articulated column this evening and get some proper pics of all the steps. This will show the new super-short original Herald column.
After the pic was taken I popped the bodywork on and the position of the wheel in relation to it is great. I'm resisting adding my Moto Lita but I won't be able to resist for much longer.
PS My new Arc welder is brilliant. I'd forgotten how brutally simple and convenient rods are.
Not very interesting pics but I need to convince myself of progress. Today I had a chance to continue welding the front part of the frame. I'm gad that I chose to make it myself. Like all aspects of the build, I've really enjoyed the chance to learn new things.
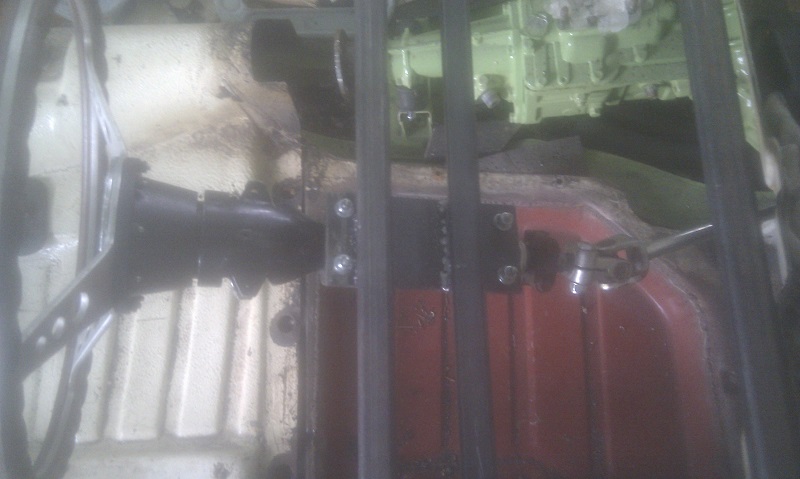
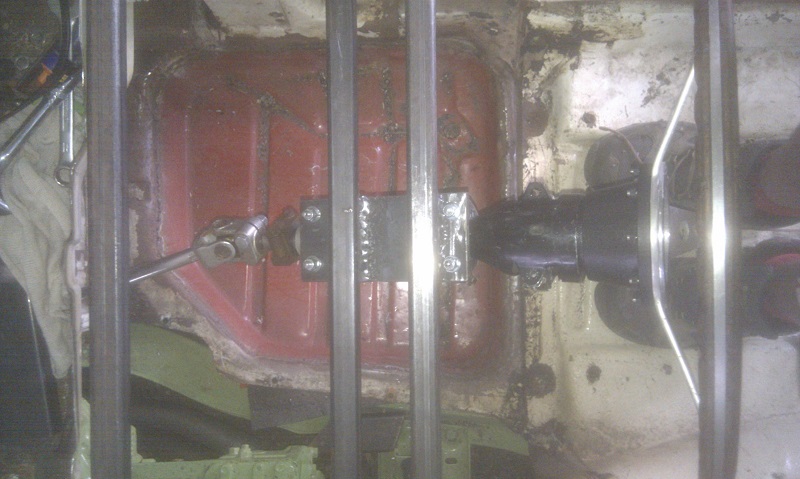
A view of the very simple but quite neat steering column mount.
Two small braces compete with crush tubes - more on these in a moment.
You can see the driver's brace in place. This attaches to the box section that runs along the top of the front bulkhead.
This is the passenger side. I shall put a bolt through to get a solid fix on the old A-pillar. The more things that are attached to each other the better. I shall trim off the top of the A-pillar to be flush with the top of the brace.
A centre brace to strengthen to two cross-members that run beneath the scuttle.
A full view.
The steering column is all ready. I shall bolt it in tomorrow and then, for the first time n three years I shall be able to steer it as I push it and out of the garage. It doesn't take much to make me happy.
A good afternoon. One of those days when all the planning and preparation pays off (rather than cr*pping on your dreams).
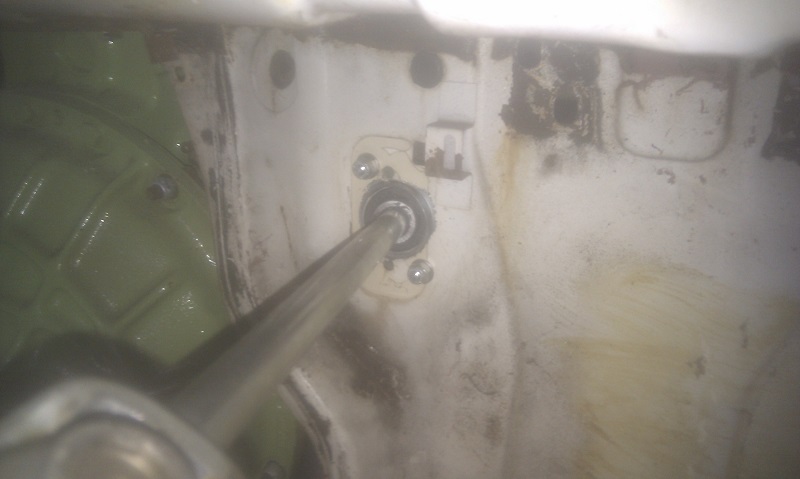
When I planned to redo the steering column, the challenge was how to have a solid mount next to the middle UJ. When the column passes through the bulkhead it is not perpendicular to any plane, i.e it is heading downwards and to the the left.
Components for making your own column are not as plentiful as in the US where the hotrod market delivers just about anything you want. However, CBS has a few things - http://www.carbuildersolutions.com/uk/steering-column-link (it was cheaper when I bought it)
For the first time in three years I have a steering wheel connected to the rack. And, even with my work boots, the middle shaft clears my feet.
Now, I can understand fully why other builders will stick with the Herald column, but if you are thinking about straightening and centring it, it's easier than I expected. I did have the luxury of three full columns to use for parts, but even so, they are easy to come by.
Just to clear some trees... get rid rid of that polaroid effect on photos, so i can see the various bits more clearly. Its looking very good, how did you decide on height of cockpit? did you put a seat in to make sure it didn't stick out the top. Also, the bolts that hold the body onto the chassis, can you get to them inside or are they bonded in?