This is a read-only archive of the old Madabout Kitcars forum. New posts and replies are no longer possible, but every thread is still here to browse and read.
[SIZE="4"]Just tidying a few bits up before attending the Knebworth Show on August Bank Holiday Monday . . .
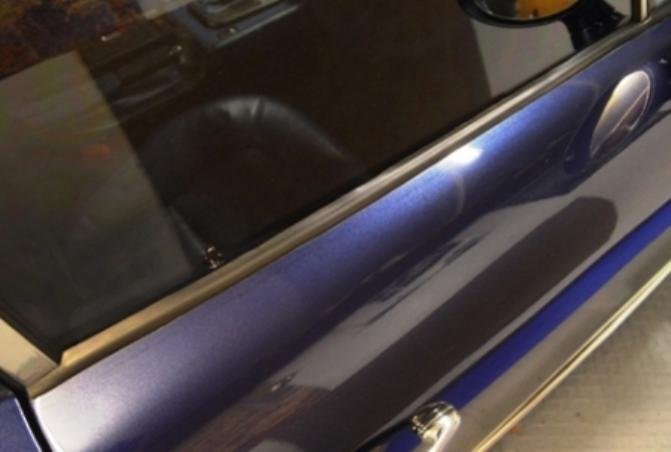
These door window lip / T seals, are designed for a Jaguar XK150, but suit here with a little trimming. Tried clamping a square steel rod onto the work surface and cutting with a stanley knife - just about gives an ok edge.
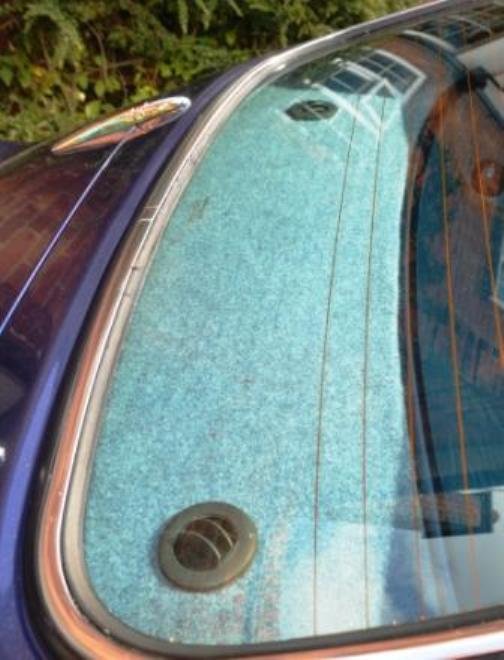
Renewed the carpet on the parcel shelf and fitted a heated rear window. Looks neater. The chrome trim is almost impossible because the body does not fit the screen very well, at the top corners [not shown]
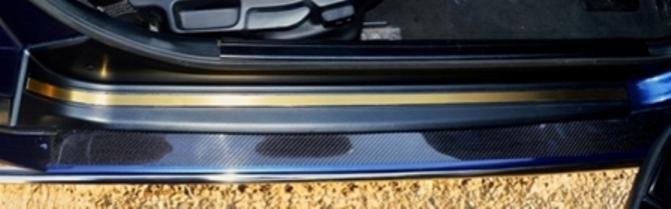
Put some anodised stainless kick plate strips in, which work better with the carbon fibre sill covers.
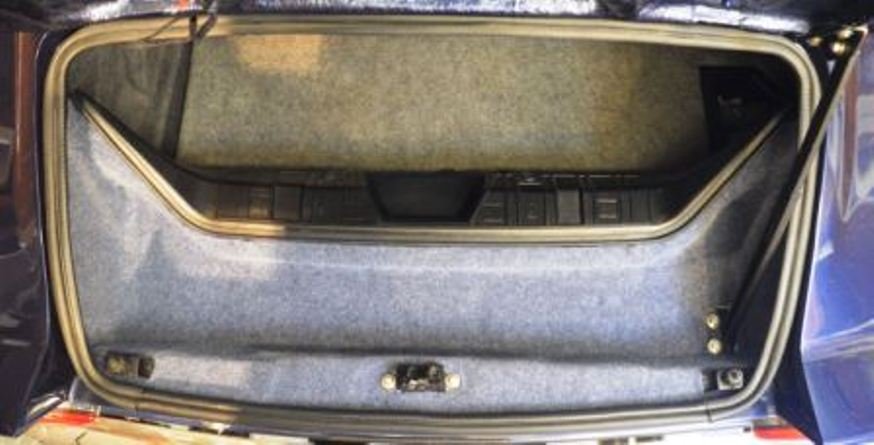
In the boot we have gone back to the standard plastic trim, with the addition of some little rubber edging strips, to tidy it up.
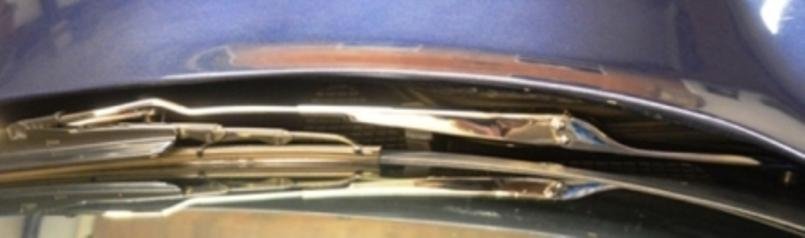
We chromed the wiper arms:
We found some brass thin U profile sections which we chromed and fitted over the leading edge of the quarter-light glass.
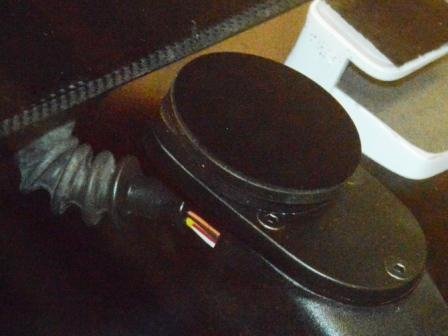
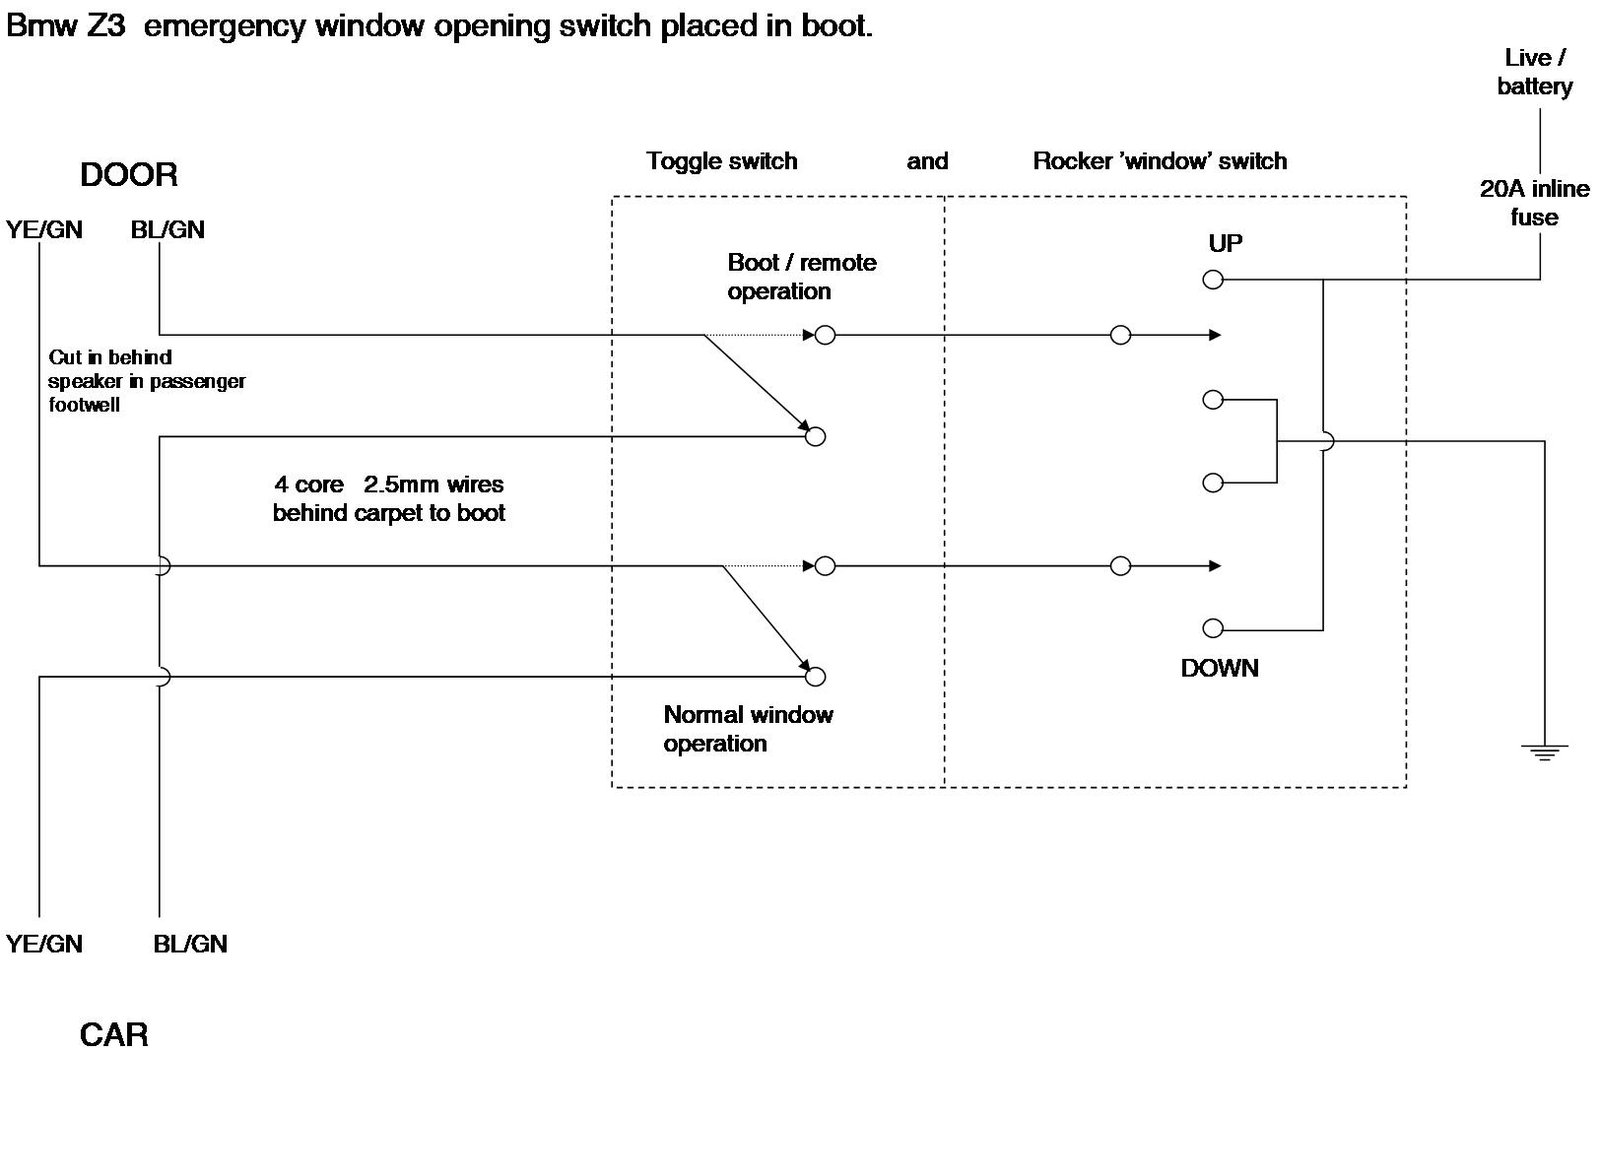
Finally, we created an emergency access route if the door locks failed, by wiring up the passenger window to a switch in the boot. Due to the possible high current we used 2.5mm wires and two switches. One to change the operation from the cabin to the boot and one to operate the window. Again, these must be 'heavy duty' type switches to cope with the loading . . . . let's hope we do not have to use it at all.
Washed and polished with Simoniz Carnuba wax.
Anyone else going to Knebworth ? . . . . Due to be cloudy but dry.[/SIZE]
Any chance of more detail on your boot mounted window switch. I tried to do the same but the wires got very hot and I presumed I had got the wiring wrong.
When the remote central locking fails the system deadlocks, the only way to open it is to turn the ignition key.
Mirror lowering bracket and raising the rear ride height.
Jag, I will try and get a proper wiring diagram with the electrician's help.
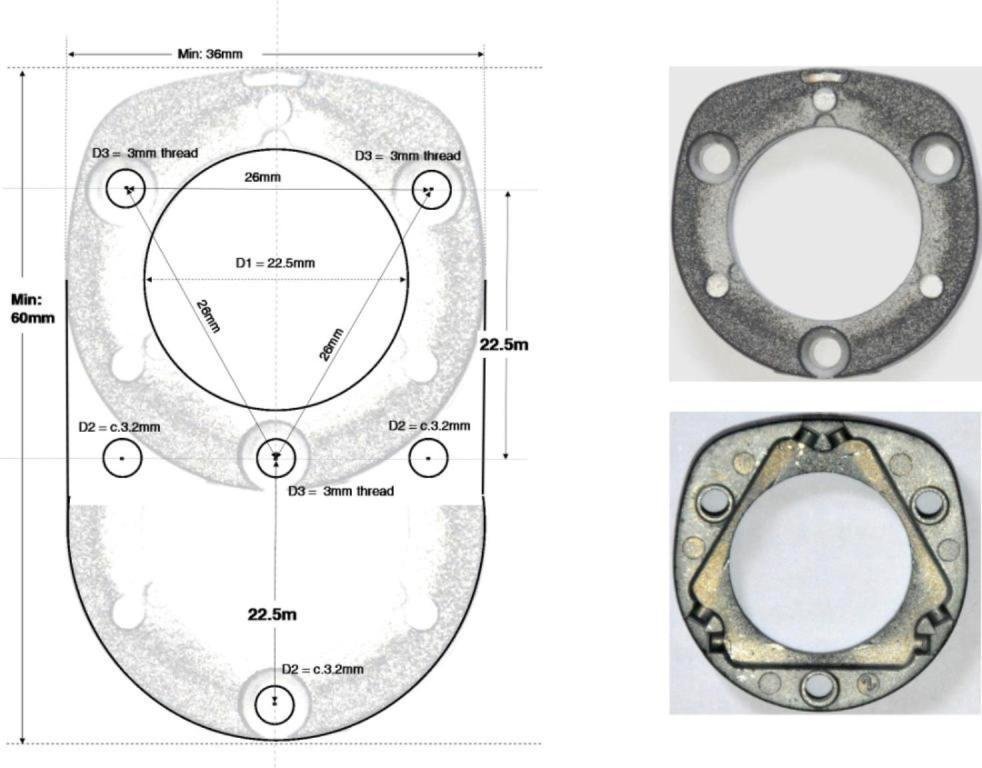
Meanwhile . . . . several people have noted that the internal mirror position is not ideal, giving a limited rear view. We have solved this problem by working in two directions, firstly by making a bracket to lower vertically the mirror by 15mm. This involves 'sliding it' down the screen, by making an adaptor.
We chose a 22.5mm transposition / replication of the holes as this equates to a vertical drop of 15mm if one estimates that the screen is a 45 degree slope.
The photos may help understand how it works . . . on the right is an image of the bracket from both sides. It holds 3 spring rods, which attach the mirror to the boss on the screen. On the left is a drawing of what I was trying to achieve.
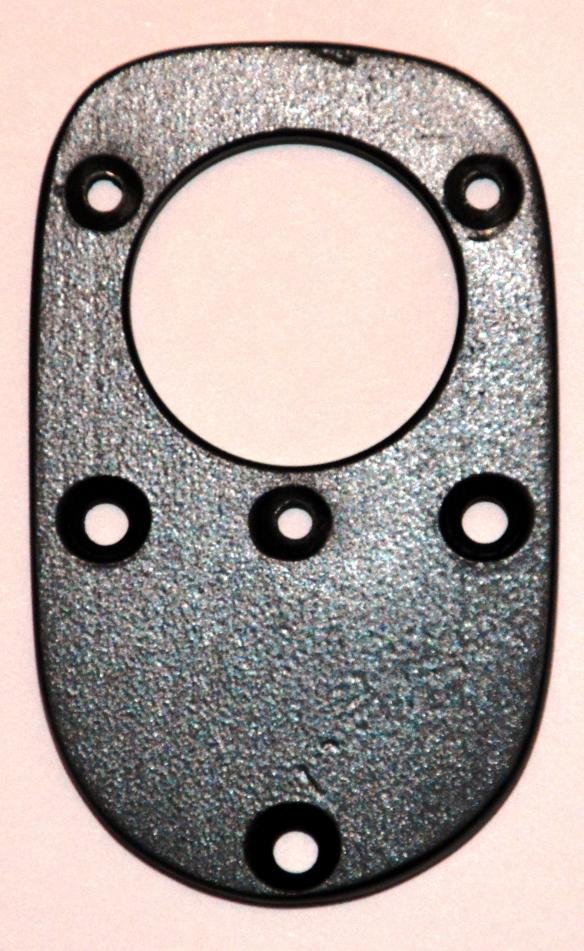
By using the images one can draw / envisage a bracket: ours came out like this:
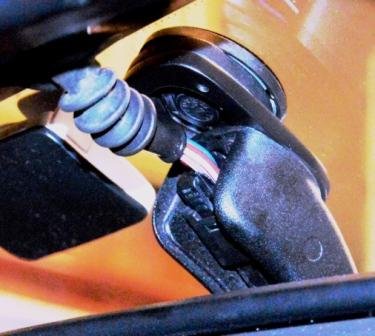
Here it is fitted, from the inside and outside.
The second angle of approach was to raise the rear ride height a bit, by adding another 10mm rubber spacer above the top spring mount [and bump rubber] by using a lower spring pad and cutting off the central 'tube like' section.
We now have very satisfactory rear viewing.
Can someone please explain how to keep the photos in the blog and not end up with wretched links . . . please.
Here is a schematic drawing for an emergency switch in the boot to operate the passenger window. Just in case your locks fail / get stuck / central locking fails. I have had professional help here.
Because the supply is direct from the battery and has no limit to the current [excepting an inline fuse] the wire should be 2.5mm and the switches must be easily able to cope with a large current; also recommend that when operating, avoid the movement reaching the top and bottom 'stops' - as this is when huge current continues to flow . . . . because the stop switches are not working.
I can email this image to anyone if required. The wire colours only matter where you cut in, but it is worth having a note in your records of the colours you use.
Any questions, doubts or observations welcome.
The next action to deal with the ECU engine hesitation was to put a 5W incandescent bulb in a number plate holder, in line / parallel with each rear position / side light led. By using the same 5W bulbs as standard, I am trying to replicate the wattage used [ even though the front side lights are 20W halogen bulbs - I tried changing these back to 5W and 2w leds, with no resolution] yet again, this seems to clear the problem, but wait a few days to see, as the hesitation does not always present itself straight away . . . . . We now have two extra lights in the boot and I put an aluminium heat sink on each holder.
Do you have any details on the rocker switch that you used?
Did you simply splice the new 2.5mm cables to the window motor, if so I presume the final couple of inches of wire is much thinner?
I am just going to fit a switch to the driver's door as I found that if the car deadlocks you have to put the key in the ignition and turn it before the door will open.
We cut in / spliced behind the speaker in the passenger footwell, of the wires going to the motor, so part of the route is in the original thinner wires. We avoided wiring it in to the console switch, as the actual wires there only carry 5V ? and are too thin. I tried this first and blew the switch . . . so resorted to professional help.
The actual switch used in the boot was a Fiesta? one, which was provided by the professional auto electrician.
[SIZE="4"]Prior to the GTB build, I insulated and plaster boarded the side wall and ceiling; added some thin ply and insulation to the doors and laid down some discarded carpet for warmth and comfort.
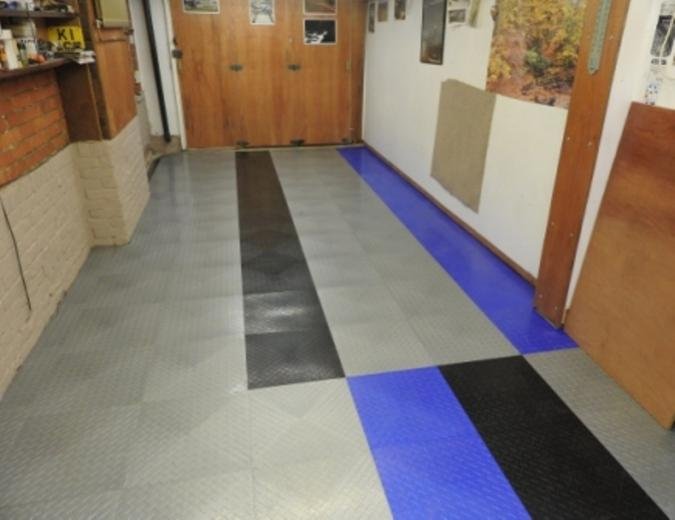
Having nearly finished the car, three months ago we treated the garage to a plastic tile floor. This comes from the UK importer of 'Racedeck' in the USofA. A year or three ago CKC magazine had a good article of various flooring options and plastic interlocking tiles seemed first choice. More carpet / porcelain tiles / seal and paint are alternatives.
Firstly, check that it is flat and clean the concrete floor, then cover with two coats of sealant to help avoid dust, followed by an acoustic aid of landscape matting - black woven plastic sheeting / weed preventer laid down before the tiles. The aim is stop the clack-clacking when walking across the floor. Moderately successful.
Choose your straight edge to work from - the front entrance in this case - and proceed easily by stepping on the edge of one tile to fit it into the next, or use a leather mallet. Tiles must be cut to fit around the edges, with a saw / jig-saw / angle grinder, but don't over heat it. Trim and tidy the edges with a sharp knife or scalpel and maybe sandpaper or flapper disc.
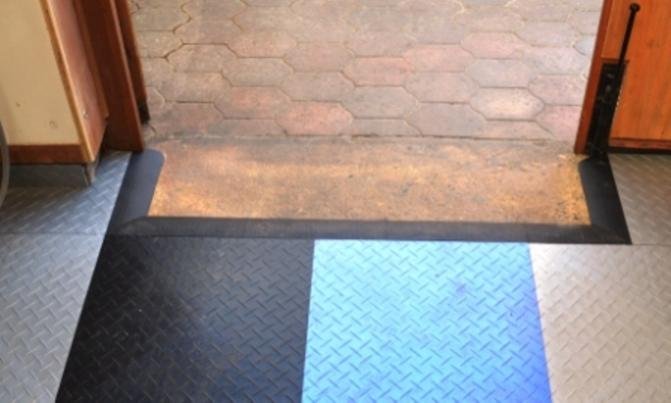
This is the tricky and time consuming part of the job. Tight is good, but if it is too tight, then trim a bit more off. In one corner, I came back a few days later to ease a couple of tiles to keep it flat. The rear door opening could be left with a cut edge, but the black trim pieces look fine.
No gluing or sealing is required.
In retrospect I would avoid black tiles because they show the dirt, but do have a line or bit of colour somewhere. It has 'worn' well and does not show many marks; it seems to be tougher than expected. It dries quite quickly, but shows the dirt from the wheels - nothing can get over that though. The rear door exit could be neater if one finishes by cutting the tiles at the front entrance, but . . . Now it is much easier to sweep the garage out . . . [/SIZE]
Looks clean enough to eat your dinner off ! My garage isn't as nice but I have white washed the walls and used an epoxy floor paint. With six 5' flourecent tubes it is well lit too. Before I started my TR project I bought a roll of black and white squared Lino. I've covered half the floor with that, the idea being to create a "clean" area for assembly and dirty side for welding / fabricating etc.
I did consider something similar but wasn't sure how it would stand up to axle stands, trolly jacks and welding. So I stuck to the tried and tested thin smear of engine oil all over with some tastefully placed piles of tools, wheels and tyres for a pleasing effect.
Finish off with a scattering of pea gravel from the drive to toughen up the old kneecaps when kneeling.
I did consider something similar but wasn't sure how it would stand up to axle stands, trolly jacks and welding. So I stuck to the tried and tested thin smear of engine oil all over with some tastefully placed piles of tools, wheels and tyres for a pleasing effect.
Finish off with a scattering of pea gravel from the drive to toughen up the old kneecaps when kneeling.
Ditto, but add some extra body panels just for fun moving around.
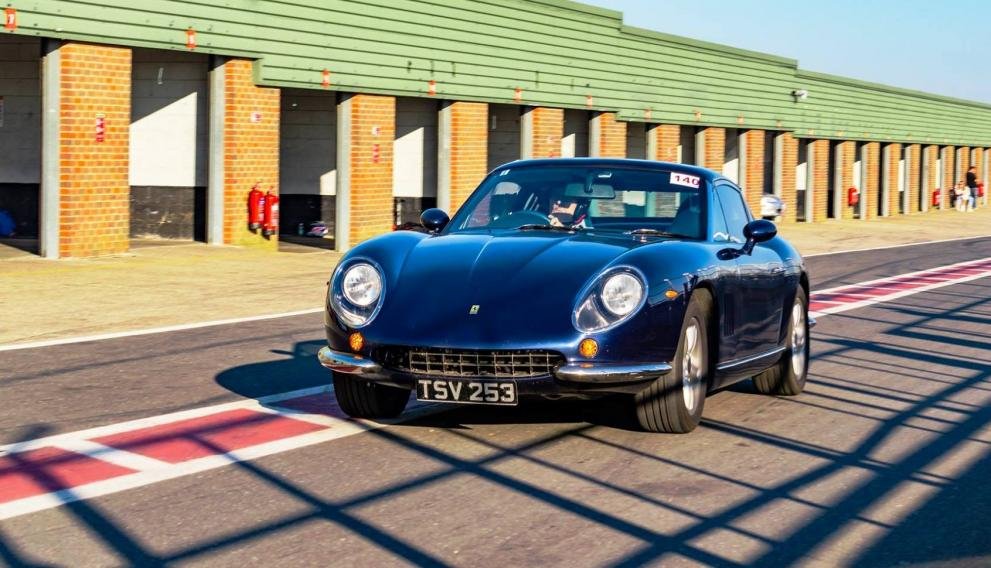
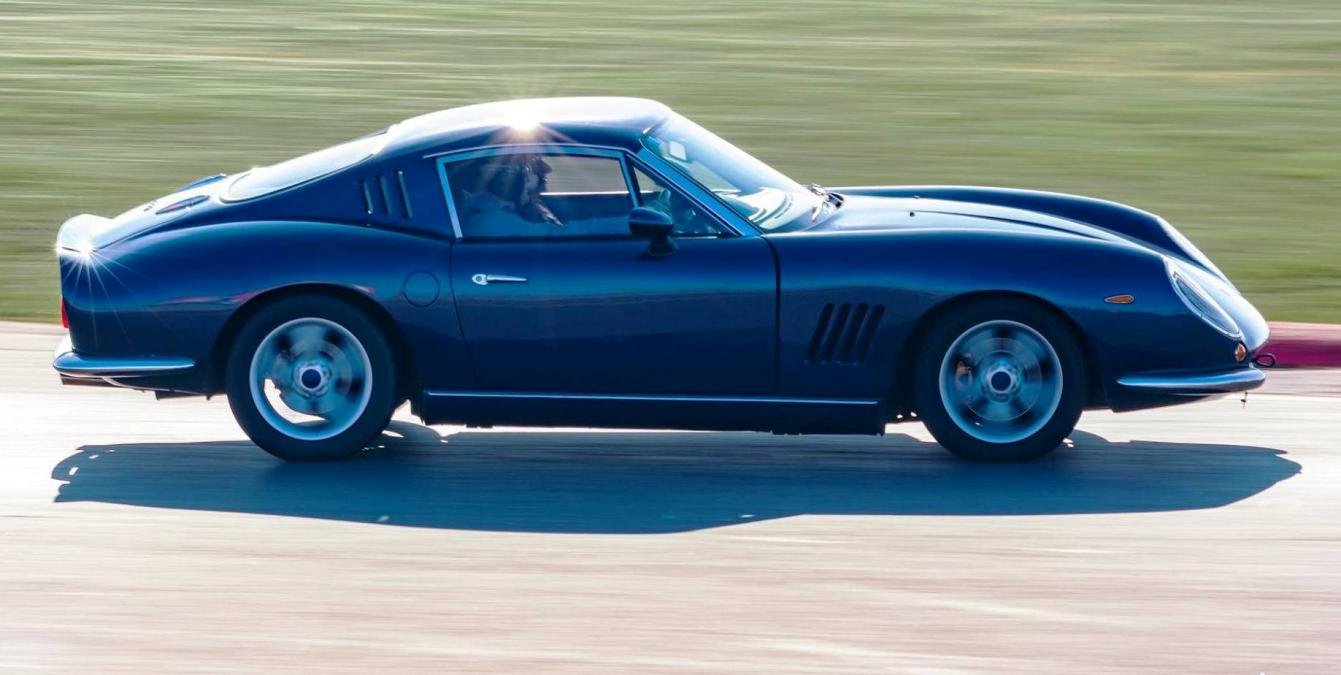
[SIZE="4"]Sunday 24th February was a great day out on track at Snetterton.
Very friendly, easy going day, sessions for two groups in the morning and open pitlane most of the afternoon. Never seemed to get crowded. Some serious cars - a few Astons incl a DB9 and a DBR1 - Ferrari 360 - plus Fiestas and MX5s.
Instructors 'ARDS' included and photos on offer. Here's a couple of the GTB, courtesy Browns Photography.[/SIZE]
Very nice pictures Kidge, certainly the one to aspire to be like!
Great to see it out there being used and enjoyed......one day for me.....
You certainly are providing plenty of motivation to keep on going! Enjoy yours at every opportunity.
[SIZE="4"]A bit of technical first, with thanks to Andy. The photo below shows a bonnet strut prop, made from 15mm od aluminium tube. Cut a length out of one side and add a strip of bicycle inner tube to prevent scratching the piston. This fits over the strut piston to help support the bonnet, even though some stronger struts have been fitted.
Attachment “bonnet strut prop.jpg” from the original forum could not be reliably recovered.
The M54 bmw engines [ours is a 3 litre auto] have acquired a reputation for burning oil because of the design of the oil rings. On our trip to Spain the engine consumed a litre in about 2000 miles. Earlier this year, when an oil change was due we added a litre of Liqui Moly ‘Flushing oil’ to clean out most of the detritus and sludge. We refilled with the same spec oil as before: 5 – 30W synthetic, along with 1 litre of Viscoplus Liqui Moly additive. We have just covered 3000 miles to Italy and back, using only 700cc of oil. 25 – 31mpg
These were purchased through ebay: [url]www.ebay.co.uk/str/know-more-traffic?_trksid=p2047675.l2563[/url] [/SIZE]
[SIZE="4"]
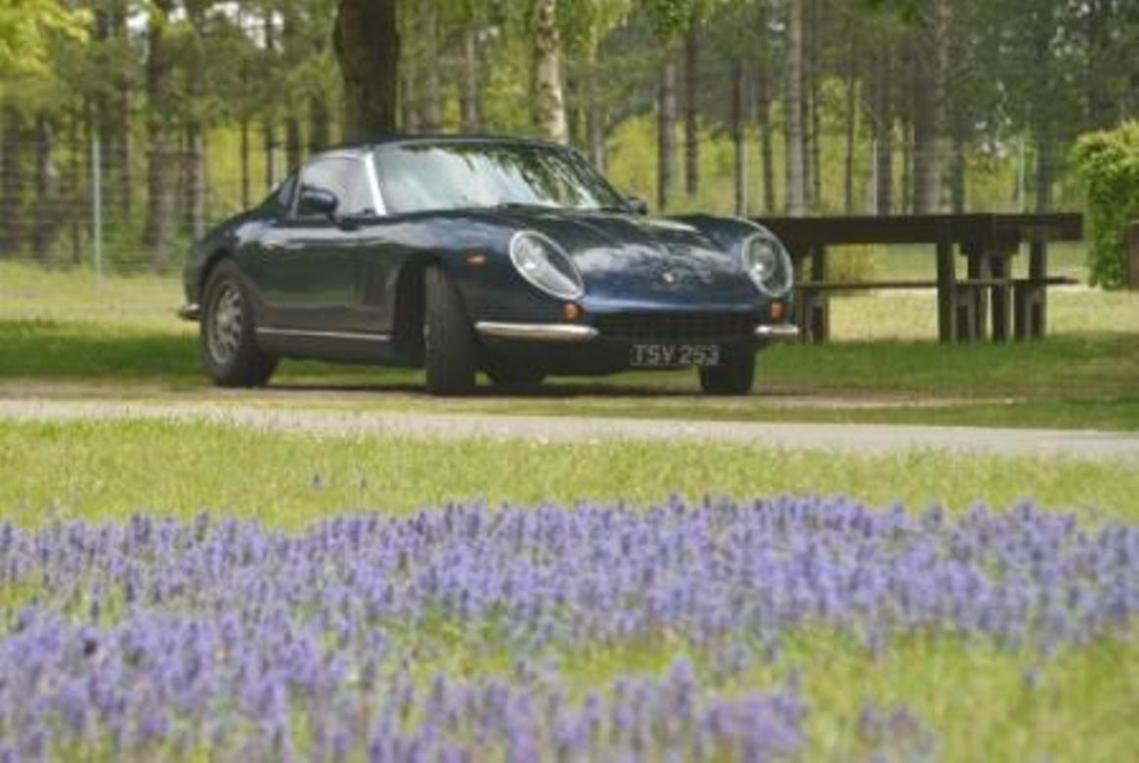
Autoroute laybys are very varied, but we found a great pair on the A26 east of Laon with flowers and picnic tables away from the road: Aire de la Croisette eastbound and Aire les Pelerins westbound:[/SIZE]