This is a read-only archive of the old Madabout Kitcars forum. New posts and replies are no longer possible, but every thread is still here to browse and read.
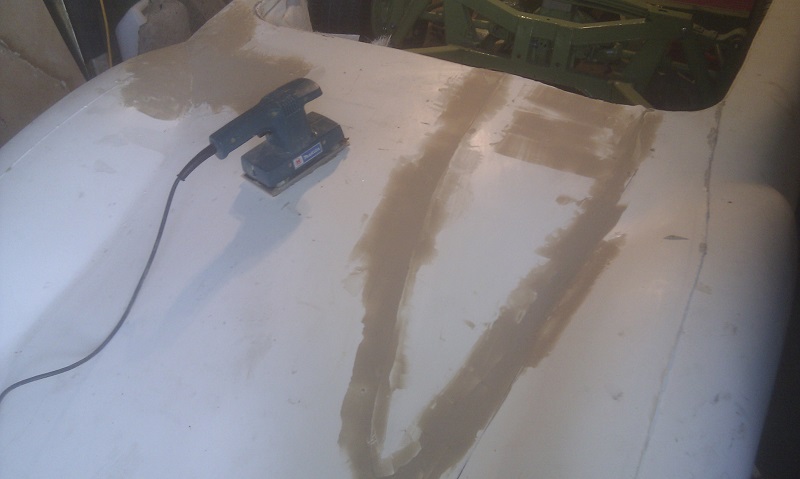
Another few hours down at The Glade. It was quite fun to lay the first proper filler on. This may seem a bit premature given the state of everything else but I need to get the rear deck there or thereabouts before sitting it on the frame.
I made progress on the removed hump. I'm preparing it as a plug for a mould. I shall grab some pics tomorrow.
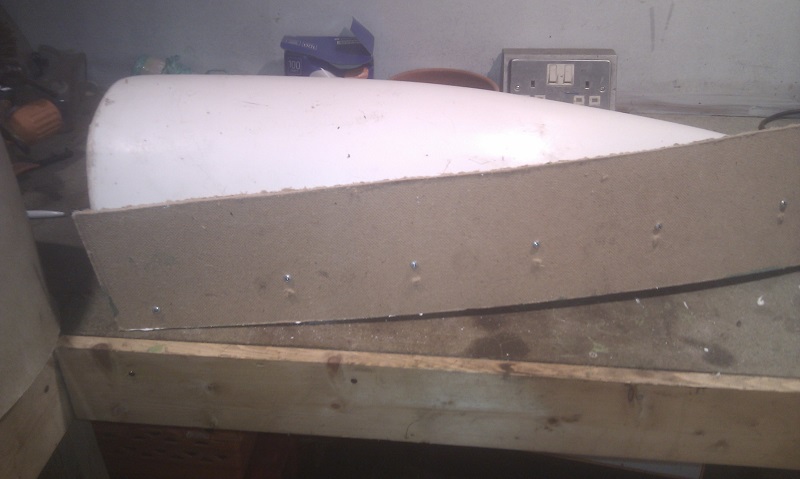
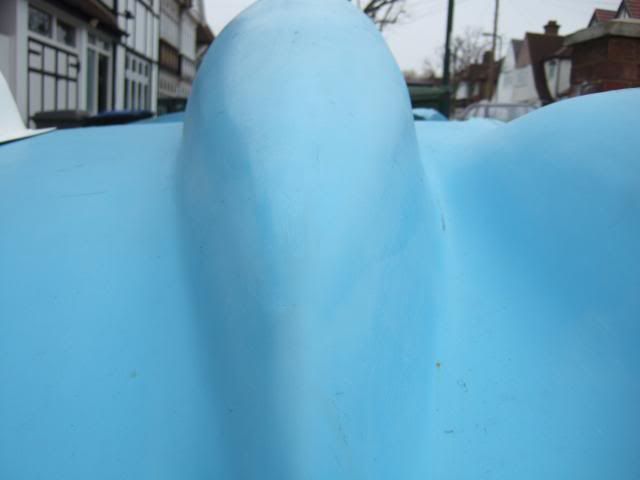
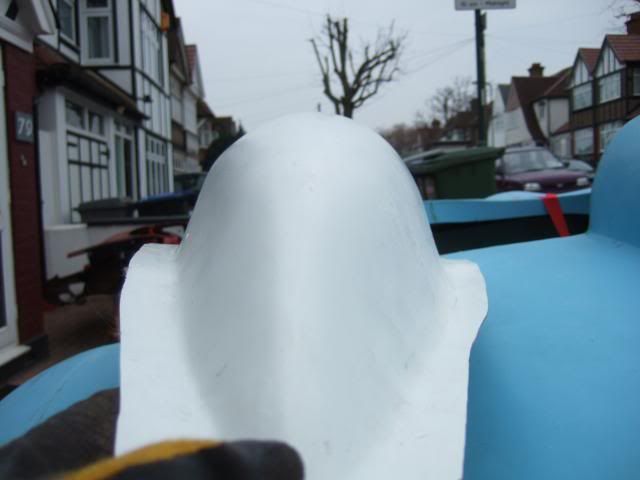
As I mentioned earlier, I'm using the cut-off hump to produce a buck to produce left and right humps. The original hump is not symmetrical - the outer side (next to the rear wheelarch) extends lower because of the curve of the rear deck. Hence, I need to extend the shallower side so that I can produce two and then trim so that they are mirrors of each other. I've just read this and it isn't exactly clear.
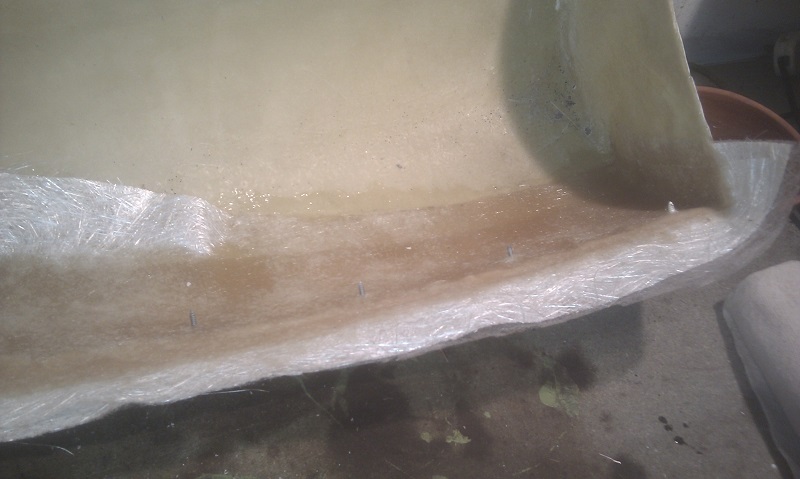
I attached a well-waxed former -
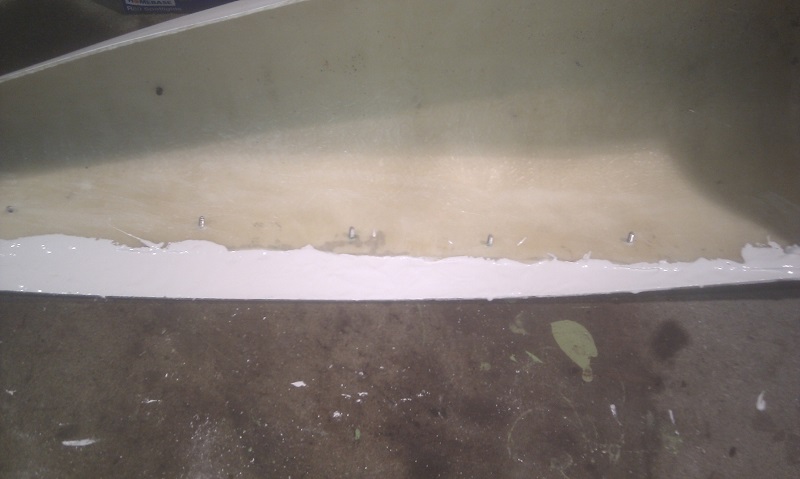
A bit of gel coat -
Some mat -
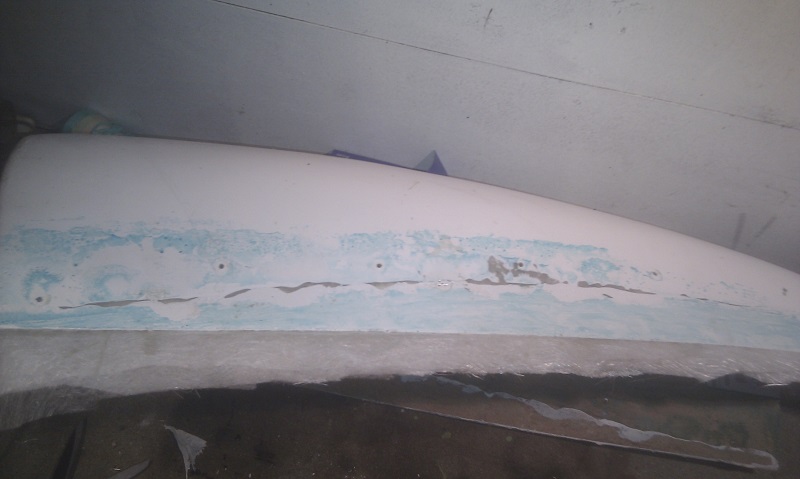
Left it for a while and then removed the former. The blue is the release agent.
Go for it Piano hinge & a couple of slide bolts ... Robert is your mother's brother
Keep up the good work
Slarti
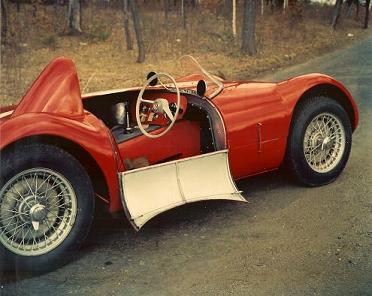
Yep, I like those drop down doors too. Wouldn't be any more vulnerable to damage than a conventional kit car door either imho. Not keen on the hump though...
I belive these are called "Spitfire doors" as used on the original Supermarine Spitfire.
I thought about a similar fit to my G-46 but was unsure how they would look, but now I'v seen them fitted to a body
Thanks for positive comments. I just imagine some mug (me most likely) snapping the bloody thing off with a clumsy foot.
I agree that the hump is fugly.
I am sure I can sort out the hinge. I just need an elegant method to prevent the open door rubbing the body....or do I. How often is a door open, and how will it rub? And, I am not going for concourse. I want it to look old. Hmmm, looks like the decision is made.
I can line the door with ally and put a tube frame around them to give a bit of rigidity. A plan is coming together. That's the value of this forum.
One question.......from the photo, I cannot see where the driver's legs can go. The gap between tunnel and side looks about 20cm wide. Must be the picture. I quite like the big backbone down the middle.
Just realised - the door opens the length of the cabin and the front bulkhead is vertical. Pedals will be at the foot of this! Doh!
Nothing much too add on my build for the last three months due to work and home commitments, but I am back on it now. I'm making the frame and, as I have seen discussions on this subject, and I have shared Paul's pain as he battles with his bulkhead, I thought I would suggest these as alternatives to (the fiddly and time consuming task of) welding up the ends of box section.
They are cheap and neat. Squirt in some Waxoyl and pop them on. Lovely.
I shall get the photo-mill rolling again soon. The three months haven't been wasted as I have put a lot of thought into how to integrate the Spitfire (Supermarine, for those not keeping up) doors and bulkheads as elegantly as possible within the frame, e.g. if I am going to run box section along the side, it might as well be at exactly (ha ha) the right height for the door hinging, rather than adding packing etc.. I've also bought lots of nice bits with Air Ministry markings - hinges and more switches.
Dog is brilliant, but rubbish with a spanner and a welder.
nice little car but not your one .....like it in red better then gold it was a very little car ...have a look at osca...siata...cisitalia ....giaur ... they are all small italian racing cars from 50s
Welcome to the mad house of Morris Minor Owners
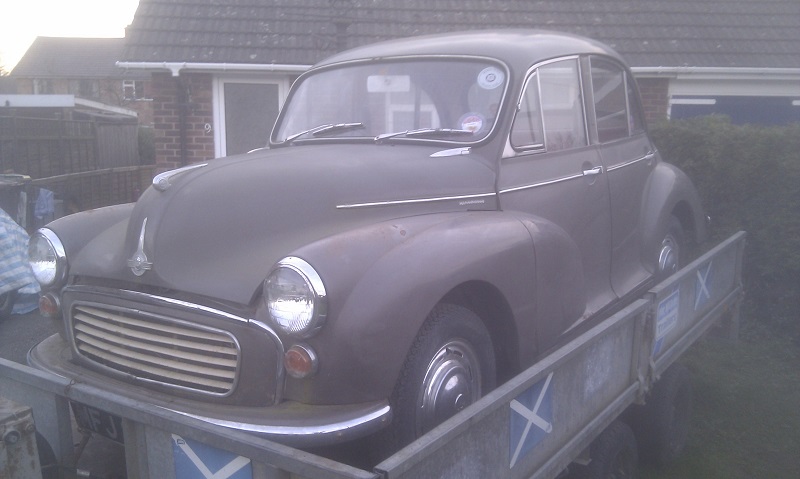
Meet Muriel .. she takes up some of my time when I could be working on the Sammio. Just seems such a long time since I was out in the carport tinkering.
Have fun
Slarti


 Piano hinge & a couple of slide bolts ... Robert is your mother's brother