This is a read-only archive of the old Madabout Kitcars forum. New posts and replies are no longer possible, but every thread is still here to browse and read.
Thanks for the tips guys. After quite a struggle I've now got my frame bolted into place. The rear bolt that goes into the top of the diff carrier was quite a way out -
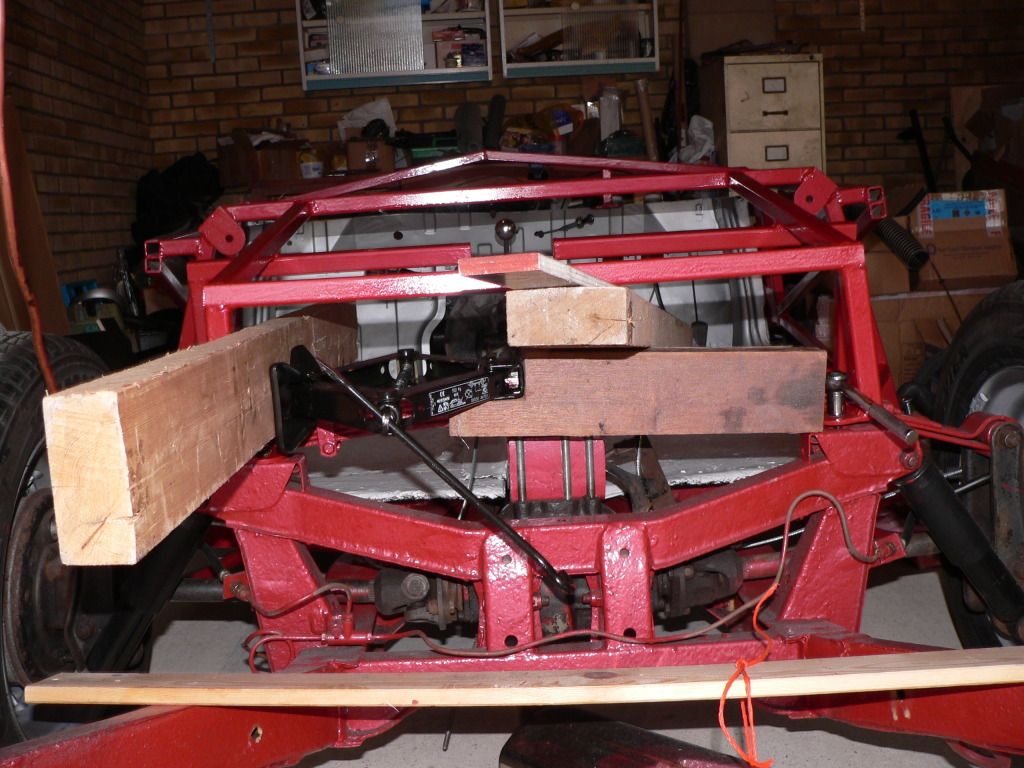
But judicious use of a screw jack and some timber eventually got it to line up -
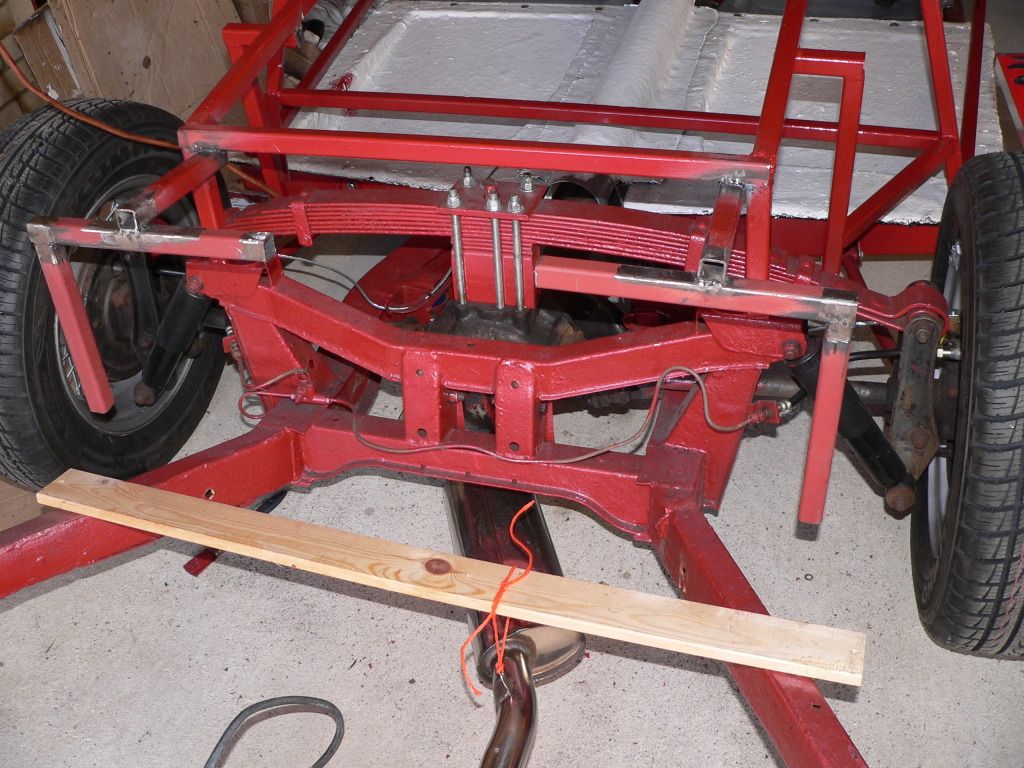
Once the jack was released it left the rear corner bolt only about 3/4" out, so I decided just to redrill the hole as everything else lined up ok -
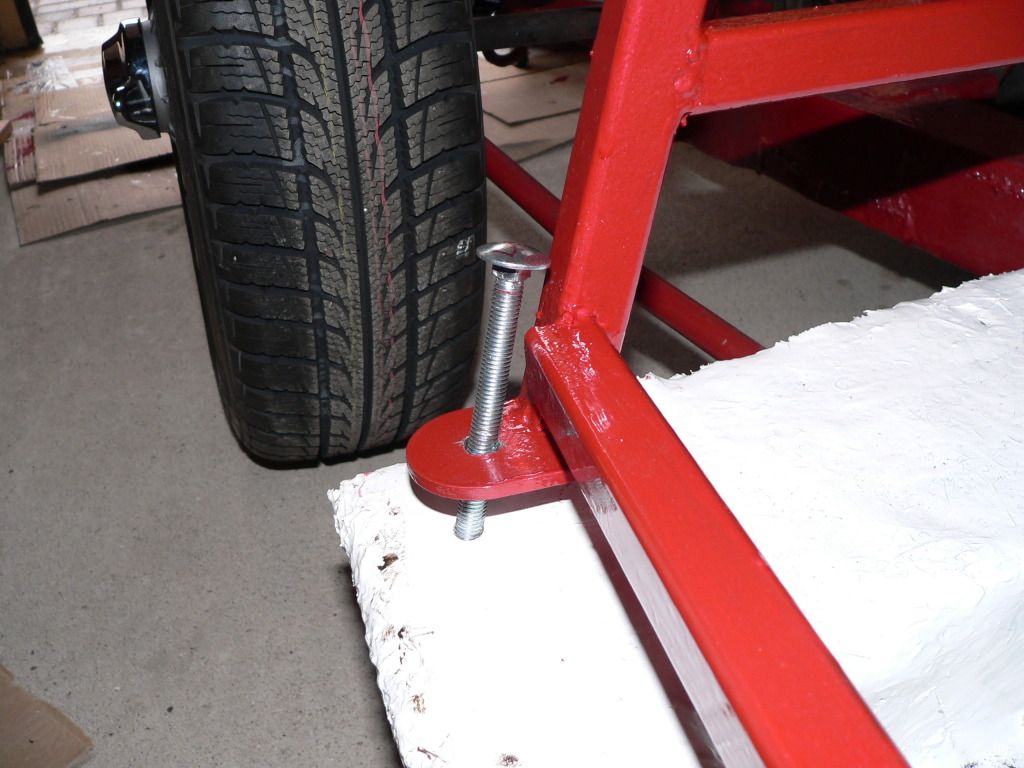
That just left the front mounts that are supposed to line up with the door hangers. I guessed that these would be a problem as I'd moved my front bulkhead back 20mm for extra tyre clearance. In reality it wasn't too bad, I got three of the original bolts into their respective tapped holes in the door hangers on each side, then drilled through a fourth one on each side and put a bigger bolt and nut in as a belt and braces measure -
Although it hasn't got six fasteners on each side it all seems to line up and I really don't think it's going to come adrift.
So, now I need to modify the frame to accept the fuel tank behind the rear axle line...
Agreed, looking good.
All of the main fabrication starts to come together quite quickly from this point so i look fwd to seeing how you tackle bits n bobs.
fyi, both Trevor and I had similar rear end frame issues. Trevor used ratchet straps on his, i just cut the leg off and re-welded it.
Agreed, looking good.
All of the main fabrication starts to come together quite quickly from this point so i look fwd to seeing how you tackle bits n bobs.
fyi, both Trevor and I had similar rear end frame issues. Trevor used ratchet straps on his, i just cut the leg off and re-welded it.
I'm thinking I should've cut mine off and re-welded it but it's done now so that's that.
I spent the afternoon fabricating a new fuel tank carrier for my Spitfire tank to fit behind the rear axle line in similar fashion to Tirtone's -
It isn't quite finished yet, I ran out of time once I'd welded on two of the six lengths of threaded bar I'm using to bolt the tank up to so there's four more to go before it gets a lick of Hammerite.
Back to work again tomorrow so no more progress for a day or two.
Looks good Mr T, are you putting on any other supports?
When it is full of fuel, it will weigh quite a bit (assuming 37.6 litres and 0.739kg/litre, gives you around 28kg when full - ie a bag of cement!) , so it will need supporting underneath! I went for the belt and braces approach and welding a complete cage and feet....I mean, when I am cornering are high velocity I want it to stay put!
Looks good Mr T, are you putting on any other supports?
When it is full of fuel, it will weigh quite a bit (assuming 37.6 litres and 0.739kg/litre, gives you around 28kg when full - ie a bag of cement!) , so it will need supporting underneath! I went for the belt and braces approach and welding a complete cage and feet....I mean, when I am cornering are high velocity I want it to stay put!
Good point, hadn't thought of that. On looking at the original tank support I see it's connected to the bottom of the frame. Will be adding some sort of extra support when I've got the time.
Just had a couple of hours to spare today before getting ready for work this afternoon so I thought I'd make a start on the handbrake.
Original plan was to have it to the left of the steering wheel next to the gear lever with the cable running down into the side of the gearbox cover before doubling back along the side of the spine. After a cup of tea and dangling the handbrake from various locations off the frame with orange string I ended up mounting it on the right hand side of the steering wheel -
It falls nicely to hand there and doesn't get in the way, there's just the small matter of rigging up some means of it actually operating the rear brakes.
I have a few ideas as to how to do this but it's going to need a bit of imagination and plenty of trial and error.
Anyway, I'm working Friday, Saturday, Sunday and Monday nights so I don't think there'll be much progress until at least Tuesday now.
Have you considered using the vitesse handbrake mounted to the right of the seat where it might be able to bolt through to the chassis side rail. Old hillman hunters were like this but I think the handbrake could get in the way getting in and out but you wouldn't have this problem, not having any doors! The cable could head rearwards then arc through 90 degrees to point towards the nearside wheel. The inner cable would fix to the nearside lever and the outer would end at the end of the arc. A bracket fixed to the outer at this point and joined to the offside lever by a straight rod would apply the same force to the offside lever that the inner would to the nearside one. Just an idea for you to consider if you want. Good to see your progress as it gives great encouragement, I am bogged down in modern engine electronics and wiring at the moment.
Andy - I'd be happy with a floor mounted handbrake to the right of the driver's seat as I often use a Peugeot van at work that has that set-up. I don't believe there will be enough room down the side of the seat though - the Spyder cockpit is a pretty snug fit (to say the least!) which is one of the reasons I didn't want a 'big' centre tunnel in the first place. I'm also aiming to include the standard Vitesse compensator as the final stage of the mechanism to make sure it works evenly on both sides.
Gary - I had considered the option of using a traditional lever mounted vertically next to the gear lever so it would work in a fore and aft plane rather than vertically, but once I found a 'spares' diagram for the Porsche 356 showing an exploded view of its under-dash umbrella handle connected to the brakes via a series of cables and levers I decided that's what I wanted to emulate.
The plan that's currently in my head is to run the A50 cable forwards through the bulkhead, over a roller to turn it through 90 degrees taking it down through the top of the bulkhead next to the throttle cable. It'll then pull up on a solid length of threaded bar (which will include the adjustment mechanism). This will lift an 'L' shaped lever to turn the vertical movement through 90 degrees again and pull on a sheathed cable running along the floor to the right of the driver's seat. The far end of that cable will be connected to another 'L' shaped lever turning the movement sideways across the car to the centre, where a final one will turn it towards the compensator.
the Spyder cockpit is a pretty snug fit (to say the least!)
I have to say that i'm quite getting used to it (don't worry, you'll be there soon!), but i'm glad that i bonded my walls in the way i did in order to get a few cm more on each side!
I have to say that i'm quite getting used to it (don't worry, you'll be there soon!), but i'm glad that i bonded my walls in the way i did in order to get a few cm more on each side!
How'd you do that Dave? Did you fit them flush against the internal frame structure so they widen out as they go forwards?
I dont know how Dave did his but on my car I have fit the internal panels in following the line of the frame. Not resting on it but just parralel to it. Looks like it has given me an extra 3-4 inches of room down at the bottom where I'm toying with the idea of putting on a few of these for a little more storage http://www.cbsonline.co.uk/product/Large_14%22_Storage_Pocket_STPOC3
I should have the car back from the paint shop this week so I will post a few pics before I start on the interior
Rather than screwing my side panels on top of the body i simply bonded them behind the top edge of the body, which got me a few extra cm which was just enough to fit the big cobra bucket seats.
As far as storage is concerned, i've found that with the angled cobra seats the areas behind the seats makes perfect storage areas for squishy bags full of "stuff"
Spent most of today changing my Vitesse differential for a GT6 3.27:1 which will give me another 3.5mph/1000rpm.
I'll be listing my Vitesse 3.89:1 diff on ebay over the next couple of days if anyone with a herald donor is interested in dropping their revs to a more suitable level for modern motoring.
While the diff was out I also welded a couple of lengths of box section into the sides of the lowering block. This was recommended by Phil J as his diff studs were coming loose every time he drove his car. I'd already noticed that my lowering block had distorted when I tightened up the nuts so I think it's something that needs doing (thanks Phil).
I also added a bottom rail and a pair of supporting legs to my fuel tank carrier after reading Tirtone's reply reminding me of the weight of a full tank. I've got to say it feels far more secure now it's welded to the rear chassis extensions as it won't budge a mm - cheers Tony!
Will be looking at the handbrake mechanism tomorrow with any luck...
Ain't no way that is moving, well done Mr T. Thats what we are all here for, moral support and the two-heads-are-better-than-one approach!
Because of your previous comment about the lowering block, I did the same to mine - It also served to prove that I could easily access it from the wheel arches when the body is on!
I wasn't going to bother painting the diff just in case I end up with paint gumming up something important. I did spend nearly two hours cleaning it today though, it was totally encrusted in oily crud
There is one question I have - the Haynes manual says that there's a drain plug underneath the diff and a filler plug at the side. Both my new and old diffs have the filler plug at the side but neither has a drain plug underneath. Anyone know how you let the old oil out to change it without removing the diff?
A lot of diffs were top up only and a large syringe and pipe were used to suck it out if a change was felt needed. They thought the oil was good for the life of the unit and only needed topping up if it leaked or weeped a bit.
Made a bit of a start on my handbrake mechanism this afternoon. Even though I've already mounted the handle after a fair bit of chin rubbing I've decided to start at the back and work my way forward. That's today's plan anyway, tomorrow I might go back to working on the bit at the front and try to make them meet in the middle...
Anyway, after speaking to Phil J about the angle of the rear handbrake cable that runs through the compensator, then through the guide tubes (for want of a better description) before attaching to the levers on the brake drums, it's clear that there's an issue with a seriously lowered car in that the angle of this cable means it tends to pull the rear brakes on when you corner, which isn't great for your long-term health and welfare.
So, today I cut the guide tubes off and welded them to some home-made brackets then onto an extension to the frame level with the levers on the drums -
I'm hoping to get a bit more of the mechanism designed and fabricated tomorrow.
You might have them a bit high. Ideally the end of the curved guide where the cable emerges to head off towards the wheel needs to lie on the axis that the lever end is rotating about as the wheel moves up and down. That is approximately a line joining the centre of the driveshaft universal joint and the front end joint of the trailing arm that is fastened to the chassis outrigger. A quick way to test is to take off the rear spring and raise/lower the wheel and see if the cable becomes slacker or tighter. As you have it at the moment I would expect one side to cancel out the other when the car rolls in cornering, slacken both sides when going through a dip and tighten when airbourne!
Once I've got it set up so you can actually put the handbrake on I'll try jacking it up and compressing it to see what happens. I've raised them by about the same amount as I've lowered the back (95mm) because with the Vitesse on its standard suspension the original guide tubes were level with the levers on the drums. I can always move them if it's a problem.
Well, no, not really. I might look like the oldest swinger in town wearing sunglasses at night (and other song lyrics...) but the reality is I seem to have developed 'arc eye'
Yesterday evening my right eye felt a bit tired and gritty, but this morning it's bloodshot, sore, watering and extremely light sensitive. A bit of Googling and it seems it should clear up of its own accord in a day or so.
At the moment I'm sitting indoors full of pain-killers, wearing my shades with the curtains drawn.
I'm not sure why it's happened - I did a fair bit of welding yesterday and maybe the rotary control on my arc activated helmet has been knocked round to an insufficient setting without me noticing. It could also be down to the weather - because it's been pi$$ing down for days I've been grinding off the welds inside the garage rather than outside on the drive. Perhaps that's reflecting too much UV light back at me.
Anyway, there'll be no more progress on the Spyder until my eye's better as it's just too painful to go outside even though it's overcast. Once this clears up I'll not be striking an arc until I'm 100% certain that my head shield is set to 'max' protection and I'll be donning my shades before grinding the welds off.
On a lighter note I'd almost completed my series of levers and shafts that will operate my handbrake before packing up yesterday so it shouldn't take me too long to get it functioning once I'm better.