This is a read-only archive of the old Madabout Kitcars forum. New posts and replies are no longer possible, but every thread is still here to browse and read.
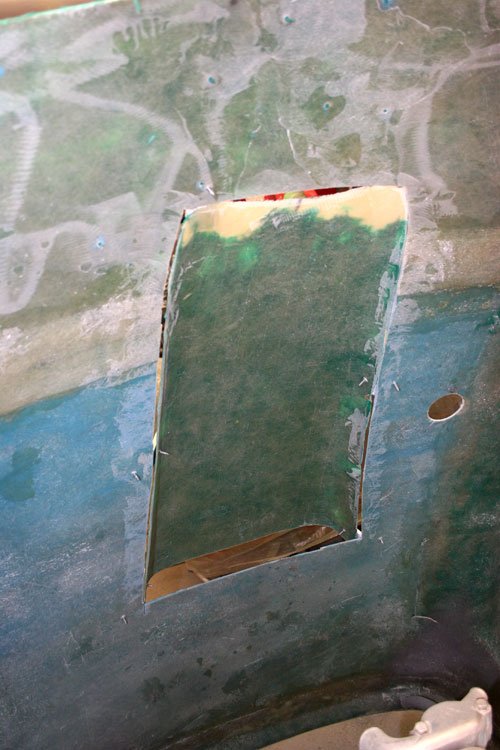
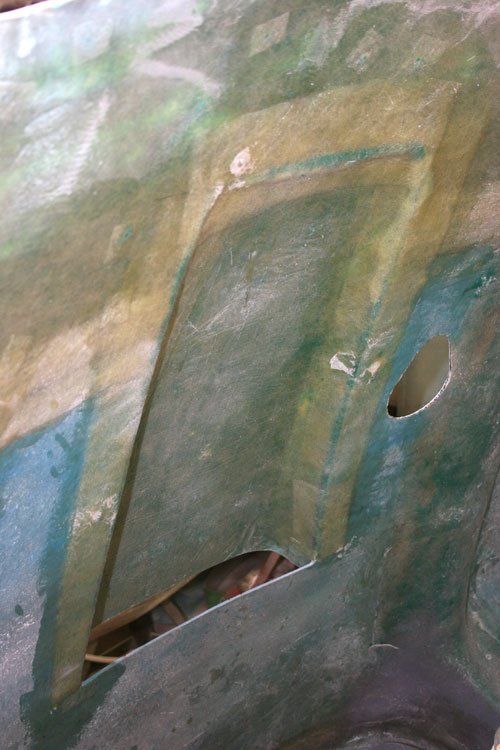
V.nice! I like that idea of making a whole repair 'section' on the flexi-ply and then trimming and fitting it, i wish I'd thought of that for the bulge on my Sammio as I ended up getting a bit heath Robinson
This build could be heading down the D24 marque but will wait and see how it develops. Thanks for the comments guy's.
Been looking around for supplier of the windscreen trim, that's the part that attaches the screen to the bulk head i would prefer ally as the fiber glass trim supplied is poor to say the least, so does anybody now where this can be purchased from if all else fails I'll try my hand at making one from flat ally bar.
Temperature outside is freezing so not a lot accomplished today.
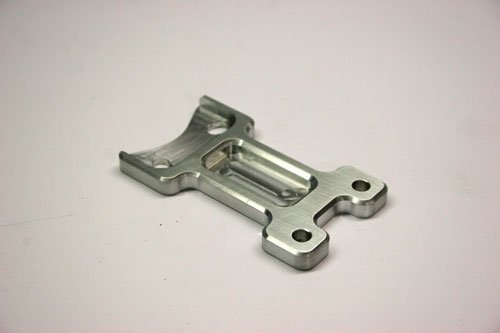
Started by making a mounting bracket for the filter king i acquired from Mac, it is supplied with a mild steel bracket but thought a bespoke ally bracket would look good.
Machined from a piece of 8mm ally plate.
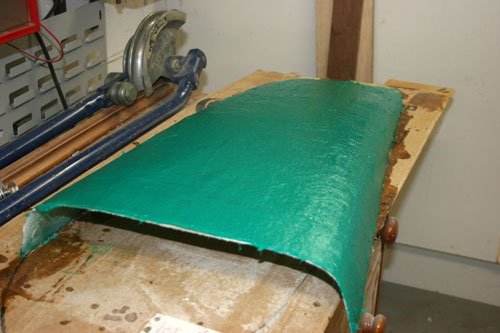
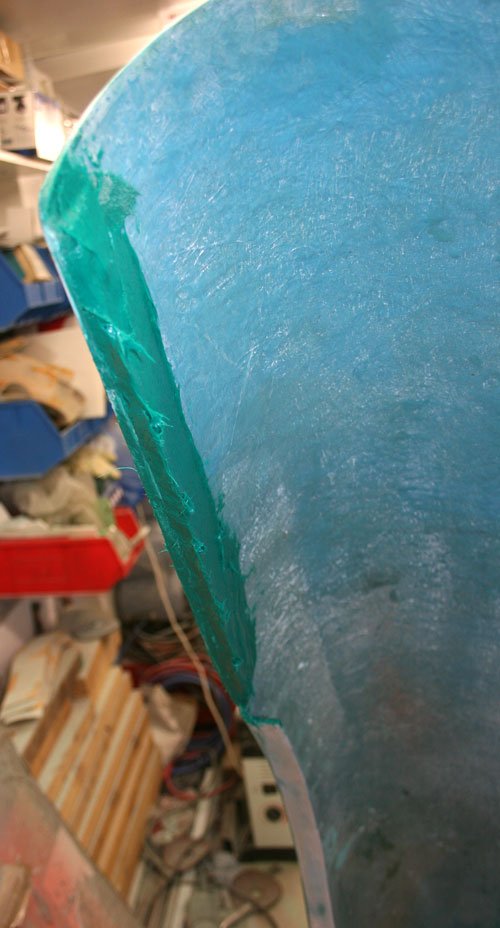
Put the first layer of fiber filler over the scoop and the bonnet repair done at the weekend.
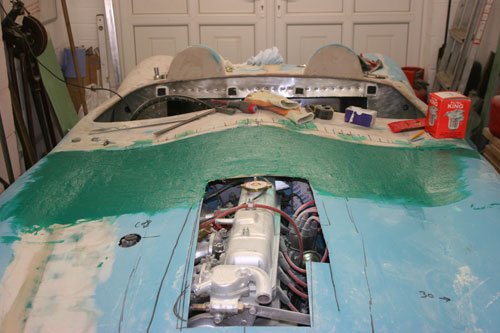
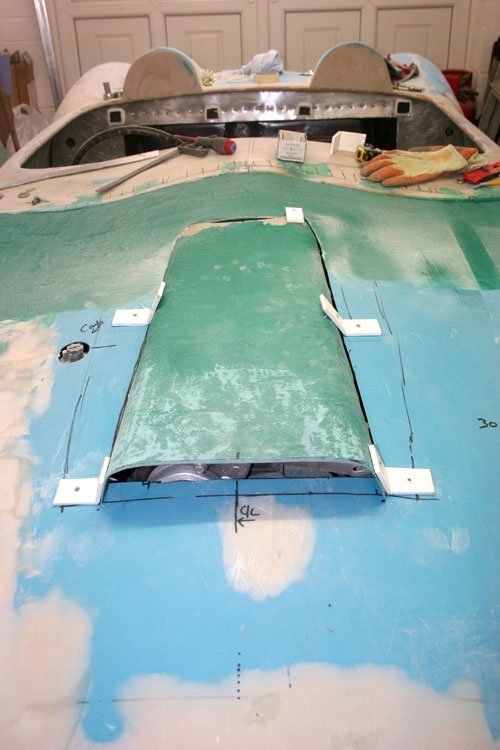
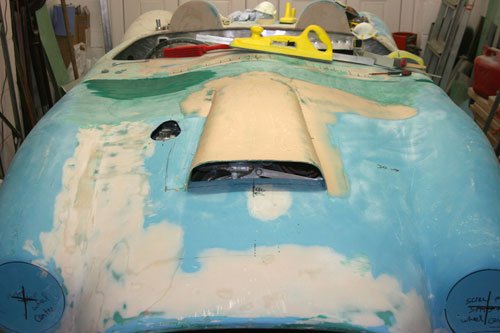
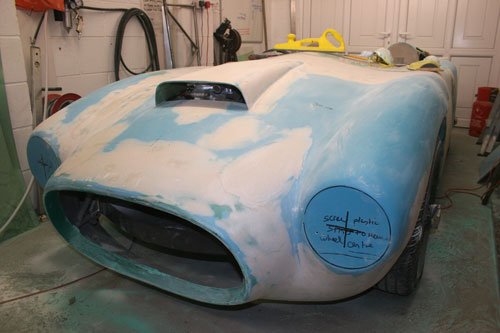
Trimmed the scoop to suit the bonnet profile then covered in fiber filler which will be sanded back before glassing to the bonnet. I think i will cut the hole in the bonnet to match the scoop then fiber glass the join from the inside then blend the outside in with the bonnet profile.
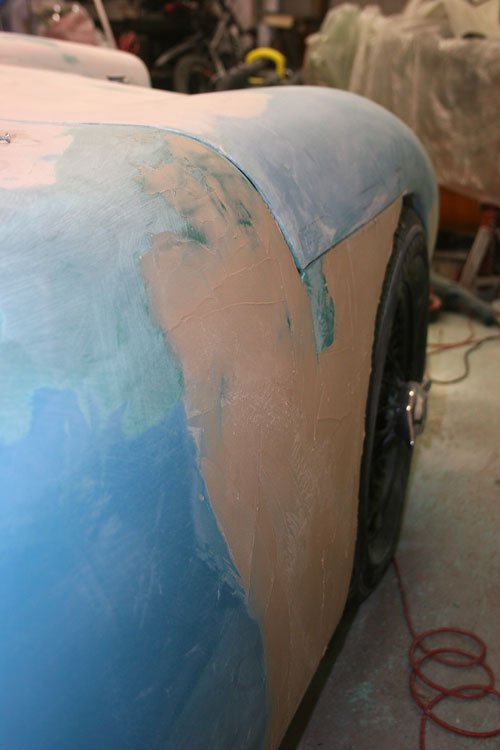
Finally covered the bonnet repair in fiber filler, this will be sanded then rebuild any low area's with more fiber filler and finally finish any small imperfections with body filler.
Today i tried to finish the bonnet scoop off to move onto another area but i didn't manager to wrap it up as the temperature prevented the filler from drying quickly so it taken a little longer than expected.
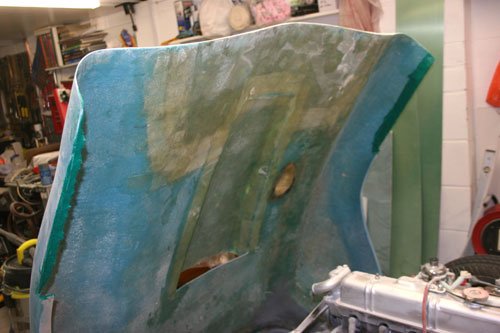
First off i cut a hole in the bonnet the same as the scoop then fixed in place before glassing over the join. Trimmed the underside edge level with the bonnet profile before glassing over.
Scoop glassed over with two layers on the underside, once it had dried i back filled the bonnet surface to scoop join with fiber filler then sanded back.
Covered the scoop with body filler and left to dry over night so hopefully tomorrow the bonnet scoop may be finished.
I've changed the carb dash pot cover from my original thought of a round dome to a tear drop shape which I'll make the mold for out of oasis as i did for the scoop, pre-cut the tear drop shape which I'll transfer onto cardboard to transfer onto the oasis.
Cheers Towed, now's the time that when i finish something and it starts to resemble what i want that i feel i am getting some where with the build.
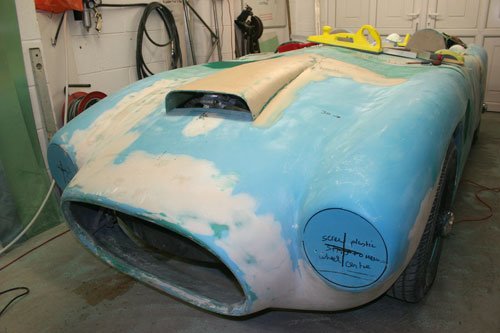
Filled and sanded the scoop and top half of the bonnet with body filler which is nearly there now so only a few slight tweaks and it will be sorted.
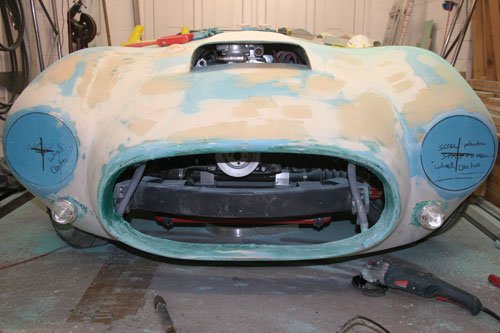
Also copied what Paul has just done with the nose aperture blanked off with a piece of cardboard from the inside then filled in the gap to give a angled flat surface for the grill to sit against.
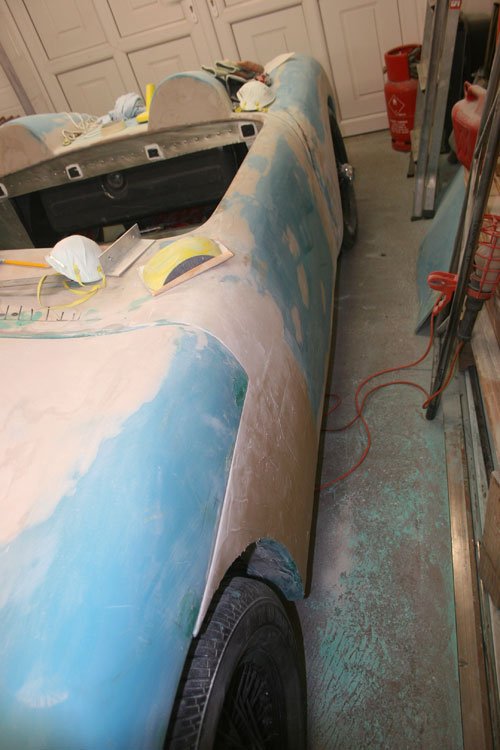
A shot of both sides which have blended in quiet well, just a little more sanding to complete, most likely going to fit side leather straps to hold the bonnet down.
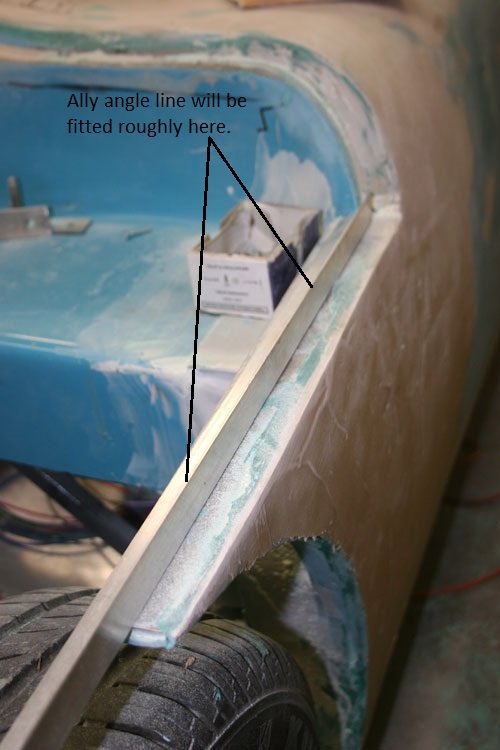
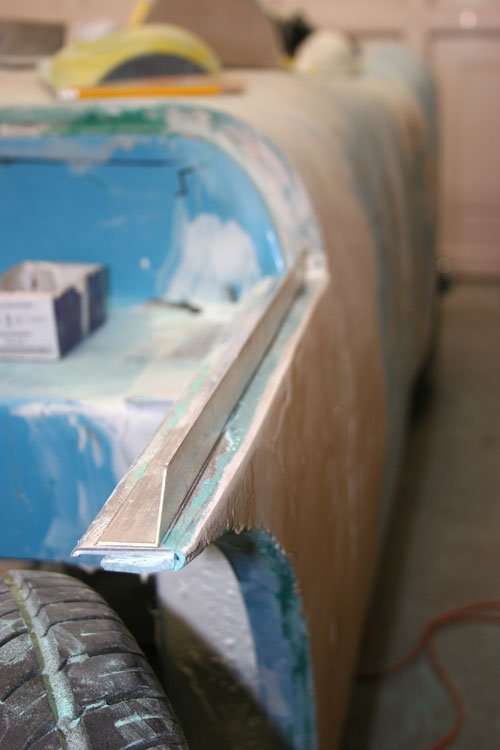
I was going to fit locating pins to each edge of the bonnet but have now decide to build up a flat surface to the bonnet edge and fasten a piece of ally angle line to the top of the wheel arch for the built up flat surface to push against when the leather side straps are fastened.
Grabed a quick hour today to crack on with a few jobs.
Paul Your idea of filling the lip edge was a good one that's why i decided to copy, i had originally thought of adding an ally trim formed by hand around the lip but think the way it looks now may be good enough once sanded and covered in body filler.
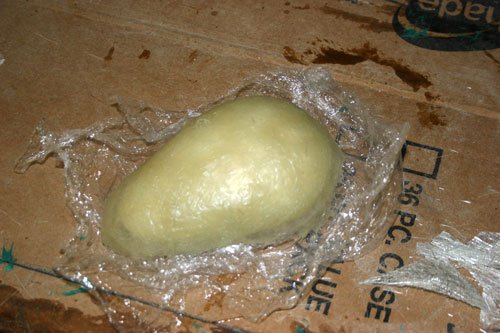
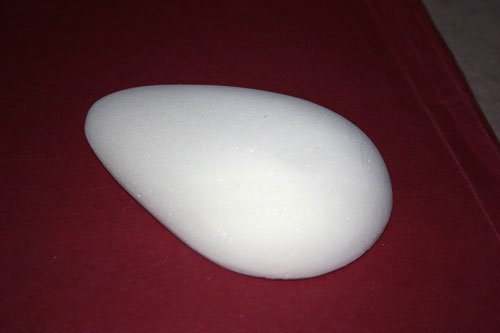
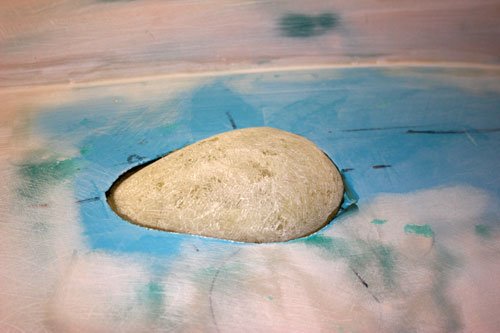
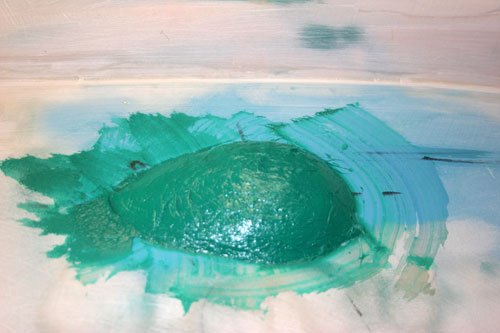
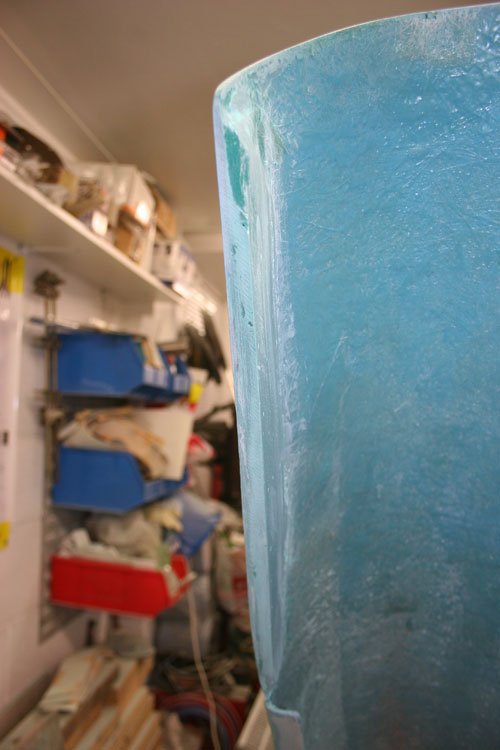
Tear drop cover fiber glassed over ready to trim and bond to the bonnet, used cling film as an anti stick agent on the mold i made. Once dry it was trimmed back and smoothed over ready to bond in place. The second image is of the mold made from oasis material.
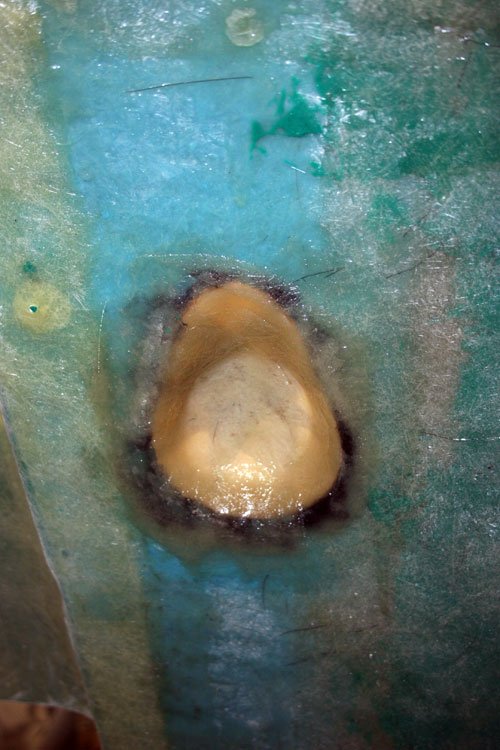
Tear drop glassed to the under side of the bonnet.
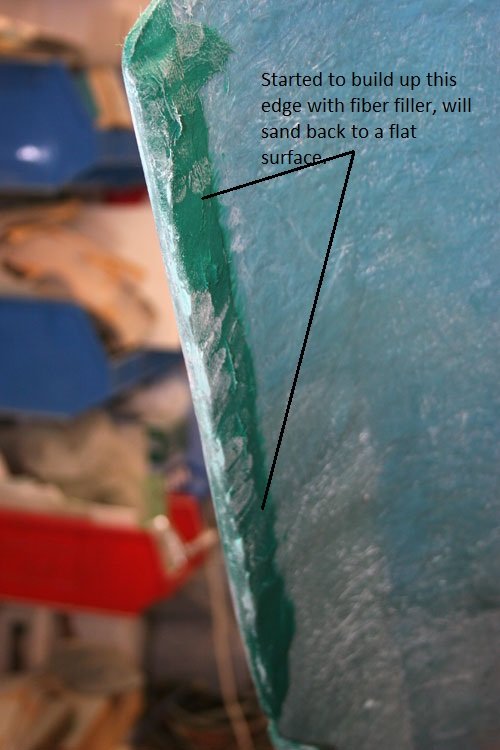
Put a second layer of fiber filler along the bonnet edges which now looks to be a the correct depth so will sand to a flat surface when dry, may be put a layer of fiber glass over the filler once flat. My thoughts are this will add strength and a good surface for the bonnet to close against, hopefully.
Tear drop cover has eventually dried so gave it a covering in fiber filler.
Once the filler has dried it's a quick sanding then body filler to smooth off the surface.
Gave the bonnet built up edges a sanding until the surface was flat and parallel i may skim over with body filler.
Attachment “IMG_5084.jpg” from the original forum could not be reliably recovered.
Cut the ally angle line that will be fastened to the top of the body wheel arch for the bonnet to clamp up against, the second image shows a strip of rubber i may use as a cushion for the bonnet lip to sit on to prevent future rubbing.
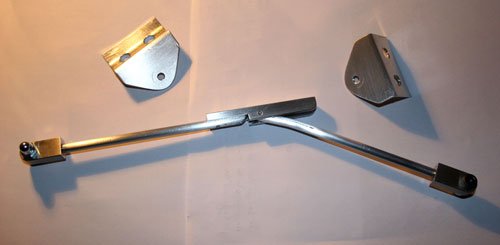
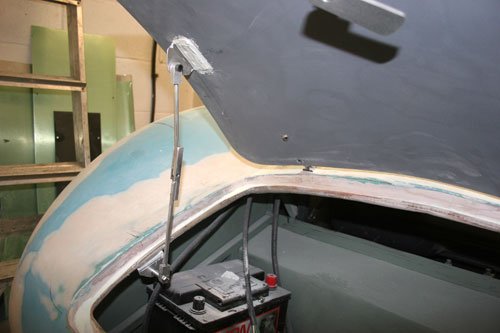
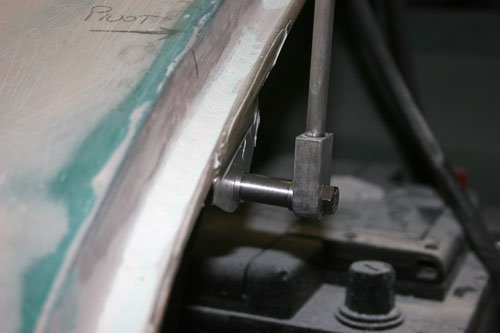
Today i have been working out how to make the boot lid stay, I'm thinking of using 6mm ally rod along with a couple of brackets made from 2mm ally sheet and a couple of pivot brackets machined from 10mm ally plate, once I've finished the boot stay ill post a few pictures hopefully in the next couple of days.
Quick post today as i only finished the boot lid stay, made from ally parts.
Will post more photos once fitted to car.
I've made it hinge in the center with a friction lock for the boot open position, the two pivot brackets will be bonded to the shell and boot lid once i work out the positioning.
Mounted the boot brackets to the body and lid, it's now obvious that i will have to make a spacer tube for the lower bracket so that the arm will clear the channel, pictures to follow.
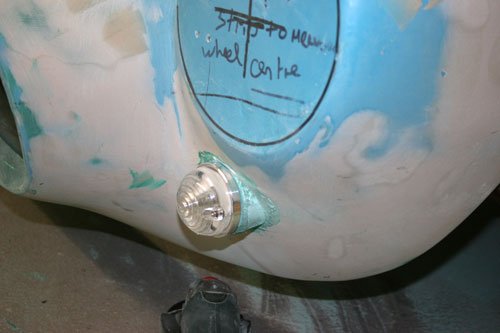
Looked at a way to mount the front indicators under the head lights and decide on a boss made with fiber filler to use as a base.
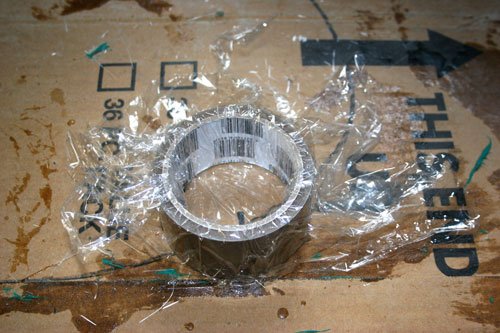
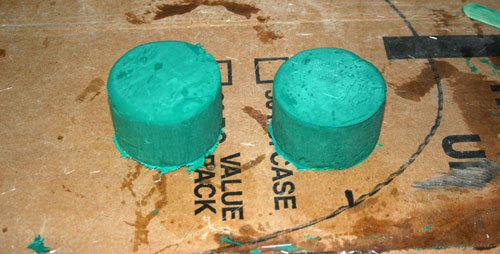
A roll of brown packing tape is the ideal size for a mount, lined with cling film to act as a anti stick agent. Pushed out when still warm which stops the cling film sticking firmly to the sides of the fiber filler as it did to the bonnet scoop i made earlier which was left to dry overnight which made the cling film a bugger to get off the surface so my advice is remove when still warm.
Two bosses before shaping to suit the body profile. I made a couple of cardboard template profiles and transferred onto each boss then cut and filled to shape matching the curved profile.
I needed a datum to follow and make sure both of the indicator base's were in the correct position.
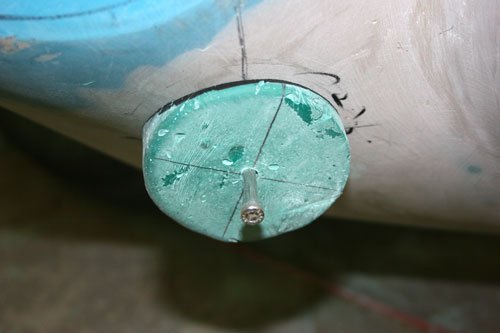
Drilled a 6.4mm clearance hole through the center and into the body, tapped out the car body for a 6mm thread and screwed a cap head in to align the boss to the body profile, the bolt also keeps the boss tight against the body while bonding in place.
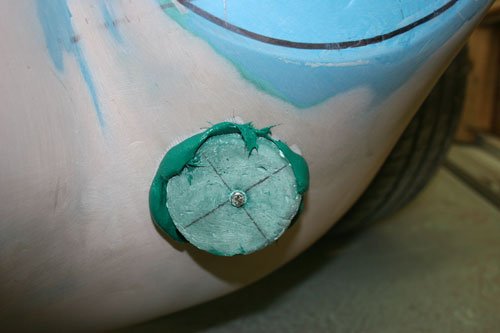
Bonded to the body with fiber filler, the surface was roughed up before applying the fiber filler to act as a key. You can see by tightening the bolt it has squeezed the excesses filler out.
Fiber filler cleaned away. Tomorrow i should have the hole cut in the mount for the indicator body to fit into and then finish with body filler.
Started to check the whole bonnet surface for imperfections and gave it a light smear of body filler were necessary.
Paul I find that i look for the easiest way to do things as this build is complicated enough what with the amount of body work required just to make it reasonable.
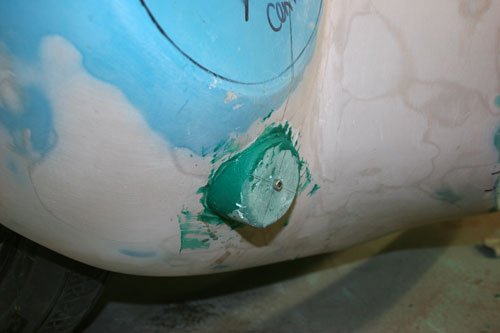
Trimmed the mounts down slightly so that the indicator top edge is flush with the body and drilled a 34mm hole through the mount. Just need to give a slight coat of body filler and jobs a good one.
After running my hand over the bonnet i have come to the conclusion it requires a lot of work to fill in all the hollows although the rest of the body is much the same, i think i will start with body filler sanded back then finish with upol reface using a guide coat to finish off.
Attachment could not be found in the archived database.
These two images show how much extra filler has been required up to now.
A few photos of the boot lid stay made earlier, the mount bolts used are temp for the moment but once fitted for good they will match most likely stainless.
Will more than likely give the boot lid bracket a covering with fiber glass followed by body filler to blend in.
Its worked out pretty well in that when the lid is opened the arm lock's into position and to close i have to push from the center pivot to collapse the arm.
Started to work out how to tackle the front grill so will post some pictures soon.
1iTim I am looking to fabricate a rectangular section grill similar to what was used in the mid fifties, am thinking along the lines of 75mm x 50mm section made from 1mm ally sheet and will post pictures when i've finished.
Paul More than likely the grill will be a permanent fix due to the way i have fabricated the hinge mechanism tubular steel mounts which will make it very difficult to remove once fitted, the tubes may make it difficult to fit the grill in one piece but i hope to find a solution for this. I am going to have all the ally parts I've made anodized to protect them this includes the grill so hopefully there is no need to remove in the future.
Today i managed to cut the ally sheet to size and cut slot along the matting edges, now need to polish and assemble hopefully tomorrow.