MadaboutKitcars

This is a read-only archive of the old Madabout Kitcars forum. New posts and replies are no longer possible, but every thread is still here to browse and read.

Oxford build

22 Aug 2013, 9:02am
Oxford - I love the vintage fire extinguisher. :cool:

Plus the framework is coming together nicely too.

Good luck, Paul. :)
25 Aug 2013, 8:27am
Well, yesterday I introduced the bodywork to a tape measure and realised quickly that it was a bad idea and that all body-alignment will have to be done by eye and with plenty of compromise.

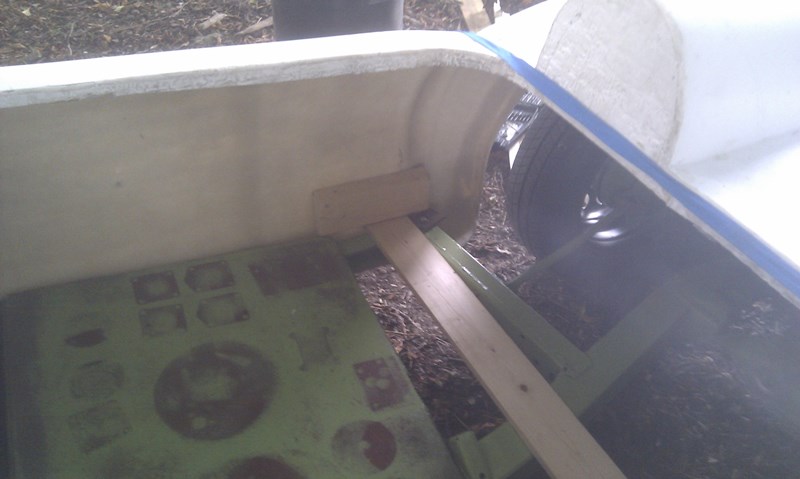
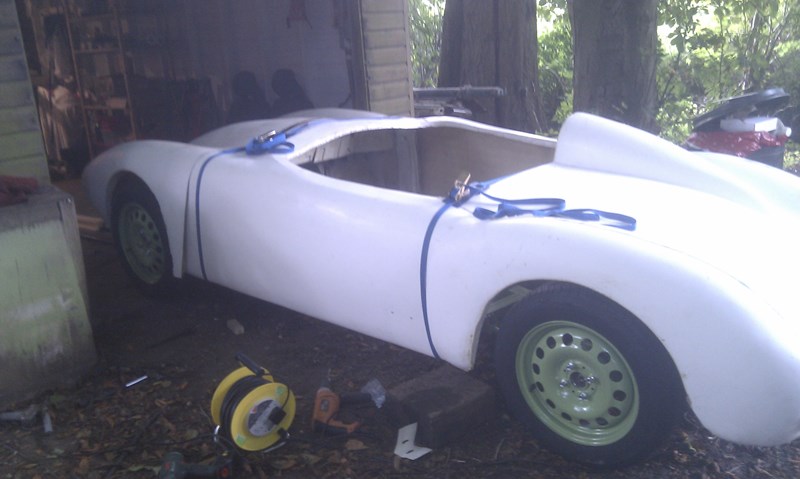
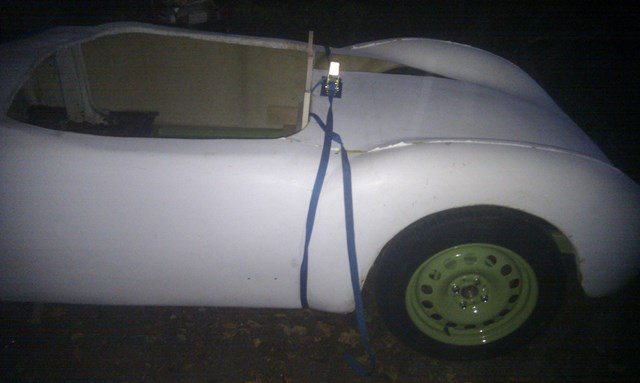
I haven't lowered the suspension a great deal and my plan is to attain the stance that I am looking for by mounting the body lower in relation to the chassis. I trimmed 50mm from the return on the front of the tub (where it sits on the bulkhead). I then put a wooden stretcher across the chassis and self-tapped some blocks to the inside of the body so that I could play with heights.


I managed to get the main tub sitting OK - one wheel arch sat higher than the other but a bit of tweaking got it to a position where both sides are close enough. The bottom edges of the tub sit about 40mm below the side rails.

The original floorpan gives me enough drop to allow me to sit (at an angle) with my head no higher than the hump. All good so far.


The challenge comes with the bonnet. Losing 50mm means that there will have to be a few bumps and humps to clear the thermostat housing and carbs, and I am now looking for a smaller alternator and a way to mount it. I did expect this, but I sort of wish that I had swapped the suspension towers and mounted the engine further back.

My plan is to have a bonnet within the flip front and this will house the humps. It means that I can cut it out, get the front how I want, and return to it when tub and front are sorted.

Another outcome of lowering the body is the reduced space in the rear. Fitting the MX5 fuel tank will be a challenge.......

Who said life should be easy?

Hmmm, I've just been looking at pics of finished cars and the back needs to go lower. I think I shall be buying another lowering block and some adjustable ride height front shocks.........
29 Aug 2013, 3:22pm
Two very large boxes of fibreglassing consumables and tools arrived today. I love the smell of resin in the morning.

The next phase of work should start this weekend with the removal of the hump (it will return later, in line with my head). I hope to glass-in the gap before Sunday. Let this warm weather continue.

And, I have made the decision to go with some shallow doors. I may even have come up with a novel method for hingeing them, but we shall see.
30 Aug 2013, 12:28pm
oxford1360 wrote:
… I introduced the bodywork to a tape measure and realised quickly that it was a bad idea …

I know I will have to do this myself sometime and am not looking forward to it. :rolleyes:

oxford1360 wrote:
… removal of the hump (it will return later, in line with my head). I hope to glass-in the gap before Sunday …

However, I am looking forward to seeing how you do this. :cool:

Good luck, Paul. :)
5 Sep 2013, 8:02pm
One of those jobs tonight that makes me wonder what the bloody hell I'm playing at.


Ho hum.....or is it ho hump?
5 Sep 2013, 8:16pm
Is this a complete hump removal or just a move to the left/right?

Thing is, my car gets loads of attention since I've finished it, and nobody's ever said "Do you know what, that hump really needs to move an inch to the left/right."
5 Sep 2013, 8:31pm
I have had to move it because of the removable roll hoops that I am using. The hoops sit in a crossmember, and the spacing between the centres of the hoops is the same as the spacing of the centres of Herald seating. That's what tipped me over the edge........

The big plan is to modify the cut-off hump so that a hoop sits neatly over it and so that I can make a mold that will allow me to make a left and a right hump. These will be removable. The driver's hump will be in use all the time. I shall add the left side for longer journeys with company so that there is a head-pad behind the passenger.

I like the idea of the car having a number of formats - no hump, one hump, or two humps. I'm also thinking (stupidly) of producing two different bonnets.....one for road and one for track.

I think the hump is one of the features that makes the car look so brilliantly period. It's definitely not going.
6 Oct 2013, 7:43am
First layup

Things have been a bit quiet of late. Business has really taken off and I'm actually having to work 5-6 days a week. That was never the plan!

As some members will know, I set out on this build with the idea of getting a car on the road and then improving it and refining it. This idea disappeared when I started to weld the chassis. I realised that this might be the last car that I build so I may as well do it exactly as I want. That's fine, but the time implications are big, so **** knows when this car will actually appear on the road.

This aside, here is the next instalment on my geological timescale build.

Having cut-off the hump I needed to glass over the hole. I have never done layup before, but I have been inspired by the skills of seanick (Tribute forum) and Viatron, and have read a good book and watched a series of clips by a great Australian guy on YouTube. So, I was ready to give it a go.

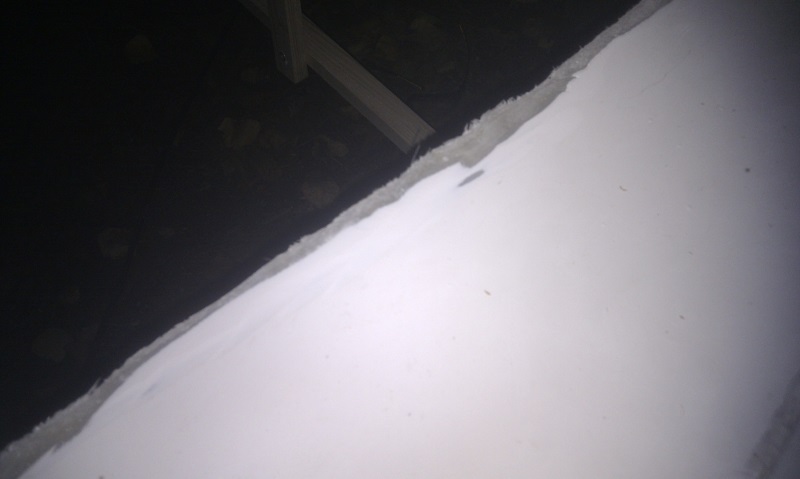
I feathered the edges of the hole.


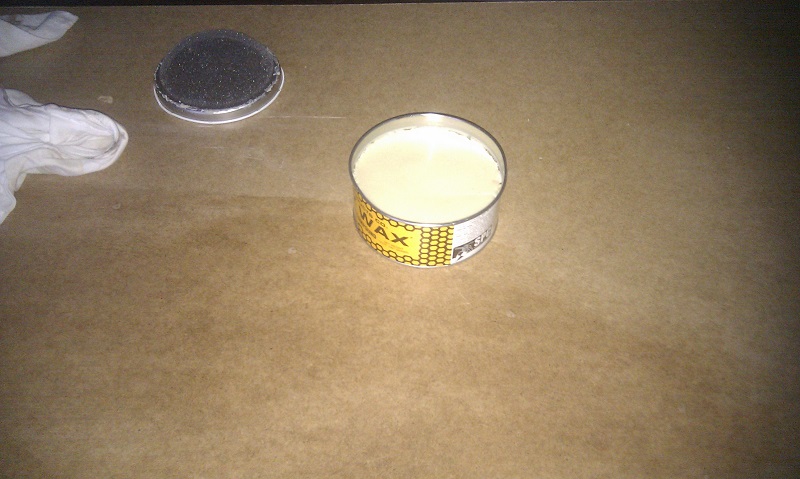
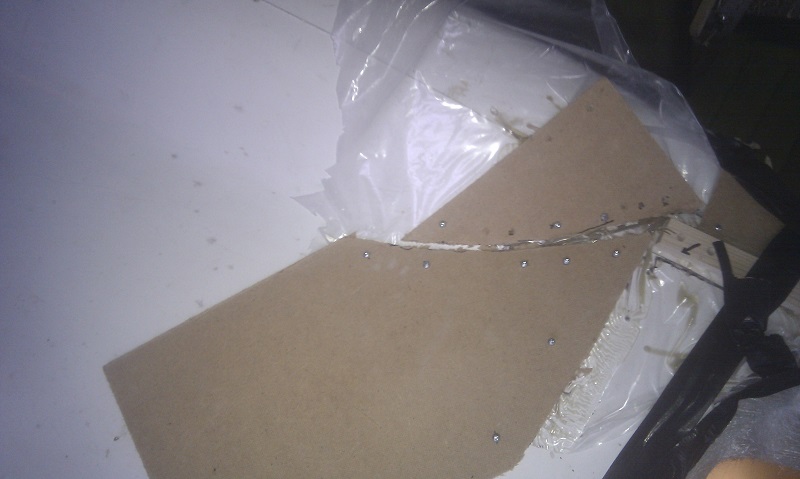
I got myself a piece of hardboard with a shiny side and gave it a couple of layers of polish.


I then applied a good coat of PVA release agent.


I screwed the board to the top of the shell and managed to get a curve in both directions (viewed from below).


A good coat of gelcoat got me started and I left it to go off.


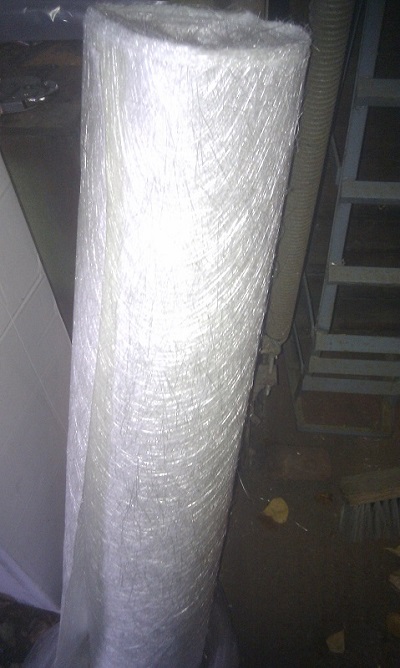
At 6:30am last Sunday I mixed up the first 500g of resin and broke out my CSM mat. I did apply a layer of tissue first but didn't capture that.


I then laid up three sheets of 450gsm.


And left it for a few days.


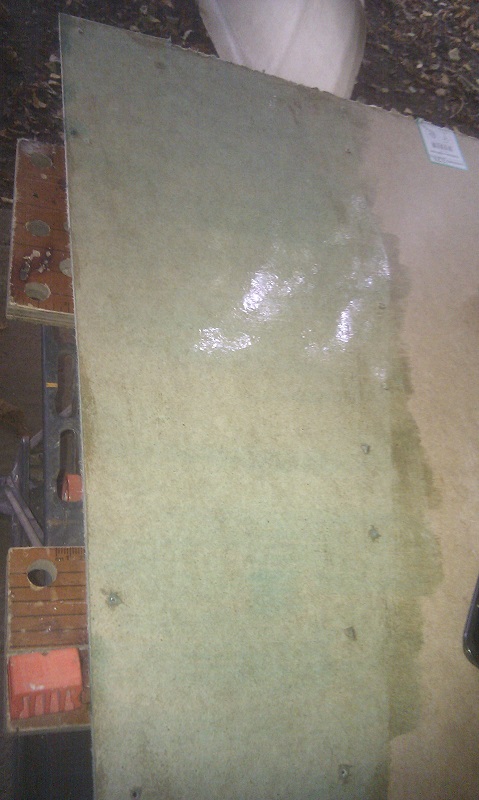
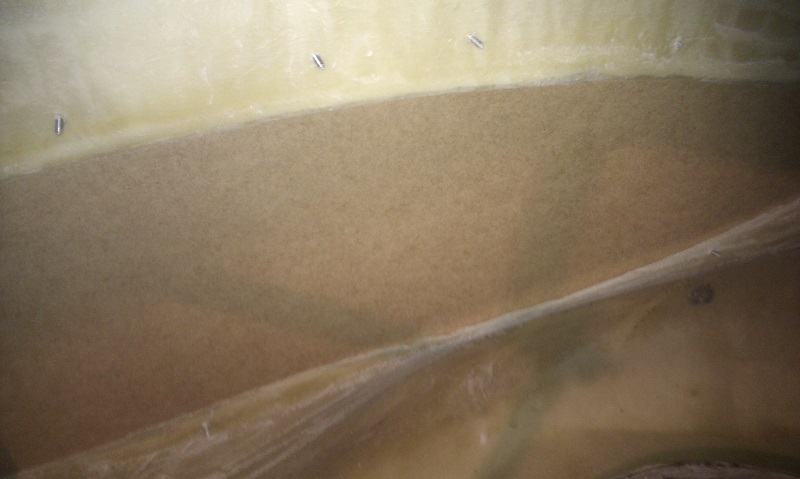
When I peeled off the hardboard I was disappointed that half of it remained.


However, I soaked it and left it for a day and it slid off when I returned.


I am very pleased with the finish. Of course, it will need some filling, but that will be fun.

Then I noticed a minor problem with the non-symetry of the cockpit............more later
6 Oct 2013, 7:54am
Thanks for the step by step guide, that is really helpful. :cool:

Making a final decision on humps is one of the many jobs on my to do list.

Good luck, Paul. :)
6 Oct 2013, 8:45am
Nice work, have you thought of maybe trying the new shorter Navigator humps? They already come with a flange?
6 Oct 2013, 2:08pm
Viatron wrote:
Nice work, have you thought of maybe trying the new shorter Navigator humps? They already come with a flange?


I've asked Andy about the new humps. The question is, how well will they fit a Pilot? I'll buy two tomorrow if they are a reasonable fit!
6 Oct 2013, 4:22pm
Whilst at the show, my teenage son fell for a Lomax. I've always fancied building a Morganesque three-wheeler and I am a fan of the 2CV lump. So, next project decided.[/QUOTE]

How about this, much better than a Lomax and for sale :icon_biggrin:

8 Oct 2013, 9:17pm
It looks very good. Very thoroughly. I wonder how you are going to make the inside panelling of the interior, since your build is so excellent so far.

Regards,
Michiel
8 Oct 2013, 9:43pm
More mucking about

Michiel - thanks for your kind comments. I am not sure how I willl line the tub but I do not plan to use plywood on the car. One idea is to not line it at all - an extension to the frame will go around the underside of the cockpit opening, and I will strengthen the bodywork with fibreglass ribbing. As I said, still undecided. The rear bulkhead will probably be aluminium.

Tonight I spent an hour or so at The Glade to tackle the problem I mentioned earlier.......

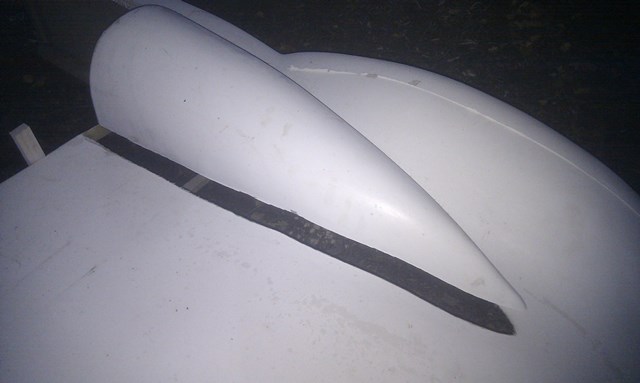
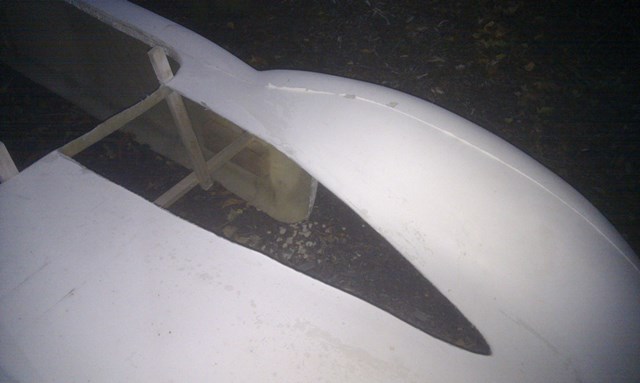
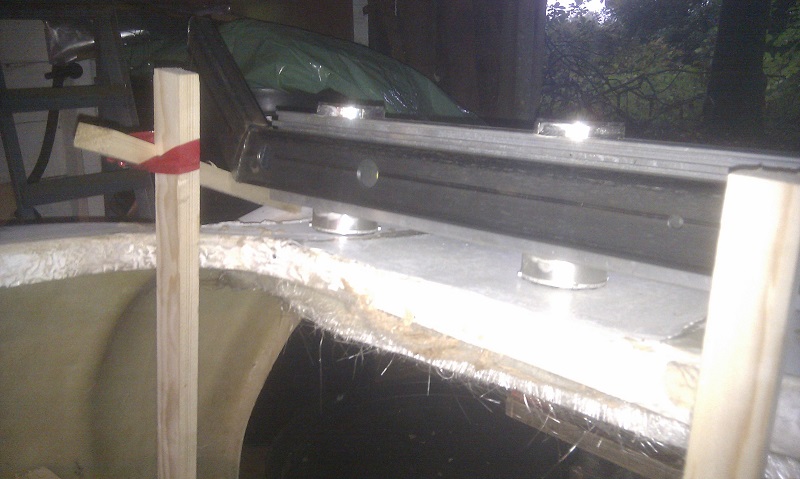
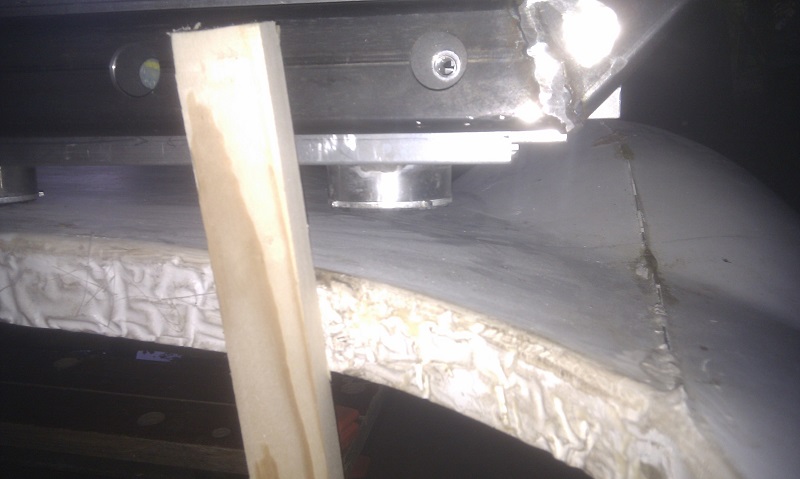
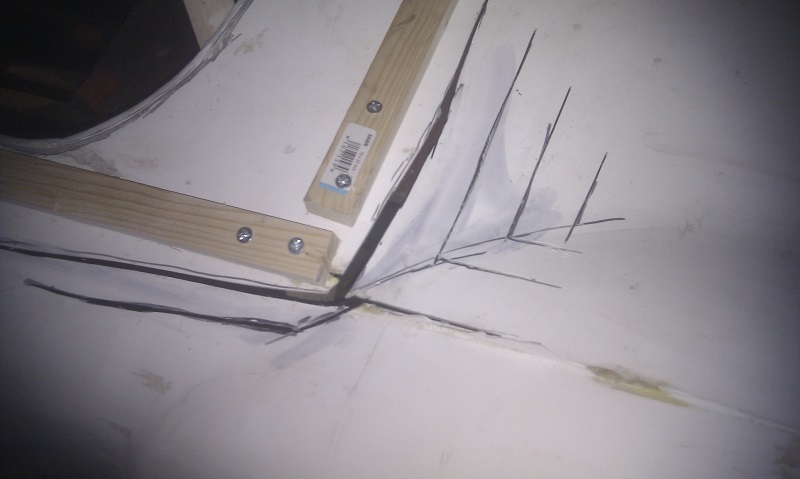
In order to fit the crossmember (with removable roll hoops), I need the rear deck to be flat behind the cockpit. This is the case on the driver's side, but the passenger side really drops away.

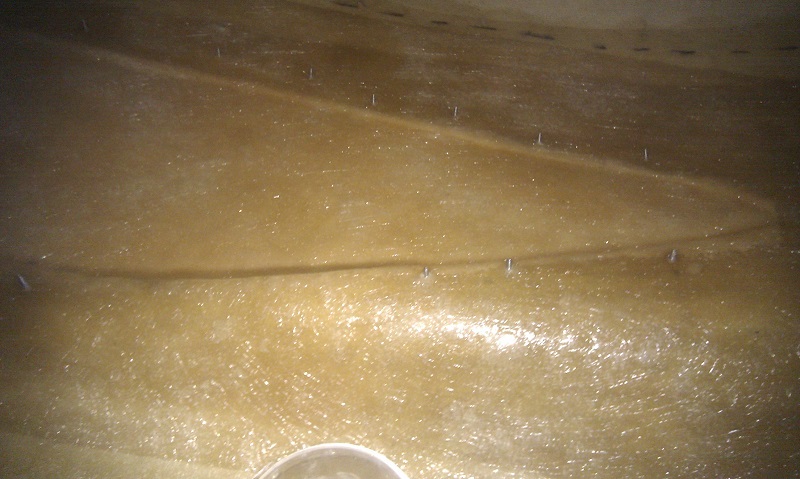
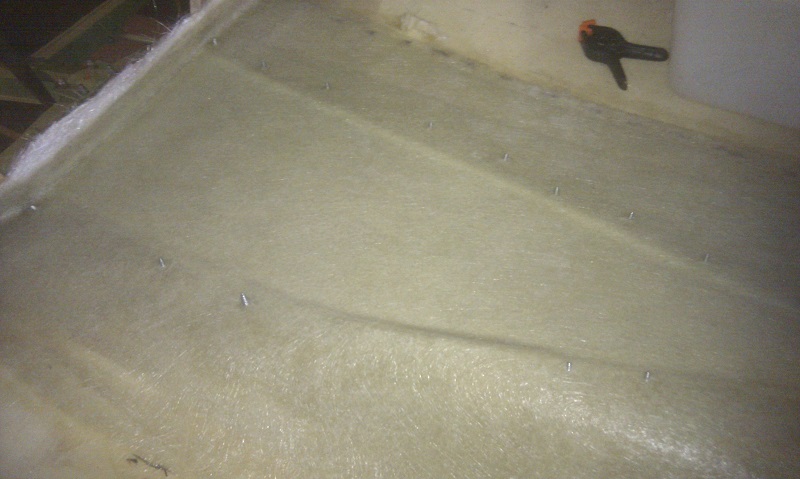
I laid the crossmember (upside down) to show the problem.

Driver's side -


Passenger side -


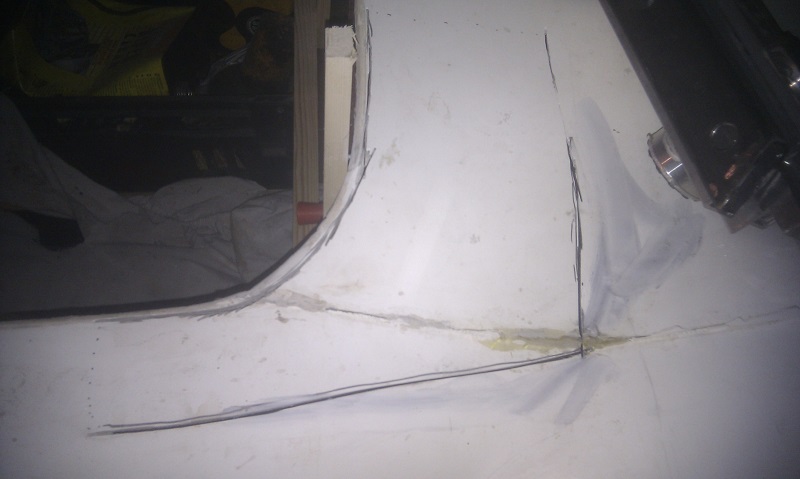
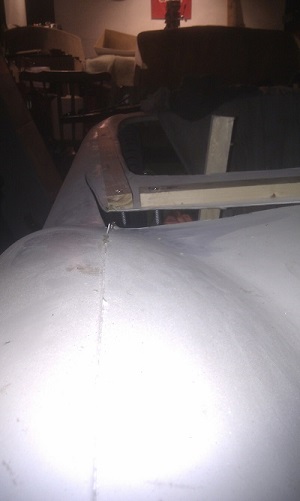
So, I made some initial cuts -


You can see the difference in these two pics -


Then I added some further fillets to get a similar profile on each side.


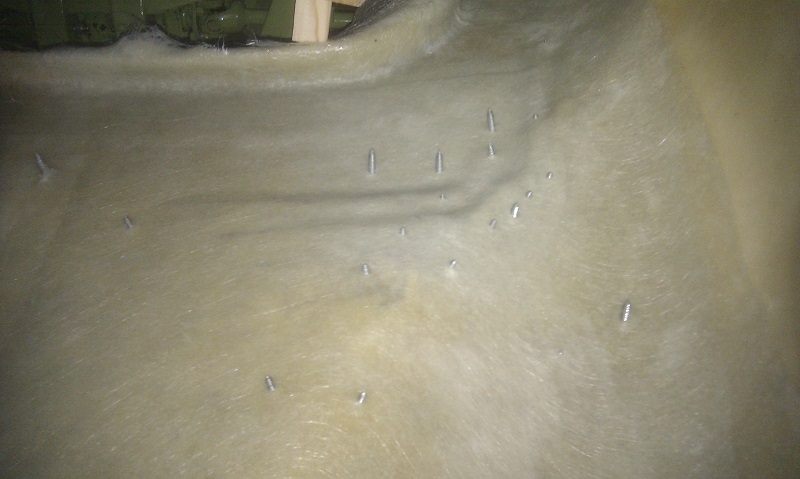
I need to tweak the fillets and then flip the body and glass it in place at the weekend. Once I have cut the four holes in the rear deck I can get on with finishing the frame. One step at a time..........
9 Oct 2013, 5:53am
Nice work, got any fibreglass splinters yet :-)
9 Oct 2013, 6:15am
Alingment

Oxford

This is the main reason we have chopped our G46 so much to get some degree of symmetry at least you removed the hum so you can measure the difference, we are currently on that section as well, rear arches leading away from rear bulkhead.

Lots of head scratching! your chassis build up deserves the attention you are giving the body.

Will post updates soon
9 Oct 2013, 6:16am
Charman.tech wrote:
Oxford

This is the main reason we have chopped our G46 so much to get some degree of symmetry at least you removed the hum so you can measure the difference, we are currently on that section as well, rear arches leading away from rear bulkhead.

Lots of head scratching! your chassis build up deserves the attention you are giving the body.

Will post updates soon


hump not hum
9 Oct 2013, 6:37am
Viatron wrote:
Nice work, got any fibreglass splinters yet :-)


Just a few hundred. The cleverest thing I did was a to run my fingers over the underside of the hump patch to see how smooth it was. Ouch.
9 Oct 2013, 7:27am
:-) bet you wont be doing that again!
9 Oct 2013, 7:47am
So that's Twerking...
9 Oct 2013, 8:41am
More like twerping.
9 Oct 2013, 11:06am
exactly what I thought, the tub will be high class as well. Nice. It would be a shame if wood would detoriate over the years while the rest is still shining.
I like the idea of removable hump-bracket. I gave it a thought of placing some sort of construction into the inside of the hump. I left the thought because it would be to low anyway.
Michiel
9 Oct 2013, 1:28pm
micky1mo wrote:
Whilst at the show, my teenage son fell for a Lomax. I've always fancied building a Morganesque three-wheeler and I am a fan of the 2CV lump. So, next project decided.


How about this, much better than a Lomax and for sale :icon_biggrin:

[/QUOTE]
Like the rear end ,front not to good in my eyes but I love these 3 wheelers

I take it you are replica rides after looking at the website?
13 Oct 2013, 4:36pm
Chipping away

I'm trying to keep some momentum going so I was down at The Glade this week preparing my rear end for improvements.

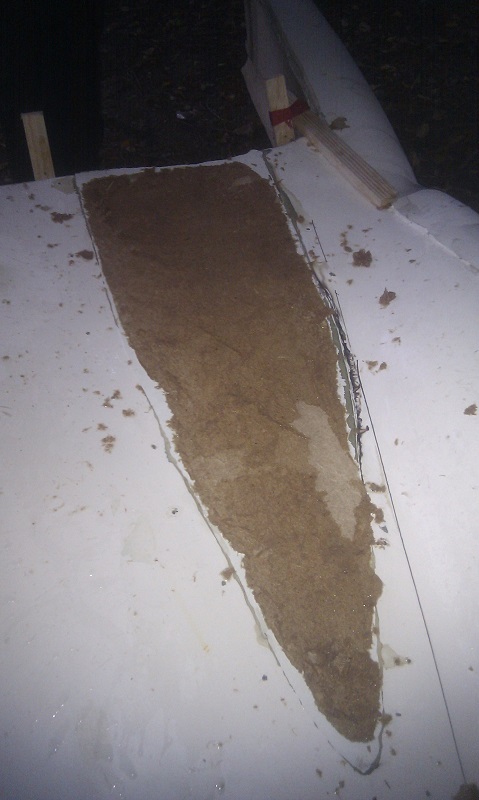
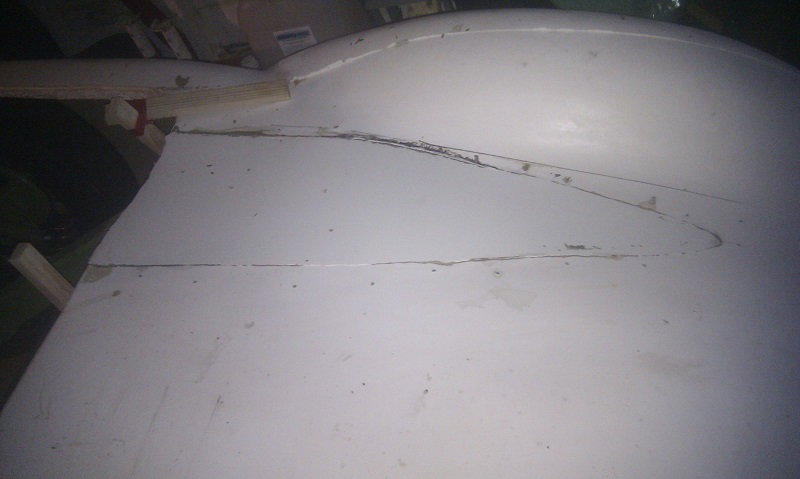
I glassed beneath the series of cuts and left it to cure.


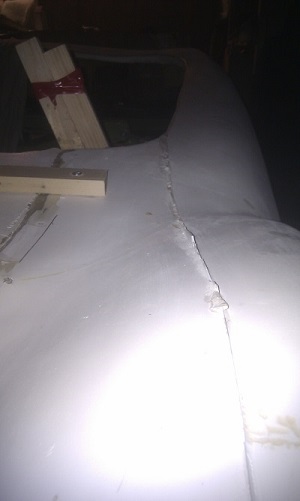
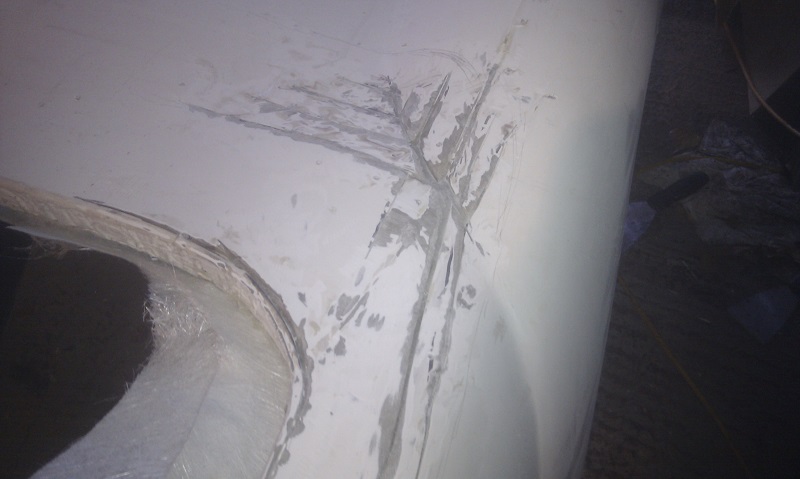
This is what the top-side looked like.


This was after the supports were removed and I had smoothed/roughed the surface.


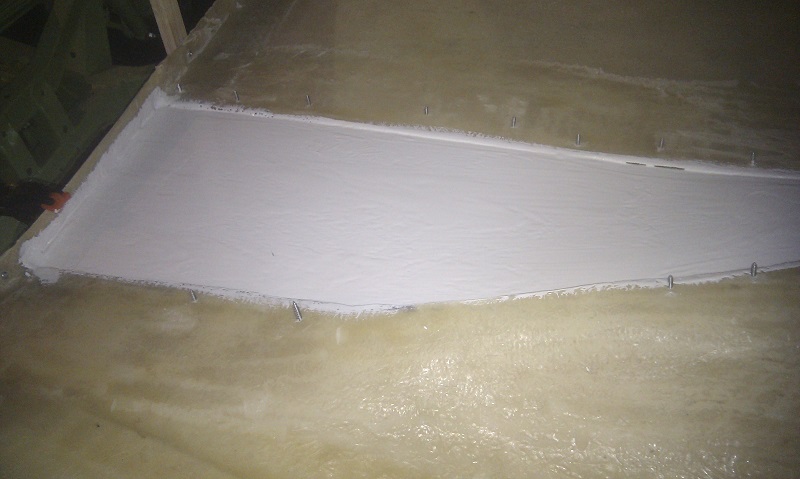
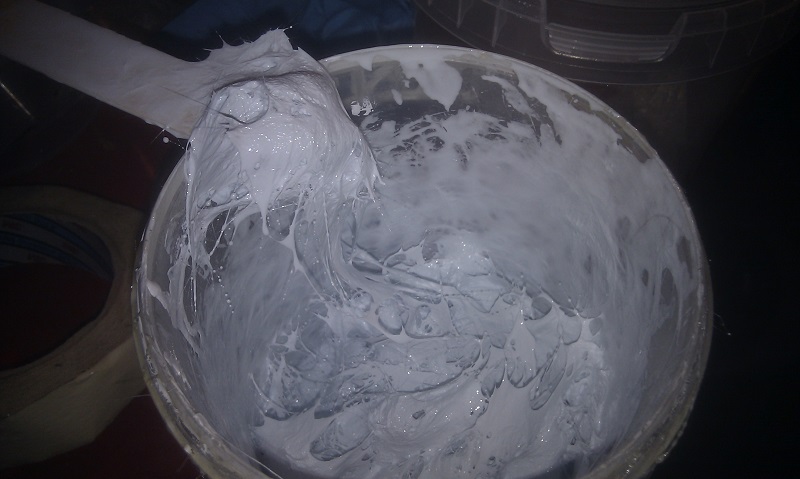
I mixed some home-made (and much cheaper) P40 using 150ml of resin, 50ml of white gel coat for some colour, and ~20g of CSM. After lots of mixing I added the hardener and mixed some more.


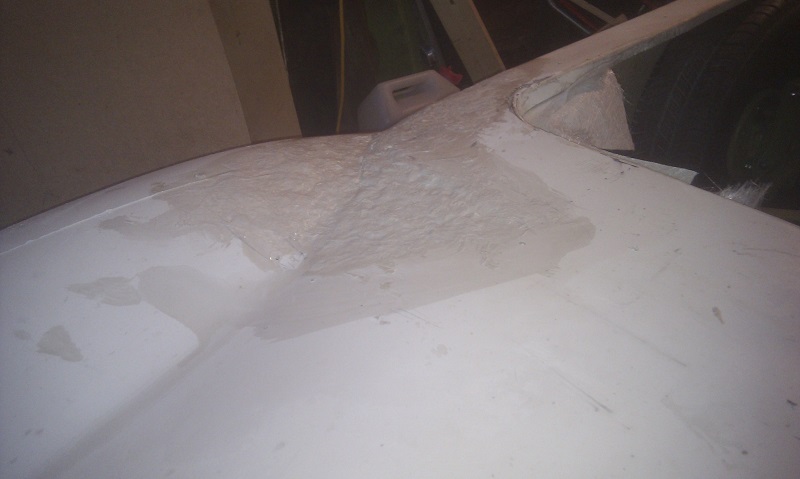
I then applied a very rough layer to get things a little closer to the profile I want.


It looks like I have applied a massive gob-bomb (chew a piece of A4 for a very long time and, when it is thoroughly wet, fire it skyward so that it sticks on the ceiling of the classroom and then blame it on somebody else).

I will give this a mild blast with a flap wheel before applying P38.

The good news is, the rear deck is flat and perfect for the crossmember.
13 Oct 2013, 5:39pm
Looks good. Nice coctailing with resin stuff. Did some experiments too. Some more succesful then others :eusa_angel:
I would suggest to add chopped glasfibre. The fibre flakes strengthen the material. The bonding paste for example, is strong but also very brittle and therefore can crack. The chopped glass fibres give it strength.

Michiel