This is a read-only archive of the old Madabout Kitcars forum. New posts and replies are no longer possible, but every thread is still here to browse and read.
Still trying to raise funds , draw ideas from peoples builds and make a decision on which one to build !
I like aspects of all of them.
A Sammio / Ribble profile without the flip front would work for me.
I like the cockpit location / bonnet length etc of the Sammio original but the flip front would be better if it didn't , if you know what I mean !
look forward to seeing your build shape up on here Ikon.
yes pee wee
i do know what you mean about a one piece body for the sammio\ribble............you dont like the miglia?
hope you get the funds.............good luck ikon
A Sammio / Ribble profile without the flip front would work for me.
I like the cockpit location / bonnet length etc of the Sammio original but the flip front would be better if it didn't , if you know what I mean !
For my two new pennies worth I was so glad of the flip front when the clutch failed and I had to take the engine out to replace it.
Access to the nuts'n'bolts that hold the engine to the gearbox bellhousing is pretty tight even with the bonnet completely removed. With all the nuts and bolts removed, my six pot is a heavy old lump of cast iron that has a will of its own once it gets free of the gearbox input shaft, which takes an awful lot of wiggling wobbling and winching in itself.
I wouldn't have fancied the chances of my paint job escaping unscathed from my single handed approach to engine removal if I'd had to feed it out of a conventional hole in the bonnet.
Each to their own though whichever one of these cars you end up building it's going to look the business.
The Miglia is a good looker , dont get me wrong , but I think it has a very long front for a short engined car. there is enough space to fit a spare wheel in it. the engine and gearbox need modifications as well as steering and pedals so its a more complicated build.
I like the centre cockpit styling of the original Sammio. as a first build not having to move any major components helps a lot. Sammio developed a car to fit the chassis and drivetrain in its stock locations , which appeals to me.
Its horses for courses really.
At the end of the day , Sammio , Ribble , Miglia , whatever you choose , they are all great cars and all have their place.
The development of this car has given me the chance to own a type of car I felt was out of my reach and I have to thank the Sammio founders for that whichever one I choose.
I think that this has been mentioned before, bit I like the fact that the body is not perfect. There are two reasons for this; 1) it means that I was asked to part with well under a grand which I still think is a steal, and 2) it gives me the freedom to cut into it without the thought that I am "damaging" it.
I am going to have a bonnet (for checking oil etc.) and retain the flip front (which will be removable with large pip pins) for engine and suspension work. That's the beauty - you can do what you like.
I see us builders as recreating that fantastic era of special building. I doubt that the initial quality of the bodies was particularly high so it's all part of the authenticity.
And, just for the record, I think that the quality is amazing for the price - on all three.
Sorry for hijacking the thread, Mac. Back to building.
Bit of an update, unfortunately my Lupus is flairing so moving around is an issue so didint get as much done today as i had hoped.
1. The banjo bolt and union for fuel tank outlet arrived but when i test fitted it it bound up on the recessed taper inside the fitting before nipping up tight so a little surgery was required.
Only needed about 3mm removing then it nipped up nice and tight so finished swapping it out. Apologies for the lousy photo.
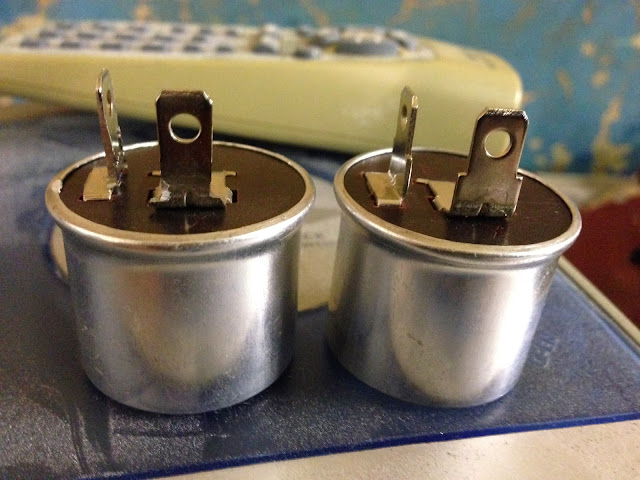
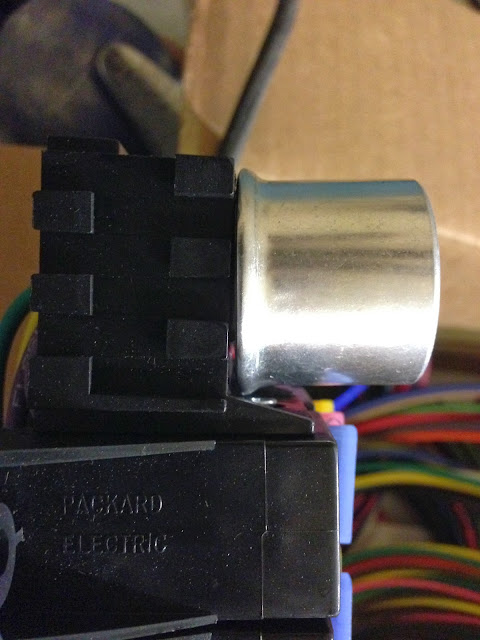
2. Had another look at the loom kit, the only issue i could find was that the 2 flasher units wouldnt sit down flush and were very prone to falling out.
Closer examination revealed both the problem and the solution, 2 minutes careful dremelling and voila, below is a before and after shot of the mod required.
After trimming the units both now seat much better
Am much happier now as at one stage i was considering having to cable tie them in which felt much too like a bodge.
Apart from an hour burning rubbish that was it today. Am back at it tomorrow and armed with industrial pain killers and Dave's help hopefully we will have more progress to report.
Paul, thanks to my lovely pain killers today wasn't too bad although a little hazy in places! Dave did look a little nervous a couple of times when i picked up the grinder :-)
As my donor cam in kit form with everything except the body i don't have a loom to start with, to be honest though for the price of this brand new one even if i did i would bin it in favour of the new one.
Going to have a quick bath and will then update with todays progress.
Got quote a bit done today with Dave's help
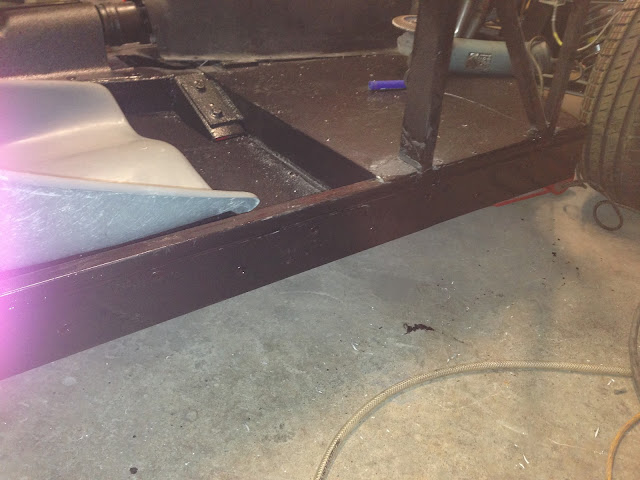
1. Fabricated the final rear centre placed seatbelt mount for the 3 point belts, bit awkward as i wanted the plate to end up as close to the rear ali panelling as possible, the pictures probably show it better.
Assembled the basic mount and frame off the car
Tacked the bottom of the frame to the bottom so that the upper part id far enough forward for the rear panelling to be almost flush
As you can see the top needed to come out nearly an inch , its 19mm box. Easily fixed though.
A pice of angel made an ideal top mount with plenty of welded area joining them together.
Quick coat of paint
Job done!
2. Next job was to rivet and glue some 3mm plate to the sides of the frame to give me the extra surface area to joint the body to the frame using rivets and PU adhesive.
My big orange rivet supply is slowly dwindling! Plate was placed to drop 15mm below the existing frame, probably only need 10mm but would rather have to remove 5mm that try and add it :-)
Coat of paint paint and bobs your mothers brother.
3. At this point we also permanently fixed the tunnel in place but i forgot to take any pictures! Doh!
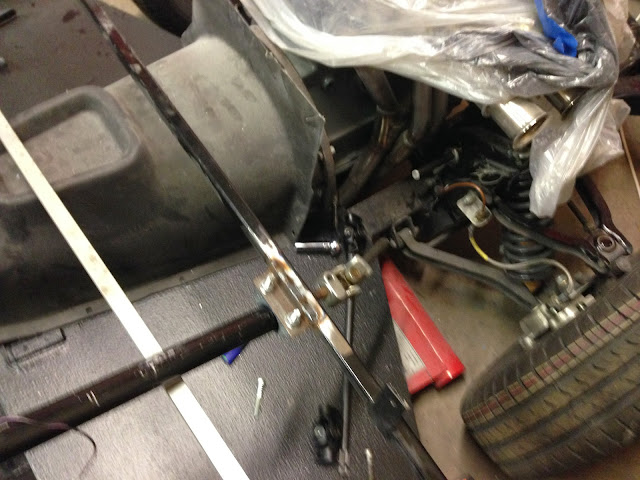
4. Started on mounting the steering column, first we welded a mounting point to the front of the frame.
Then used and exhaust type clamp to clamp it in place.
It was at this stage we started working out the angles etc for the extra joints in the steering to make the column straight.
We have a plan but it probably involves shortening the column itself a good six inches, tune in next week to see how it works out!
No real update today as i have been doing so,e crimbo stuff. But whilst present wrapping, shopping etc i have been mulling a few things over and reached some decisions that i thought i would share.
1. Steering column.
When we started mocking up a way to get the steering column straight rather than cocked over as Triumph intended we noticed that we were running out of room for the 2 shafts and 3 U/J's ( actually 2 U/J's and the triumph flexible rack to column joint) before we reached the end of the steering column. My initial thoughts were to cut and shut the original column using a machined Ali sleeve and some industrial adhesive, welding isn't an option as the column out is made of what can best be described as monkey metal.
A bit of googling though has revealed that the two inner column bushes are still available and in fact are held in by no more than rubber locating bobbles on the outside of the bearing. These locate into holes in the column outer. As this is the case my new plan is to just shorten the column out to wherever i need it to be then drill 2 bush locating holes thereby allowing me to fit a new lower bush pretty much anywhere i want it, sometimes the simplest solution is the best!
A quick Google revealed that mevspares sell them in a column set of 2 for just over £8 delivered so a pair have been ordered and hopefully an update later this week will show the column becomes very much shorter than it is now.
2. Cockpit space.
I am by now means the Pillsbury Dough Boy but have definitely been described as big boned. Sitting in the car on Saturday trying the new fibreglass shell seat revealed that although not uncomfortable there was very little space for my right shoulder before it cam in contact with the body. Not a problem in itself as i intend to fit a leather trimmed foam section around the rear of the cockpit anyway but it set my mind to thinking about how easy it would be to increase the available cockpit width. After mulling it over i have decided that if im even thinking about it then i should probably do it as to do it now is fare simpler than trying to do it later when the body is on.
After messing with a dry board marker on saturday i reckon i can get another 5 to 6 inches of cockpit width fairly easily.
I haven't quite worked out in my mind the exact sequence of events that will allow this to happen but the first step will be to cut out the area inboard of the line after doing a more accurate marking job. I will then have to decide the best way to make good the missing flange, shouldn't be too difficult though, a piece of waxed board or Ali will be clamped in then fibreglass relaid from behind resulting in a new cockpit flange in the new location.
Tune in tomorrow night for a run down on how it goes!
I had the same idea regarding the steering column.
It is surprizing how far off-set the standard triumph steering column is.
I had the added problem of the BMW exhaust manifold to get passed
I think I ended up using the top part of the Triumph column and the lower part of the BMW column which left a U/J in the centre. This just passed under the exhaust manifold with mm's to clear.
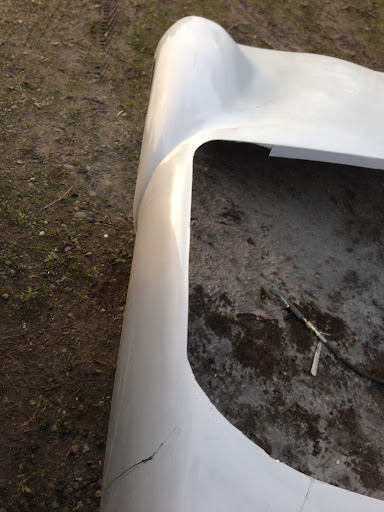
Firstly I cleaned the shell so the tape would stick then taped up where the cut needed to be so I could use a biro to give me a nice sharp line to cut to
Then I carefully measure the 3 inch width I wanted along the side of the body and threw a line at the back keeping it to the existing return.
Next I used a 5 litre paint tin to get a nice radius at the back and then used a steel ruler clamped to the front dash area then bent to meet the new side to give me a nice caurve.
Sorry if the pictures aren't as clear as they could be but wanted to get it cut out before the light went outside as I didn't want to be cutting inside and cover everything with fibreglass dust.
Then it was out with the cutting implement and off I went!
Well there is no going back now! Hopefully Sean next door will be in tomorrow so I can wheel it round to him to reform the return for me using leftovers next time he is making anything. If he cant do it ASAP ill just do it myself but I would rather be cracking on with the steering than up to my pits in fibreglass! :-)
Thanks for sharing that, Mac. I'm planning to do the same so it is good to see it done. I'm toying with the idea of dropping it a little - similar to a TR2/3 profile but not quite as pronounced. I will probably chicken out and follow your lines.
I know what you mean, last time I did this sort of thing it took me longer to work out the optimum lengths and angles than it did to actually fabricate, lots of tacking trying then cutting tacks then tacking again.....
Hi Paul,
What Mac and Mike are doing is to straighten the original layout of the steering column. As originally built, there is an angle between the steering rack and the steering wheel so the wheel does not lie parallel to the cockpit edge. They are fitting universal joints so that the final part of the steering column is at 90 degrees to the driving position. The standard layout will work perfectly well and their mods are out of choice rather than necessity.
I hope that helps.
Andy's not far wrong, but as you can see in the photos I had to get around the BMW exhaust manifold hence the bend and U/J.
The original column is one straight shaft and does leave the steering wheel slightly off-set not noticeable until you strip down the car and try and line up the new body.
Unfortunately my plan to get the whole week in the workshop went south Tuesday morning with a call out to a dead Server, 3 long days of work has it all back up and running but meant no time for the workshop. On top of that my good lady and our 15 month old granddaughter we nearly snatched away from us last night by an impatient driver overtaking a truck on a blind bend, SWMBO managed to veer half onto the verge and avoided a head on but it wiped the front offside corner off her car. Luckily both were checked out by the paramedics and given the all clear, the airbags hadn't deployed so didn't need to go to hospital. Driver of the other car had her airbags deployed and had a few bumps and scrapes but was not hospitalised. She has been "invited" to the local cop shop next week for interview....draw your own conclusion!
Anyway in between dealing with the claims management company and shuffling vehicles whilst we wait for the hire car to appear I have managed to grab a couple of hours of workshop therapy.
Shortening the steering column
First I set the column up sitting in the seat chocked to its finished position so I could see how much column I could lose.
Marked it up
removed the inner, clamped it up and cut the outer to the new length.
The new bushes have a dimple on either side for locating in the column outer.
Drilled a 9mm hole through the outer for the bush locating lugs to sit in.
Put the bush in the end after liberal application of grease.
[IMG]
Drifted it home with a socket until the lugs popped into the locating holes, outer done!
Here you can see how much I have removed
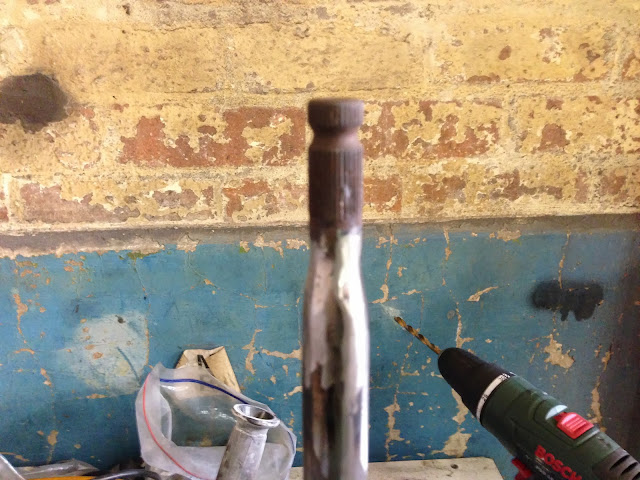
Next I moved onto shortening the inner, cut it to length and drilled a 7mm hole straight through so I could puddle weld either side between the steering tube and the piece of solid splined bar I cut of the original spitfire lower column.
Below is a pic of the finished inner with the splined piece welded in, made sure I had good weld penetration as I knew I would have to be viscous with the grinder so it would slip through the bushes.
And a shot of the finished modified steering column, just going to give it another coat or 2 of paint then finish fitting the NOS headlamp switch I managed to find then I'm off home to pander to SWMBO!
Back in for a bit next week but progress will cease totally on the 31st as we are off on our annual pilgrimage to Sri Lanka for 5 weeks :-) Cant bloody wait!