This is a read-only archive of the old Madabout Kitcars forum. New posts and replies are no longer possible, but every thread is still here to browse and read.
Little bit of fettling today - I have a functioning clutch for the first time since buying the donor and the foot brake is now routed through the servo, albeit without any servo assistance until I work out how to connect up the vacuum hose.
Just as an aside, the brake fluid that had been sitting in the pipes for God knows how long came out black, thin and creamy looking, rather like gone-off Guiness when displaced by the fresh fluid used to refill and bleed the system. I have a feeling it would have led to instant brake fade if used in anger.
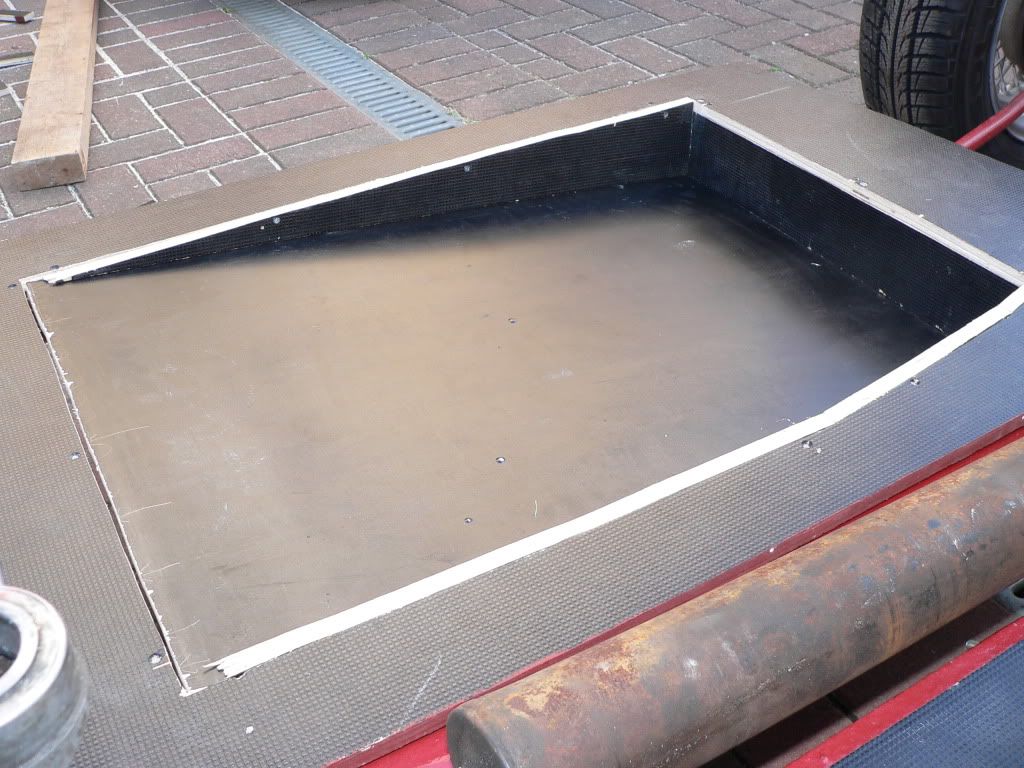
Lovely day today, bit cold but dry and sunny so I got on with altering my lowered floors -
I've gone from a 5" drop at the back and 1 1/2" at the front to 3" at the back and level at the front as my new seats are much lower than the big 'ol MGB ones that didn't fit.
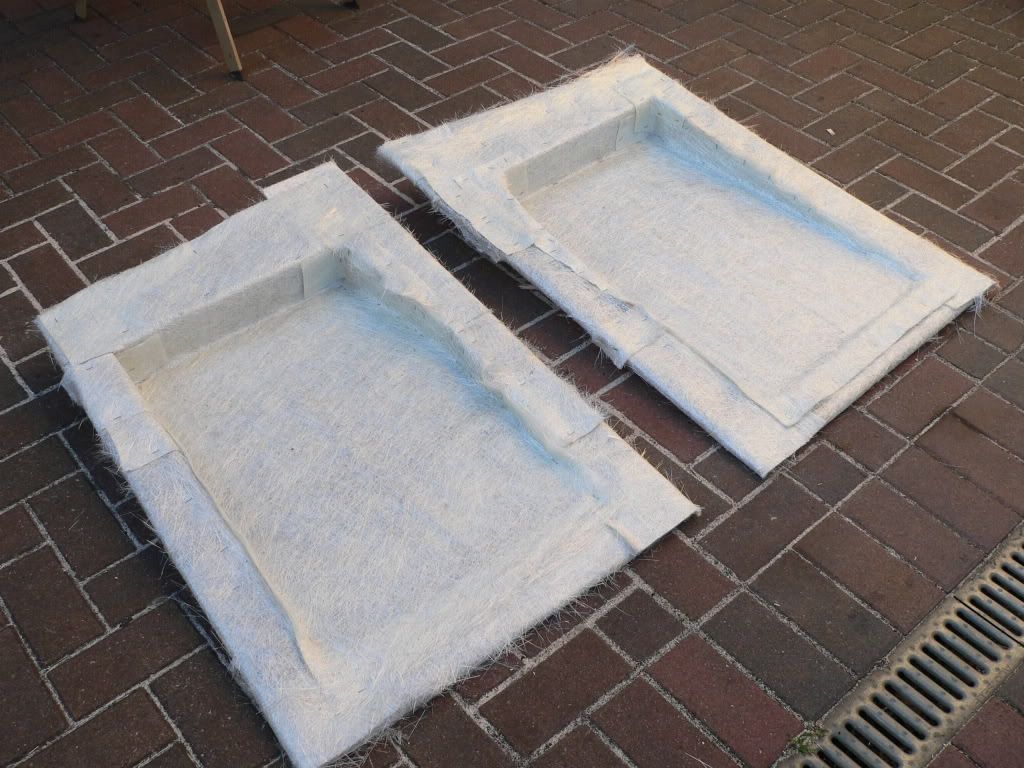
They then got a thorough covering with 600gsm glass matting. I'll be rolling the resin on tomorrow as I ran out of time this evening.
Just in case anyone's interested, here's a picture showing where I've mounted the brake servo.
I've bolted it directly to the bulkhead as it's the same angle as the bracket that came with it. Just need to make a stabiliser arm to stop it wobbling and drill and tap the intake manifold to connect up the vacuum hose.
When I come to fit the bonnet I'm probably going to need a couple of those teardrop blisters that you see on quite a few Sammios. Anybody know where they can be bought at a reasonable price? I can't seem to find any at the moment although I did have a bit of a brainwave when my son opened one of his Easter eggs earlier and cracked it into two halves - half an Easter egg might just end up being sacrificed to become a mould...
Gave the underside of my mummified floorpans a good coat of resin first thing this morning -
I'm hoping it will have set by late afternoon so I can turn them over and do the upper surfaces. Garage is a bit of a no-go area without a mask at the moment due to the fumes from the resin so I won't be doing much else to the car today.
Flow-coated the underside of my floorpans this morning. Worked out that I needed a 2.5% ratio of catalyst to 'paint' for it to set in about an hour. Measured out a litre of 'paint' and carefully added 2.5cc's of catalyst.
Four hours later and it was still wet. Very wet, with no signs of it setting. A little chin rubbing later it dawned on me that I'd actually added 0.25%, not 2.5%
So, I need to clean off the paint that will never set, so, what have I got laying around in the garage that's a suitable solvent for paint. Aha! an old tin of MEK, that should do the trick.
I then find myself with an old rag stuck to the bottom of my floorpan. Something's caused the paint to flash set in a matter of seconds, but what?
Well, after reading the ingredients on the various tins and bottles that came with the flow coat it appears that the catalyst is MEK. Solution: overpaint the whole thing with neat MEK and hey presto, a rock hard flow-coated floorpan. With a paint brush stuck to it.
Where did you manage to get MEK from these days? Last time I used it, I was cleaning a spray booth floor with it... What a trip that led to
Where did I get the MEK from you ask? Hmm, looks like you've caught me out using a bit of poetic licence (posh term for a lie). I haven't really got an assortment of detritus adhering to my lowered floors, but I did cck up the hardener ratio by a factor of ten (well, it was Friday 13th).
The hardener is methyl ethyl ketone peroxide, or MEK by the way, which I did end up having to brush into the liquid paint I'd already applied to the underside of the floorpans to make it set. The fumes are pretty pervasive (and toxic) but I have a very good mask which helps stop the pink elephants doing riverdance through my garage while I work.
We used to use MEK for a variety of things in the RAF - universal solvent; catalyst for special coatings; pouring on colleagues' boots who'd fallen asleep in the crew-room and setting fire to them. You know, normal things...
Should see some progress on my Spyder over the next couple of days as I've just finished a set of shifts and now have four days off.
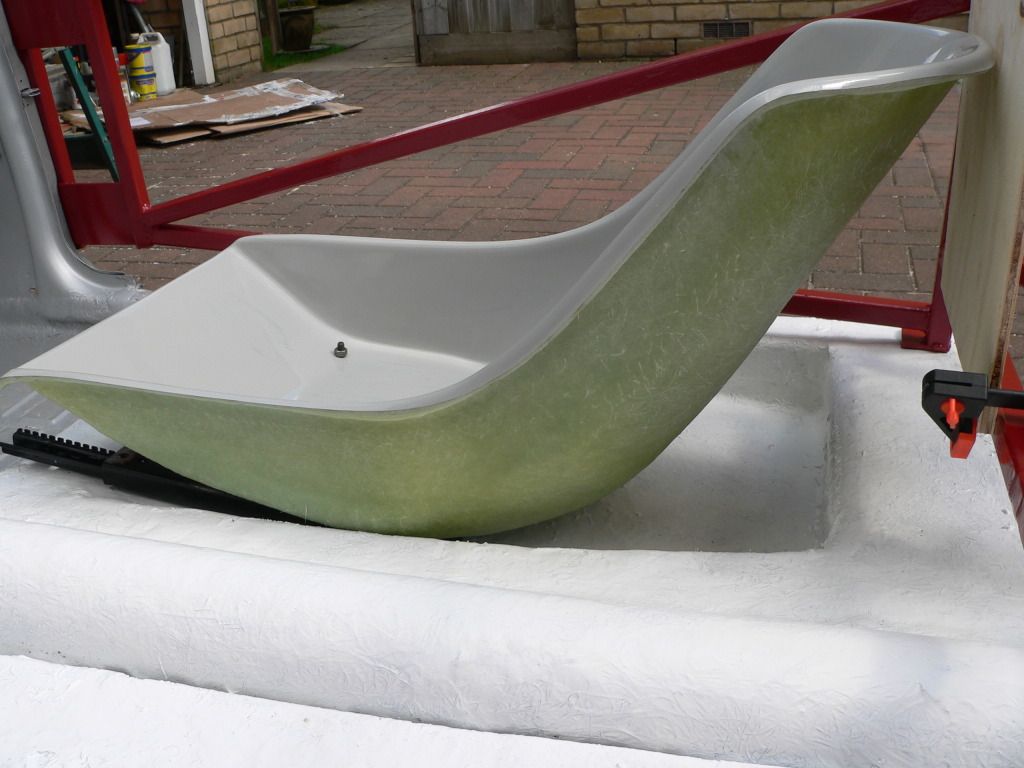
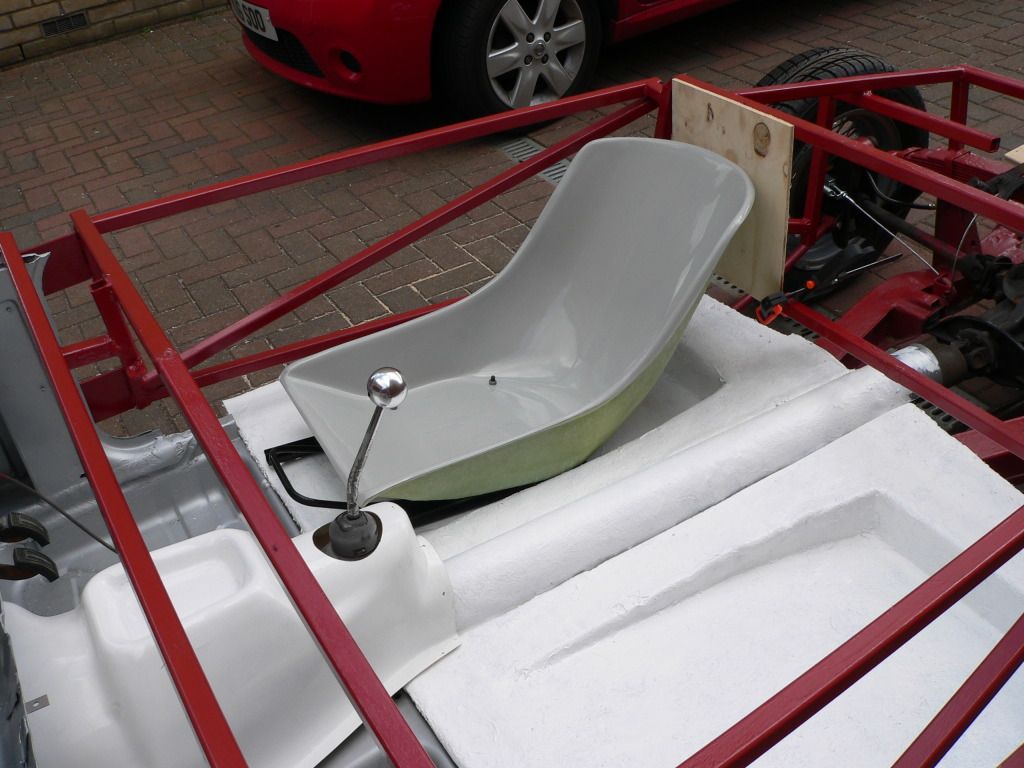
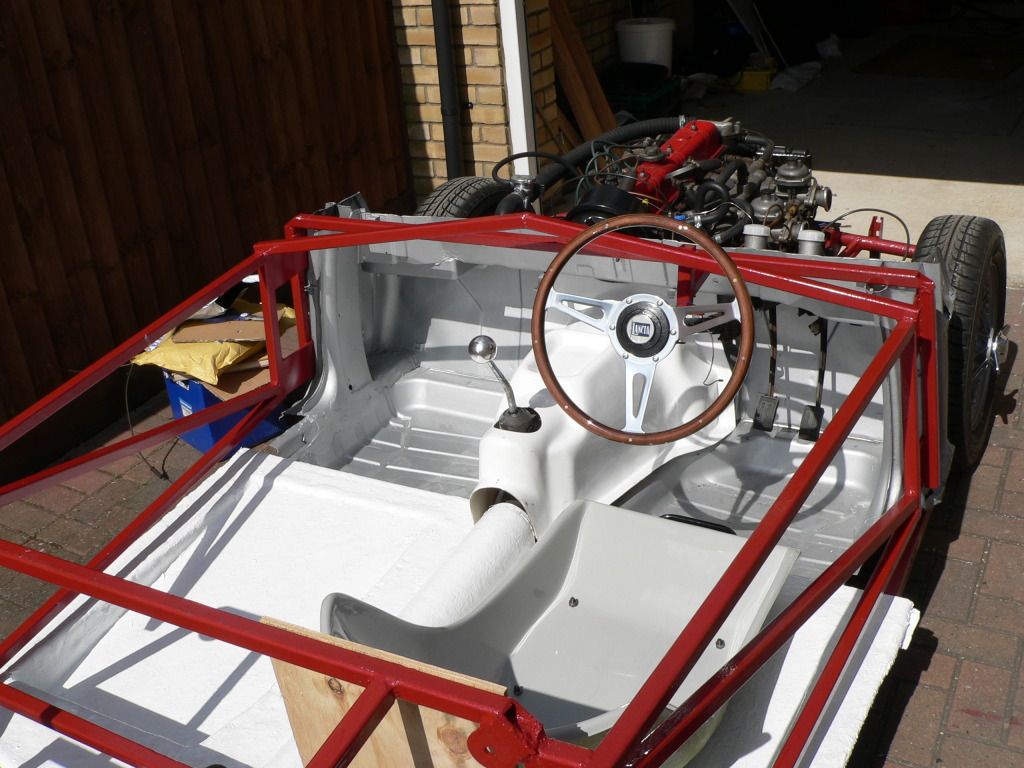
Just spent an hour mocking up the floors, driver's seat and steering wheel to check the siting of the primary controls:
I'm pretty pleased with the way it's taking shape, I can't believe how well the seats fit - they're the perfect size and were an absolute bargain.
In addition to building in a luggage bay behind the rear bulkhead there's also going to be plenty of space behind the seats for a couple of decent sized squashy bags, so touring Europe is looking like a realistic proposition.
looking very nice mr T
How long before the body gets dropped on?
Touring in europe? i want to take the roadster over the alps and then back through the mont blanc tunnel.
I always get misty eyed at the start of the Italian job - matt monroe playing on the radio - the mountain roads winding up through amazing scenery but hopefully no bulldozers :P
looking very nice Towed....I have bought those seats for mine ....well technically....the pair I bought have just been shortened 3'' in height to go in Jennettes more compact cockpit ....those German racing drivers must have all been about 5' 5'' !!
Thanks for the kind words guys. I'm aiming to fit my body in about two weeks time. I want everything installed and working - a completely driveable chassis - before bonding the shell in place, so I've got maximum access to everything during the fettling stage. I've got four days off now, then back to work for six before two weeks off solely to get on with my Spyder so there should be some rapid progress then New deadline for MOT is June 1st. This year...
I'm chuffed to bits with the seats and if you've ordered a second set Gary that speaks volumes for their quality. I can't wait to get mine stitched up in dark red leather. That's just about the only job I'll be getting done professionally btw, as I've tried trimming seats before and I was genuinely crap at it. It's a professional skill that's best left to a professional in my case
Fitted the micro heater this morning as I'm still waiting for the underseal on my lowered floors to dry.
I'll be leaving the ducting and vents until I'm ready to fit the dash as I'm not sure where I'll route them yet. Ideally I want them under the dash heating the footwells as I don't really want the modern, plastic vents on the face of the dashboard. They just look too modern.
That's nice, probably made in the same Chinese steering wheel factory as mine!
Funny things, steering wheels, there's a great deal of difference in personal taste - I like thin slots while others prefer holes. I ended up with teardrops but only because I couldn't justify the extra £200 for a moto-lita with thin slots.
I also usually prefer a 13" size for the slightly quicker steering response you get, I just felt that the 14" one fitted the period better as most cars of that era had huge steering wheels.
There's also the slight issue of putting wider tyres on a car with no power steering and actually being able to have some input on the direction of travel at low speeds. With a 13" wheel fitted if you haven't already got big biceps you soon will have!
I was hoping to get my floors and frame fully fitted this afternoon.
Things were going pretty well until I came to line up the holes in the frame with their various counterparts on the chassis. I got two bolts in on one side: one of the original ones that secures the frame to the diff housing and one through the back of the floor where the rear outrigger meets the end of the side-rail, but the corresponding two holes on the other side are about two inches away from where they need to be.
The back one looks like it will spread if enough force is applied but the floorpan one is held by the cross brace that did secure the two rails that were to be the prop-shaft tunnel until I cut them off. I guess I'll have to cut through the cross brace then weld a bridging piece in to fill the gap once I've got the holes lined up.
I'll take some pictures in the morning, I ran out of daylight today I'm afraid.
We had to cut off the drivers side frame foot that bolts to the diff housing, remove about a centimetre in height from the box section and weld it back on further outboard. Likewise I seem to recall moving the plate to the drivers side side rail a bit further out too. I just assumed it was a quirk in our 40 year old chassis's past life.
Also the bolt holes mounting the frame to the bulkhead door hinge points needed adjusting, the top and bottom ones fitted o.k. with a little filing, but the middle one was about half a bolt hole out. Got there in the end with lots of elbow grease and a new round file, then tack welded the plates onto the bulkhead for extra security once it was all lined up and bolted down.
None of it is difficult, just a bit of a challenge! If yours is two inches out it might be worth opening up the bolt holes before cutting to see if you can wiggle things around a bit into a better position first.
Yep, I'm not blaming whoever made the frame for the fitment issues, I'm guessing that the imprecise sixties manufacturing tolerances are responsible for the poor fit.
Will be attacking the frame with a screw jack and a sturdy length of timber this morning to see how flexible it is before doing any cutting. That'll also give me a good indication of the quality of the welding at the joins - if it holds it's pretty good!
I used a couple of ratchett straps and a few well placed cuts to fit my frame. I was modifying it anyway, so added in a couple of extra cuts so I could line it all up. Also check the top rail along the sides, my drivers side rail needed moving outwards so I could get my boarding in and lip under the body at the top.






 New deadline for MOT is June 1st. This year...
