MadaboutKitcars

This is a read-only archive of the old Madabout Kitcars forum. New posts and replies are no longer possible, but every thread is still here to browse and read.

Another Cordite Is Born ...

12 Nov 2017, 6:08pm
Sunday Morning - Part 2:
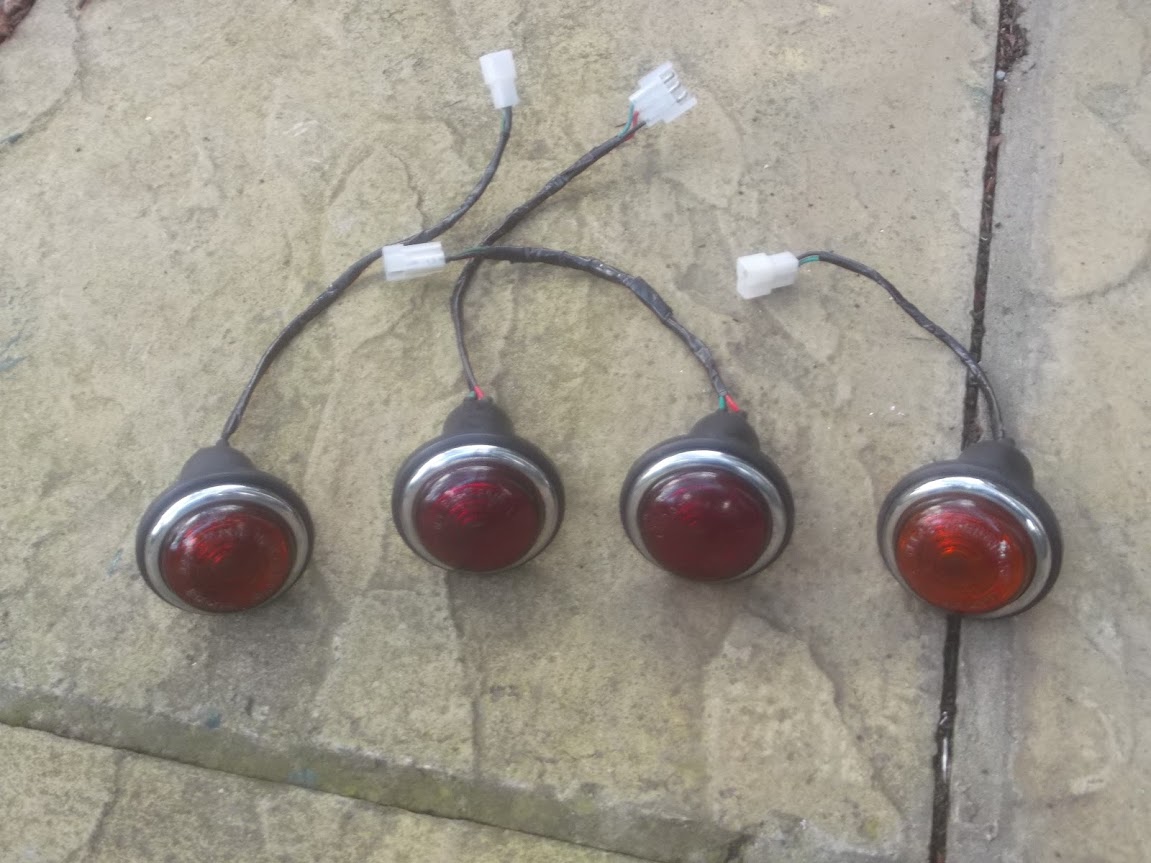
One thing I did discover is that the two Stop/Tail lights have different internal fixings.

So one takes the bulb with the 'lugs' equally placed and the other takes the one where the lugs are staggered.


The fact I have both bulbs to hand means that the replacement plastic Stop/Tail light I bought was also different to the original one.

Still, I now had all four lights wired up and ready to go.


I also dragged the next wheel to be cleaned out.


But I didn't get a chance to start on that as I had other family stuff to do.

Note:
I should point out that there was a short break in the middle of the morning so I could observe the 11am silence & watch the first wreaths being laid at the Cenotaph.

- - - - - - - - - - - - - - - - - - - - - - - - - - - - - - -

Sunday Afternoon:
I peeled back the covers at the rear of the car, so I could drill the holes for the lights.


As expected, there wasn't enough bodywork to play with (hence the big washers).


One down, three to go.


Apologies for the blurred photo...


But by now the sun was setting and the temperature was dropping.
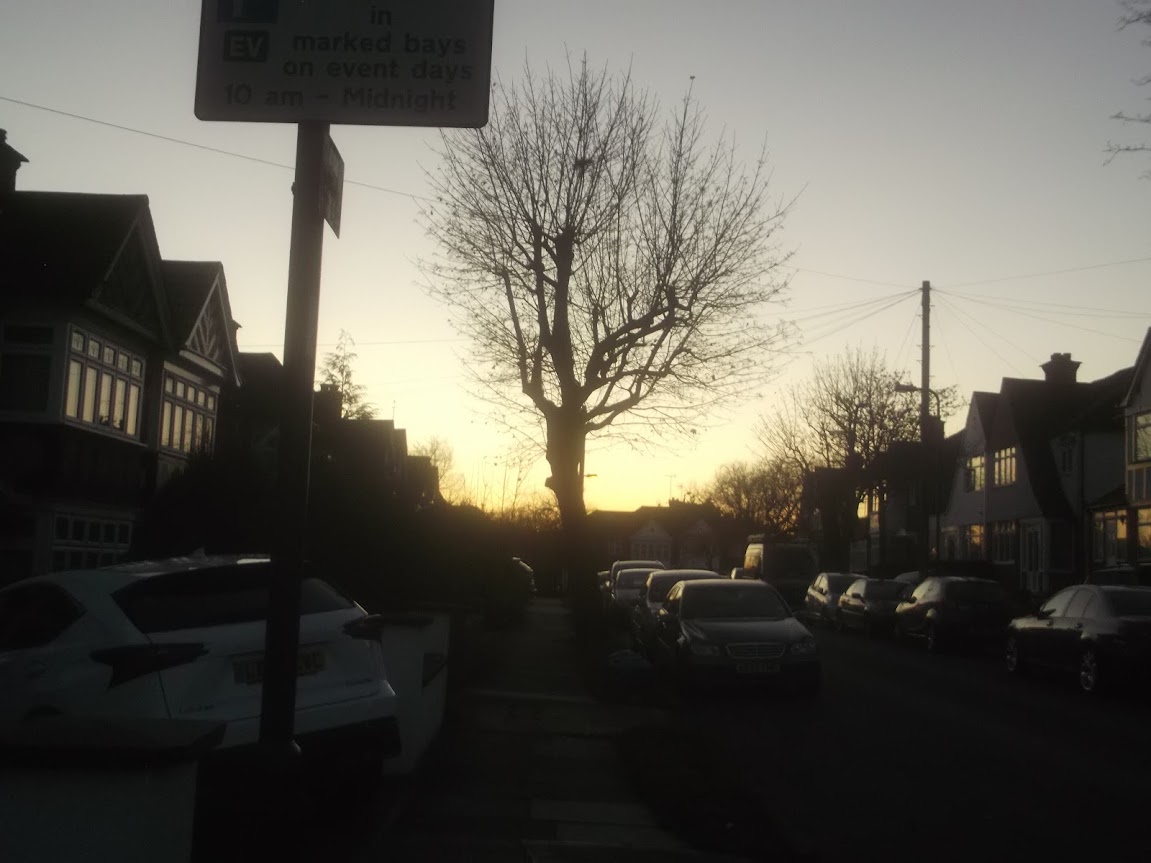


So by the time I'd finished drilling the other side…


I was now working by street light.
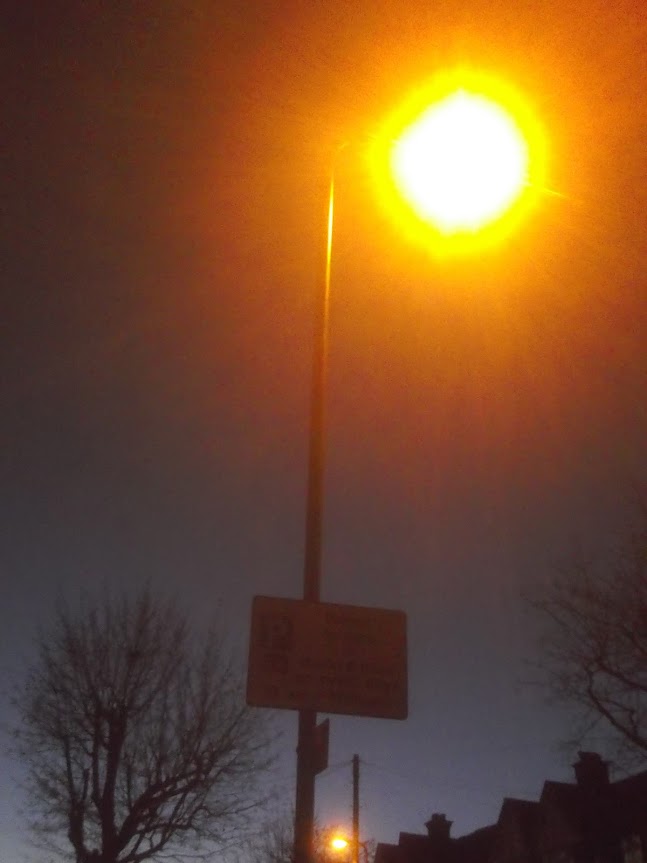


And there was no chance of getting a decent photo of all the lights in place.
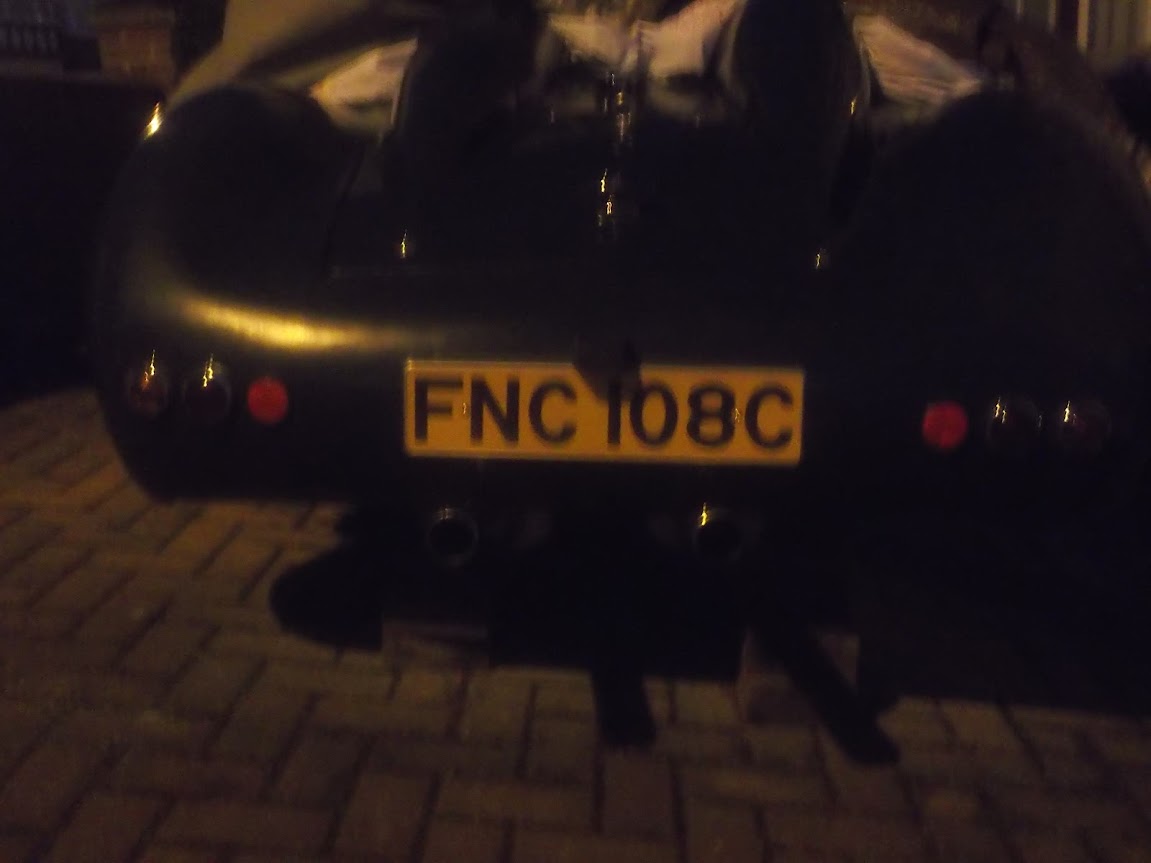


So you will just have to take my word for it that the lights look great. :cool:

I still need to finally bolt them into position and connect/test them, but that is one job closer to completion.

Until next time, take care, Paul. :)
12 Nov 2017, 6:14pm
The bayonet style connectors are best soldered otherwise the wire just pulls out if you try and disconnect them.
`the white multi plugs `i found very good, I fitted a thin zip tie along the length of them to stop them coming disconnected accidentally, nothing worse than trying to rectify loose connections at a later date.

Nearly there!
13 Nov 2017, 5:40pm
Jag - The box of connectors did have some ends that needed solder, but these ones needed crimping.
( Admittedly they needed a HUGE amount of force to crimp them, but they are definitely secure. )

Thanks for the zip wire tip, I'll do that when I finally tidy up the wires in the boot area.
( All the connections at the front have been wrapped and taped up to keep the elements out. )

- - - - - - - - - - - - - - - - - - - - - - - - - - - - - - -

Monday Bonus:
Got a chance to squeeze in some car work around other stuff today.

So at least I got a chance to get a decent photo of the rear end in the daylight. :cool:


It still looked just like that over an hour later, but at least all the lights were bolted into place and the wiring connected up.

So I removed the covers so I could start the engine and check the lights and found this.


Which explains some of the fresh marks on the paint, it is Snail S***! :rant:

First test of the rear lights showed the drivers side was wrong.


As it turned out, this is the side where the lugs on the bulb are not staggered.

So simply removing the bulb and turning it through 180 degrees fixed that.


Then a couple of blocks of wood allowed me to test the brake lights.


Which were now working properly on both sides.


And here is a full house of hazards, rear & fog lights.


I double checked the headlights and both side and main lights worked.


End of Part 1…
13 Nov 2017, 5:42pm
Monday - Part 2:
I really thought that an MOT pass as far as lighting went until I remembered to check the rear number plate light…

Nothing. :icon_sad:

Now, quite by chance, I'd seen a spare bulb in the Summer House the other day (while looking for something else. )

Swapped the bulbs over and still nothing.


So I found a spare indicator bulb and used that to test the wiring loom inside the boot.


So at least I know the wiring is fine and it is the bulbs that are broken (new ones now ordered).


Just a few other odd jobs.

I had a closer look at the chips in the yellow paint and it was caused by tightening the grille into place. :icon_sad:


So I removed all the fixing brackets.


And removed the grille itself.

So the next job will be to rough up the painted surface so I can get a good bond when I fix the grille into place.

I made a start on cleaning up the second wheel.


And loosely fitted the first wheel that I cleaned.


The car is still on blocks of wood as I still have a couple of small jobs to do on the underside.

But, overall, it is actually quite close to being ready for the MOT, hopefully within the next couple of weeks. < Tough Wood > :pray:

Cheers,

Paul. :)

PS
I even managed to get a poor photo of Jupiter and Venus this morning.

14 Nov 2017, 12:20am
Moving along nicely Paul, won't be long now. Car is looking very good!
14 Nov 2017, 7:22am
Thank goodness for the planets, I thought that last photo was going to be another tarpaulin related paint job!

Paul, now that it is coming together again, I think that your angst about the paint is not necessary, it looks a fine car, just look again at the rear view photos above.
14 Nov 2017, 8:28am
The LED bulbs only work when fitted one way around, try fitting the bulb the other way around.
\Caught me out before.
The car really is getting there, I would suggest a completion date of Xmas day!
We always take the old MK2 Jag out to the pub on Xmas day for a lunchtime sharpener. We used to do it when I was a kid and we would go in my Dad's MK2, sort of a family tradition which just happens to include drinking......Ahhh bliss!

I don't think they are planets, how far are you from Heathrow?:D
14 Nov 2017, 5:34pm
Molleur - Thanks. :cool:

Barber - Cheers, the paint does add to the overall 'old car' feel and I love the way the back end looks. :cool:

I just need to practise my lines…

"Well, it is the original paint, so, obviously, it is looking a bit tired these days."

:icon_wink:

Jag - LED bulb tip = Bingo! We have a winner. :D

I like the sound of your Christmas day tradition.

Unfortunately, mine involves me doing all the cooking, prep and cleaning up.

So no chance of me sneaking out for a quick spin before lunch.

- - - - - - - - - - - - - - - - - - - - - - - - - - - - - - -

Tuesday:
My 'real' work project has finished earlier that expected, so I will definitely have some more car time available this week.

But my wife and I had a funeral to attend in the morning, so it was late afternoon before I could start today.

First job was to put Jag's tip to the test and let there be light. :cool:


Only one of the bulbs worked, so the other one is definitely blown.

Either way, I now have all the lights ready for the MOT.


When I first bonded the body shell to the framework, I added plywood panels inside the boot.


These run along the sides and rear of the boot opening to support the rear end of the car.

My plan was always to add a couple of extra panels in here, like so.


Excuse the poor photo.


So when I mix up some bonding paste for the grille I will fit these panels at the same time.

Then it was time to start repairing the damaged paint on the front nose band.


Yet another blurred photo, but things are now a lot smoother.


I also cleaned up the areas where the paint chipped at the edges.
( As I will touch up this with some more yellow at some point. )


Plus, generally flatted back the last round of yellow paint that I applied.


Despite the set backs, I'm still lovin' the yellow. :cool:


I also roughed up the inside edge of the bonnet opening to help me bond the grille into position.


End of Part 1…
14 Nov 2017, 5:35pm
Tuesday - Part 2:
That was it as far as work on the front drive went.

But I did do a bit more washing up out on the rear patio, starting with the grille.


As I work my way to the bottom of the tyre pile, they appear to be getting dirtier.


Because the inside edge is not actually black. :rolleyes:


At least my little production line is working, as the 2nd tyre is almost ready now.


Finally, some alternative catches arrived in the post today for the fuse box cover.


But I haven't had a chance to see how/if they will work in practise.

Until next time, take care, Paul. :)
14 Nov 2017, 7:56pm
Looking good Paul. I rather like the reflector/foglights too. Simple but effective

Dave
16 Nov 2017, 4:01pm
Dave - Cheers. :cool:

The LED reflector/fog light really saved the day, as my car is just two days too young to get away without them. :rolleyes:

- - - - - - - - - - - - - - - - - - - - - - - - - - - - - - -

Misty Wednesday:
A horrible damp day where I could get nothing done on the car itself.

But I did add another wheel to my cleaning production line.


- - - - - - - - - - - - - - - - - - - - - - - - - - - - - - -

Thursday:
It is funny how as soon as I am not doing real work, my list of domestic chores rapidly expands. :rolleyes:

Still, I did manage to squeeze some car work in as well and hit a major milestone along the way.

Although I started the day by crawling underneath the car with the covers still on.
( So excuse the run of poor photos. )

First job was to trim the main bolts holding the framework to the chassis.


The bolts holding the seats in place had a little surface rust, but were still very tight when I checked them.


So all eight bolts got a liberal coating of Kurust.


Several hours later I came back and gave the bolt a quick spray of black paint.


I don't expect this finish to last long, but I want the underside to look good for the MOT.

You may remember that I found this old wheel by a skip and used it to shape the former for my wheel arches.


Well, today, I final tested it to see if it matched the Spitfire hubs, but it didn't. :icon_sad:

As I have a half baked idea to get a Spitfire wheel centre mated to a space saver wheel.
( Although I am not sure there would even be room in my boot for one of them anyway. :rolleyes: )

With rain in the forecast, I decided to fit the wheels now and finish cleaning them later.

Two wheels on my wagon.


Due to the angle of my driveway, I have to jack up the hub to get the front passenger wheel on.


Four wheels on my wagon.


Other little jobs included fitting a new grommet in a hole in the boot floor.
( Another legacy of the car falling off the axle stands. )


End of Part 1…
16 Nov 2017, 4:02pm
Thursday - Part 2:
I also drilled some holes in the panel at the rear of the boot to help me zip wire the rear loom out of the way.


Note: At some point I will paint all of the panels black.

But after having jacked up the car and removed all the blocks of wood, I was now ready for the main event…

Because it was back on the 31st of May that I had my last drive of the car on the driveway.

So, some five and a half months later, I was able to drive the car again. :D

I know the grille still needs to be fitted, but I hope you like the way this has turned out, as I love it. :cool:


As before, the slope of the driveway increases the gaps in the wheel arches.


I managed to resist the very strong temptation to take the car for a quick spin around the block.

Instead, I just turned the car around to make it easier to do the last few jobs on the bonnet.


I was just marking up the stick on front number plate...


When the rain started.

So I quickly got the covers on and called it a day.

But despite the early finish, I am a very happy bunny this evening.

Until next time, take care, Paul. :)
16 Nov 2017, 4:15pm
Brilliant, Paul. You are right to be very happy, and you should be very proud. It really does look authentic. A true 50s racer.

If I ever want to smile, I always think of you ordering it in blue gelcoat so that you wouldn't have to spray it.......
16 Nov 2017, 7:17pm
Paul your car totally looks like an old Special from the 50's in that picture above ...well done , its come out rather well ...
16 Nov 2017, 8:12pm
PaulL looking good :peace:
16 Nov 2017, 9:03pm
Congratulations Paul!
Really nailed the 50's look. Fantastic.
16 Nov 2017, 10:30pm
Paul,
Take a fricken bow !
Looks fricking wicked.
I'd be proud as punch if I got that on my driveway. Especially knowing I'd built it.
You are one of the chaps that keeps me coming back and checking in every day. For that I thank you. One day I'd like to buy you a (zero %) beer

Dave
17 Nov 2017, 2:55am
Hi Paul,

Fantastic result mate, what a great looking car. Thank you for keeping us up to date with the progress of the build all this time. This was always a great inspiration to me and I have learned so much from you. Enjoy it!!!!

Deni.
17 Nov 2017, 6:58am
Oxford, Lancelot, Micky, Molleur, Dave & Deni – Thank you gentlemen. :cool:

Without a doubt, the help and support of this forum has encouraged me to keep plugging away at this project.

Which has gone from a ‘simple’ rebody…


To project ’Frankenstein Hillbilly’ – A unique hybrid of Cordite, Spitfire & scratch build parts.


It is fair to say I was completely overwhelmed by the sheer scale of the task ahead at this point.

So to see how good the car looks now is beyond my wildest dreams. :D


I now have a final ‘To Do’ list for the MOT and just need to keep ticking the last few jobs off.

Cheers, Paul. :)

PS
oxford1360 wrote:
…If I ever want to smile, I always think of you ordering it in blue gelcoat so that you wouldn't have to spray it.......


My build is funny?

I mean funny, like a clown?

My build amuses you?


:icon_wink:
17 Nov 2017, 8:16am
Nice work Paul.

MGF space-saver spare is the same PCD as the Spitfire hubs. Cheap as anything on ebay and come with a 175/65/14 tyre which is usually unused.
17 Nov 2017, 5:12pm
Mr T - Cheers. :cool:

Unfortunately, I am running 13" wheels, so I don't think the 14" MGF space-saver would work.

- - - - - - - - - - - - - - - - - - - - - - - - - - - - - - -

Frosty Friday:
The sun no longer reaches my front driveway, so this was not a good sign.


So I tried to get on with a few little jobs while I waited for the temperature to rise a little.

Stuck the front number plate on.


Tightened up the wheel nuts and checked the tyre pressures.


Refitted the wheel centres.


Finished tidying up the rear wiring loom, with a variation on Jag's zip tie tip.


Got some petrol...


Which was enough to confirm that the fuel gauge is still working. :cool:


When I was tidying up the Summerhouse the other day I found a fresh tube of Tiger Seal.


So I thought that would make a neater job of holding the grille in place.


I then left the grille weighted down until this was set.


With the bonnet up, I cleaned out the holes for the bonnet locating cones.


But I may still need to shave a bit off the rubber cones too in order to get the bonnet sitting right.

However, that will be a job for another day, as I still need to check/fit the rubber bonnet edge seal.

End of Part 1…
17 Nov 2017, 5:13pm
Friday - Part 2:
When I was preparing the extra plywood panels for inside the boot, I discovered one of the original ones was loose.
( Yet another piece of damage I caused when the car fell off the stands. :icon_sad: )

So i removed it completely and then rather than fit two panels, I cut a new larger panel instead.


Every time I've used bonding paste it seems to get everywhere, so I was not taking any chances.


It has been a while since I last messed about with cut down milk cartons and catalyst.


The job was as messy as I expected, but at least the little and large panels are now in.


Just as the sun was setting, I removed the weights from the grille.


And this is the view from the front.


Which leaves me with just a few small jobs left before I can book my MOT appointment.

Until next time, take care, Paul. :)
18 Nov 2017, 2:10pm
Saturday - Damp, but happy:
First job of the day was to fix the rubber seal along the bonnet lip on the body shell.


Note:
I have kept the seal in the centre to allow the outside corners to act as 'vents' to let air pass out from inside the bonnet.
( Which I hope will reduce the bonnet's tendency to lift at speed, but I still need to test this idea in practise. )

Then it was time to park the car on the road, so I could check the oil level with the car flat(ish).


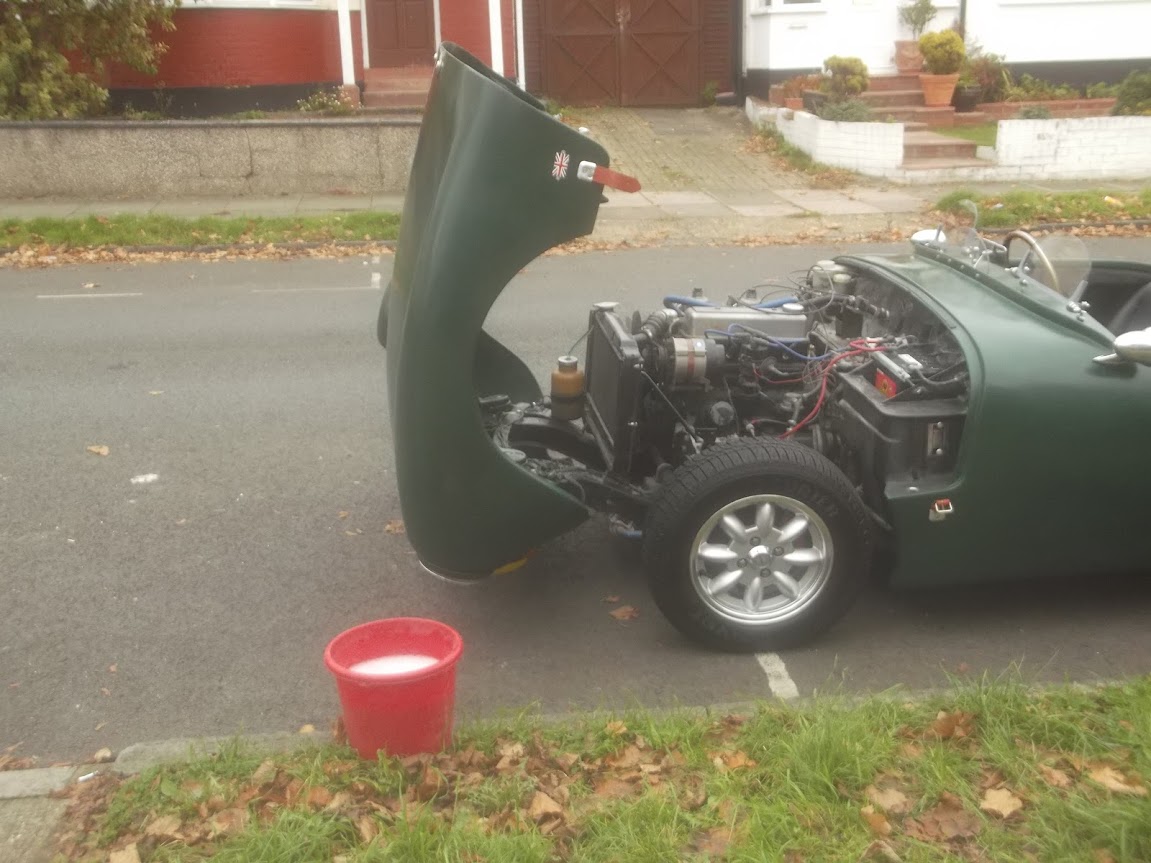
I thought the final job was going to be giving the engine bay a very basic wash and brush up.


So I booked the MOT, so i was able to legally drive to the test centre and got all my paperwork together.

Jumped in the car and indicated to pull out and the warning light on the dash was not flashing. :rant:

After a prolonged bout of F'ing and Blinding, I dashed back inside, found a spare bulb and replaced the front driver's side.

Success. :cool:

The MOT centre is only 4 miles away, which was enough distance to scrub off any surface rust on the front discs.

It was also long enough for the clutch to stop sticking, but not to blow all of the cobwebs out of the engine.

As I turned into the centre, I noticed some rain drops on the aero screens as it was a bit misty out.

Until that point I was too busy enjoying the drive to notice the weather. :D

MOT time.


The fact the car has only driven 10 miles in the last 6 months meant it failed its first emissions test. :icon_sad:

I did explain it had been standing for months, so the tester basically held the throttle wide open for a while. :eek:

Apart from initially filling the garage with clouds of smoke, this cleaned out the tail pipes just enough to scrape a pass. :cool:

There was just one advisory due to very slight play in the front wheel bearings.

The rain was still coming down for the drive home, so there was no long detour on the way back for photo shoots today.


Instead, I just wiped the rain off and got the covers back on ASAP.

There still a few little jobs to do, like touching up the yellow nose band and making a MkII fuse box cover.

But the car was still turning heads and spreading joy as it currently stands even without shiny paint.

Therefore I think is time to start an 'On the road' thread and cover those jobs there.

So I will sign off my EPIC build thread with a simple "Thank you" to everyone who has posted a message here. :cool:

As I really feel this has been a collaborative effort as my ideas have zig-zagged along the way over the years.

But, as I said the other day, the end result is beyond my wildest dreams. :D

Take care & cheers, Paul. :)
18 Nov 2017, 3:10pm
Congratulations Paul all done and looking super I am looking forward to seeing it at Stoneleigh next year?
18 Nov 2017, 3:22pm
Sorry Paul I have been distracted and all over the country with my new job.
Im away for little while and it takes me 4 pages to catch up on everything. :)

Great Job Paul looks great and its no longer a chore.
Im still waiting for the 7 rondels before I consider it finished but it looks like the action cams will be in use again soon.
Owen has his own now so we can get the shots in half the time

Look forward to seeing you and the swordfish soon