MadaboutKitcars

This is a read-only archive of the old Madabout Kitcars forum. New posts and replies are no longer possible, but every thread is still here to browse and read.

Another Cordite Is Born ...

29 Oct 2017, 6:24pm
Sunday Scraps:
Rain scuppered my plans to start applying Tetroseal first thing in the morning. :icon_sad:

So I did a bit more work on my fuse box cover instead.

Cut the basic shape out of aluminium.


Then hammered it into the final shape.


I knew it was going to me one of those days when it started raining again. :rolleyes:

So I had to relocate to inside the Summerhouse, which was easier said than done.


By the time I put a couple of rivets into the bottom corners, it had stopped raining.


But that was the end of my car time for the morning, as I had other stuff to do.

- - - - - - - - - - - - - - - - - - - - - - - - - - - - - - -

In the afternoon, I taped up the sides of the cockpits and added a layer of normal masking tape too.


Then I could add some Tetroseal.


At least this time I remembered to peel off all the masking tape straight away.


End of Part 1…
29 Oct 2017, 6:25pm
Sunday Scraps - Part 2:
My daughters were not going to have enough time to carve pumpkins after school on Monday.

So that was the end of car work for the afternoon and it was time to start carving...


And this is out family line up for this year.


With the clocks going back last night, it was dark outside by the time I went out to put the covers back on.


Until next time, take care, Paul. :)
29 Oct 2017, 9:06pm
The pumkins look great, I seem to remember seeing your artistic skills
last year!
29 Oct 2017, 9:32pm
Cool pumpkins!
30 Oct 2017, 1:55am
Carriage, pumpkins, maybe you could think something up for Christmas? - Impressive though - (both)
31 Oct 2017, 9:07am
Froggyman, Molleur, Barber & Redratbike – Thanks chaps & “Happy Halloween!” :cool:

Carving pumpkins has become a little tradition in our house now.

And, a bit like reading stories to my daughters, I wouldn’t trade that time for a faster car build.

However, I do have today off work and will be heading outside to work on the car shortly.

So hopefully, there will be some more car photos later on.

But in the meantime, I’ll leave you with a few more of my previous pumpkin efforts.

Cheers, Paul. :)

- - - - - - - - - - - - - - - - - - - - - - - - - - - - - - -

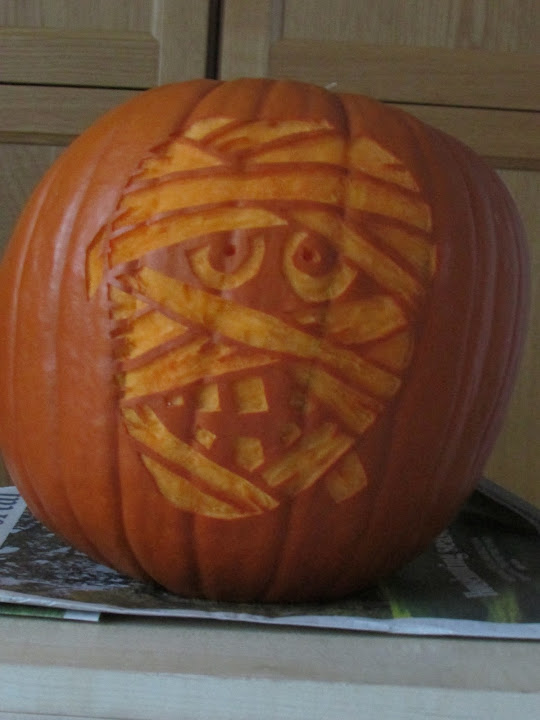
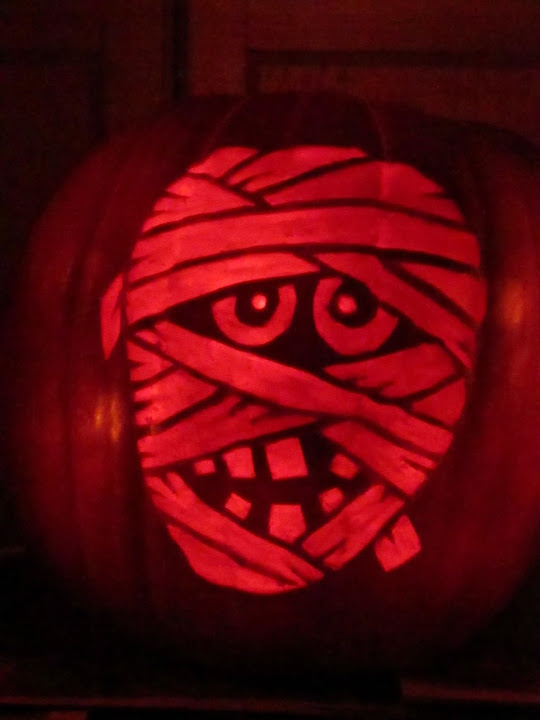
The Mummy – Technically, the most difficult to do, by a long way.


- - - - - - - - - - - - - - - - - - - - - - - - - - - - - - -

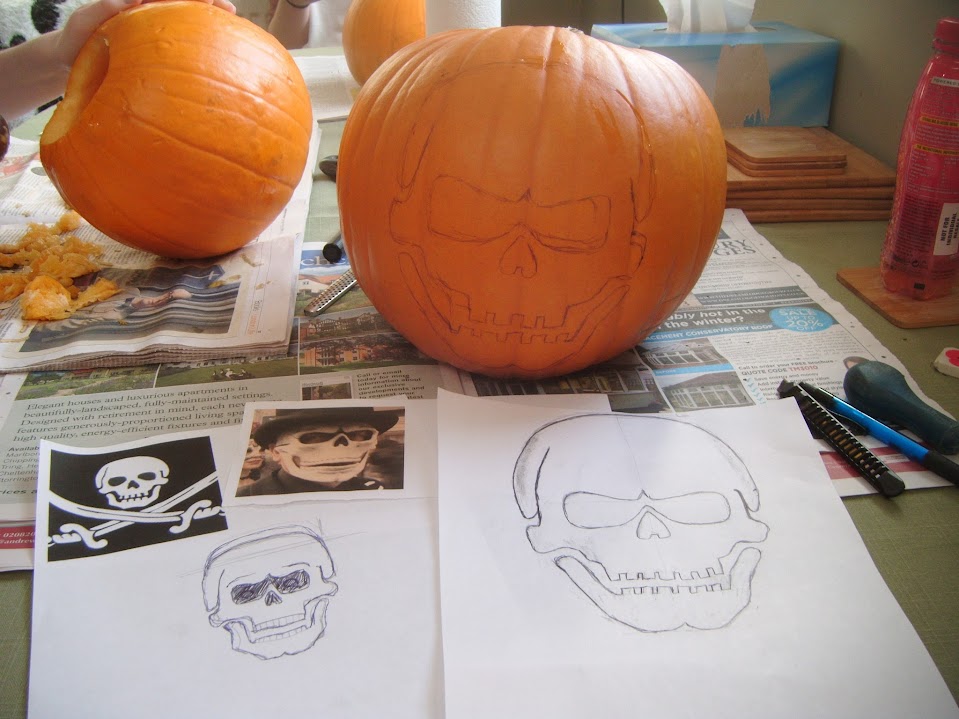
Bond/Pirate Skull – The most artistic one I’ve carved.


- - - - - - - - - - - - - - - - - - - - - - - - - - - - - - -

The Sammio - My entry for “October” in the Sammio calendar that never actually happened.


31 Oct 2017, 11:38am
Excellent! Thanks Paul
1 Nov 2017, 5:56pm
Molleur - Cheers. :cool:

- - - - - - - - - - - - - - - - - - - - - - - - - - - - - - -

Belated Tuesday Update:
No sooner had I finished typing yesterday morning's update when a light shower of rain arrived. :icon_sad:

But I still managed to get quite a bit of car work done in between a pile of domestic chores before darkness fell.
( Which would signal the arrival of the local small children out 'Trick or Treating'. )

Rather than follow the strict time line, I've grouped the activities together...

British Racing Green - The Final Coat
There were a couple of damaged areas where the bonnet hit the body shell (again :rolleyes: ).


Plus I wanted to tidy up the inside of the bonnet opening where I had made a yellow mess.


I put the paint tin in some warm water before I started.


I should point out that there will be a rubber seal along most of the body shell lip.

So the fact you can clearly see the repair area is not a problem at this late stage.


Thankfully, the inside surface of the bonnet is so lumpy you can't spot anything. :icon_wink:


The inside of the bonnet nose is now all one colour.


So once I am happy with the yellow band on the other side I can finally fit the grille.

End of Part 1…
1 Nov 2017, 5:57pm
Tuesday - Part 2:

Heat Shield:
I bought a section of heat shield from Ebay ages ago and first used it around the heater pipes behind the dash.

But now was a good time to see about fitting what remained of this stuff to the underside of the bonnet.

So I started by making a rough pattern for the inside of the bonnet bulge.


Which neatly fitted into the odd shape I had left in the corner.


A bit of cutting later and I had these two pieces to play with.


Unfortunately, this stuff is quite thick, which meant I couldn't get it to fit nicely inside the bonnet bulge.

So a bit of further trimming allowed me to keep this reduced section 'flat' (ish).


Then it was time to start testing where the other piece should go.

Plan A


Failed - As the clearance above the radiator is just too tight in places.


Plan B


Also failed - Due to lack of clearance above the hose behind the fan.
( It may not look it in the photo, but it did clear the fan itself. )


Plan C


Pass - As there is plenty of room under the bonnet when it gets this far back.

Which would leave me with something looking like this.


[color="red"]Question:[/color]
If anyone thinks this is a bad idea, please speak now before I actually stick this suff to the bonnet.

End of Part 2…
1 Nov 2017, 5:58pm
Tuesday - Part 3:

Fuse Box Cover:
I had some magnetic cupboard catches to play with.


So they were fitted to the sides of my aluminium cover.


I ended up using some scrap wood I had laying around to screw into.


A bit of marking up was needed to locate the catches.


I then removed the battery before I started to drill any holes in the battery box.


While this was out I put it on charge just to make sure it was back to full power.

This allowed me to drill 4 holes and see daylight through then instead of battery acid pouring out!


With the catches riveted into place, the cover could be fixed into position.


The good news is that the cover looks great and keeps the fuses out of sight of anyone looking inside the car.

The bad news is the magnets are so weak they could hold the cover in place with the extra weight of the wood.

So the photo above was taken after the wood was removed.
( And I had double checked the clearance from the fixing screws to the fuse box wires. )

Even so, it still doesn't feel very secure to me, so I might try something else to hold it in place.
( As I have a vision of this flying out of the car the first time I hit a bump in the road. :rolleyes: )

End of Part 3…
1 Nov 2017, 5:58pm
Tuesday - Part 4:

Headlights:
When I removed the headlights, I kept the wiring connected to the main loom and removed the plastic bracket from the main wires.


This allowed me to pull the wires through the headlight shells.

So now it was time to check my notes and re-fit the wires into the correct slots.


It took me ages to get the headlight rim into the correct position, but it was worth the effort. :cool:


Note: I was happy for the paint to be rubbed off the 'lump' at the top of the headlight rim.

Unfortunately, when I got to the passenger side I discovered I was missing one fixing screw for here.


I'm not really sure what has happened to that, but I think I might have a spare in the Summer House.

There was no time left to look for this as I had to tidy away all my tools and spares from the front porch at this time.

But I'd still like to end on a high, with a hint of what the finished front end will look like.


Oh yes. :D

Until next time, take care, Paul. :)
1 Nov 2017, 6:50pm
Coming along nicely Paul, try some hard drive magnets from a trashed computer. Plenty rare earth strong.
3 Nov 2017, 5:37pm
Molleur - Thanks for the tip and I will look at what other fixing options might work.

- - - - - - - - - - - - - - - - - - - - - - - - - - - - - - -

Friday Feeling:
I was able to do a bit of juggling today and squeeze in some car work around working from home.

First job was to try and find a replacement for the headlight rim screw that went AWOL.

I couldn't find anything like it in all my various boxes of bits in the Summer House.

So I had to drag this box of 'old tat' that came with the donor car out from the back of the shed.
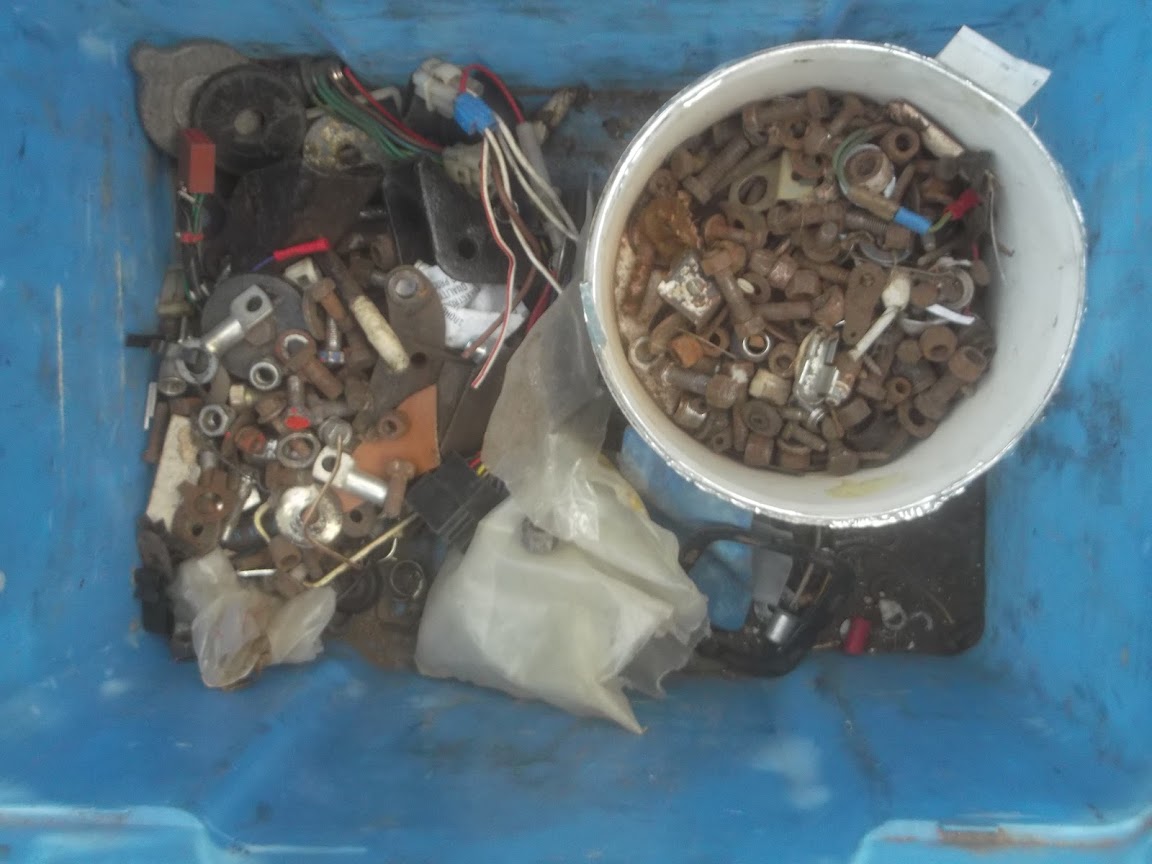


It was worth all the effort, when buried amongst all the rusty stuff was these two screws.


I then breathed a HUGE sigh of relief when the new screw fitted into the space available.


Closely followed by the passenger side headlight being fitted.
( Where, once again, getting the headlight rim into position was a real pain. )


As tomorrow looks like it is going to be a wash out, I was keen to add some more yellow to the nose band today.

So while the paint tin was sitting in warm water…


I put two layers of masking tape around the inside edge of the opening.


Before wiping everything down for what I hope will be the final coat of yellow.
( Amazing what a difference the panel wipe makes to the shine of the BRG. )


I painted the nose band with the bonnet in its normal position...


Before opening the bonnet and removing all the tape.


I then left the bonnet open while I got back to doing some real work indoors.

Then in the late afternoon I could lower the bonnet again.

Unfortunately, there is a hedge in the way of me taking a head on view photo.

So this is the best I can do for now.


I think painting the headlight rims BRG has worked pretty well. :cool:

Until next time, take care, Paul. :)

PS
Last chance to tell me why I shouldn't fit the heat shield material on the underside of the bonnet.
( Having said that, I am unlikely to do that job before Sunday at the earliest. :rolleyes: )
3 Nov 2017, 5:58pm
I always prefer the painted headlight rims ..looks more period to me ..less Cobra-esque , if you like ...yellow nose band looks great too ...

KEEP AT IT , NEARLY THERE AND ITS STILL MILD ENOUGH TO USE THE CAR AT THE MOMENT ...
3 Nov 2017, 6:16pm
Nicely done Paul, good works!
4 Nov 2017, 1:00am
Loving the noseband, that makes it that bit more unique to you and really fits! Same goes for the headlight covers, plus with the roads nowadays i think theyll be worth their weight in gold :)

Not sure about the under bonnet heat shield, theres just too many chances for something to come astray and cause all ends of problems. But thats just my 2p and feel free to disagree:)

At this rate we might even see you out at some meetups next year?
5 Nov 2017, 7:11am
Gary – Thanks and I’m pretty sure I stole the idea of body coloured headlight rims from your builds. :cool:

Unlike last winter, I now have a working heater, so I will definitely be back out driving after I get my 2nd MOT.

- - - - - - - - - - - - - - - - - - - - - - - - - - - - - - -

Molleur – Cheers. :cool:

As more bits go back on the car, the overall “first impression” does keep improving.
( Which makes discovering some chipped paint on one of the headlight rims easier to take. )

- - - - - - - - - - - - - - - - - - - - - - - - - - - - - - -

Dave – Thanks, even I am surprized at what a big difference the yellow nose band makes. :cool:

I think I will leave the heat shield material off for now and see how I get on without it.

As one of the reasons my bonnet was getting hot before was due to a blocked cooling pipe.

But the Triumph garage fixed that blockage, so the engine now runs cooler, with the added bonus of a working heater. :D

We will definitely have to arrange a forum gathering some time in 2018.

- - - - - - - - - - - - - - - - - - - - - - - - - - - - - - -

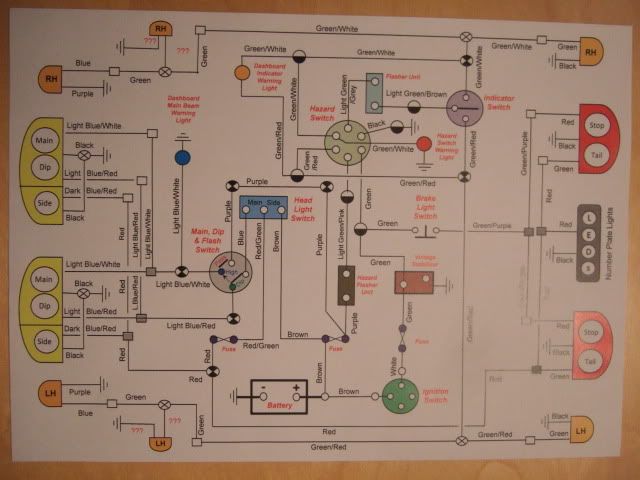
Saturday – I spent some time looking for my homemade wiring diagrams, but couldn’t find them.
( As I want to double check the connections for the new stop/tail lights. )

Which, after Friday’s search for a headlight screw, has left the Summer House in even more of a mess than usual. :rolleyes:

Thankfully, I finally remembered this morning that I had posted a photo of the lighting loom on here. :doh:


So at some point I should be able to starting wiring up the rear lights.

Cheers, Paul. :)
5 Nov 2017, 5:16pm
Just one of those days…
I managed to squeeze a few car jobs around other stuff today, but I had mixed results.

So in no particular order...

I pulled one of my front wheels out from under the tarpaulin.


Obviously, storing these outside was going to require some cleaning before refitting.


At least that is easy to do and I even washed the insides of the wheel too.


So far I've applied two coats of tyre black…


But think I still need a few more. :rolleyes:

- - - - - - - - - - - - - - - - - - - - - - - - - - - - - - -

I pulled the grille and its fixing brackets out of the summer house.


And just rounded off the ends of the brackets.


I also made a start on tidying up the Summer House and found my grille badges.


But have now decided that I am not going to fit them after all. :rolleyes:

I then had a lot of problems re-fitting the brackets holding the grille in place.

So whilst it looks securely fastened, some areas are a bit loose. :icon_sad:


So I will need to come back to this at some point before the MOT.

In fact, I am considering following Swifty's approach of simply bonding the grille in place once and for all.


Whilst having some screws loose in the bonnet nose was bad, worse was to follow…

Still not 100% sure how this happened, but I've managed to knock a chuck of paint off along one edge. :icon_sad:


Then, to rub salt into the wounds, I spotted where the tarpaulin had messed up the fresh paint at the bottom edge.


Thankfully, at this point I had to switch back to family stuff, so I pulled the covers back on and walked away.

End of Part 1…
5 Nov 2017, 5:17pm
Sunday - Part 2:
I was tempted to just abandon the car for the rest of the day, as the grille problems were getting me down.

But I gave myself a good talking to and went back out to at least finish a few small jobs.

So I wrapped up the front indicator connectors and then zip tied all the wiring into place.
( Double checking there was enough slack to open/close the bonnet. )


- - - - - - - - - - - - - - - - - - - - - - - - - - - - - - -

Then I retired to the bottom of the garden to start working on some 'washers' for the rear lights.

First step was to cut out some rough circles.


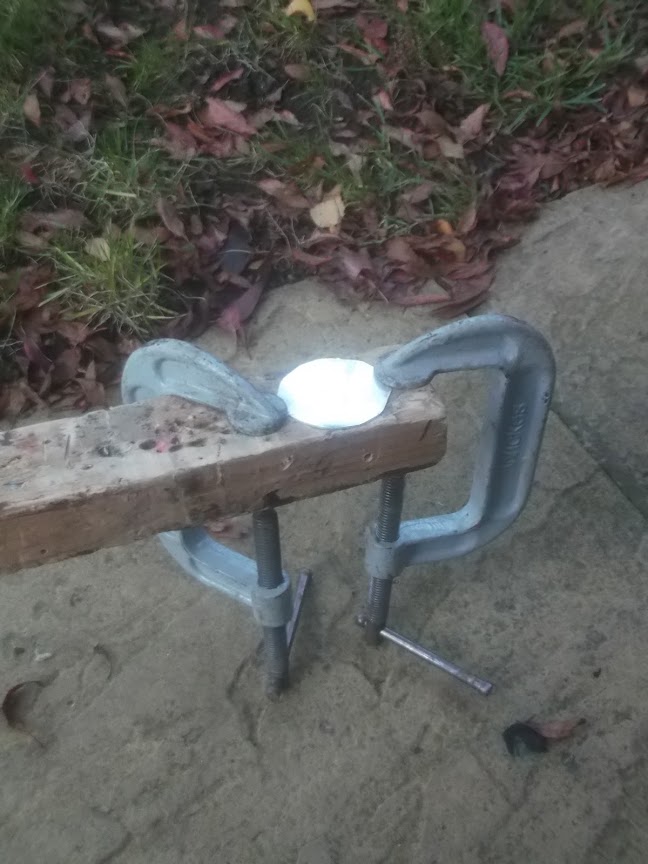
Then set up my 'work bench' ready for drilling. :rolleyes:


Unfortunately, I didn't have a hole saw drill bit the right size.

So I cut the hole smaller and then enlarged it with a hand file.


The plan is that the metal of the light fitting will hold the light in place on the sunny side of the body shell.


Then I will use the washer on the inside of the body shell to form a 'sandwich' either side of the hole.


As I fear the fixing holes will be too close to the hole for the rubber around the light and they may break.

I still need to drill some holes in this washer and tidy up all the edges, before repeating this three more times.

However, that will be a job for another day.

So until next time, take care, Paul. :)
7 Nov 2017, 9:42pm
Wow, you're so close mate, so close....I really like the depth of the BRG.
8 Nov 2017, 9:42am
PaulL
Sorry for the extra work involved in fitting the lights, I really thought it would be a straight swap/fit :yield:

I assure you your car will look much better with the new lights. :thumb:
8 Nov 2017, 6:35pm
Deni – Cheers. :cool:

I know the weather is really starting to turn against me now, but I should be able to finish soon (ish).

- - - - - - - - - - - - - - - - - - - - - - - - - - - - - - -

micky1mo – No worries, I know they will be worth the wait. :cool:

I was initially tempted to simply re-fit the old lights for the MOT.

But, in the end, I figured I might as well take my time and do the job properly.

- - - - - - - - - - - - - - - - - - - - - - - - - - - - - - -

Nothing to see here
After many applications of the tyre spray, the front tyre is finally starting to look the part. :cool:
( And I haven't got around to polishing the wheel itself yet. )


That's it as far as car work goes I'm afraid.

So I'll leave you with some photos from Bonfire Night.


And this great little story that popped up on YouTube.

https://www.youtube.com/watch?v=LRDUpcVcrW4

Cheers, Paul. :)
11 Nov 2017, 6:18pm
A Token Gesture:
It was late afternoon before I had a chance to do any car work.

So I stuck to the simple task of finishing off the washers for the new rear lights.

Apologies for the poor photo, but the first washer now has the three fixing holes drilled in it.


I then used this washer to mark out how much extra I had to file away from the remaining washers.
( After using a hole saw. )


Eventually, I had all four washers done.


By which point it was pitch dark outside the Summer House.


I know the photo is blurred, but you can just about see how much space around the chair I had to work in. :rolleyes:

With a bit of luck I might be able to get a bit more done tomorrow.

Cheers, Paul. :)
12 Nov 2017, 6:07pm
Sunday - Morning:
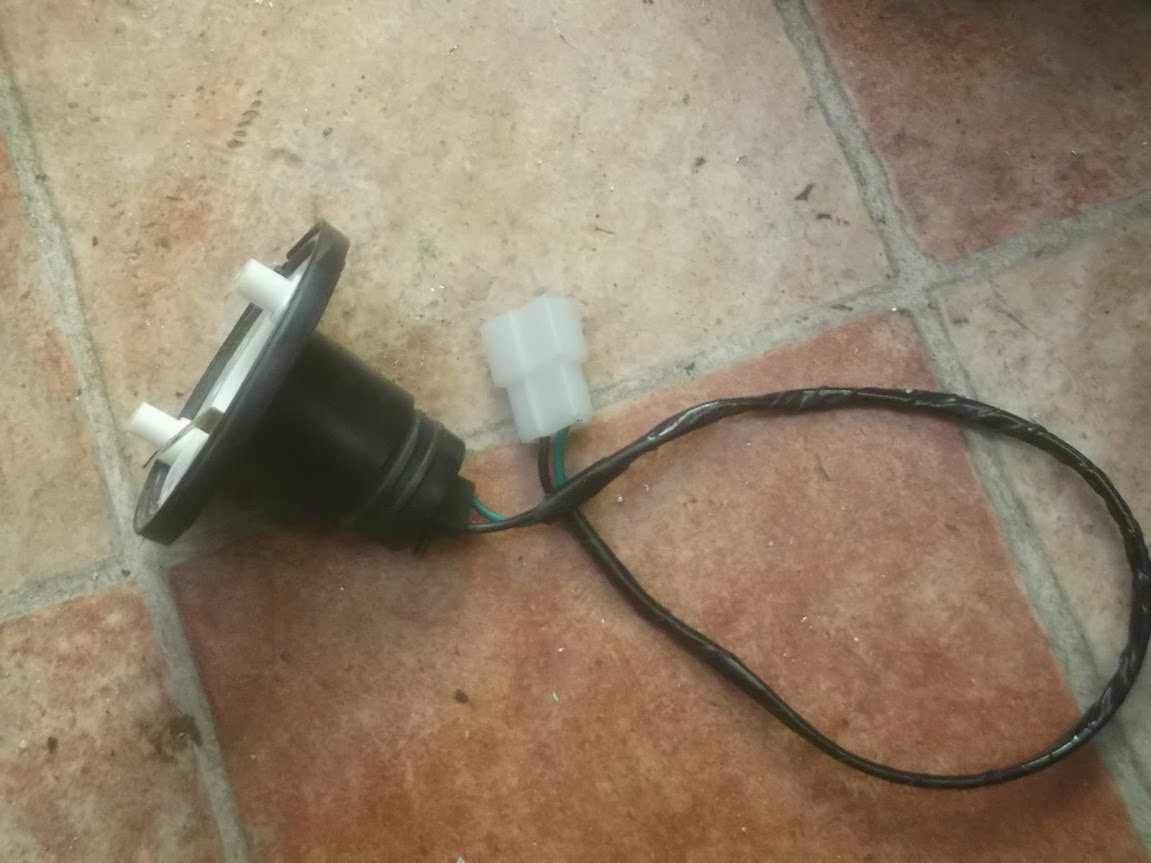
It was back to the Summer House, where the plan was to take the wired up plugs from the old rear lights…


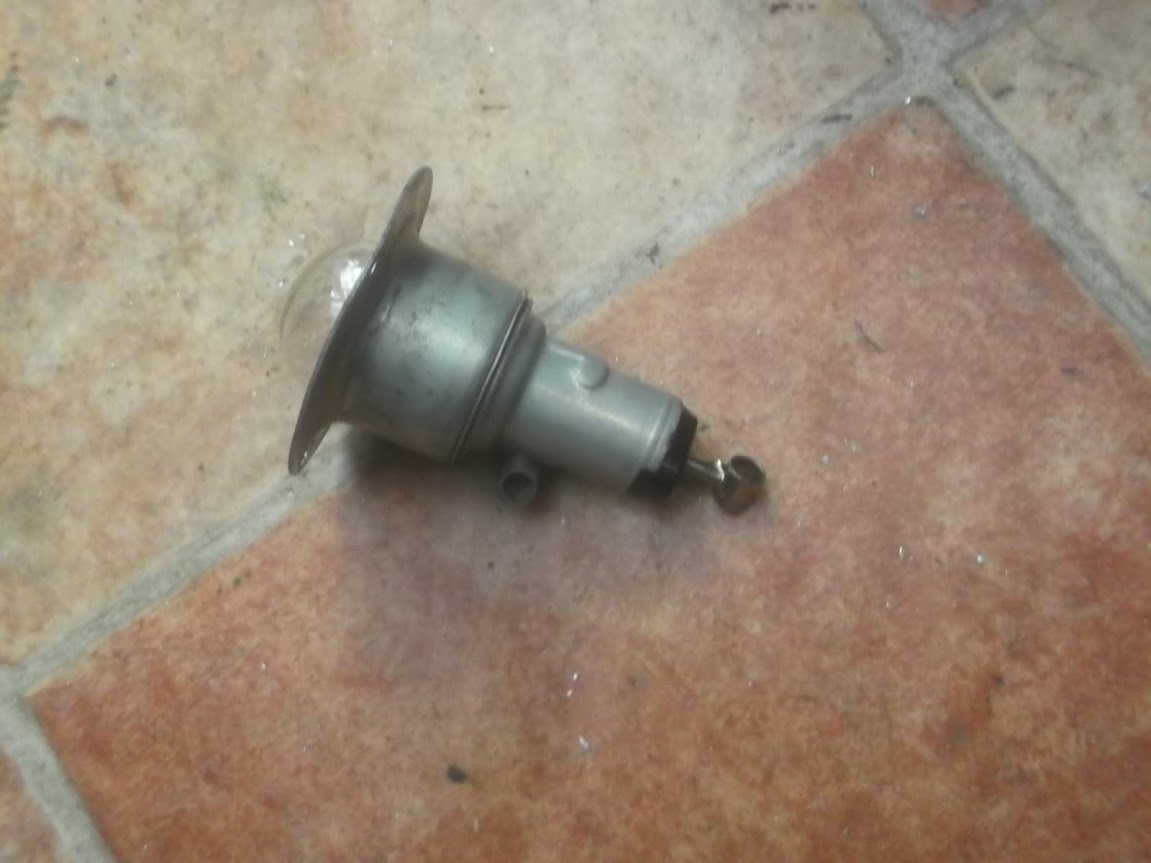
And graft them to Lucas lights that Micky1Mo sent me.


First job was to double check they could be wired any way around.


Then after a lot of searching in boxes I finally found this set of connectors that came with the donor car.


It required a significant amount of pressure to crimp the wire end.


But eventually I had the first indicator light all wired up and ready to go. :cool:


I had to do a bit more testing for the stop/tail light to work out which connector did what.


I then drew an S for Stop on one side so I didn't forget.


I'd already made a note of which colour wire in the plug did what, so they went in like this.


And another light was finished.


Tail:


Stop:


End of Part 1…