This is a read-only archive of the old Madabout Kitcars forum. New posts and replies are no longer possible, but every thread is still here to browse and read.
So if you are using the twin filament units for indicator and reversing light ,they are usually 21/5 bulbs , sidelight would be 5w and brakelight 21w. indicators are usually 21w too ...so do you have a 5w rear indicator now or a 5w reversing light ?
not sure ..some motorcycle bulbs are different wattages to cars ...I'm not sure a 5w indicator is legal ...plus , unless you put an extra hidden bulb in the system or a little suppressor thing , are your indicators not flashing too fast ? most flasher units are 21/21/5 - which translates to 21 rear , 21 front and 5 side marker ...
Indicators are flashing at the right rate but I do still have the original repeaters under the front wing. If I remove the bulb the flash rate is too fast, maybe because I have only 5w at the rear.
Another one step forward 2 steps back.
Jag
Just back from a few days away and thought I would check out your progress. Your car looks superb a greet choice of colour and the grill which you had second thoughts about looks great. Glad you made it to the BBQ i was in the same situation trying to get mine ready for Stoneleigh. The best is yet to come.
Well done.
Trev
A few more pictures as I finish off a few of the many small jobs.
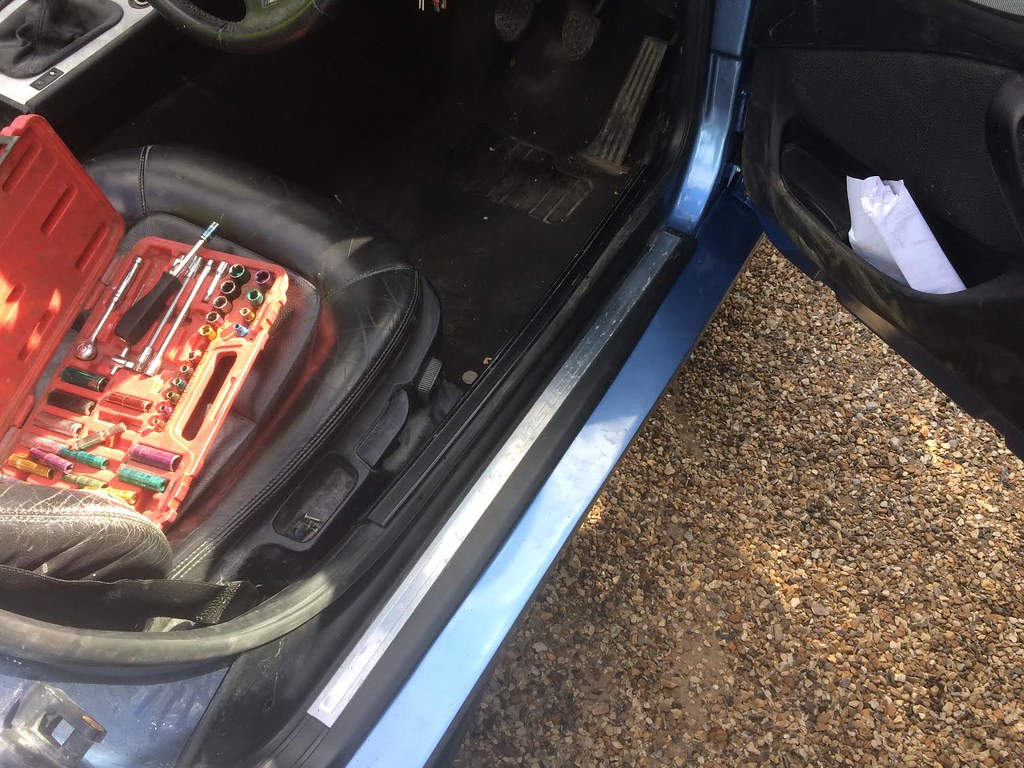
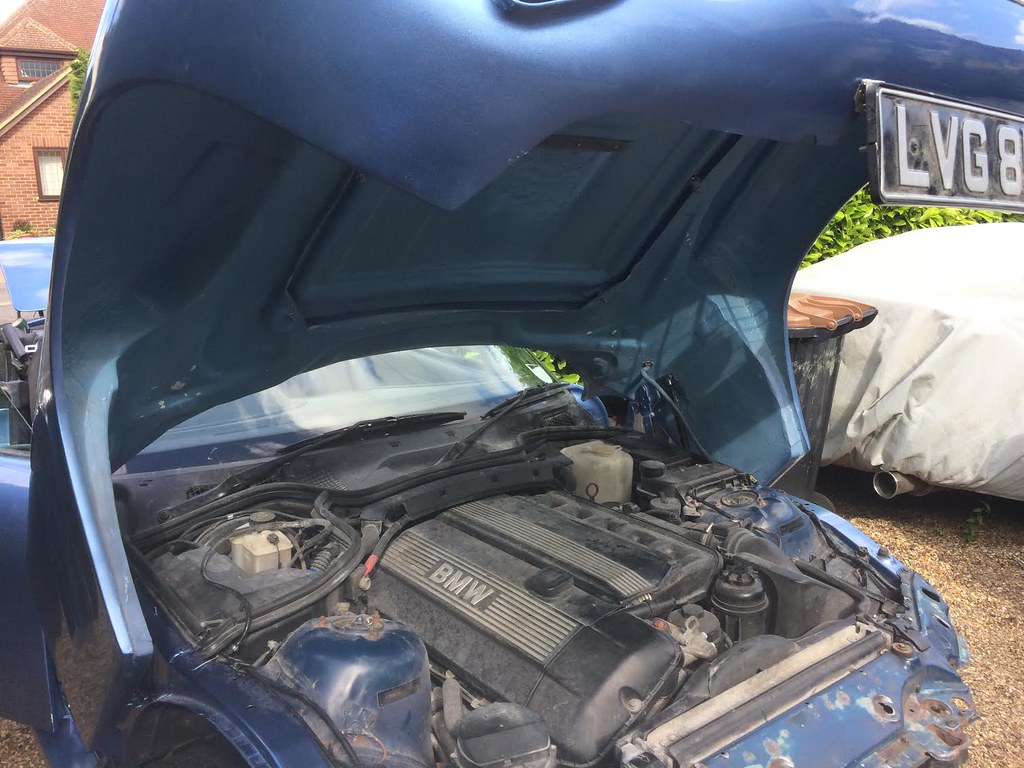
Sill plates fitted and they really tidy it f12 by jaguartvr, on FlickrWe painted the under wing area as it would annoy me to see it unfinished, slam panel still to do. f11 by jaguartvr, on FlickrThis picture shows the flow coat painted on the underside of the bonnet, not quite the right colour but it is so much better than the raw GRP. Will be getting another coat to cover up any overspray. f10 by jaguartvr, on Flickr
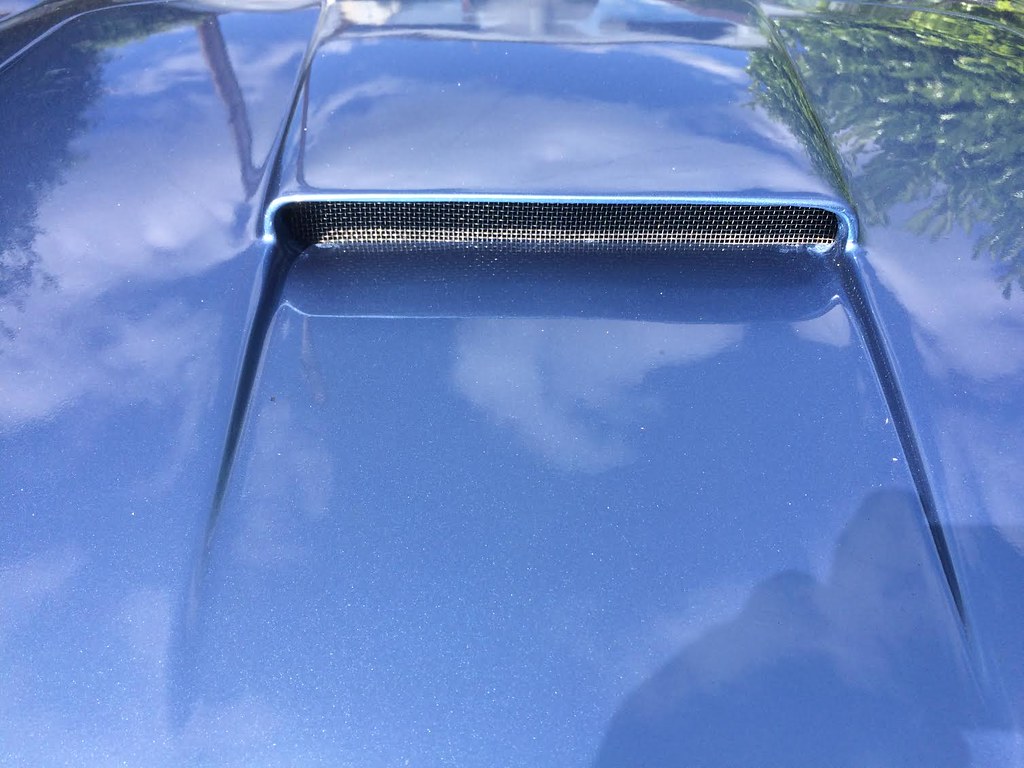
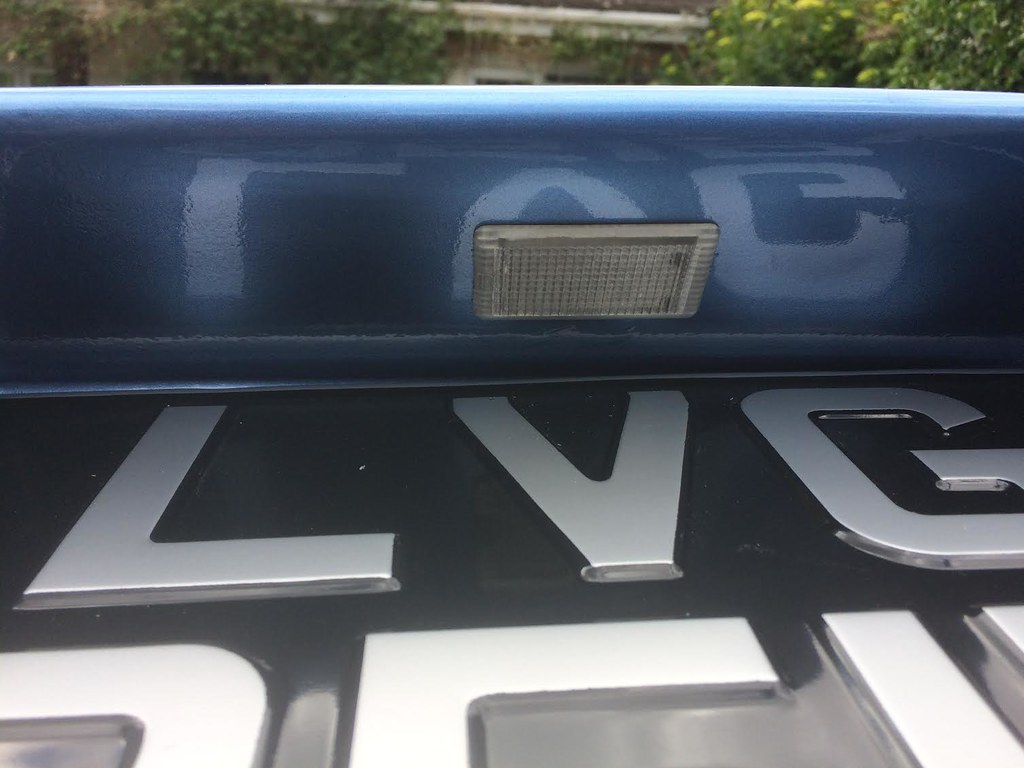
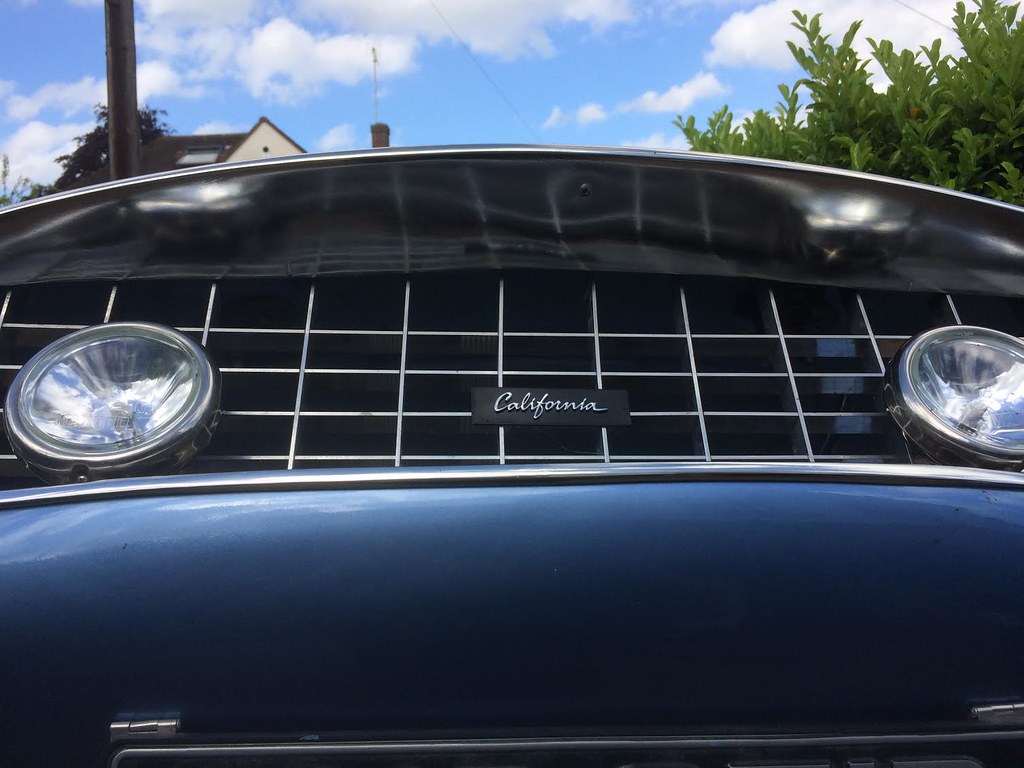
Really pleased with the bonnet aperture, well worth the effort of setting it back under the opening, gives it depth and looks more like a metal panel. f14 by jaguartvr, on FlickrUsed a Vauxhall Corsa boot light as the numberplate light. I know everyone else has gone for the traditional chrome lights but they seem to rust in front of your eyes. My headlight rims and mirrors are also showing signs of corrosion already. My Mini door handles were good 2nd hand items and show no signs of corrosion. f16 by jaguartvr, on FlickrFinally a couple of shots of the grill, finish not perfect but it does look like chrome. I was talking to the man who does the plating and he said the problem with the sprayed chrome is that it discolours and turns bluishf9 by jaguartvr, on Flickr
Thanks for the extra shots, fantastic , I bet you are very pleased with it, as as you get nearer to completion from my experience you get happier and happier! Also being a similar colour to the Z3 donor, everything looks right especially in the engine bay. Great job, I look forward to seeing the finished car
The chrome mesh in the bonnet aperture looks great I've not replace my existing mesh yet but seeing yours I think it's about time I ordered some of the posh stuff, well done.
Trev
When I took the car in for its MOT before starting the kit it was apparent that the brakes weren't too hot. I replaced the seized handbrake cable but where the shoes mount on the pin & spring it was badly rusted on the back plate and I had to fit the shoes on a nut and bolt, not ideal.
To replace the back plate you have to remove the drive shaft and exhaust, an awful lot of work for a back plate. So some bodgering was called for. I cut the old rusty back plate off by cutting through it at the narrowest section, I was then able to bend it so it slipped over the flange. I cut the same slit in the new back plate and slipped in on in the same way. Bolted in on and clamped the cut so I could weld the slot up. Saved hours in labour.
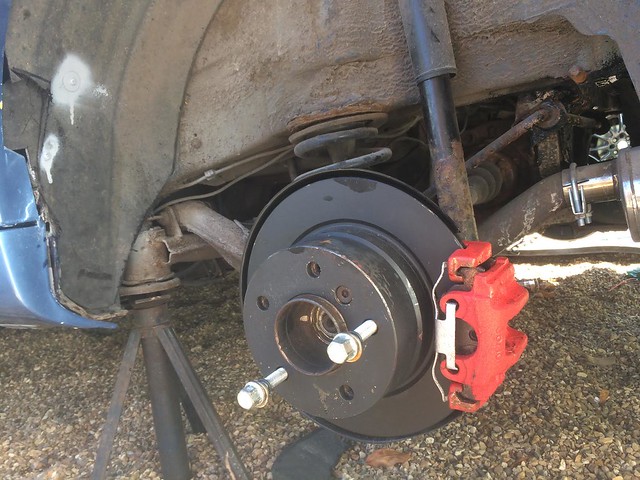
New pads, shoes, spings, discs, backplate and replaced the brake piston rubbers. Although the brake caliper looked very rusty the old seals and pistons were in good order so I just replaced the rubbers. The back plate did need a little bending to stop any rubbing noises.
Looking much better unnamed-53 by jaguartvr, on Flickr
While I was at it I replaced the front discs and pads and then realised there were no dust shields at all on the front discs so have bought a pair yet to be fitted.
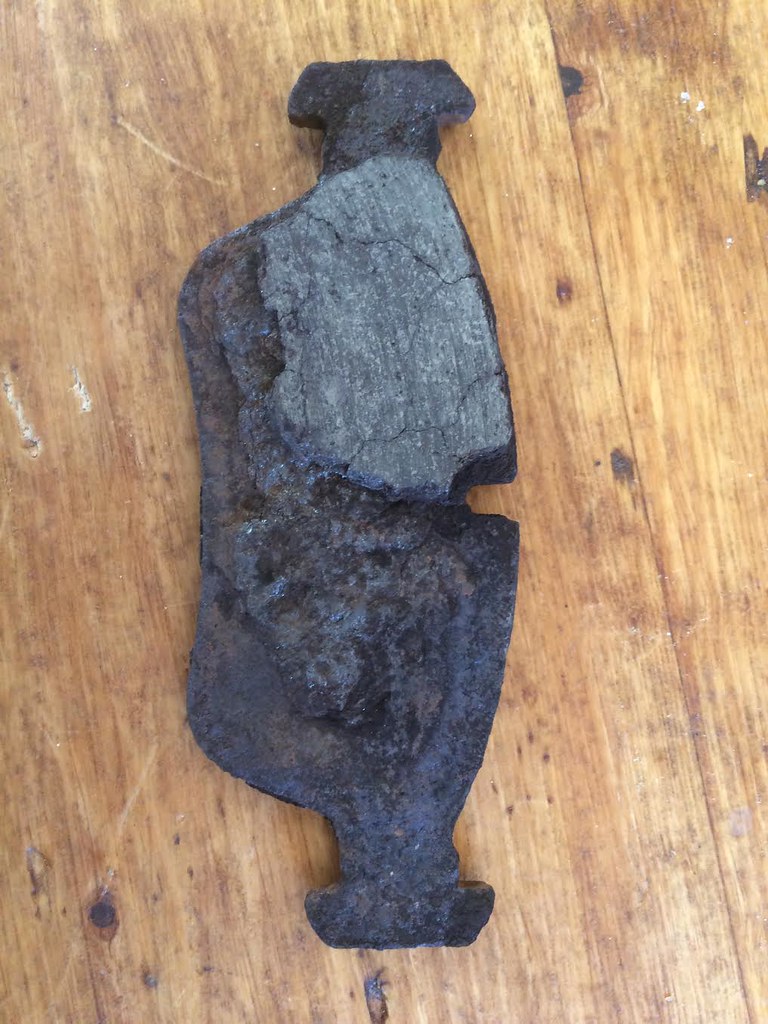
I knew the brakes weren't to good but got a bit of a shock of the state of the pads, all were in a pretty similar stateunnamed-52 by jaguartvr, on Flickr
I reckon there were still a few miles left in them! When looking at them in the calliper they didn't look too bad, it was only when they were removed that the true state became apparent.
It had a problem with not revving so I think it was stood for about 18 months, by the look of it on grass.
The body underneath is fine but the brakes, track rod ends, spare wheel carrier etc are all rusty. Will be easier to replace than restore.
......it was apparent that the brakes weren't too hot. "
From the look of those pads I think the opposite might be true..... they look like they have got bloody hot at some point - perhaps even caught fire. Are the pots moving freely?
Yep, I'm up to my old tricks again, more bodgering!
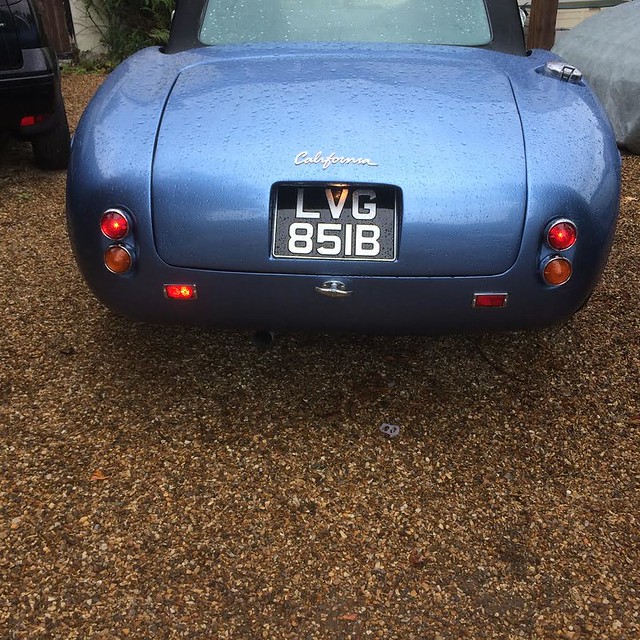
I had replaced my indicator bulbs with tail/brake light bulbs to act as indicators/reversing lights. I want to avoid adding reversing/fog lights to the rear.
The problem is, is that the tail/brake light bulbs are 21/5 watt, you need the 21w for the reversing lights but the 5w isn't bright enough for the indicator, it works but is just not bright enough.
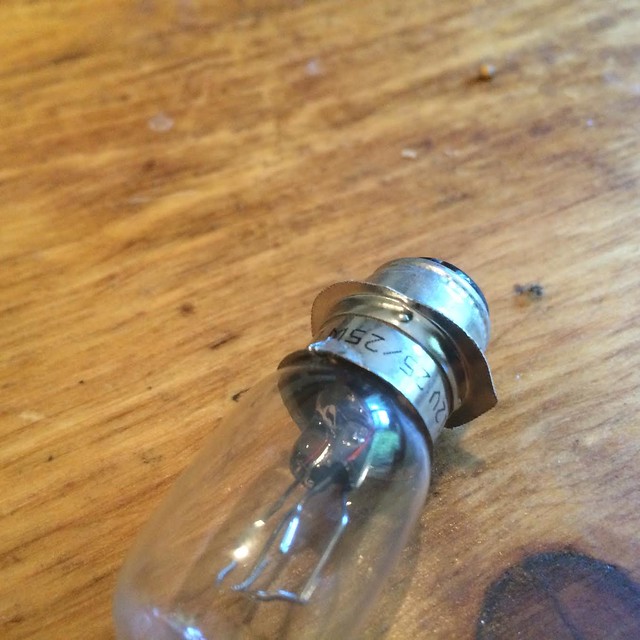
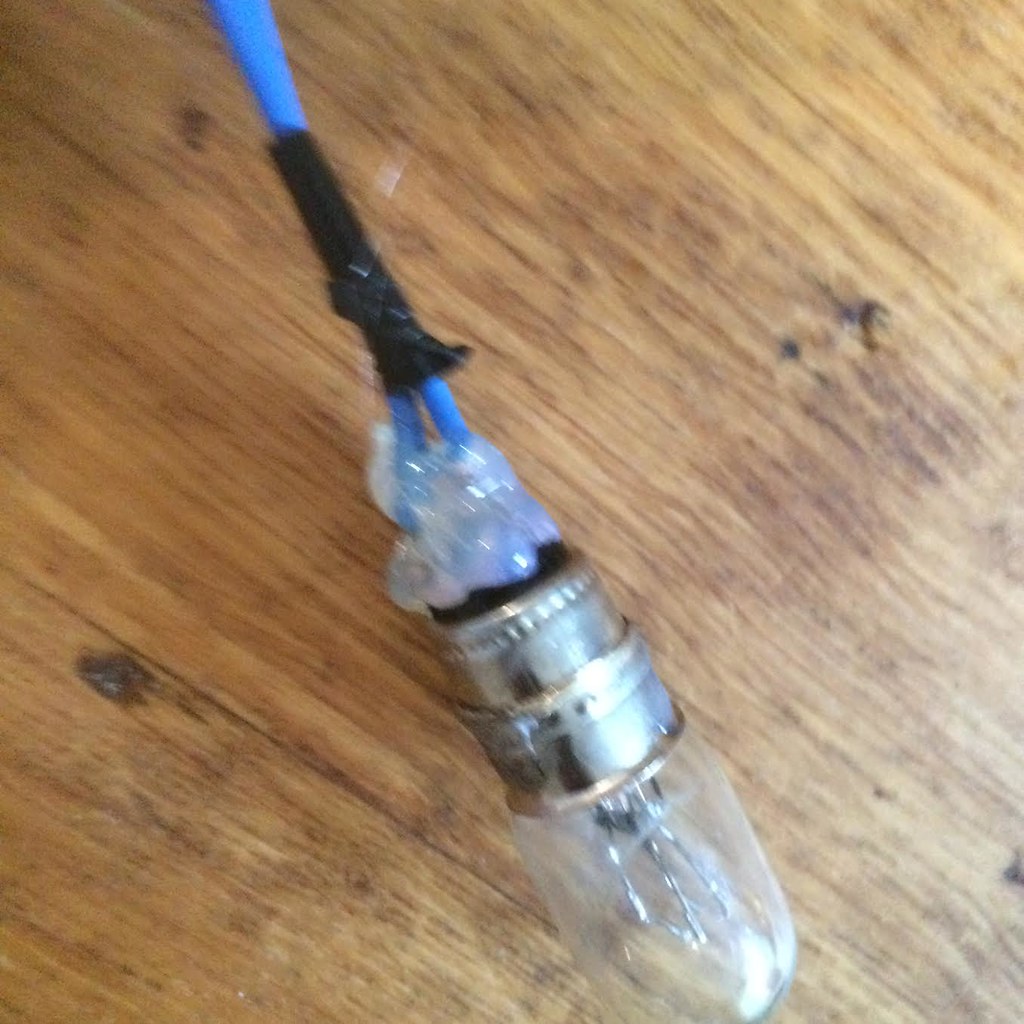
After a lot of searching I found P15d bulbs on Ebay, about a fiver a pair. They are designed for old motorcycle headlights and both filaments are 25w. The problem is that they don't have pins on them and they have a collar.unnamed-57 by jaguartvr, on Flickr
Not a problem, the collar is very thin and can be trimmed back with heavy duty scissors. unnamed-56 by jaguartvr, on Flickr
Then carefully grind the rest away on a bench grinder, you have to be careful that you don't damage the elements.
Then solder a wire to each of the contacts.unnamed-55 by jaguartvr, on Flickr
Cover the solder points with hot glue to both insulste and give the joints some strength.unnamed-54 by jaguartvr, on Flickr
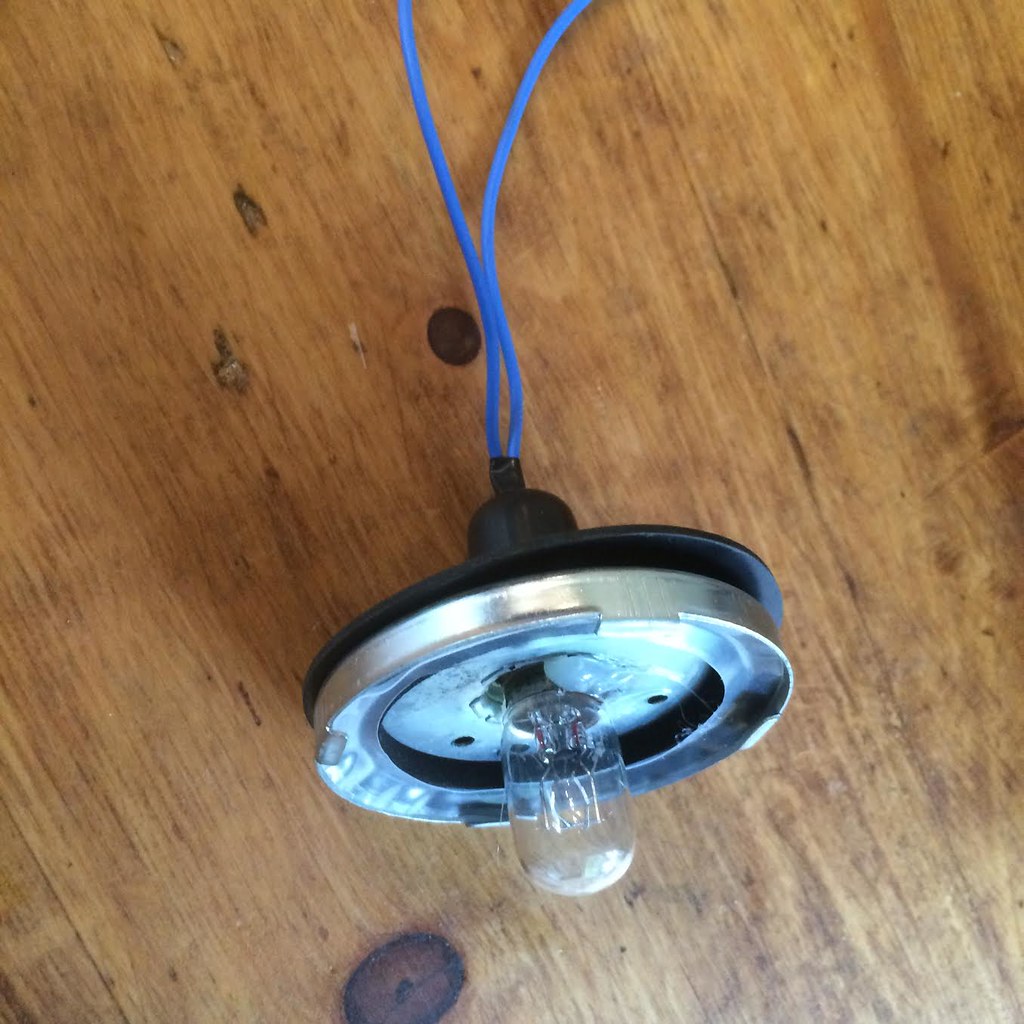
Then remove the original internal gubbins and refit the bulb. It is now a push fit and is tight enough for a good earth contact but I put a couple of dobs of hot glue to hold it firmly in place.unnamed-24 by jaguartvr, on Flickr
This means you can use the standard Lucas light and fit a double element bulb.
And finally my superbly bodged rear fog light unnamed-58 by jaguartvr, on Flickr

 , I bet you are very pleased with it,
 as as you get nearer to completion from my experience you get happier and happier! Also being a similar colour to the Z3 donor, everything looks right especially in the engine bay. Great job, I look forward to seeing the finished car