This is a read-only archive of the old Madabout Kitcars forum. New posts and replies are no longer possible, but every thread is still here to browse and read.
Hi Peeps,
Untill I flat back its hard to say, but the primer does makle you see lots of bits you have missed, and I mean real howlers! When its all colours its hard to see whats what after a while, but then primer gives you an idea of how far you have got. It fills in scratches and pin holes, but anything larger shows up more clearly so you can get it next time. I recommend a coat of primer just to regain ones sanity!!!
How is yrs coming along?
Been away so not much done. i want to get it outside as the dust is killing me. The garage is like ice, dampens the enthusiasm ! think I am going soft !
Hi Peeps,
Untill I flat back its hard to say, but the primer does makle you see lots of bits you have missed, and I mean real howlers! When its all colours its hard to see whats what after a while, but then primer gives you an idea of how far you have got. It fills in scratches and pin holes, but anything larger shows up more clearly so you can get it next time. I recommend a coat of primer just to regain ones sanity!!!
How is yrs coming along?
Looks blimn awesum in primer. You can see all the hard word and attention to detail really pays off.
Your customers are lucky to have found you as their pride and joy will be in good hands
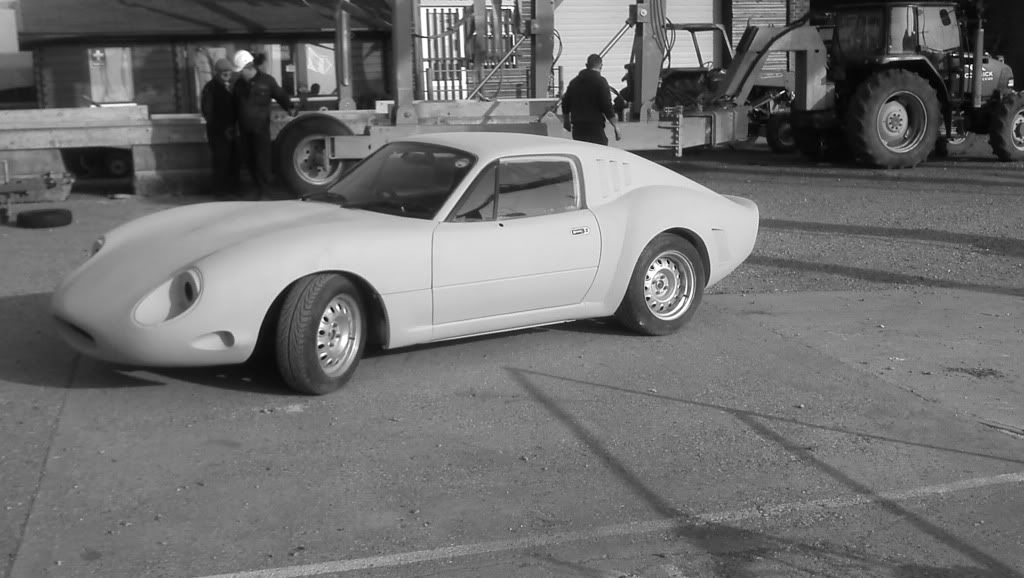
Hi Hammy, finally pulled up the covers. Tyre to arch clearance is 40mm, although 50 mm on the center. Hope that's enough!
Big Rich, re stonleigh, um, not sure, if yes then it will be in primer!
REALLY busy work wise, held up by the cold weather, so working eves and six days a week :-)
Mind you, bit of room in the shed now this one is in
[IMG][/IMG]
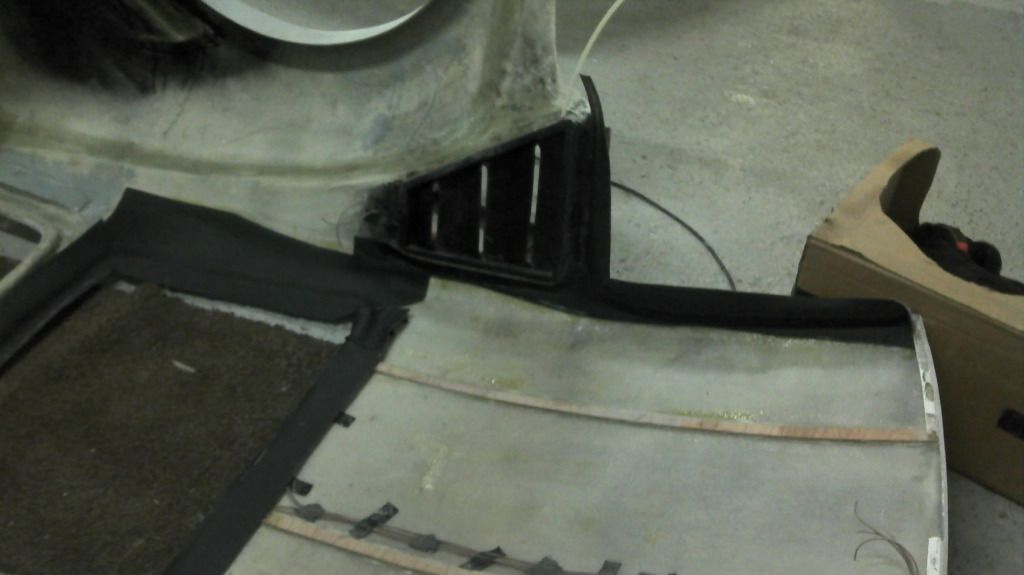
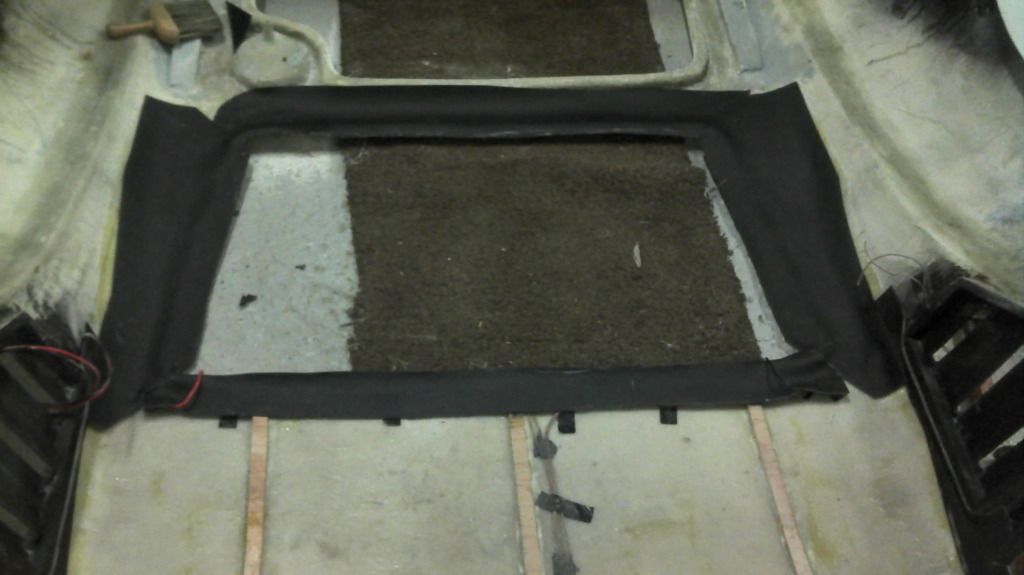
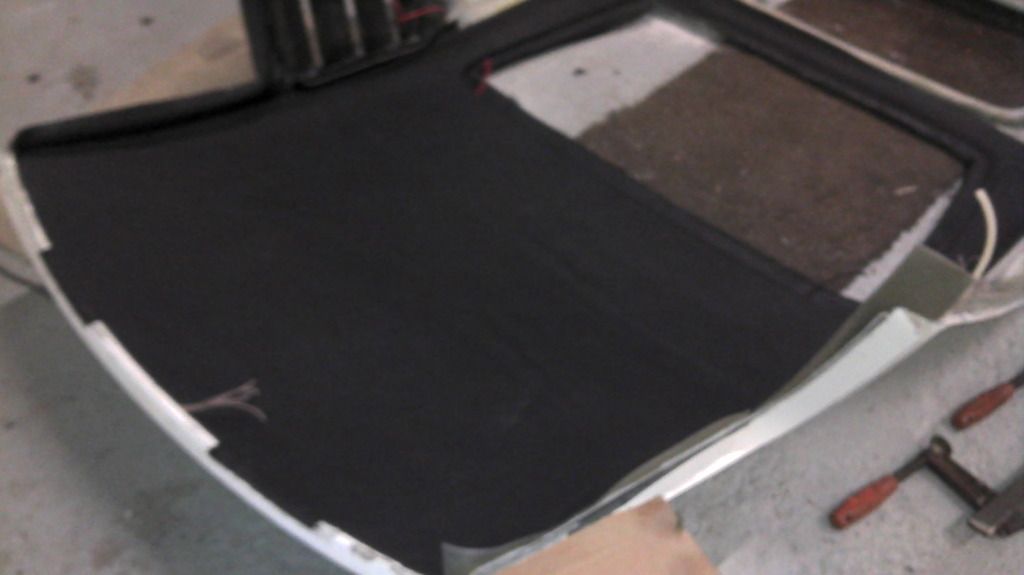
[SIZE="3"]To do the edges I stripped the foam off where the door seals will grip it to reduce the thickness.
Went around the door shuts and rear window.
[/SIZE][IMG][/IMG]
[IMG][/IMG]
[IMG][/IMG]
[IMG][/IMG][SIZE="4"][/SIZE]
The louvres will be covered with 5mm tinted perspex, which I have cut out, but not fitted.
[IMG][/IMG]
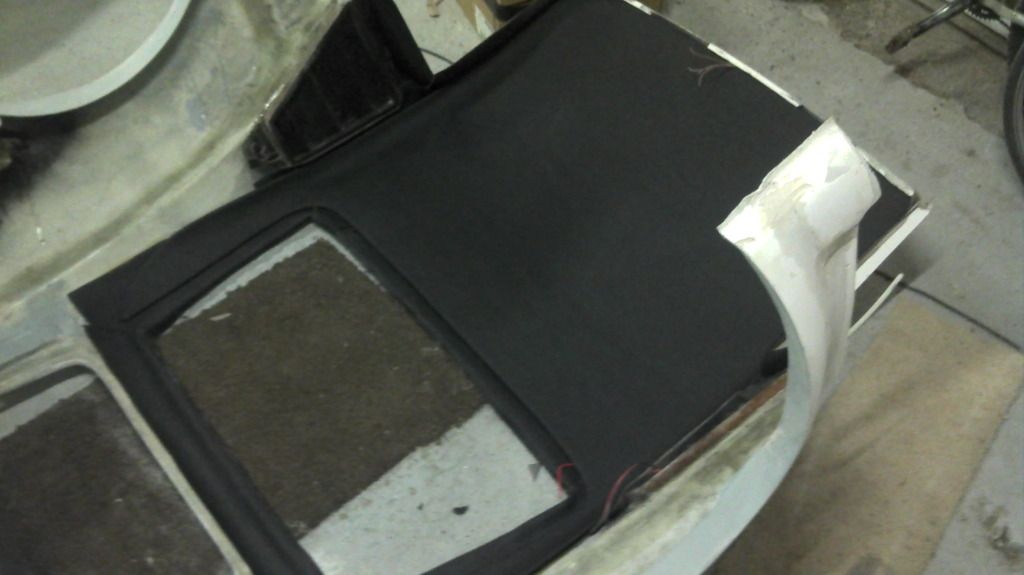
[SIZE="3"Finally slotted it all together. Its held up by slotting into the front lip and the sides run above the door shuts so its a good firm fit.
[COLOR="DarkOliveGreen"]Tomorrow is B day (bonding day)! [/COLOR]
][/SIZE]
Nick
Will you be trimming the sides too or painting them mate?
It can be, and its what any sane person would do. However, I didn't because............
I wanted an air gap for insulation. Cool in summer, warm in winter.
I wanted to run the wires for interior lights and heated rear window under it.
It avoids possible wrinkles and compound curves on the lining.
Would I do it again? No, I would just stick the lining on !!
I also had to lower the roll bar a bit to make it fit!!
Bogged down with work since it came home. No room in workshop at the mo and working on it at home is so slow so its best wrapped up for now. Home to get some time from August, which is when I started it last year..........
Well I got one headlight cut out and sort of fitted this eve. Also marked out fir my rear lights and ordered the rear reflectors and number plate lights. Its nice to be back on it.
MOT penciled in for Thurs
MOT now sat at 8am. Fitted the other headlight this eve, temporary numberplate's then removed the back box and welded in an extra bend to drop the tail pipe down. Final fit to.arrow. I looks better with the lights in place!
MOT now sat at 8am. Fitted the other headlight this eve, temporary numberplate's then removed the back box and welded in an extra bend to drop the tail pipe down. Final fit to.arrow. I looks better with the lights in place!
Fingers crossed for the MOT Nick. Have you got time to upload some pictures?


 so not much done. i want to get it outside as the dust is killing me. The garage is like ice, dampens the enthusiasm ! think I am going soft !
 [/IMG]
  [/IMG]
  [/IMG]
  [/IMG]
 [/IMG]
 [/IMG]
 [/IMG][SIZE="4"][/SIZE]
 [/IMG]
 [/COLOR]
 [/IMG]
 [IMG]
[IMG] [/IMG]
 eep:
eep:  [/IMG]
 [/IMG]


 [/IMG]
