This is a read-only archive of the old Madabout Kitcars forum. New posts and replies are no longer possible, but every thread is still here to browse and read.
My new fuel sender arrived last night, got it off an EBay seller as most of the usual sources wanted extra for the seal and locking ring, 5 minutes to fit and job done :-)
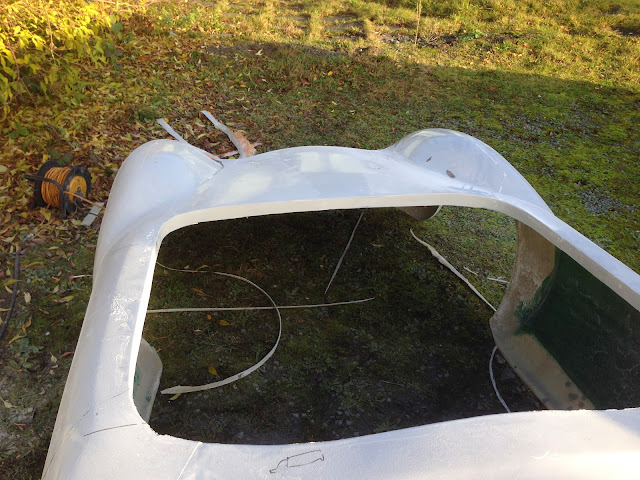
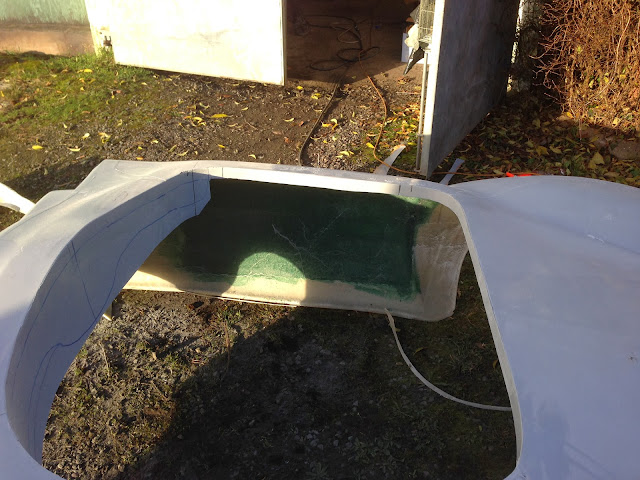
Finally finished trimming the body and humps, am covered head to toe in white dust which is very pleasant....not! Memories of the Ribble Navigator buck episode flooded my memory....shudderrrrr.
The cockpit perimeter is now approx. 2" which should be plenty to join the interior Ali panels to but its also enough to maintain rigidity in the body whilst I'm moving it about.
I have trimmed the dash area to get rid of the sharp edges and reduce its bulk a bit but have stopped there as I haven't currently decided on the exact shape I want.
I have trimmed the wheel arch returns to approx. 1" which again keeps plenty of rigidity in the shell whilst getting rid of the sharp edges, I may trim back more but will decide once the body has been trial fitted again.
Michiel,
When I get the courage!!! Im going to get the body on first and get it all rigid then will build op the inner doors in foam with the captive plate for the hinges and locks then I will take a deep breath and go for it!
Mac
So first real try at fitting the body, wanted to use the small lip i left at the bottom of the sill to rivet and bond to the frame so plonked it on and used a couple of Clecos to fix it in place, managed to get the wheel centres about 14.5" from the front lip of the rear arch.
But it was just a bit too high at the front
Ended up dropping it down so the front firewall is as close as possible which means i will have to go for plan b which involves an ali stepped panel for the side sill mounts.
The tyres clear.....just!
Had to remove the return lip off my gearbox cover to get it to fit and also had to enlarge the gear lever aperture as well.
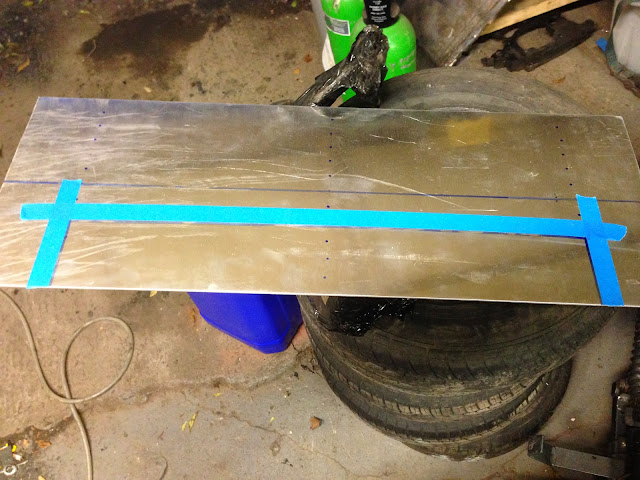
I then started on making my rear body support, got it all marked out and am popping into a mates place in the am with it for him to plasma cut as cutting 3mm Ali with a disc is a testicle ache
You cant see it from this angle but there is about a 4mm difference from the height of the centre to the height at the ends.
Got to actually do some work tomorrow so not in the workshop until Friday now :-(
You are going very fast now making big steps. Looking at your foto's it comes to my mind that your craftmanshift is a good match with the navigator body that looks like it has evolved to a pretty high standard. It all looks pretty need.
Indeed, cutting the 3mm ally is a little hastle. I have these thin discs. However, I use 1 disc totally for about 1,5m of cutting. Bending it (larger lenghts) is a real bitch though).
Yep i also have 1mm discs but they just disappear when used on Ali. Luckily the mate I'm taking it to for cutting runs a specialist Ali and Stainless fabrication business so bends thick stuff for me.
Mac
Love this Bond car feature - is the plan to have it rise up as a bullet deflector when the bad guys start shooting at you? And will it pi$$ loads of oil on the road to make them skid too? (mine already does that )
If it does develop an oil dispensing system my engine builder is going to get a visit!
Ill add the rear bullet deflector to the list of mods, can i quote your approval when i get stopped? :-)
If it does develop an oil dispensing system my engine builder is going to get a visit!
Ill add the rear bullet deflector to the list of mods, can i quote your approval when i get stopped? :-)
Mac
You won't get stopped Mac, you won't be able to see the blue lights.
Well my initial plan to rivet direct to the frame is dead and buried as it means I have to raise the body too much. Think I'm going to extend the frame down using an Ali strip but whilst I think about it I have been working on making good the tweak on the rear of the body.
The Bridging filler had gone off so first job was to knock it right back:
I then prepped the part I hadn't touched yet, some of the fibreglass had sagged through so when I knocked it back level I had a hole, no worries though I have filled from the front and before I sand it back I will also put some on the back of the hole.
Close up of the area I cut around he rear wheel hump, now looks much better already
Not my neatest filler job but it will just need a bit of hard work to knock it back once it has cured:
I have also applied what I hope is the final bridging filler to the top section I sanded back earlier, very happy with how it went on:
How did you get such a good finish I hear you ask? My secret weapon is a flexible bowl scraper I have had in my tool box for yonks, its genius at applying filler into curved areas and being so flexible all you have to do to clean it is flex it and the filler just cracks off, think I got this one from Lakeland:
Also received my 9/16" 36 spline shaft from Rally Design that I'm planning to use to sort out the steering, turns out that the spline size and count used by Triumph is the same as that used on Escort Mk2's. I also have a couple of steering joints that should arrive Monday.
Before I started the bodywork I fitted the fuel stub with union I got off EBay for the tank outlet but now its fitted its really too long and the hose will foul the handbrake relay lever.
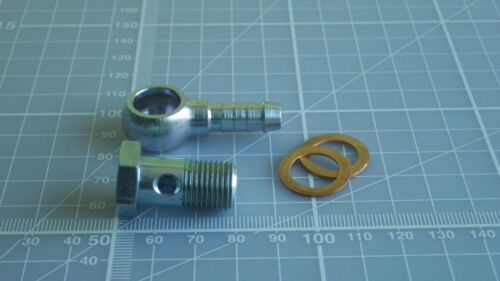
The part I bought is described as an "8mm hose tail for CAV296 fuel filter" and looks like this:
After a bit of hunting around I have just ordered one of these
Described on EBay as "1/2" BANJO FOR 5/16" - 8MM HOSE 1/2" UNF" hopefully this will allow me to bring the fuel line away from the tank parallel with the bottom of the tank which should keep it out of the way of the offending handbrake relay lever. Fingers crossed !
Not a lot really but having been so intimate with it I'm more aware than most of the minor imperfections, once of which is that out of the mould you can see a bit more of the offside tyre than the nearside from the back so just split the body and moved the rear corner out a bit.
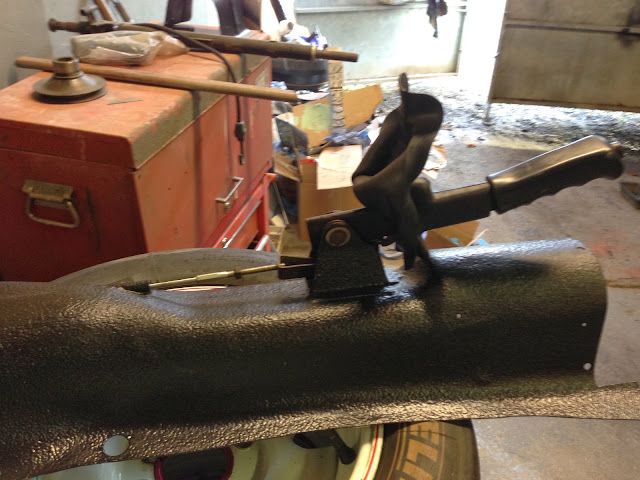
Replacement handbrake arrived yesterday so got it fitted up this morning along with the new handbrake gaiter I bought,
only trouble is:
1. the handbrake gaiter is too short but guess that because the carpet normally bridges the gap the handbrake sits in, no big issue an Ali panel will sort it out.
2. Cant find the square nut that the handbrake cable goes into anyone got an old one lying around? at worst ill just tack weld a normal nut to the clevis.
Stripped the steering column down and rubbed it down, the paint just fell off and I don't know what type of ali its made of but the description "Monkey Metal" comes to mind, I'm pretty sure that if I had sanded hard I could have gone right through it very easily!
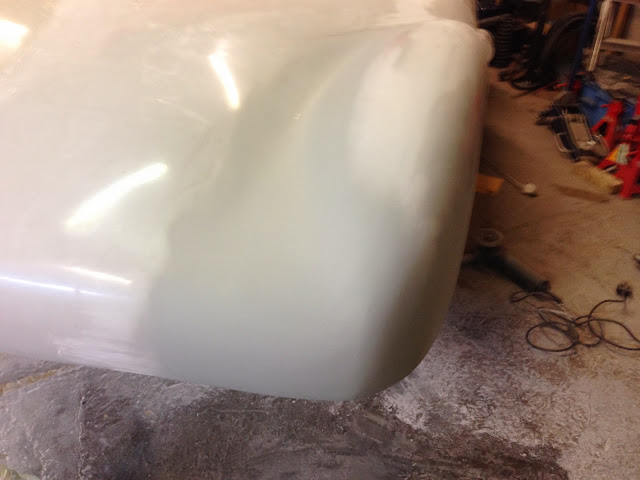
Also pretty much finished the back corner repair now, skim of filler and a couple of coats of primer filler resulted in:
And finally before I pack up for the day first coat of black on the steering column. I'm pleased with the finish and it will get at least one more coat. Forgot to mention in my last post that I gave it 2 coats of etch primer to make sure I got a key into the Ali.
I'm doing 3 days consultancy next week so no workshop time until at least Thursday :-(
Cheers Paul, i can probably buy one but don't know what the thread size is and don't have an imperial thread gauge and when i went to get my digital vernier out the battery and spilt its guts so ordered a new one.
When i got home yesterday my seat had arrived
Both myself and SWMBO have tried it for size and as expected it will need widening a tad..... But I'm happy with the overall shape and the rear rake is less than anything i have tried so far so will hopefully allow the seat to got back a little bit more.
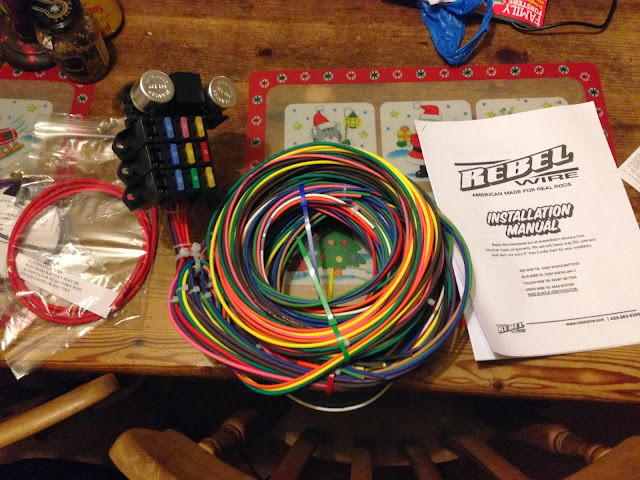
Just thought I would post details of the Wiring Loom I have bought from Langys Rod Shop. Very good value at £139 for the 9+3 version available from here:
the loom looks easy..........i have fitted a similer one in the past......i managed to get a herald loom new off ebay,will go with that for now......its a shame you had to cut the new bodyshell? are they all like that need cutting?
good job mac keep posting good to look
ikon
Clive, as I said a couple of posts ago I am probably being a bit fussy but having spent a week staring at the old one far too closely I wanted it to be as perfect as possible hence I am tweaking a few bits to my taste. There is nothing wrong with the body out of the mould, especially compared to the Sammio shells.
Mac, That loom does look the 'Mutt's Nuts'. I'll be watching this very closely as I think it may provide the answer for the turnkey line rather than stripping the old Triumph loom and making a good one out of three variables
Ikon , having seen Sammio , Miglia and Ribble bodies , I can tell you that they all need a bit of straightening out if you are looking for perfection.
The original Sammio bodies are fairly basic and not particularly symmetrical. They were cheap and did the job. The cars look great.
The Ribble versions are better. The Spitfire based one is the better of the two having had work carried out to straighten it out.
The Miglia is better than the Sammio. It is a Cordite body with a longer bonnet basically. Miglia have straightened them out a lot over the original but they still need work .
I believe all 3 bodies have sloping rear deck panels. It is disguised by the headrest fairing
Wheel arches are all a bit wobbly and not completely rounded and so on.
It would be easy to get caught up in the aim for perfection . I think its best to build to a decent standard , accept the shortcomings of all 3 of them , they are all priced low end at the end of the day , and enjoy your car.
pee wee
yes i agree, i will be picking up a miglia bady tomorrow so the proof will be in the pudding as they say...............i will post the build on here so we shall see? what are you building?






 )
)