MadaboutKitcars

This is a read-only archive of the old Madabout Kitcars forum. New posts and replies are no longer possible, but every thread is still here to browse and read.

Another Cordite Is Born ...

13 May 2017, 6:51pm
Looking good, keep inching away!
I think the BRG with yellow would be stunning.
13 May 2017, 9:36pm
I would consider ReFace by Upol as suggested by Jeff. It is like putting a smooth artex on and then sanding it smooth. As Jeff suggested it can be put on with a small gloss roller, this would give you a really good base for you final finish.
I have a feeling that it shouldn't be used over etch primer, you will need to double check.

It covers really well, two coats would hide the rivets on Mick's Monaco! (almost).
14 May 2017, 4:56am
Molleur – Thanks. :cool:

- - - - - - - - - - - - - - - - - - - - - - - - - - - - - - -

Jag – I like the sound of that ReFace stuff, as tackling small blemishes in my body work will be a pain.

The advice I was given by the ’Truck coat’ paint supplier was that the following layers were required/compatible:
- Etch primer (due to my car’s surface mix of raw fibreglass, gel coat & filler :rolleyes: )
- Undercoat (which I noticed yesterday is actually a high build primer of some sort)
- Top coat

So I might test some of the undercoat I was supplied with just to see what kind of coverage it provides.

One of Jeff’s previous tips was to remove all the original etch primer that I’d been driving around in.
( As this was likely to have absorbed moisture which would eventually micro blister the top coat paint. )

Therefore I intend to sand down the whole car as part of my preparation and give it a fresh coat of etch primer.
( Thankfully, the stuff in the tin is a lighter shade of grey so I can keep track of this work. )

Unfortunately, I was woken up early this morning by the sound of the rain lashing down outside. :eek:

Which means there is still a risk of moisture contamination while the car is stationary outside under a cover. :icon_sad:

But this ties back with yesterday’s theme of perspective, as I am building/painting my car in less than ideal conditions.

Right, I’m going back to bed now and with a bit of luck I’ll get a bit more preparation work done later on today.

If not, I will keep chipping away at it after work during the week ahead.

Cheers, Paul. :)
14 May 2017, 9:03am
Been a long time since I caught up on the thread - life has been getting in the way.
You are making great progress Paul. The shot of the side after the long board shows how little new filler remained.
For me the fact that it is a road legal car that gives you joy everytime you take it out makes the labourious task more bearable.
I am confident that even with your OCD in check your finish will be better than you ever dreamed.
Hopefully catch up with you before the end of summer.
14 May 2017, 2:50pm
Roadster - Welcome back, hope your new job is going well and thanks for the encouragement. :cool:

I am now pretty confident that the worst of the lumpy bits will have been taken care of by the time I am finished.

But I don't think I will really know what it is going to finally look like until the dark top coat goes on. :pray:

- - - - - - - - - - - - - - - - - - - - - - - - - - - - - - -

Limited Sunday Service:
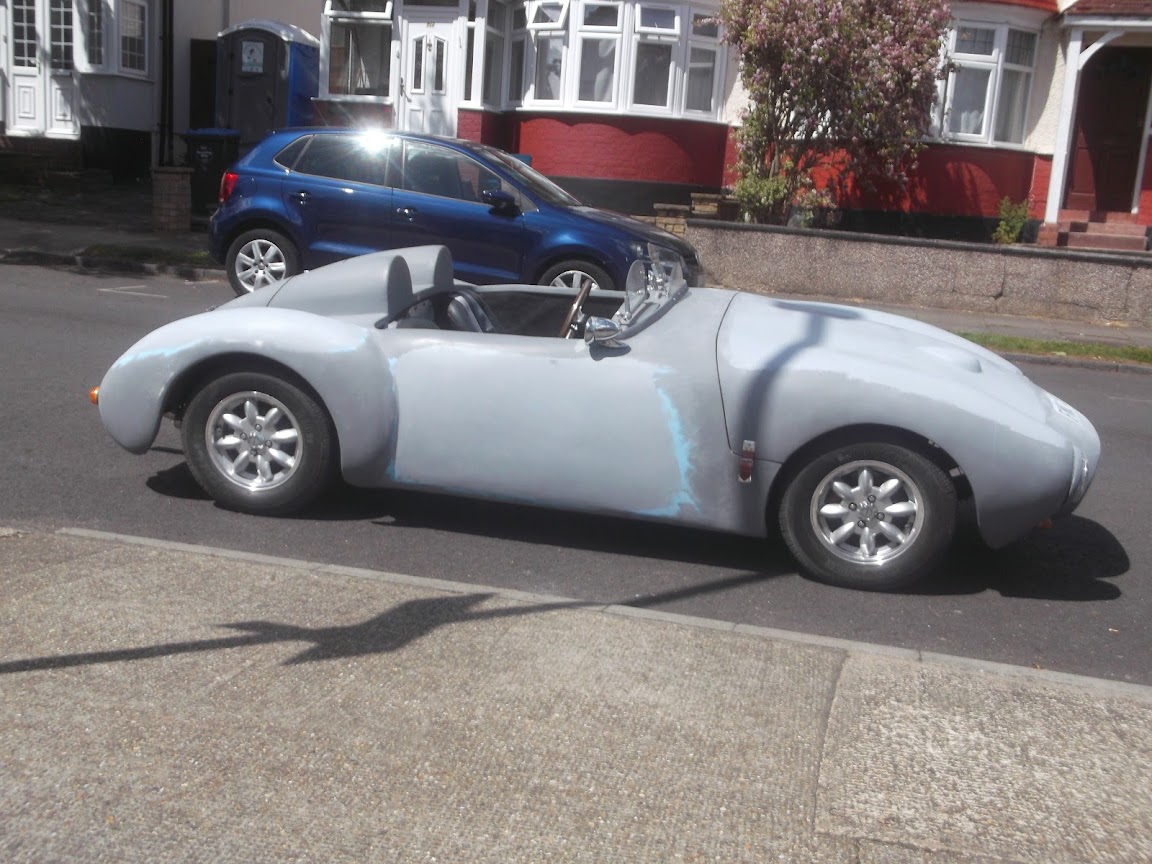
I sanded down a larger section of the bonnet and the etch primer highlights some of the low spots.
( Ignore the grey on the bonnet bulge, that was done separately. )


Although they are not as deep as they may look and I want to see what difference (if any) the high build primer makes.

So after cleaning the surface down, the etch primer went on.


I also did the passenger side of the cockpit.


Now at this point I have not removed any of the accessories (lights, mirrors, etc.), so the car is still road legal.

Which means it was OK to drive it out onto the road to get a better look in the sunlight.

The first thing to note is that Mister Towed's top tip about painting the car silver is just that.

As the light grey is so reflective I can't actually see how straight, or otherwise, the body shell is. :rolleyes:


But on the face of it, the driver's side is definitely in the right ballpark (give or take a bit).


A quick three point turn later and the sun was really making the bonnet shine to much to see anything.
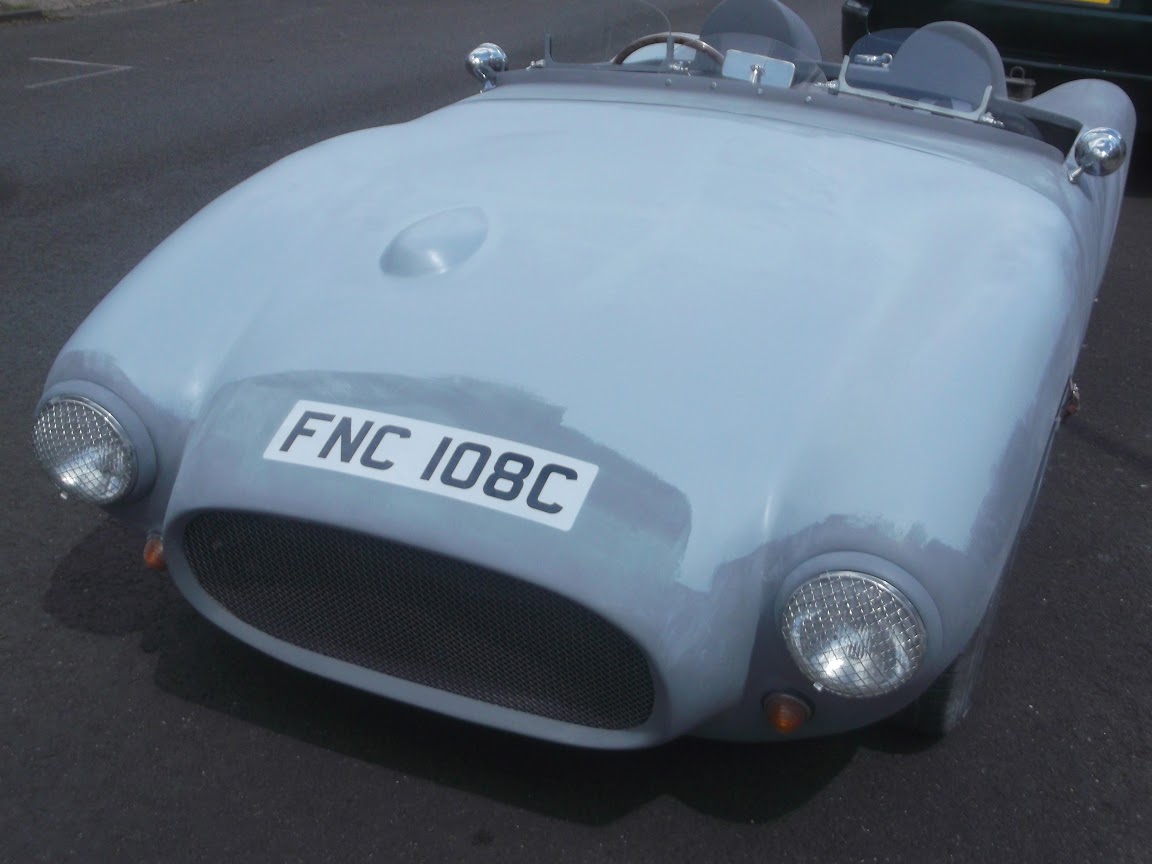


The passenger side.


Now as the sun was shining, I couldn't resist driving the long way around a few blocks so that the car was pointing in the right direction for the driveway. :cool:

The other reason I haven't started stripping the car down is that I applied for a race track slot at the Goodwood Breakfast Club - Soft Top Sunday (4th June).

Unfortunately, I don't know when they send the confirmations out, other than "nearer the time", so I might have to chase that up during the week.

However, I have identified the last few areas for some major filler/reshaping work.

I need to blend in both of the body shell extensions back to their respective cockpit sides.
( So I will remove the lower strap brackets for better access. )


I am also going to do some work on the area around the rear corner of the cockpit on the driver's side.
( Where the contour of the rear wheel arch passes close to the cockpit. )


Unfortunately, with a long list of domestic chores to tackle that was all for today.

So until next time, take care, Paul. :)
14 May 2017, 3:02pm
50 shades of grey..........snigger snigger
15 May 2017, 3:30pm
Nothing wrong with multi coloured grey is there Paul.
Honest
15 May 2017, 4:54pm
Making great progress Paul :)

Keep it up - love the weather watcher photos as well as car pics.

Dave
16 May 2017, 7:26pm
Deggsy - Deep down, I must confess that my car is currently not looking at its best. :icon_wink:

DaveP - Cheers, unfortunately today was another day where the forecast was wrong. :rolleyes:

- - - - - - - - - - - - - - - - - - - - - - - - - - - - - - -

Bloody Weather!
Glorious sunshine when I'm at my desk working, but as soon as I'm ready to stop work early to work on the car in rains! :rant:

So I was a little nervous when I finally got outside and just exposed one corner of the car to play with.


I removed the bottom bonnet strap.


Then I really pushed the boat out and unwrapped the front of the car completely.


Which allowed me to remove the bracket from the other side too.


I then covered up the engine bay.


Before taking my long board to the body shell extension on the driver's side.

As you can see, there is a large area with, thankfully, a shallow dip.


The passenger side was quite mild by comparison.


But both sides got a complete skim of filler.


By the time the filler had just started to set hard, I felt a drop of rain and that was the signal to pack up for the night. :icon_sad:

Which means I will be sanding down concrete when I eventually get a chance to get back to this job. :rolleyes:

So until then, take care, Paul. :)
16 May 2017, 9:40pm
Paul Have you tried 3M filler in my opinion the best you can get expensive but if you shop around you can get it quite cheap I picked up a tin at Stoneleigh for £9 normal price on e bay £27 bargain and it's Shoooo smooth and easy to use.
17 May 2017, 4:44pm
Deggsy - Thanks for the filler tip. :cool:

Although, I really hope that I won't need to order any more filler before the paint finally goes on. :pray:

- - - - - - - - - - - - - - - - - - - - - - - - - - - - - - -

A Complete Wash Out
Due to a last minute change in my 'real work' plans, I ended up at home today with spare car time available.

Unfortunately, it has been raining pretty much all day and I haven't so much as peeked under the covers. :icon_sad:

Still, at least the replacement tin of filler I ordered has finally arrived.


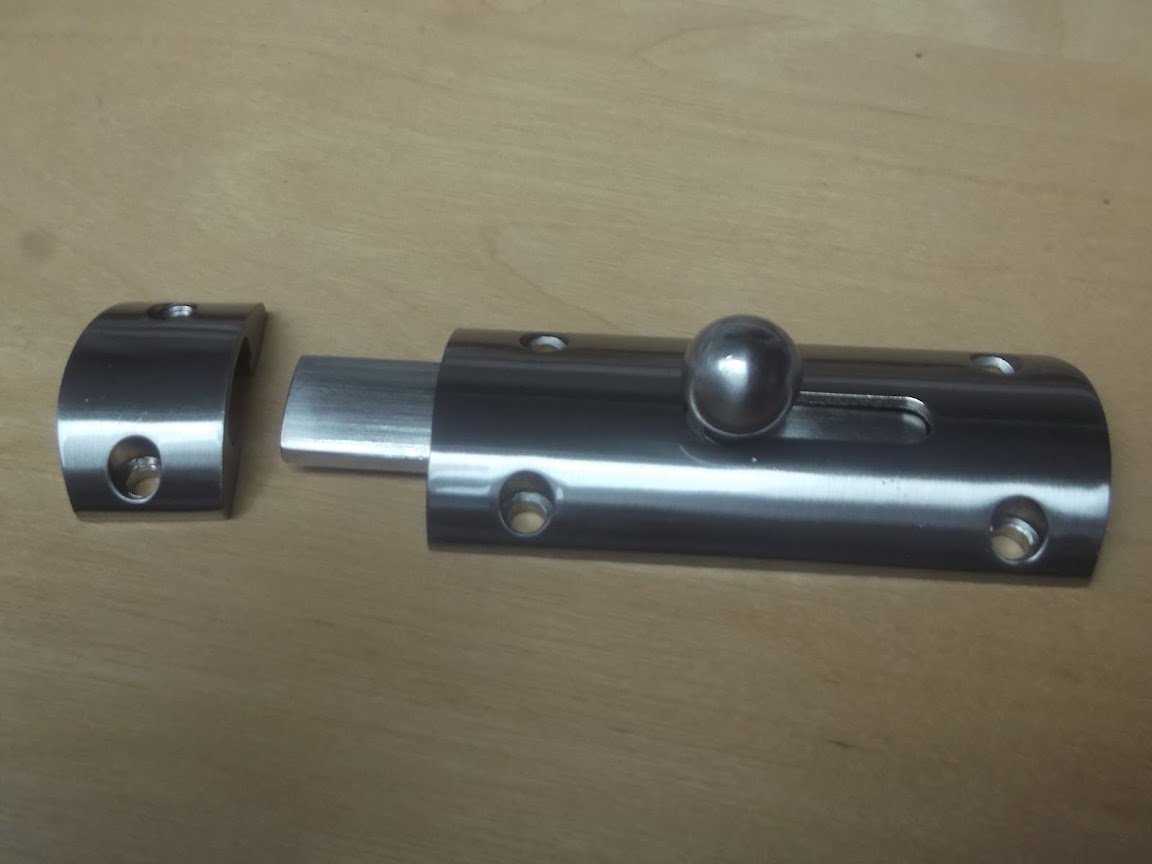
The alternative option for my bonnet latches also turned up today.


As part of me thinks these would be the most KISS solution to the problem.
( Especially when compared to any over engineered solution I am likely to come up with to mount the bonnet pins. :rolleyes: )

Obviously, I still need to see how they actually look on the car first and also decide if I should paint them BRG.

While it was raining I ordered a few more 'sponsors' stickers to help cheer me up.

Especially after I remembered I need to do some extra work around the rear lights, so they sit a bit flusher than they do now.
( Plus fix some gaps caused by the front indicator fixing bolts. )

The "To Do" list was also extended to include patching up the gaps on both sides of the body shell bonnet lip.

Plus adding some extra fibreglass matting to the underside of a section of the bonnet, which 'bounced' when I was sanding it down the other day. :rolleyes:

So until next time, take care, Paul. :)
17 May 2017, 7:39pm
Paul
Are those latches stainless or alloy?
they look like a good option.

Cheers

Deggsy
17 May 2017, 8:55pm
Deggsy – The locks have a nickel plated finish, which look dull, in the good sense of the word. :cool:

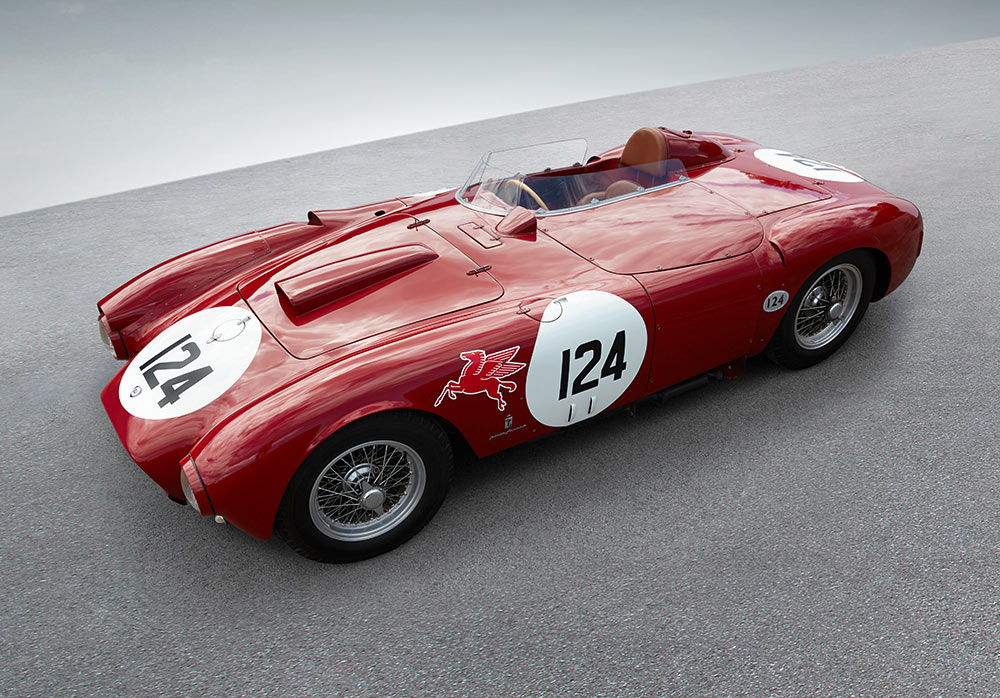
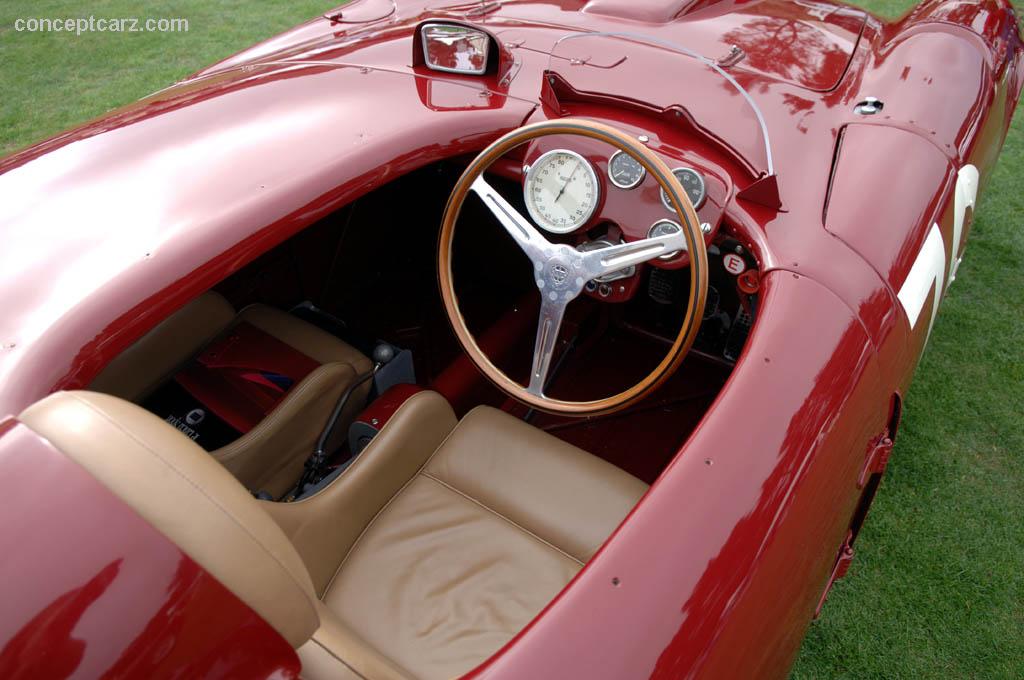
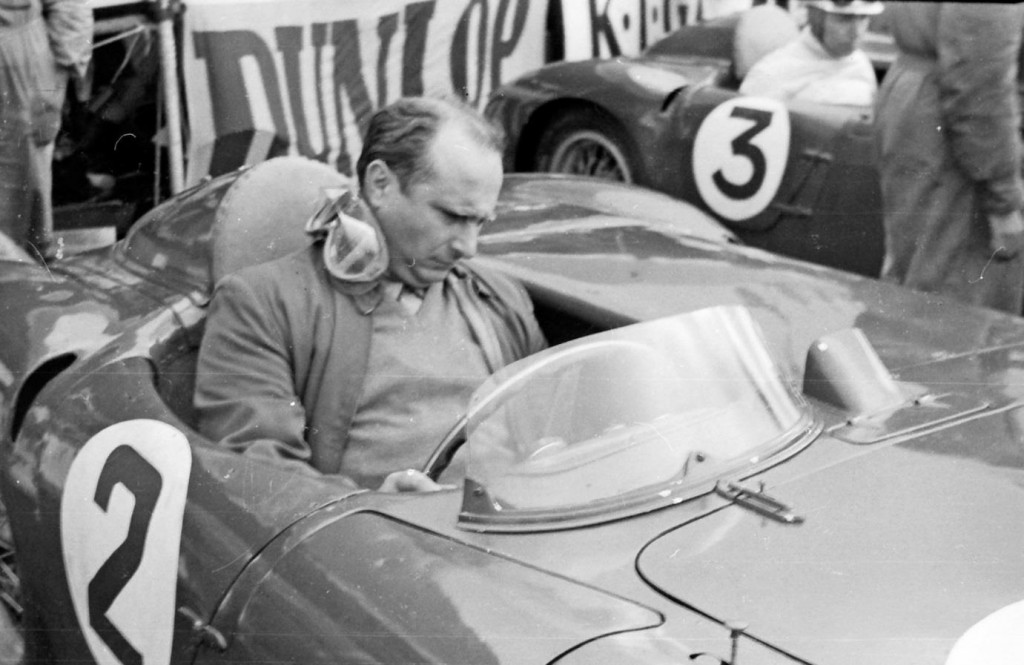
I’ve also been looking at other photos of the mighty Lancia D24 that PsychoPops posted a photo of.

Because once you start looking for the bathroom lock on the bonnet you do notice it.


And if it was good enough for Fangio…


Anyway, I need a dry spell and daylight to check my options, so that will have to wait for another day.

Cheers, Paul. :)

PS
How cool is that D24? :cool:
18 May 2017, 1:40am
Bathroom locks

Paul L wrote:
Deggsy – The locks have a nickel plated finish, which look dull, in the good sense of the word. :cool:

And if it was good enough for Fangio…


What's all this then? Bathroom locks? Commode seats?:icon_eek:
18 May 2017, 6:36am
Paul, those bathroom locks look very nice and will probably do the job better than the purpose made bonnet pins as they will naturally line up the level of the back edge of the bonnet with the bulkhead without any need for adjustment.

One thing though, do you have access to the bulkhead beneath the female part of the latch so you can fix them in place with nuts and bolts? If not you'll maybe need to use rivnuts as self-tappers are likely to work loose.

Keep up the good work, the chequered flag is in plain sight now. Painted by the end of next week then? ...
18 May 2017, 6:58am
The picture of the original bolts earlier in the thread show that the bolts are spring loaded to prevent them from vibrating open. You may have problems with these bolts as they don't have any means of keeping them closed.

Can you get bolts that show "Vacant" & "Engaged":icon_mrgreen:
18 May 2017, 5:24pm
Barber – Commode seats? – Please see Post #2978 on Page 149 for my reply to that thought. :icon_wink:

- - - - - - - - - - - - - - - - - - - - - - - - - - - - - - -

Mr T – It is the fact I have space for the female end, that is drawing me to this option.

In the photo below, the left hand end of the bracket in my hand lines up with the front vertical face of the bulkhead.

So there is a bit of overlap to play with and I’ve ordered some suitable nuts and bolts.


- - - - - - - - - - - - - - - - - - - - - - - - - - - - - - -

Jag – Funny you should say that, as I asked PyschoPops the same question when I first saw the bolts.

It turns out that the bolt arm spins, so this is the ‘open’ position, lining up with the slot.


And by turning it through 90 degrees, it becomes ‘closed’ to prevent it opening.


I’m hoping that a big blob of thick grease will prevent the bolt arm turning while I’ve driving along. :pray:

- - - - - - - - - - - - - - - - - - - - - - - - - - - - - - -

Bad News / Good News / Bad News / Good News:

Bad News – Found out today that my car was not chosen for 'track side glory' at the Goodwood Breakfast Club. :icon_sad:

Although in fairness, I had to list my car’s condition as ‘average’, given the fact the photo showed it in primer. :rolleyes:

Good News – This means I can now start to remove accessories from the car as part of my painting prep.

I was reluctant to do this before, in case I actually got the invite and then found my car was in bits. :eek:

Bad News – I got home early from work today and it is still bloody raining outside! :rant:

Good News – The rain is reminding me why I will struggle to recreate a professional paint booth finish. :icon_wink:

Until next time, take care, Paul. :)
18 May 2017, 5:55pm
Giving you just a load of extra work.
Could you mount a homemade very long bolt on or under the dashboard that would go through the bulkhead and into a home made hole bonded to the the underneath oh the trailing edge of the bonnet? Or they could be mounted on either side in front of the door, similar fixing to the E-Type bonnet.
If the bracket bonded to the bonnet was in two parts you could adjust the height of the hole so when the bolt is pushed through it would hold the bonnet down tight. You could use a bit of self adhesive sponge on the lip to keep it tight and stop it rattling.

Give you a nice change from rubbing down!
19 May 2017, 2:16pm
Jag - Thanks (I think :icon_wink:), but it is more rubbing down for me. :rolleyes:

- - - - - - - - - - - - - - - - - - - - - - - - - - - - - - -

Nervous Wreck
A lull at work left me at home today being driven mad by the fact it was still raining.

But during the the first dry spell we've had in days I finally got to see what the bolt locks looked like.


This really does appear to be a rare KISS solution for my build, so I will give this a go.

Although I still need to decide where to position them, this is either side of the rear view mirror aero screen.


And this is a bit further apart, although I really need to be able to trust the weather and remove the covers for a better view.


I am currently waiting for a slightly thicker rubber strip to test how that will affect how the bonnet sits.

So I will make a final decision once I can test things with that in place.

I will also need to drill some holes to fit a pair of Union Jacks I have for the sides of the bonnet.


I then removed the upper bonnet straps from both sides.


Then it was some seriously hard work to sand down the filler on the body shell extensions.


By which point the dark clouds were starting to return. :icon_sad:

But I figured it was worth the risk and brushed on some etch primer.


Then I used a dust sheet to keep the bonnet off the fresh paint.


As I was packing everything away, the rain was definitely on its way, which was making me very nervous.

Thankfully, the etch primer was touch dry by the time I got the covers back on.


So that's all for today, not much, but certainly better than nothing.

Until next time, take care, Paul. :)
19 May 2017, 8:43pm
I think the bonnet catches should be somewhat far apart like the Lancia.
19 May 2017, 8:49pm
It does look very much "Public Convenience" (very, very sorry)

How about the exterior bonnet catches on Eric's 250 build?
19 May 2017, 8:56pm
I agree the catches look pants,

Any more sky pics ?
19 May 2017, 9:32pm
Paul ..if you are set on using those latches ..put them as far apart as you can ...