This is a read-only archive of the old Madabout Kitcars forum. New posts and replies are no longer possible, but every thread is still here to browse and read.
At the painters today to remove the stuck hinge and help with the rubbing down.
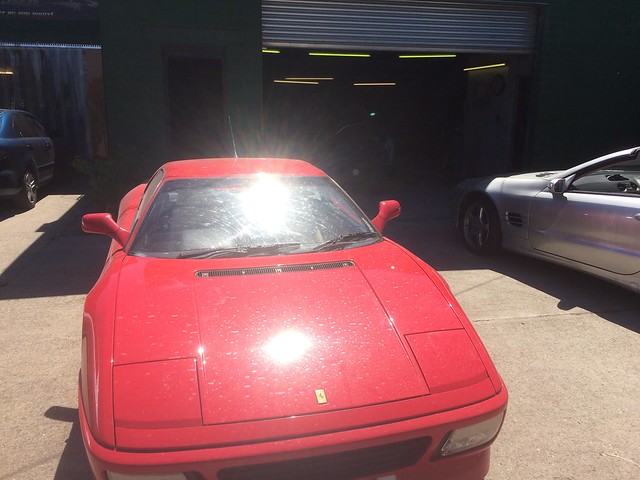
Found the bloody painter woking on some bloody Fiat or similar, good job I had my sharp pointy stick for encouragement. I think the seats would have gone nicely in mine but he wouldn't let me near it with my socket set. fer1 by jaguartvr, on Flickr
Anyway it was dragged out of the way to concentate on the important car.......mine.
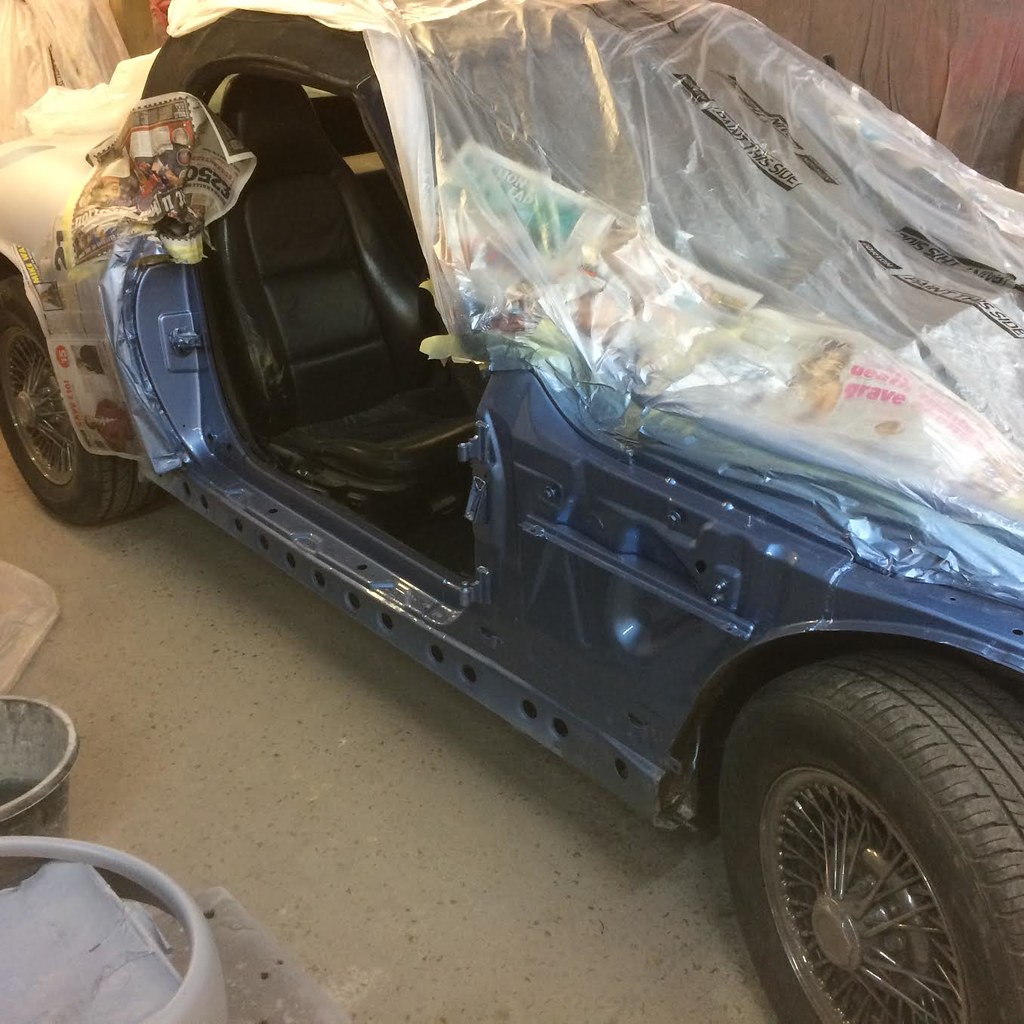
All the door shuts and the section under the bonnet all keyed and ready to be primed on Tuesday.
shuts3 by jaguartvr, on FlickrStill hoping to get it to the BBQ if all goes well
Jag. Its looking great and the gaps anyone would be pleased to live with, as you know I had problems with my vinyl wrapped chrome grill but now it's on with the main grill and the spots and badge in place the blemishes are not that noticeable plus your looking down on it, so try it on first you may be surprised. Looking forward to the finished car, we all knew you've put a lot of effort into it, I've been taking advantage of this great weather we've been having, it's amazing the reaction these cars get, one kid said he had just seen a Lambo but thought the Ferrari was better, just a pity I cant get down to the BBQ due to other commitments. Keep up the good work.
Gaps will be down to me. The bonnet gaps are great and really tight. I should have done the same method with the boot lid but I'm afraid laziness crept in. Same with the front of the doors, the gaps aren't bad but could be better. Problem is you spend hours getting them as close as possible only to chip them when you open the door and you then have to start again. That's when I think "that'l do"
I know I'm going to regret my laziness but I really can't face doing them again. Trouble is you don't notice all the good bits, just the tiny bad bits.
How not to badge as a Ferrari using Ferrari badges!
I'm not keen on badging as a Ferrari as it's not a Ferrari, hence changing the V5 to California. (I Know, I Know it's not a California either).
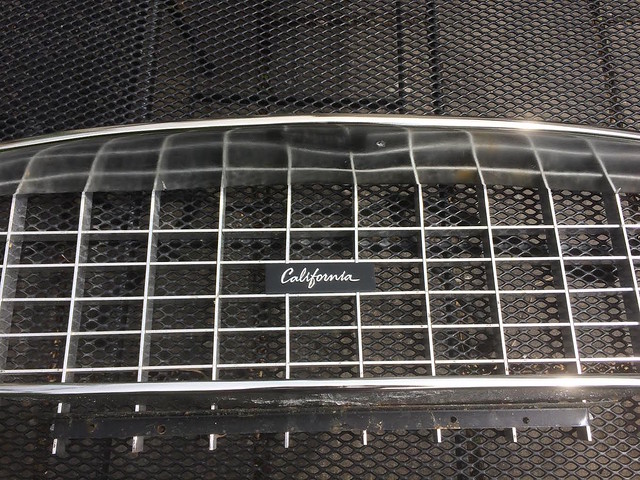
Anyway, one of the first parts that I bought was a genuine California glove box badge from the current California. I was going to mount it in the boot but it was too small, then I was going to mount it on the bonnet bulge just behind the opening but have finally settled on using it as a Grill badge.
Mounted on an alloy plate painted black, so Ferrari badged but not Ferrari badged if you use Irish logic! grill badge by jaguartvr, on Flickr
Looks great and more individual, all these inventive ideas that surface when we have to solve problems, it's true what they say Necessity is the Mother of Invention, I'm sure other builder will be thankful for problems solved on this forum. I notice that your donor car is Blue, so was mine so I did the engine bay and insides of the doors no engine out job though I hand painted the hard to get parts with a small brush, results look good when you peer into the bowls of the engine bay, but it is worth it in the end. When I ordered the paint for my car my mate said I might as well set up my own account with the body shop suppliers,they asked what the name of company was it so I told them it was called Bodge It and Sod Um which I thought was very apt.
I've flow coated the inside of the bonnet in a similar colour and am painting under the front wing up to the slam panel. The rest of the engine bay can stay as it is. My slam panel needs a good scurf off but I will do that later.
Its interesting that Andy's car was the same colour as mine but underneath and the engine bay was black rather than body colour.
Makes it easier when doing a colour change.
When I built our extension a few years ago we had to have a company name to get the discounts.
Door shuts and the front wing inner panels all in topcoat at last. I just gave it all a wet sand with 600 wet & dry, to be honest I wasn't expecting the inner front wing and the top of the flitch panels to come out very well but pleasantly surprised at how good it's come out. The front slam panel is a little rusty in a couple of spots but the bonnet latches are a bit nasty as well so they will wait to later. Still trying for the 10th but not sure if it will be possible but am having a good go.
Front clam all flatted down and ready for topcoat, smooth as a babies bum!
Working on the metal door surrounds today and hopefully flat down the rear clam. The idea is to get the inner doors painted and re hung so the car can be moved outside whilst the rest of the body is finished. I'm expecting a few problems rehanging the passenger door as I had to remove the hinge plates from the door itself. Lower hinge will not lift off, opens and closes ok but will not lift even with my big hammer. For this reason I would like to get the doors on first so there is less chance of me damaging any of the newly painted panels.
I'm using a scurff ball in a die grinder to prepare and metal work for primer, works very well and quickly. http://www.mytoolshed.co.uk/p1088552/Flexipads_Scruff_Ball_75mm__3in_Maroon/product_info.html?utm_source=googleversafeed&vfsku=1088552&gpla=pla&gclid=Cj0KEQjw9r7JBRCj37PlltTskaMBEiQAKTzTfNhkNq6bcO14w_SjY5FrITSFz2u0pWp17X4z7hy904MaAv738P8HAQ
I'm not sure what primer filler my painter used but it is very easy to flat down, mush easier than anything I have ever had to finish before. I will ask him what he used today.
Inner sections of doors painted and clear lacquered, will be hung on Monday morning.
I must congratulate myself on the fantastic colour choice!!!
Hope to flat down the rear clam and door skins on Monday as well so hopefully will get the paint on Tuesday and Wednesday so the BBQ is still a possibility for it's grand entrance.
Doors on and all the panels flatted down except for the sills as they need to be re primed. I had done them and they were painted in the final colour to check I liked its in the flesh, which I did, unfortunately my preparation wasn't good enough (not even close) so all flatted down ready for re priming tomorrow.
Painter has a bit of a backlog which he needs to get through. I hoping to persuade him to top coat the door skins and sills tomorrow so I can be bolting them back on on Wednesday. Hopefully the rest will be painted Thursday so I can refit the body on Friday so that I can get to the BBQ to claim that prize of a barrel of beer!
A lot of trim will be missing and its will still need a final polish but I'm hopeful that I can get finished enough for the drive down on Saturday.
My car is still at the paint shop, still a few issues they're not happy with and one or two I'm not happy with! They've had the car 5 weeks now so that's pushed me back a couple more weeks. Still hoping to have it on the road this autum , maybe!
Sills painted and fitted, door skins painted and having cut and polish this morning . I still have to fit the weather strips to the doors which is very fiddly, have to be careful that i don't screw all the way through the skin. Doesn't help that I have lost one of the strips.
Front and rear clams along with the bonnet and boot are in the booth for painting this morning. Oven is going to be gently warmed only but hopefully I can start fitting this afternoon.
Then I have a sticky take cylinder to free off.
I am still hopeful of making the BBQ on Saturday but it's going to be very tight.
Panel gaps will probably still need sorting out along with loads of small details.
Grill and mouth will take a while to fit but am intending to have a go at that on Saturday morning, will give the paint a little longer to harden.
Finished the painting about 3pm so no time to flat and polish so the unveiling will be from the gun. Thrown it back together literally, will take a while to get the gaps adjusted so again won't be gapped for the BBQ.
Still need to fit grill, free off sticking brake and fit my new wheels.
Inside is still full of sanding dust so will have to hope for sunny weather tomorrow so I can have the roof down to try and clean the inside.
Lost one of the window weatherstrips so there are going to be a few bits missing.
Good news on my petrol filler pipe, I had used the CBS flexible pipe but found it filled up and spat fuel back out of the cap when filling. The pipe is 2" diameter at each end but necks in to about 1 1/2" in the centre due to the concertina effect. I have replaced it with plain 2" boat fuel pipe, it works, no splash back so long as you don't pull the trigger too hard.
I was admiring Williams car at the BBQ and he has gone about it in a slightly different way. He has fed a (32 or38mm) blue water pipe all the way though the pipe finishing inside the tank. The tight fit of the nozzle in the pipe forces the petrol directly into the tank. Good solution.
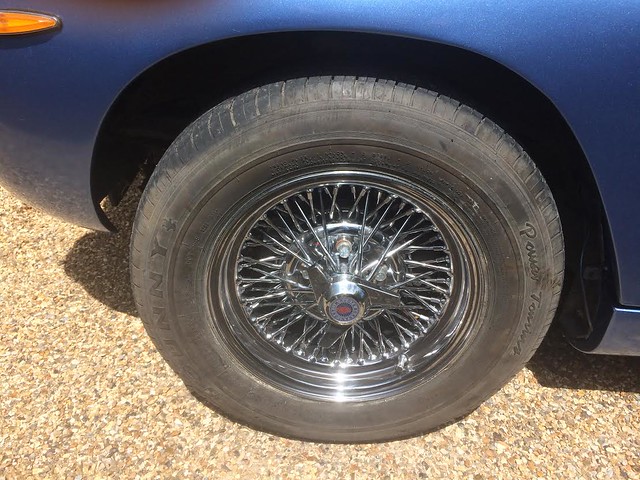
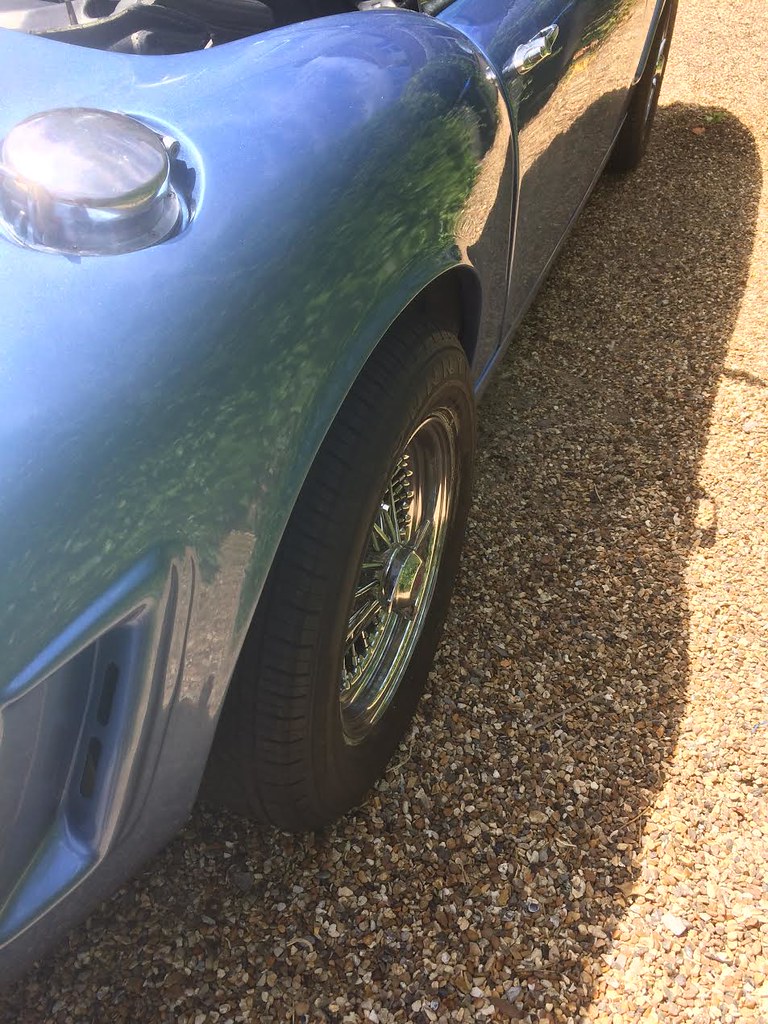
I bought some brand new old stock chrome wire wheels that were sold as Jaguar but turned out to be BMW. They are laced differently, they are laced more in the centre so look more like the Borrani style. Problem is that they stick out about 1 1/2 inches further which gives the car a bit more aggresive appearance which I'm not so keen on, so the originals are going back on. f2 by jaguartvr, on Flickr
f1 by jaguartvr, on FlickrSo if anyone is looking for a set of brand new (except for one trip to Southampton and back) set of chrome wire wheels you know who to ask. Now sold.
Car still has to be flat and polished and the panel gaps adjusted.
The indicators on the rear are brake lights with amber covers, this gives you a double brake light bulb, normal filament is used as the indicator and the "brake" element is used for the reversing lights. I have attached 2 LED high intensity brake light bulbs to the inside of one of the rear reflectors, all wired together and this will act as the rear fog light, still have to wire them up but don't see why it won't work.
I was still bolting things on as I left for the BBQ so still quite a few bits to finish.
 fer1 by jaguartvr, on Flickr
 shuts3 by jaguartvr, on FlickrStill hoping to get it to the BBQ if all goes well


 hoto:
hoto: