MadaboutKitcars

This is a read-only archive of the old Madabout Kitcars forum. New posts and replies are no longer possible, but every thread is still here to browse and read.

Kidge's Z3 275 Project

24 Apr 2017, 6:47pm
They could have sorted it then haha
19 May 2017, 4:25pm
Mister Towed,
It is not very easy to make a 275GTB body fit on a Z3 as I have found out. The overall dimensions are close but for a start the 275 nose is very long.
20 May 2017, 12:01am
Modesty and progress.

The Possati was shown as someone's product. It has qualities and a style different from
anything else visible on our horizons. It may or may not be beautiful, but it is original.

As a complete novice when I embarked upon this development, of a Z3 body conversion,
the lessons learnt have been significant. Many of you are decades ahead of things here in GTB land.
So far fellow builders have been patient with a slow pace of growth. There is a suggestion that
the GTB NART / convertible will move forward this summer.

Currently, the pressure of a time schedule is pushing me onwards. Often a pleasure,
but sometimes testing and frustrating . . . you may know these symptons . . .

My hope is that the car will be running in early June and shortly afterwards, I shall try and get
some text and photos up here.[/FONT]
20 May 2017, 6:13am
Egdik - I certainly know the "testing and frustrating" parts of building a kit.

However, it is a great experience when you finally get to drive it on the road.

Your 275 project certainly looks like it could be amazing when finished. :cool:

So good luck and keep us posted, Paul. :)
9 Jun 2017, 9:01pm
275gtb otr

GTB june 9th 012 small.jpg


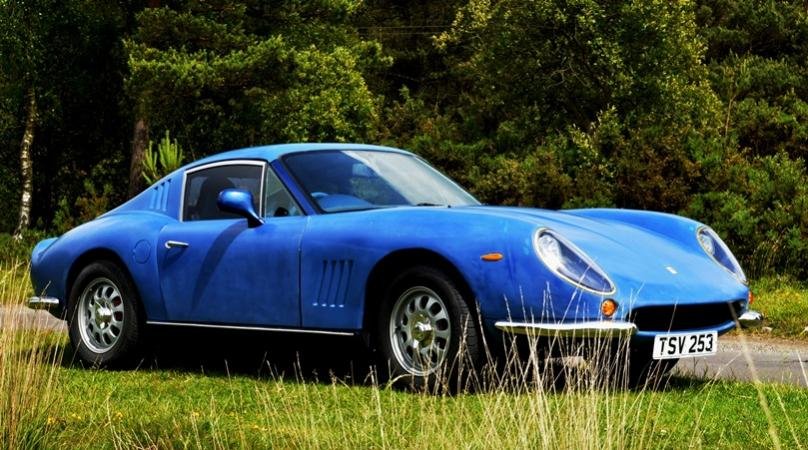
Here we are on some Dorset Heath, heading to the Tribute OC on Saturday. More to follow.
9 Jun 2017, 11:42pm
Well that looks very nice indeed. LOTS of photos to follow please! Is the paint matte, or is it just short of final painting? Your car has turned out very well and I'm jealous.
10 Jun 2017, 6:13am
Egdik - Great to see your car on the road. :cool:

Enjoy the BBQ and +1 to more photos please.

Cheers, Paul. :)
14 Jun 2017, 7:04pm
Looking great, love the headlight area, rear end looks great and front vents. :)
17 Jun 2017, 8:06pm
Some building action and photos part 1

In October 2016 we removed the panels and slowly set about creating a 275 GTB Farina style body on a Z3 base.

Over the following 8 months, I had some inactivity, but in the spring work started in earnest and WACA organised a TOC date - that became a deadline to be on the road 'OTR' . . . .

Here is the result with some text about how or how not to create a body conversion kitcar.

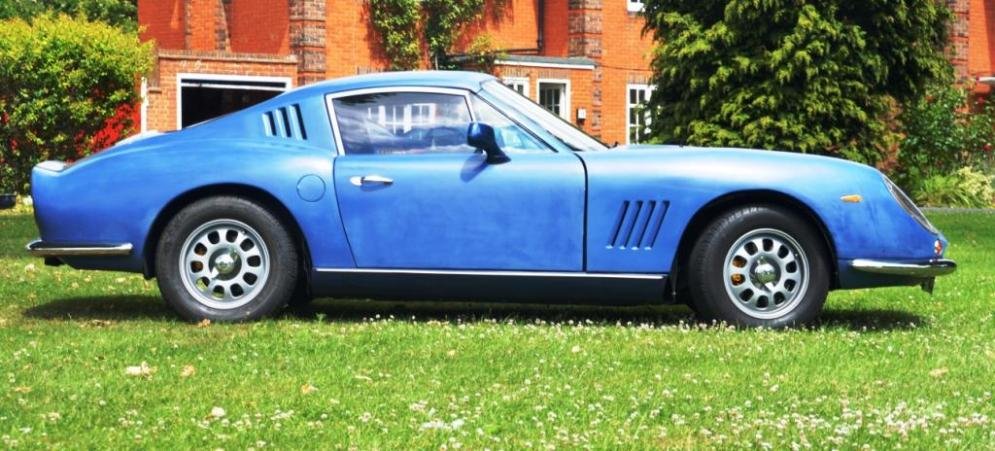
1  R side.jpg


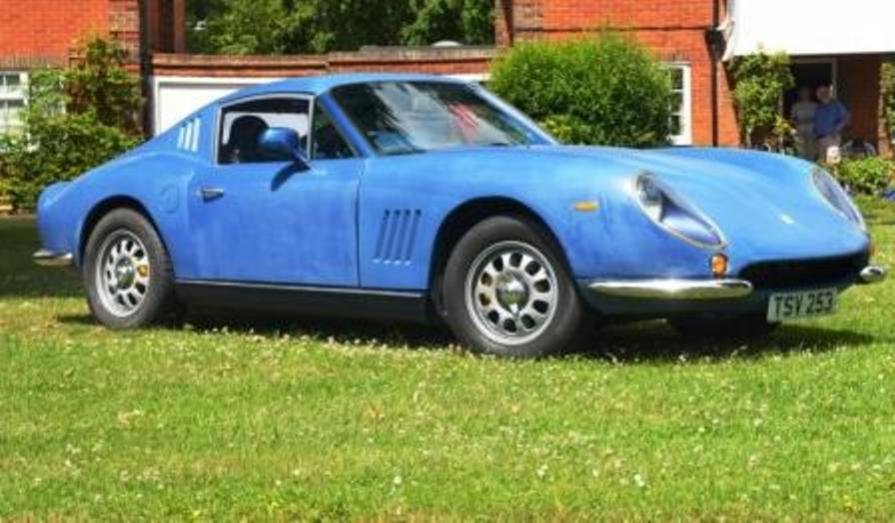
2 R fr 3-4.jpg


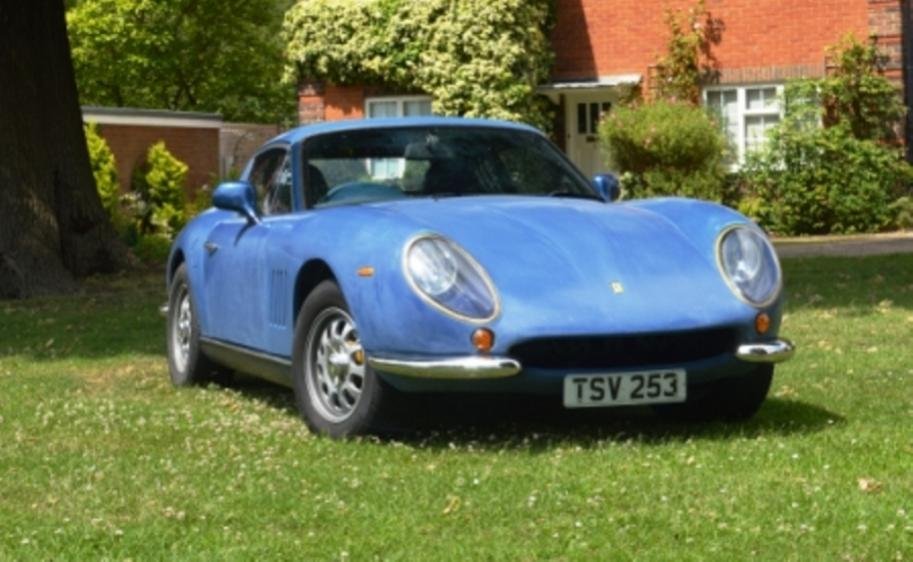
3 fr R.jpg


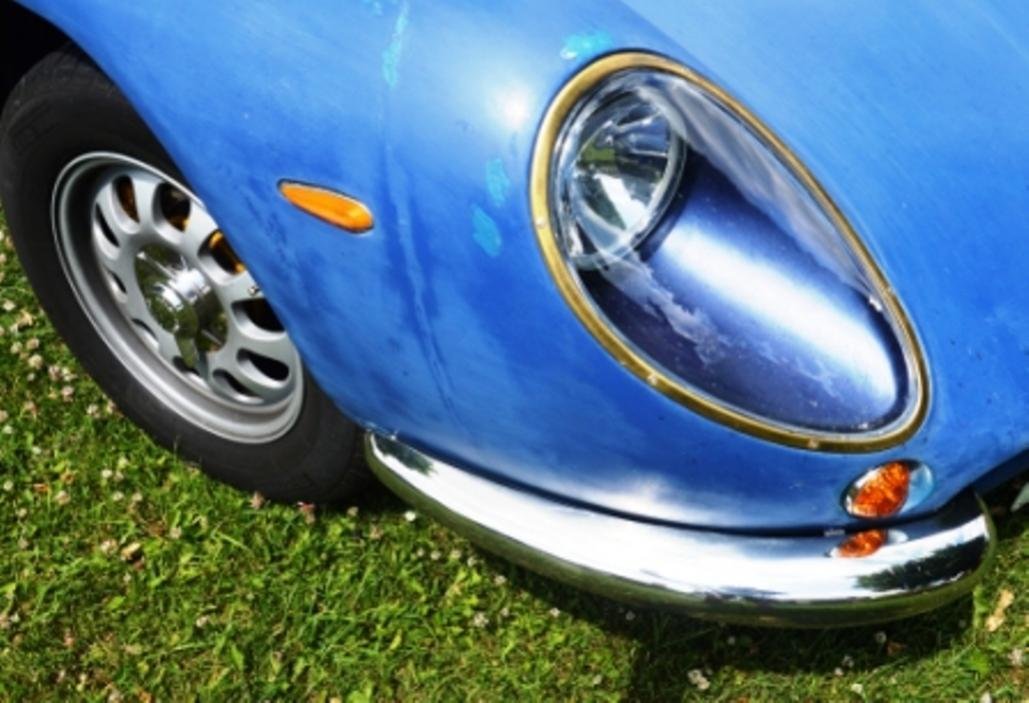
4 R hlight.jpg


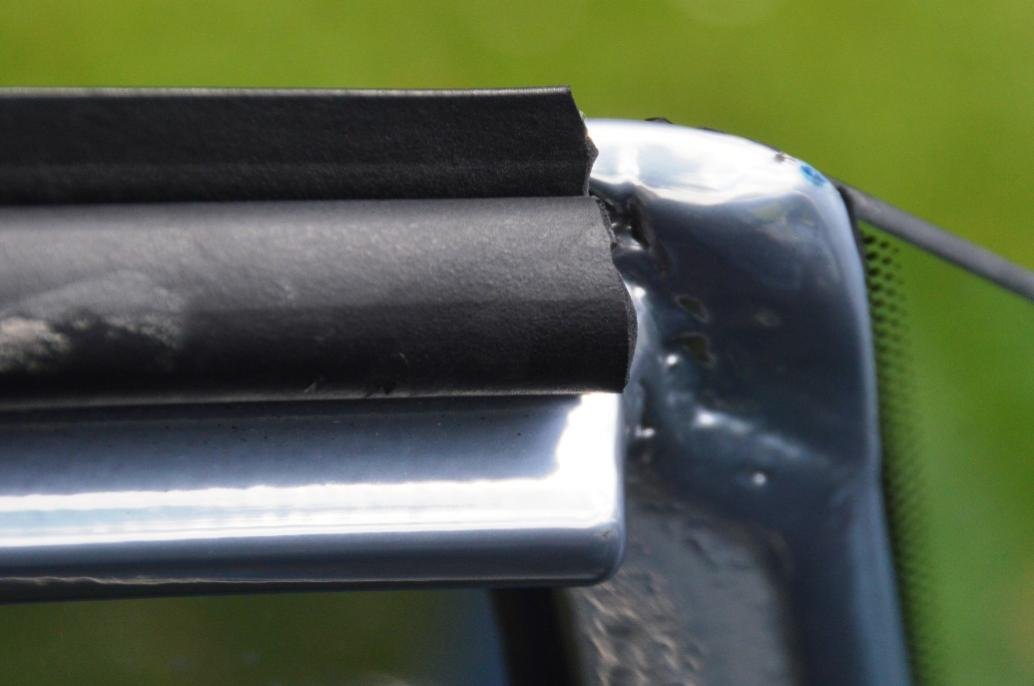
33 front top window frame.jpg


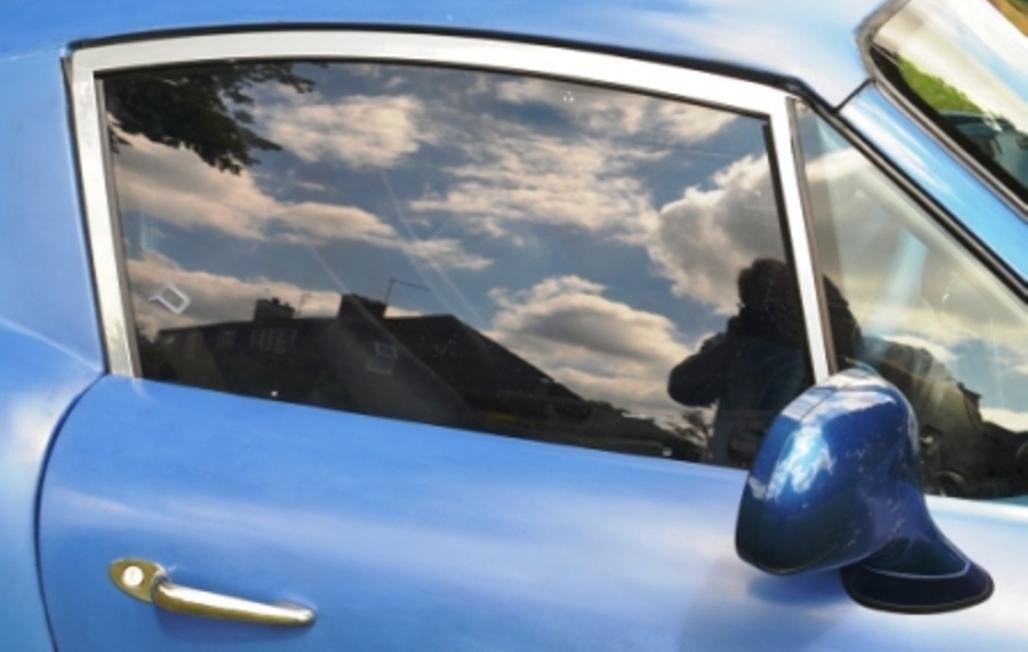
The window frames are made by using a second Z3 upright and rubber guide, turned round and put on the rear vertical. The top part comes from a Fiesta coupe for the gentle curve. Cut, build up & trim here and there, weld them together and have them chrome powder coated.

The headlight covers come from a TVR Griffith and the rims are fabricated from a 3mm brass sheet, after scanning and cad work. Need a little tidying up before chroming.

The stainless steel bumpers come from the Harrington group's sweatshop in Thailand. They are of variable standard and finish and we have fabricated brackets to fit them onto the chassis and carriers.

On the Z3 there is a sort of side / rear shelf area and we partly glassed over this, forward to the door return and added some abs plastic sheet, to seal off the wheel arches, in order to separate the outside, the boot and the interior.

More to follow, 5 photos at a time.
17 Jun 2017, 8:28pm
Build part 2

Here is a full view of the window frame:

7 R door window.jpg


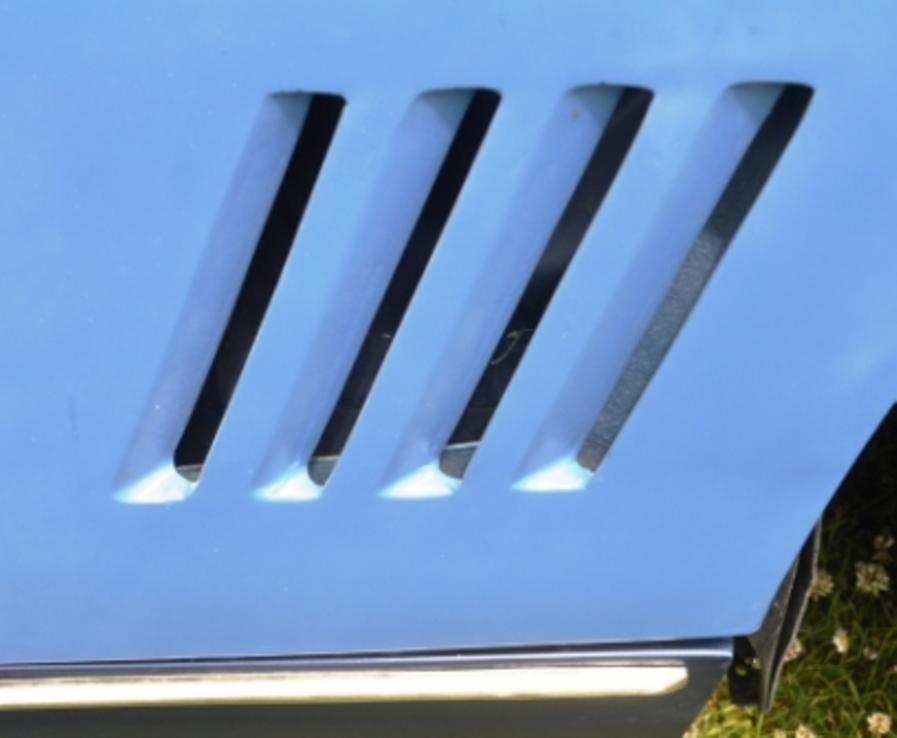
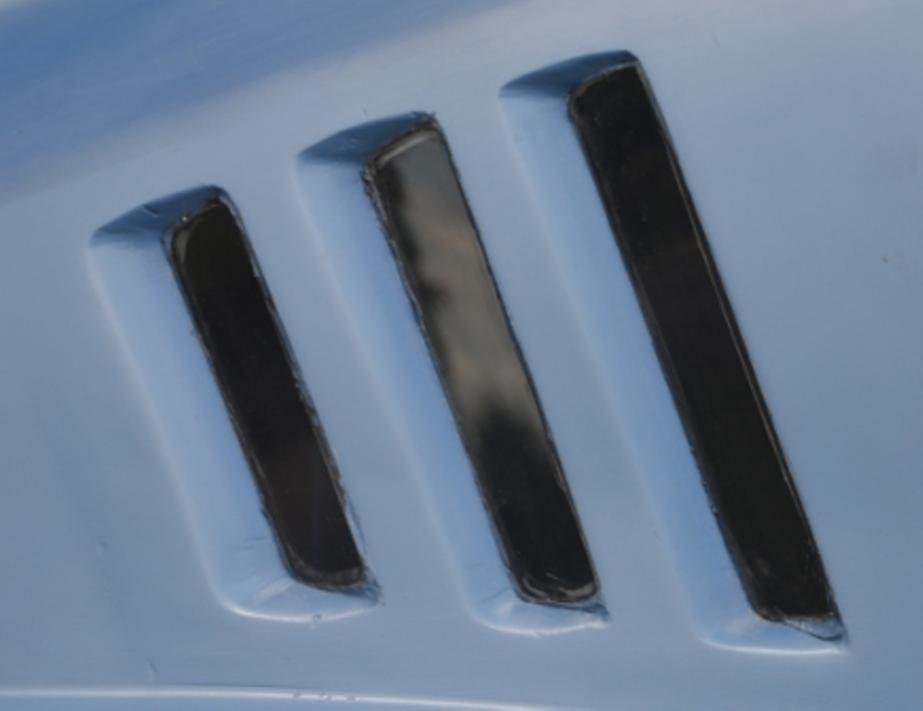
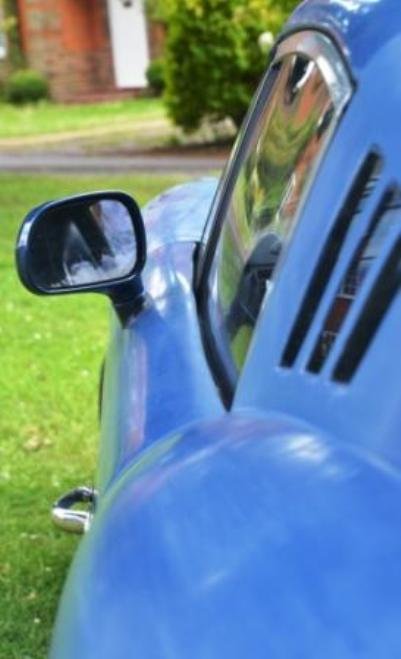
The front and rear 3/4 vents and covered over in glass, so we cut the vent holes and added a little more grp to the front sections and quite a lot onto the rear ones, to allow for the addition of first perspex and later glass, maybe 6 - 8mm thick.

6 R bonnet vents.jpg


9 R rear vent windows.jpg


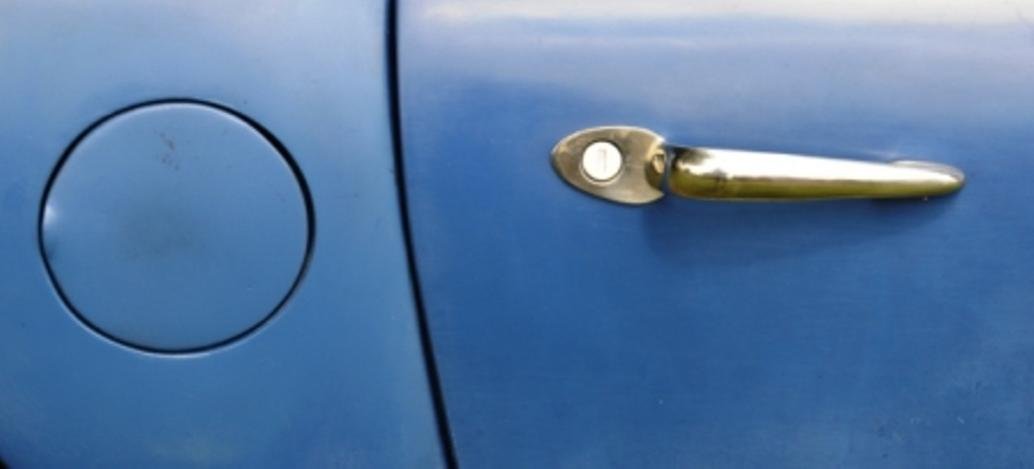
The bmw filler flap has a large gap to the body and Chris kindly reduced this to give a better appearance. The door handles, catches, links and lock mechanisms took a lot of time thought, design changes and several different craftsmen for the final presentation.

The handles are a thing of beauty. First the blacksmith bent the 8 x 25mm stainless bars into the designed outline. Then I cut, ground and smoothed them into the desired [GTB style] shape and sectioned to fit . . . the precision engineers then made up some sections to be welded onto the handles and accept rod links, held in place with 5mm grub screws.

These fit the door and the rods meet with a movable link attached, with P clips, across the back of the oem plastic handle.

The lock is left in place and operated by a lengthened key, with a tube attached to the end of the barrel and another chrome key slot next to the handle.

I can bore for Britain about these if you need a cure for insomnia . . . .

8 R filler flap and door handle.jpg


15 up R side.JPG
17 Jun 2017, 9:13pm
Part 3 . . . . .

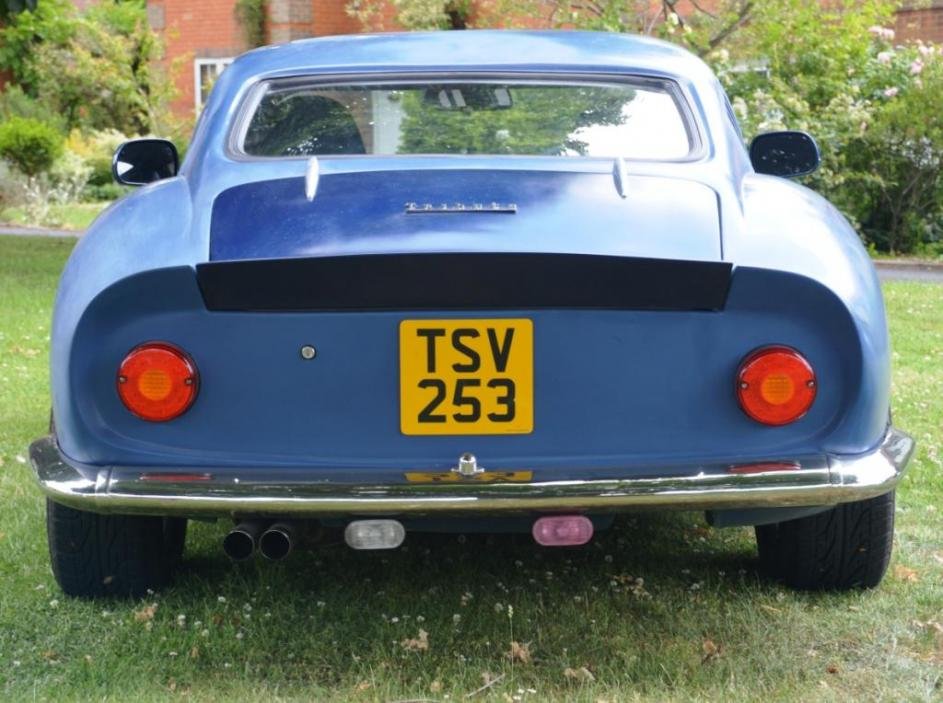
The back end of the car is certainly quite close to Farina's lines, while not being too complex. The design is clean, but set off by the lights, hinges, bumpers and tailpipes.

The panel was reworked / glassed to have the rear lights pointing almost straight backwards. Note: they must be visible from the side.

The led rear lights [including a reflector] come from Australia, with their colours of wiring. The car was designed by a Japanese man, for a German company, who built the car in the USofA, while we play in the UK.................... in their infinite wisdom bmw seem to have different coloured wires going into and coming out of the same connections in a say, 8 wire plug !

The fog and reversing lights come from a bmw Mini and in due course, they will look better being 2 - 3" further back under the bumper.

10 rear whole.jpg


The Tribute sign in a modified Ferrari Rosso font, inverted line, was laser cut in Cornwall, via ebay

The boot lid was my attempt to fibre fill, hi build, flat and rattle can spray . . . probably leave it to the professionals in future.

In places we have sprayed a matt cellulose RAL 5000 to cover ugly workings. The gel coat was RAL 5000.

The MGB GT rear glass is a B..... to fit, even by a professional.

Attachment “11 rear tribute lid & window.jpg” from the original forum could not be reliably recovered.


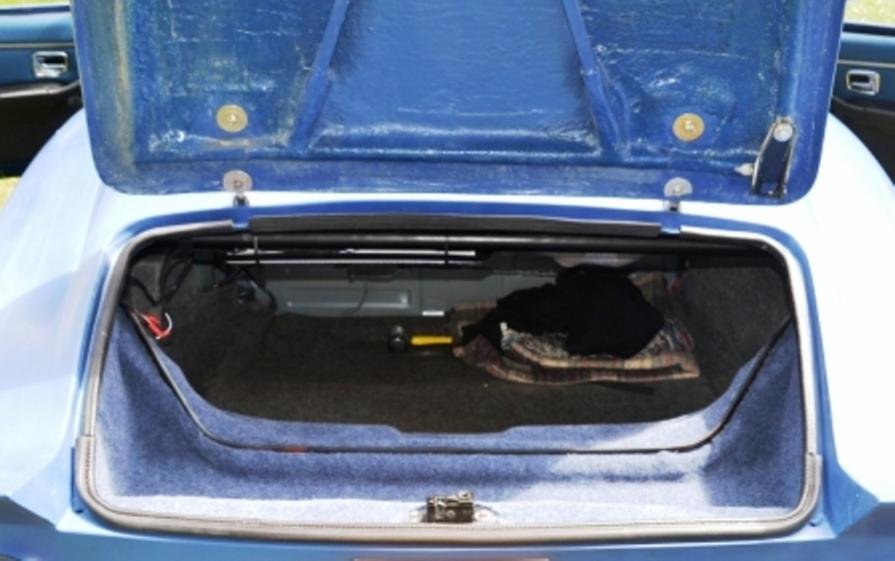
The boot is enlarged with a not very usable space and the lid will need some powerful struts to help it up. Fitting the catch was best done with the shell off, so that I could see inside what was happening . . . The aluminium hinges come from old Minis at Mini spares in Potters Bar. 'Handed' to allow for the boot lid curvature and with the edges smoothed over, they will need lacquering in due course.

20 boot and heavy lid.jpg


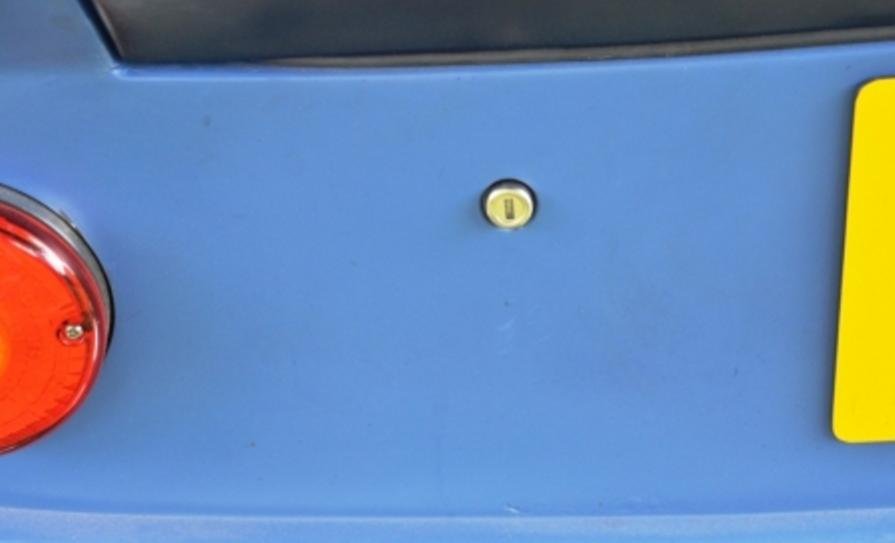
The boot lock barrel will benefit from a round stainless surround. 36 - 40mm?

The standard lock mechanism and connectors are set upside down and the other way round, so that the lock is on the boot ledge and the striker in the lid.


31 boot lock.jpg


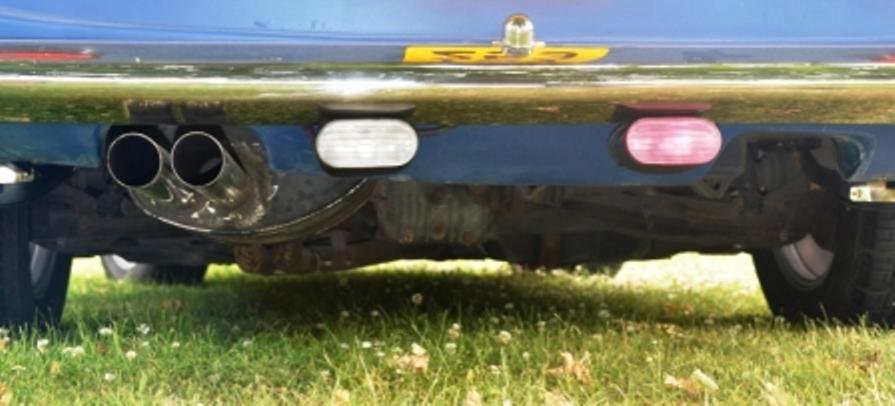
The rear end has elongated tailpipes in 54mm OD 2mm wall stainless 15" onto the rear box; the tubes came from Poland via ebay. Fair price, poor communicators. Adaptors quickly and efficiently from UK 'everyexhaustpart' on ebay. A dummy box and pipes will be placed on the R side for balance.

When delivered the rear was bracketed up with some holey galvanised steel and in an effort to provide some weather protection, these were replaced with an aluminium sheet, a stainless section by the box and some plastic sheet to help.

The rear carrier was raised about 9mm but somehow the bumper is not quite level and a spacer will need to be inserted to lower the R side.

32 under rear.jpg
17 Jun 2017, 9:30pm
Toppa posts matey
17 Jun 2017, 9:45pm
part 4 some interior - I think

The interior is basically bmw and I have no plans to change anything more than I have to.

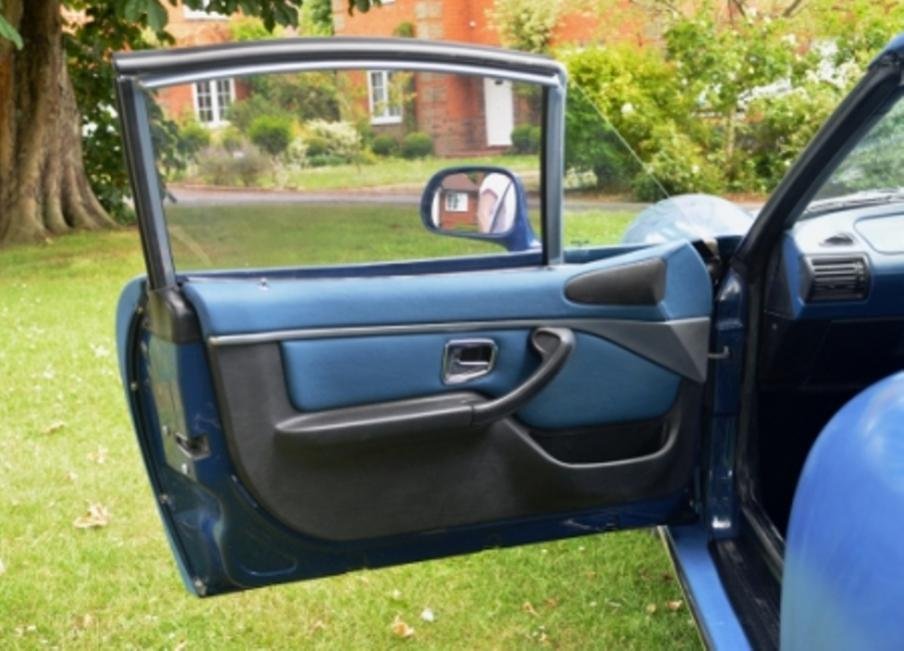
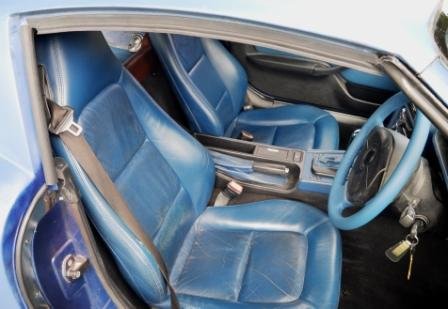
The door cards were recovered in a blue leather [whole hide from Martrim] by a small unit upholsterers in Baldock - AR Pound. The same hide was used for the rear 'well' behind the seats and to recover the steering wheel - by Jack at Royal Steering Wheels in Aylesbury.

The matt silver strip cleans up nicely with a gentle wire wool.

The windows are plastic from a firm 'up north' - I travelled up there with the doors and frames, was dealt with by an employee and promised they would check fit them and curve them as oem standard. When I returned weeks later, it was a major disappointment. The employee was absent, maybe discharged and the management were short of time because someone from Japan was demanding all their attention. They had not done what was agreed; they had curved them only in the vertical plane and blacked the 1/4 lights when I specified no blacking. No pleasure. Expensive, time consuming and unsatisfactory.

18 L door interior.jpg


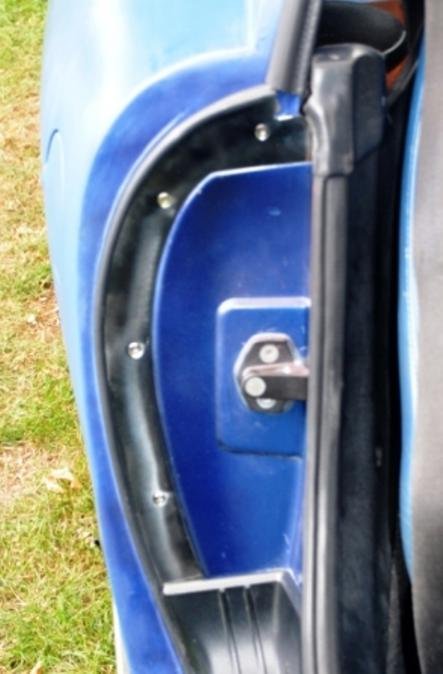
In the door returns I have replaced the plastic trim with a stainless sheet and visible [security torx] screws and some rubber 'piping' comparable to the / some standard Ferraris.

16 R door return.jpg


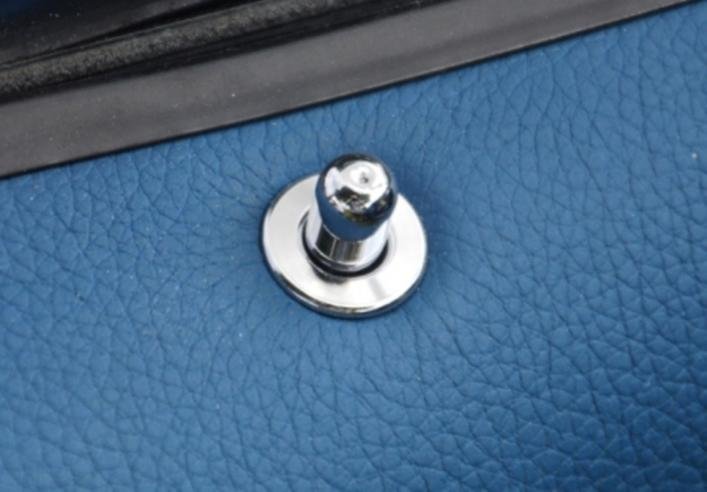
The little trim around the internal door lock catch is a neat addition. Memory suggests they came from Germany, as a christmas present.

17 L door lock handle chrome.jpg


Dealing with the roof / ceiling is never easy because one really wants a fixed arrangement of good quality.

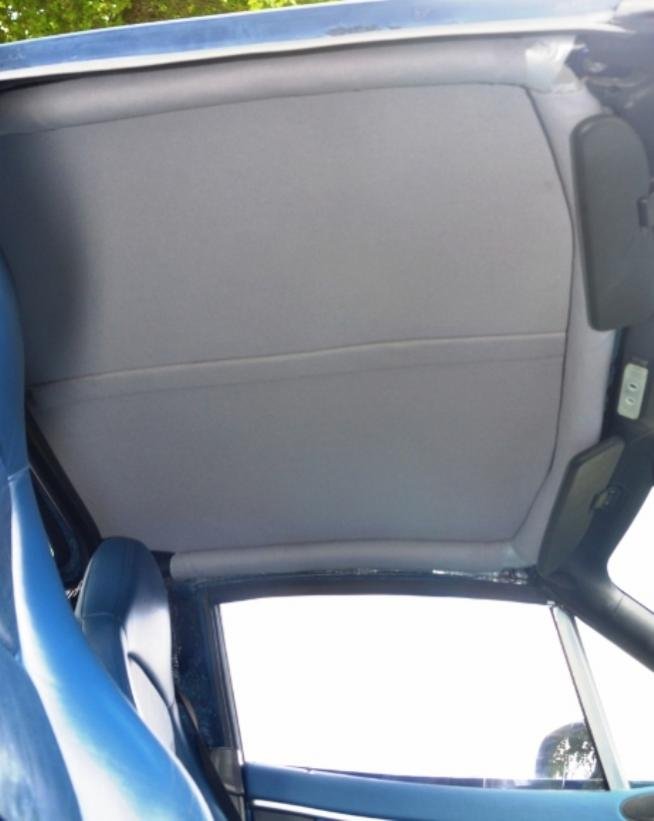
I 'discovered' that epoxy resin is especially good at waterproofing and stays tacky to the next day. epoxy can be a very strong glue, so I coated the roof, then next morning, stuck on dynamat extreme, followed by more epoxy and a sheet of CBS's lead foam sandwich.

I was able to persuade Chris to also make a 'copy grp sheet on the roof' which I could then section and cover - to fit inside as a proper headlining. A small loss of headroom is noticed. The material is Woolies best woollen headlining in a pale grey colour; it is also used to cover the strengthening frame, velcroed by sister in law Pat, with some foam underneath. Pleased with the result.

13 roof headlining.jpg


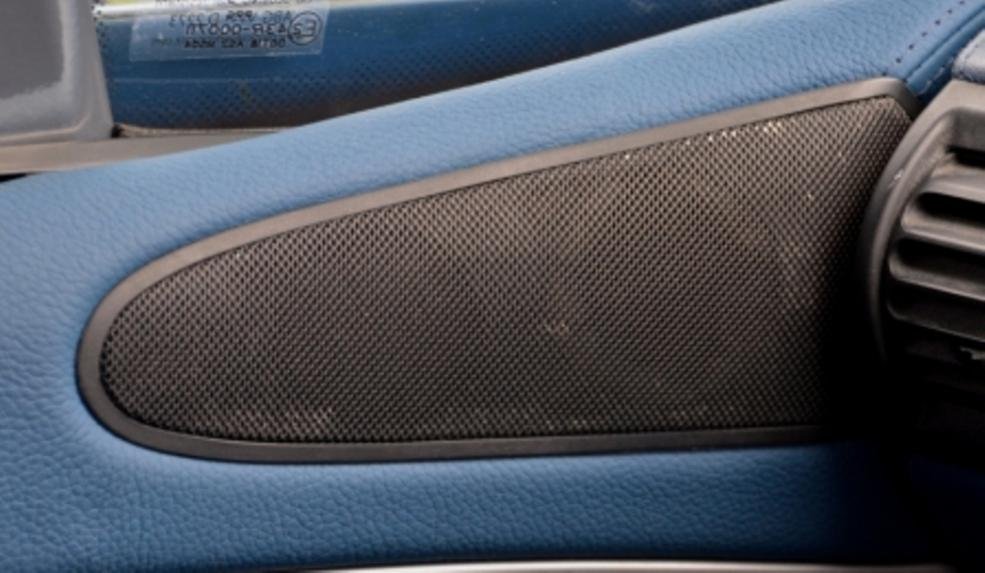
The door speakers can easily be cleaned and a quick spray of matt black rejuvenates them well.

36 L door speaker.jpg
17 Jun 2017, 11:40pm
Next . . .

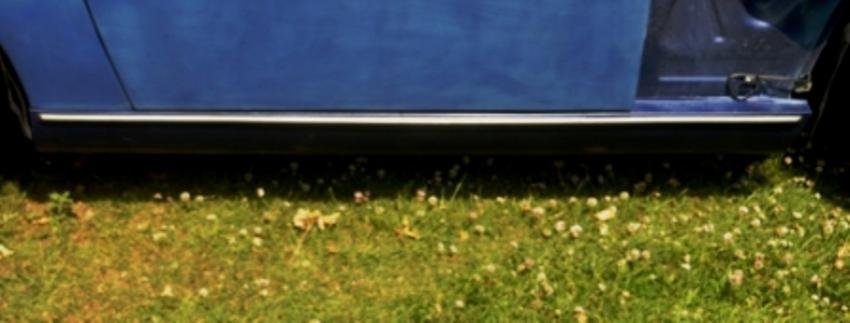
Along the top of the sill is a stainless stripe. Made by cutting a tube in half and pressing the semi circle into a slight V shape; weld captive nuts on a strip of stainless and weld the strip inside the stripe.

21 stainless fabricated side stripe.jpg


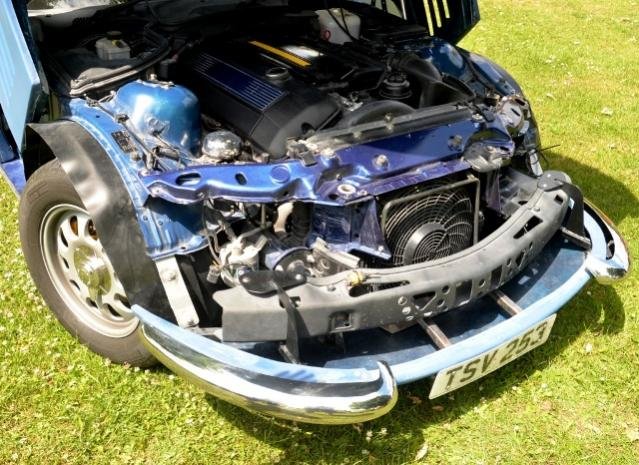
Mechanically under the bonnet is a standard 3 litre straight 6; normal suspension [though might change later]. The bonnet meets the lower valance partially behind the stainless bumpers and for the moment is held down by over-centre clasps, each side of the radiator opening. Sprung catches do not like to be trying to be closed against a solid surface. Long term solution may involve locking catches between the lower and upper sections.

The front wheel arches have been supplemented with some canvas reinforced rubber sheet 1.6mm thin. Longer term improvement required.

The lower valance support frame is held on the carrier and to the chassis wheel arch. The front bracket will also support the radiator grill lattice.

22 under bonnet.jpg


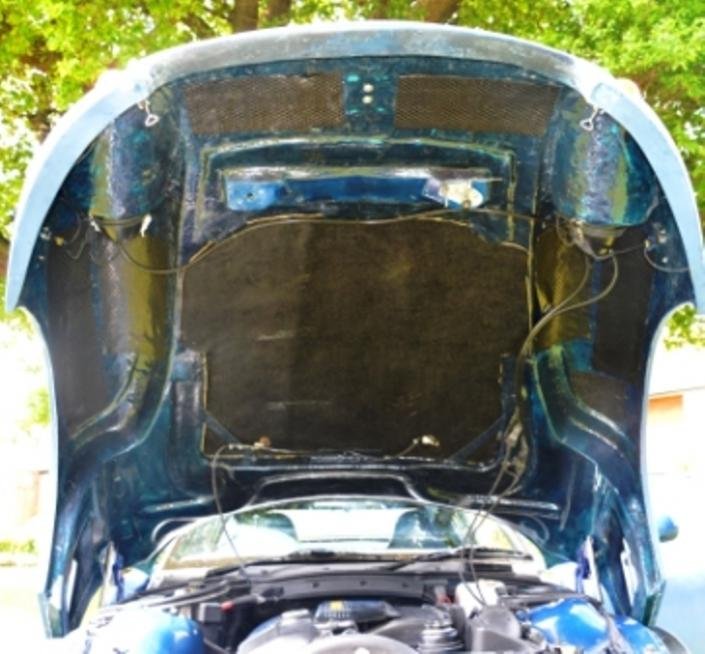
The undersurface has been grp 'tissued' and epoxy coated. The bonnet is partially lined with a tough coated felt from Woolies, with some glassed in retainers and adhesive. Also some insulation by dynamat and Woolies 'diamond' style adhesive rubber sheets. Stronger struts at 1200nm are installed; a tight fit with a bit of trimming and different attachments.

The water jets are fitted to the oem piping, by adding two layers of heat shrink to the jet inlet and another layer after pushing on the bm 'filter'. Wait and see if screw clamps are needed.

DSC_0949retryb.jpg


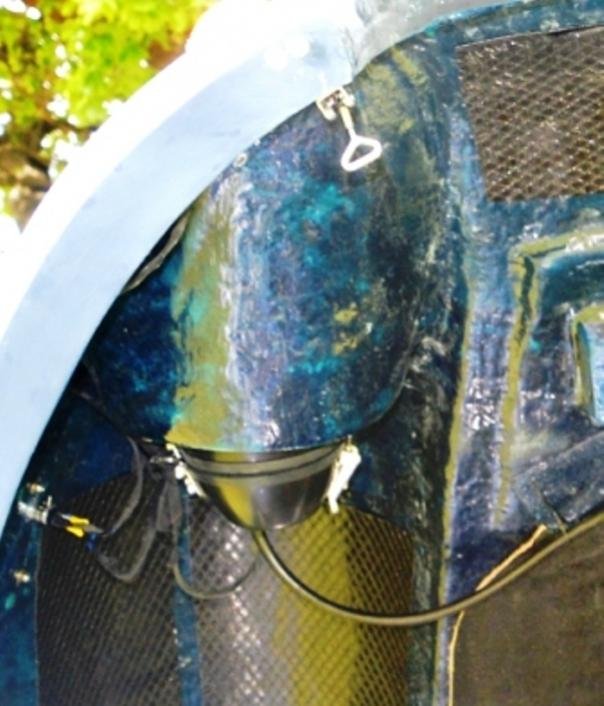
The headlights are standard Wipac type bowls with 'Crystal' plain glass and pattered reflectors. H4 bulbs and 20w side lights. The bowls have been sectioned through, hinged and catches applied to close in order to save pulling the front apart when a bulb needs changing. Trial and error found that a flat top rubber seal met by a round top seemed to work best.

The wiring is narrow cable with waterproof multi pin connectors; expensive but good quality, mostly wound with exterior tape and self amalgamating tape in places. CBS and 'autoelectricspares'

The repeaters are from Italy, ebay and copies of the originals. led bulbs. The winkers are led 74mm Land Rover type witha short section of stainless tube around the base.


24 headlight under bonnet.jpg


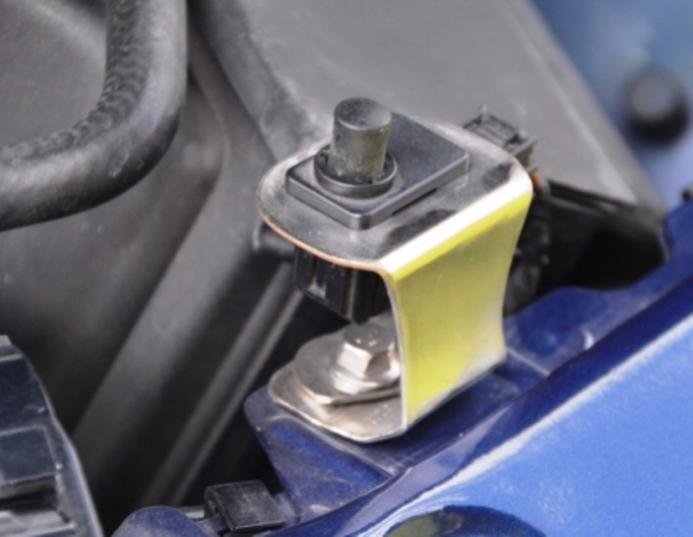
The bonnet closed sensor is raised to meet the bonnet.

26 bonnet closed sensor.jpg
18 Jun 2017, 12:20am
Six and out

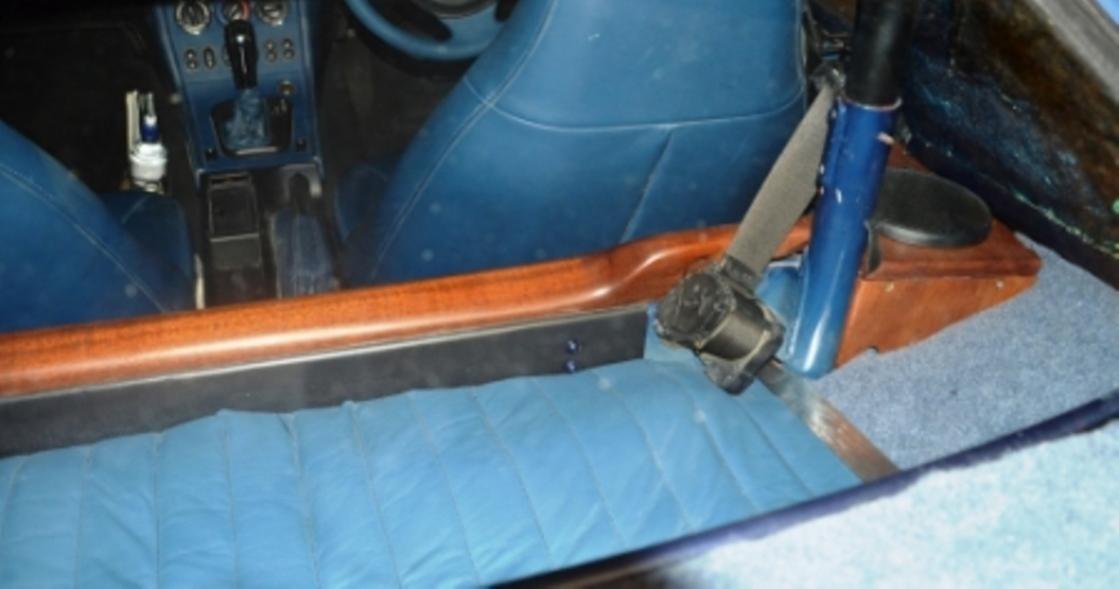
The main rear cross member is covered by a long piece of Sapele, cut and shaped to separate the well behind the seats and retain any items placed there. It is screwed onto a U shaped aluminium sheet, which is bolted onto the cross member, with more Sapele holding some Kenwood speakers.

This project has tested my woodwork and metalwork skills mostly acquired at school, quite a few years ago. I always found wood the easier of the two, along with it's innate beauty.

38 wooden cross member and speaker R.jpg


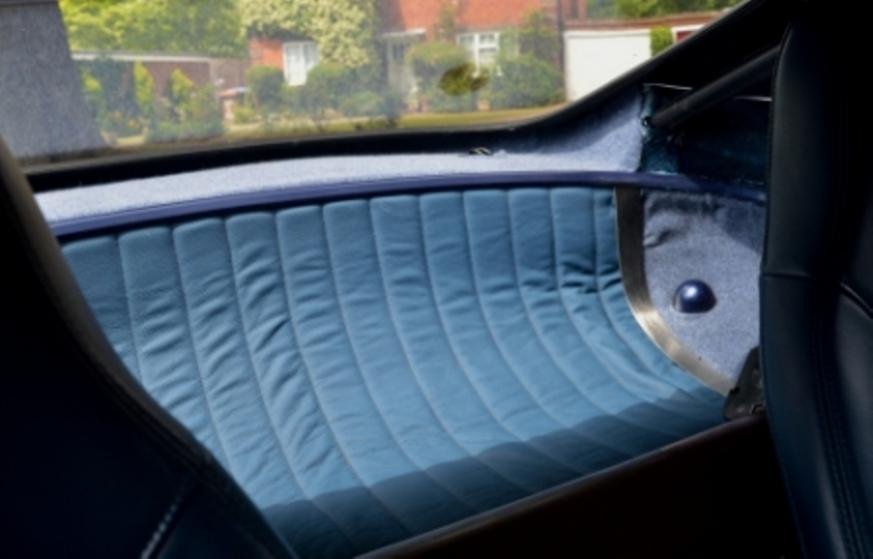
The leather has a tenuous link to Ferrari style and the upholsterer said he would use 10mm thick foam which was more than I thought required. His result did not suit and I took it all apart and stitched in some 3mm foam on our own sewing machine. The carpeting is modest in fitment and will be replaced at or after the body paint spraying. 'Vanmats' carpet and adhesive.

19 rear well and shelf.jpg


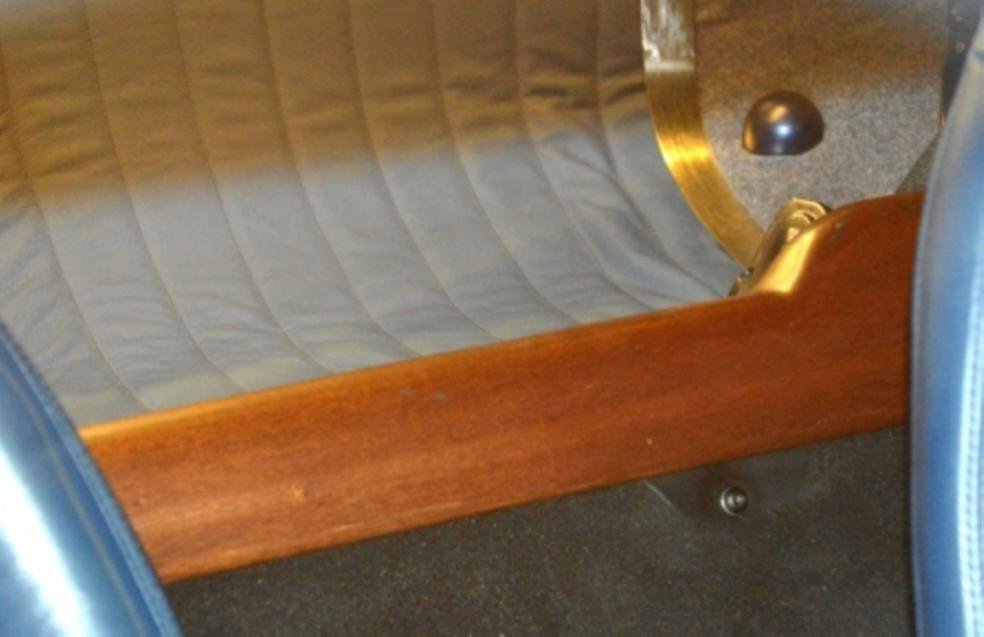
The rear suspension tops are covered with painted tow ball covers.

41 wood cross member front and susp cover.jpg


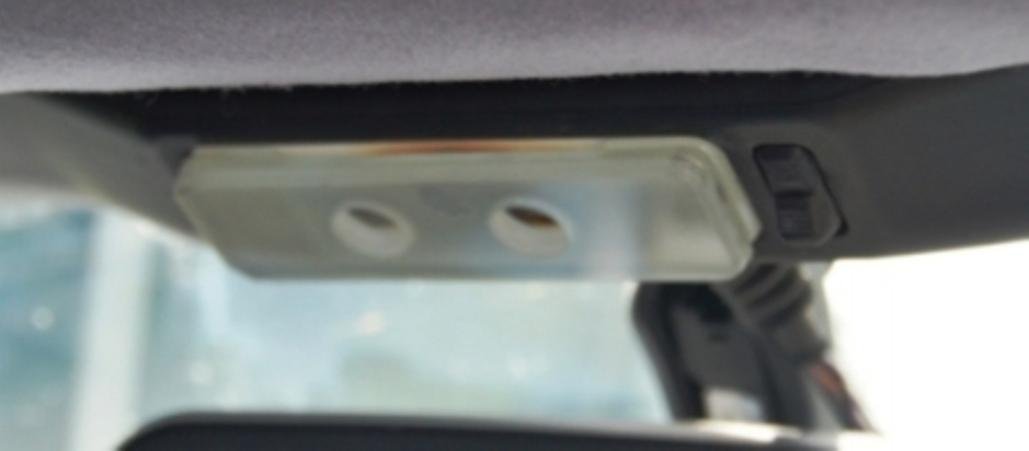
Interior lights never seem to be bright enough, so I adapted the holder and fitted a 21w festoon bulb with a laminated glass cover. The heat generated means an led is needed, perhaps.

37 interior light in glass with 21w festoon bulb.jpg


The door entrance gives an idea of sealing complexity. The top seal on the door is Fiesta and on the car is a leaf / tube seal. The upright has a large tube on the body and a small tube on the frame. Replacement door seals will go in after the painting.

34 R door entrance.JPG


It has been a few years since I first met Chris in his roadside garage workshop and I embarked on something more complex than I anticipated, but the 275GTB has long been, in my view, the culmination of Farina's most beautiful car [Ferrari]. The last of the curvaceous panels before the wedges of the 70s.

I thank Chris for the panels and wish Dan well in the years ahead with his convertible version. It has been an expensive project in terms of time, effort and money, but only time will tell if it has been as worthwhile as I believe.

Updates may follow if interesting.
18 Jun 2017, 6:47am
Thanks very much for sharing what must have been a labour of love in the end. Wicked results though showing again what you can do if you think outside the box.

I had the same idea regarding the use of BMW Mini rear fog and reversing. They look just right in the oval. Not too obtrusive and subtle but providing what's needed.

Thanks again. Hope you enjoy driving the car as much as you deserve too.

Dave
18 Jun 2017, 4:17pm
Looking forward to seeing the end product all painted up and finished. Lots of work but well worth the time and effort.

I need to contact Chris or Richard for an update on the convertible project .
19 Jun 2017, 6:02am
Kidge – Thanks for adding more photos and some detail on the background of your build. :cool:

Egdik wrote:
… It has been a few years since I first met Chris in his roadside garage workshop and I embarked on something more complex than I anticipated, but the 275GTB has long been, in my view, the culmination of Farina's most beautiful car [Ferrari]. The last of the curvaceous panels before the wedges of the 70s.

…It has been an expensive project in terms of time, effort and money, but only time will tell if it has been as worthwhile as I believe.


I would say that you have ended up with a unique car that captures the look and feel of the original.

So I think time will confirm that it was well worth the effort.

After all, I spent over 4 years trying to get my car on the road and it will never look like a multi million pound Ferrari. :icon_wink:

Egdik wrote:
…The boot lid was my attempt to fibre fill, hi build, flat and rattle can spray . . . probably leave it to the professionals in future…


I think you will be amazed at the finish a professional painter like Jeff H could achieve.

So I look forward to seeing it in all its glory sometime in the future.

Good luck, Paul. :)

- - - - - - - - - - - - - - - - - - - - - - - - - - - - - - -

Lucky@LeMans wrote:
I need to contact Chris or Richard for an update on the convertible project .


Lucky – My understanding is that it is Dan @ Old No.7 who will be making/selling the convertible.

Also best wishes for your wife’s recovery (based on your Le Mans thread ‘next door’).
19 Jun 2017, 11:57am
Thanks Paul, Cath is on the road to recovery.

Having spoken to Richard at the BBQ it appears that they ( Nubodi ), are the first point of contact regards sales for Tribute products unless you want to go directly through Chris, which you still can if you want at the moment.

It would appear that Chris and Dan are being left to concentrate their efforts on the GRP fabrication and they are working on all the product range together.

Nubodi are the focus for sales , promotion and customer builds. That is my understanding , Tribute and Nubodi are very closely linked by their own arrangement.
21 Jun 2017, 8:57pm
Egdik,

I do apologize, I have just seen your message on my page, I have sent you a PM.
21 Jun 2017, 9:59pm
Lucky@LeMans wrote:
Thanks Paul, Cath is on the road to recovery.

Having spoken to Richard at the BBQ it appears that they ( Nubodi ), are the first point of contact regards sales for Tribute products unless you want to go directly through Chris, which you still can if you want at the moment.

It would appear that Chris and Dan are being left to concentrate their efforts on the GRP fabrication and they are working on all the product range together.

Nubodi are the focus for sales , promotion and customer builds. That is my understanding , Tribute and Nubodi are very closely linked by their own arrangement.


I bought my kit direct from Tribute and the service was excellent. One of the big advantages was that the kit had been fitted to Tribute's own Mule. This meant that I could see how it was all put together including the rear boot hinge assembly. This made my build much easier and gave me a lot more confidence. It was also made clear that any problems or questions I had were only a phone call away.
21 Jun 2017, 11:09pm


having spoken to richard at the bbq it appears that they ( nubodi ), are the first point of contact regards sales for tribute products unless you want to go directly through chris, which you still can if you want at the moment.


buying from source would always be my preference ...
22 Jun 2017, 11:45am
I'm only going on what Richard told me at the BBQ a couple of weeks ago. I can understand the logic behind doing things this way and having read the features / adverts in the magazines this seems to be the case.

Perhaps Chris could clarify if this is now the case.
22 Jun 2017, 4:54pm
Lucky@LeMans wrote:
… Perhaps Chris could clarify if this is now the case.


Lucky – I know Chris doesn’t post much on the forum these days.

But I found the original message that Dan posted back in October 2016…

duracell wrote:
… When the kit is complete it will be available to order exclusively through old no7.


I think the arrangement with Nubodi covers the Tribute range, but the 275 kit will not be a Tribute.

The coupe was a ‘one off’ from Tribute, but the convertible will be an ‘Old No.7’ kit, if that makes sense.

At this point, I should point out that technically I know nothing, just what I’ve read on here.

Cheers, Paul. :)