This is a read-only archive of the old Madabout Kitcars forum. New posts and replies are no longer possible, but every thread is still here to browse and read.
Paul,
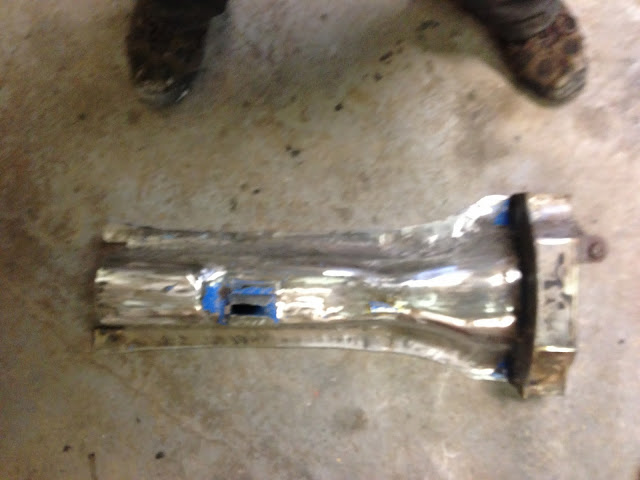
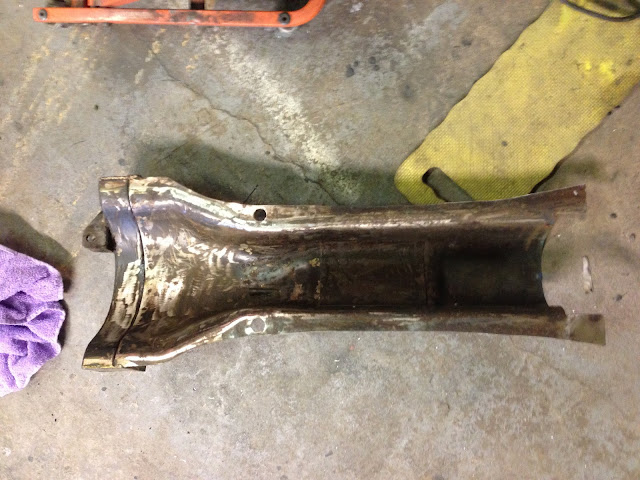
It wasn't bad and apart from closing in the cuts I made just needed re-stitching together in places where the guys I got it from were a little enthusiastic with the angry grinder.
I was always keen to use the Spit tunnel as it does away with the need to make a central tunnel frame to take the handbrake and will also add to the production look of the interior hopefully
Mac
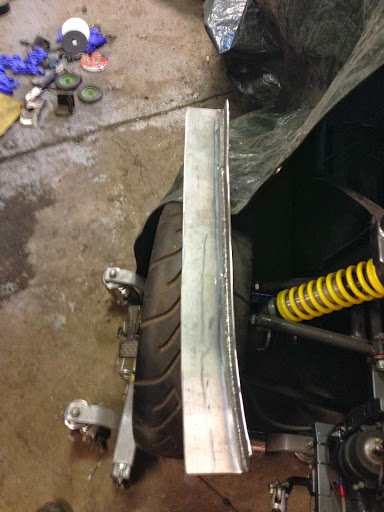
Picked up the plasma cut pieces of plates last night and welded them up this morning. A little distortion has crept in as its 3mm plate and got good and hot when welding so my initial idea of just riveting it to the side of the chassis looks iffy, its not pulled much, about 2mm in places but enough to make pulling it down with rivets impractical. I've decided to mount it using 2 long m8 bolts straight through the chassis then rivet the rest so will have to wait until tomorrow as I will need to pick up some long M8 bolts on the way home tonight.
Shot of one side:
and the other side propped into place:
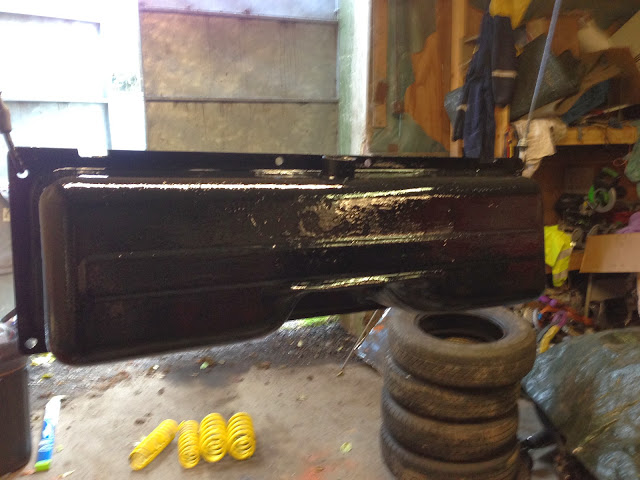
Got the first coat on the tank exterior:
Got to actually do some work this afternoon so next update tomorrow some time.
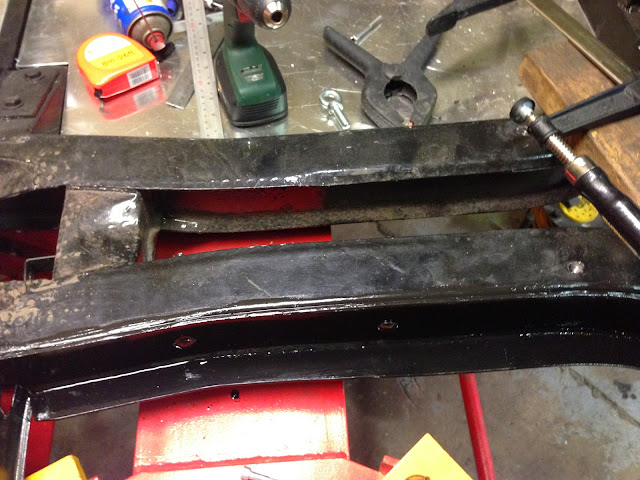
Got the passenger side inner floor support in this morning, had to cut and re weld it a bit as the heat had pulled it out of shape a bit more than i was happy with, looking at how beefy it is if i were to make them again i would use 2mm not 3mm steel.
I ended up using 3 M8 coach bolts to fix it in place in the end, filing the holes in the 3mm plate square was not as bad as i feared and took about 2 minutes per hole using a tapered square section file.
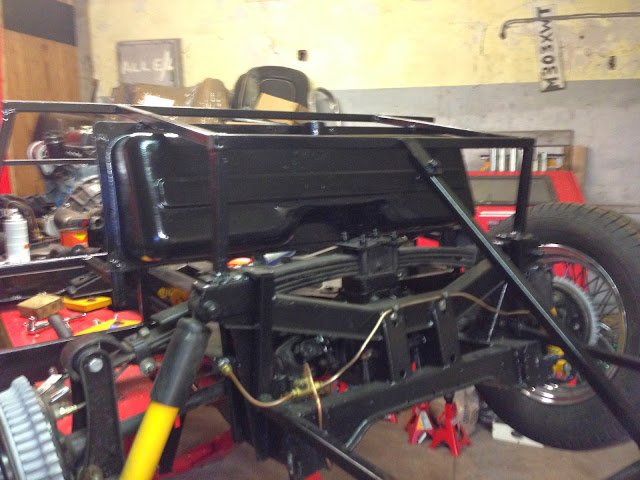
Also got the tank mounted in place
Called a holt to proceeding at about 13:30 as i got the call from Des Shelley Shafts in Wolverhampton to say that my prop shaft was finished, new UJ, strip clean rebuild paint and balance for £90!
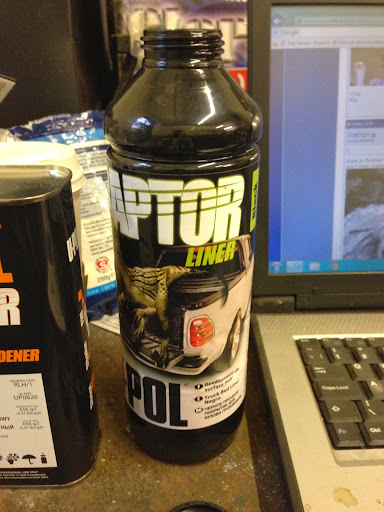
On the way back i popped into Bitec in Telford to pick up the Raptor Bed Liner kit, good value at £74 including the gun, the kit is big enough to give a good size pickup bed at least 3 coats so should be more than enough, have decided to do the tunnel in it as well to pull the interior look together rather than have different finishes on different parts.
Prop in tomorrow hopefully as long as i can pick up the right size bolts in a good grade. Then crack on and get the rear floors in hopefully.
Good day today got the other chassis mounted floor support installed and both rear floors in, also got the prop shaft fitted and the tunnel stripped ready for painted / bed lining.
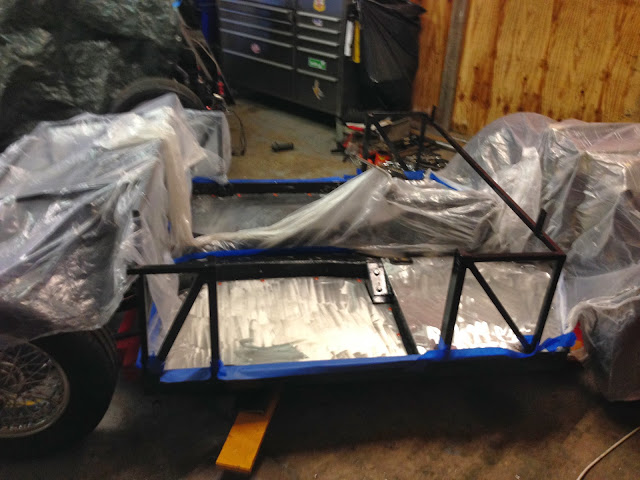
As you can see we prepped the floors on both sides for the bed lining as its easier to do them before fixing.
More of my lovely orange rivets again! Shame they will be covered in bed liner next week :-(
The day finished on a bit of a downer as we had hoped to get the steering column in but I'm just not happy with the angle the wheel ends up at using the stock parts so am off to Des Shelley shafts again on Monday to pick up some weld on U/J's and have just ordered a 5/8" Rose Joint from Mcgill Motorsport and plan to copy the system we have on the race car which is simple but has worked well for many years. This should allow me to have the steering column exactly parallel with the centreline of the car.
Also tried the pedal box and despite hoping i wouldn't have to I'm going to have to tig up an alloy box for it to sit up against as the angle at the bottom of the firewall just wont work, not a big deal but just one more modification.....am i being too fussy?........
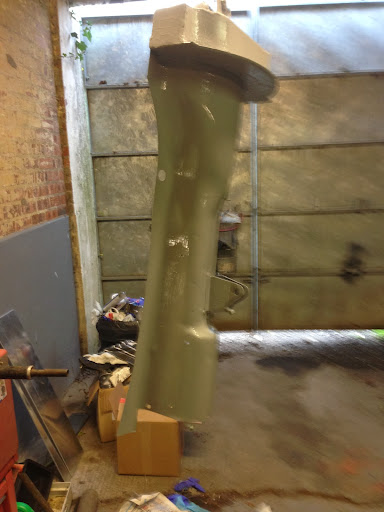
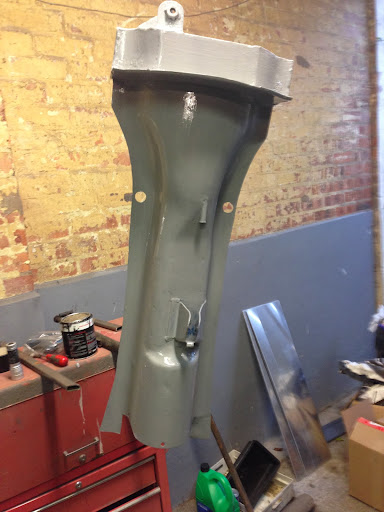
Finished trimming the tunnel this morning and gave it a final clean off, quick coat of primer and its hanging up to dray. Just about to start prepping the floors for the bed lining so more updates later today fingers crossed.
Right so finished scuffing all the surfaces using 80 grit flap wheel then wiped down with acetone. Have masked it up to protect everything I don't want coated, a bit of overspray on the frame wont worry me as this will all be hidden but don't want it on the engine etc!
Just about to mix and apply the first coat, fingers crossed there is no going back now!!! GULP
First coat done but I'm going to keep you hanging!!!!
Mixing the Raptor Liner is as easy as adding the Hardner
Up to the swage line on the bottle
Only problem is that even with a torch I cant accurately see where this is! Luckily I have a selection of syringes for removing oil etc so cracked open a nice new fresh one.
Reading the instructions filling to the swage line is equal to 250 ML so as the syringe, handily, is a 100ML one just added 2 1/2 and then walked around for the span of a fag shacking it to death to make sure it was fully mixed, the instructions say 2 minutes but it must have been 4 or 5 I reckon.
TTFN
Mac
So here it is!
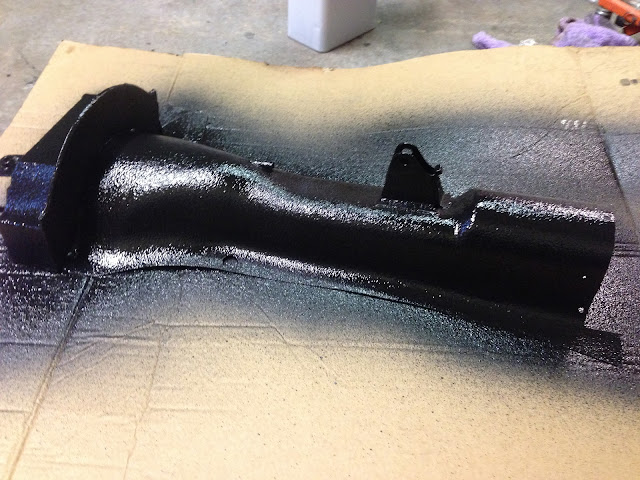
Played around on a piece of card for a minute or 2 and settled on 55psi with the volume knob on the gun set to around 50%. Best I found was spraying from approx 10", I got good coverage but also got the textured effect I have been craving!
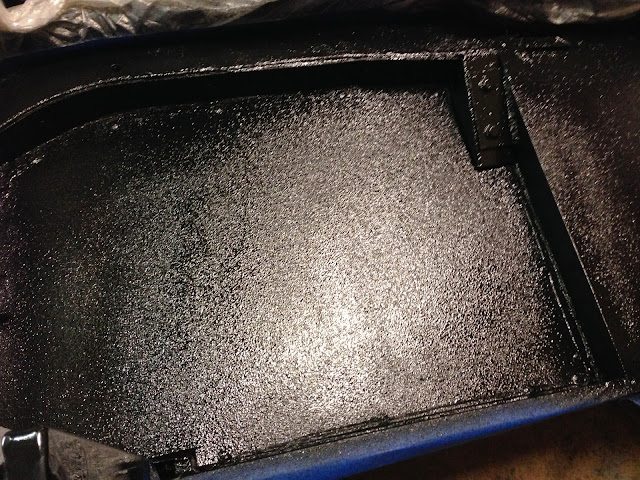
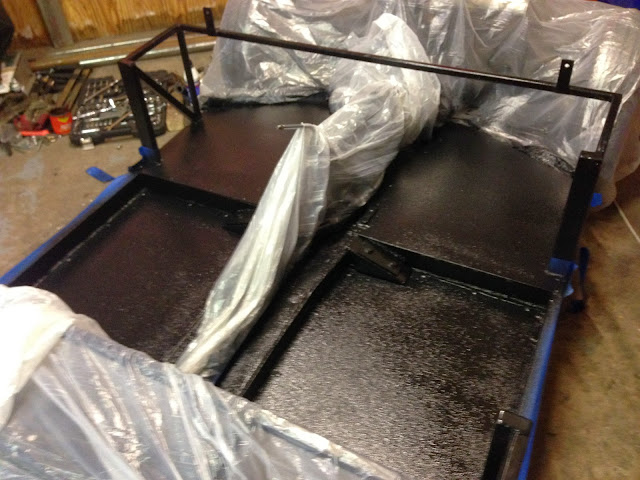
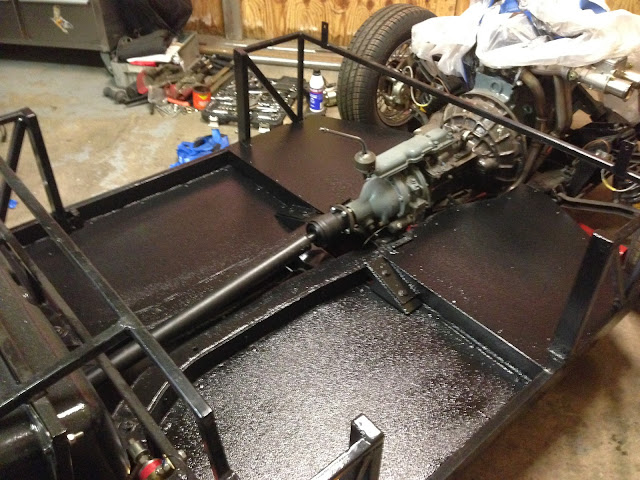
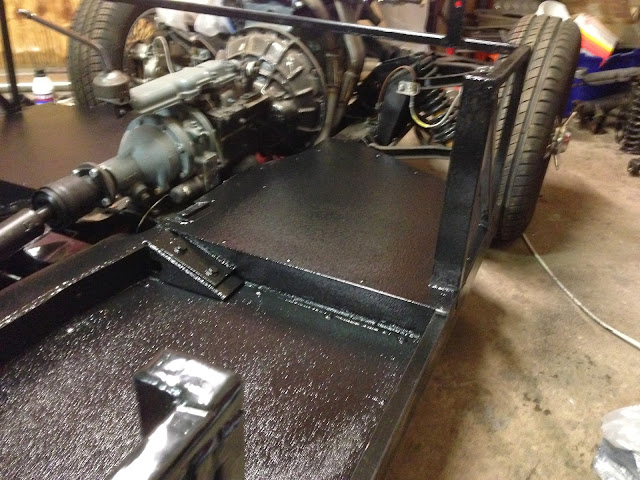
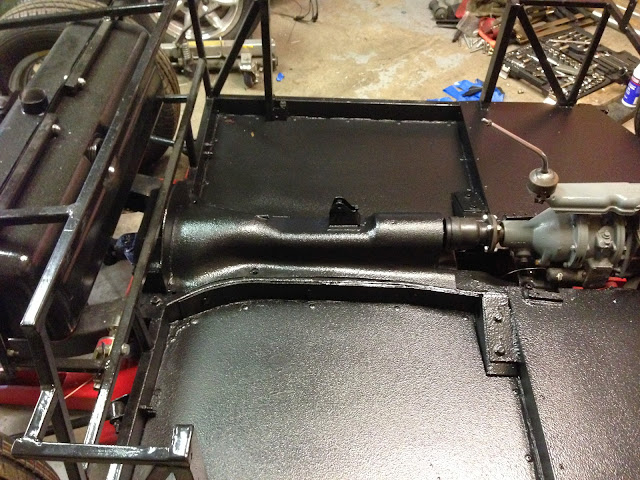
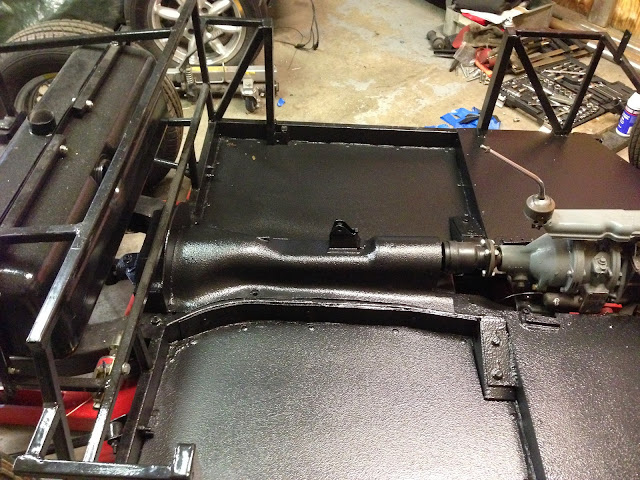
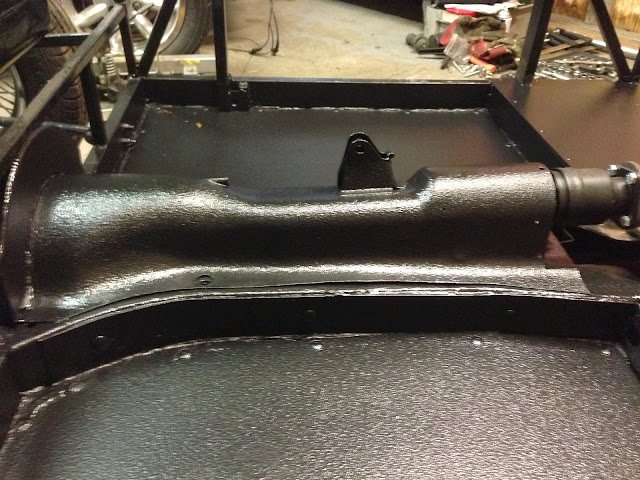
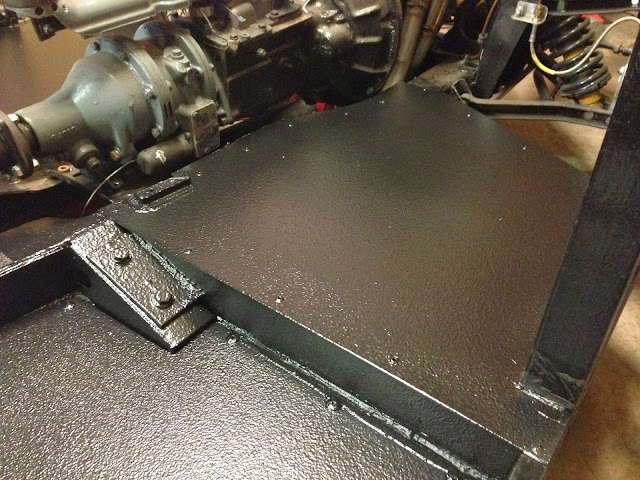
And the result is:
Have to say im very happy with the finish, its exactly what I wanted, black shiny and textured, going to do a second coat in about 30 minutes then de mask it and leave it overnight to cure.
Just applied the second coat, upped the pressure to 60psi this time and think I hit the sweet spot as it went on even better than the first coat, I did notice though that I used more product, 3/4 bottle first time and the whole bottle this time. I have now de masked as all the reviews I have read say that if you don't the tape will be a pain to remove when its dry and might need cutting off!
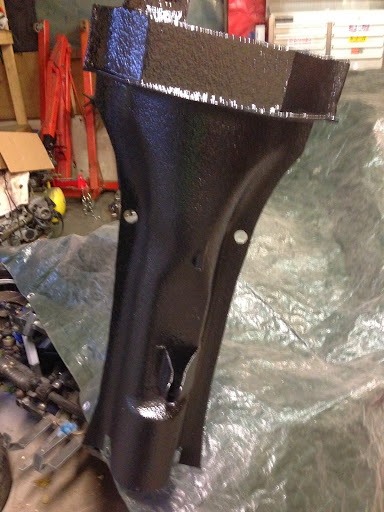
I have also given the tunnel a second coat and a good coat underneath as well.
All in all im very happy so far but will reserve my final judgment till the morning when it will be dry enough to touch, its still very wet from the second coat and the first coat wasn't quite touch dry after the required hour between coats had elapsed.
Well back in today and the bed liner has dried out nicely, its lost just a touch of its gloss but I think it actually looks better for it. It still needs a another day or so to fully cure but feels good and the texture is just what I was looking for. Was hoping to get the tunnel fitted but the spitfire handbrake that I had convinced myself I had has gone AWOL so just bought another off EBay....arse!
Just off to start trimming the body now so expect to be covered head to toe in white dust before days end, all good fun!
Gary, my initial though is to leave it bare to be honest. I will be mounting my body in a different way to the standard in that it will mostly be attached using Aluminium closing panels and a couple of T panels front and back details of which I hope to have posted later this week.
A link to my thread is below, and you can see in a few places where the joints are made, however i could do some close ups for you if you want along with a list of where i make the supports. :-)








 eace:
eace: