This is a read-only archive of the old Madabout Kitcars forum. New posts and replies are no longer possible, but every thread is still here to browse and read.
Your right, there's a danger it will never be finished if I don't accept it will never be perfect, think 600 grit finish is too smooth for good adhesion, so have decided to stick at it but not get too hung up on it. Cheers Pops
To break up the boredom of rubbing down managed to form the interior panels and cover them in vinyl, sorry no pictures yet. They are plain flat but fit the overall look in my opinion.
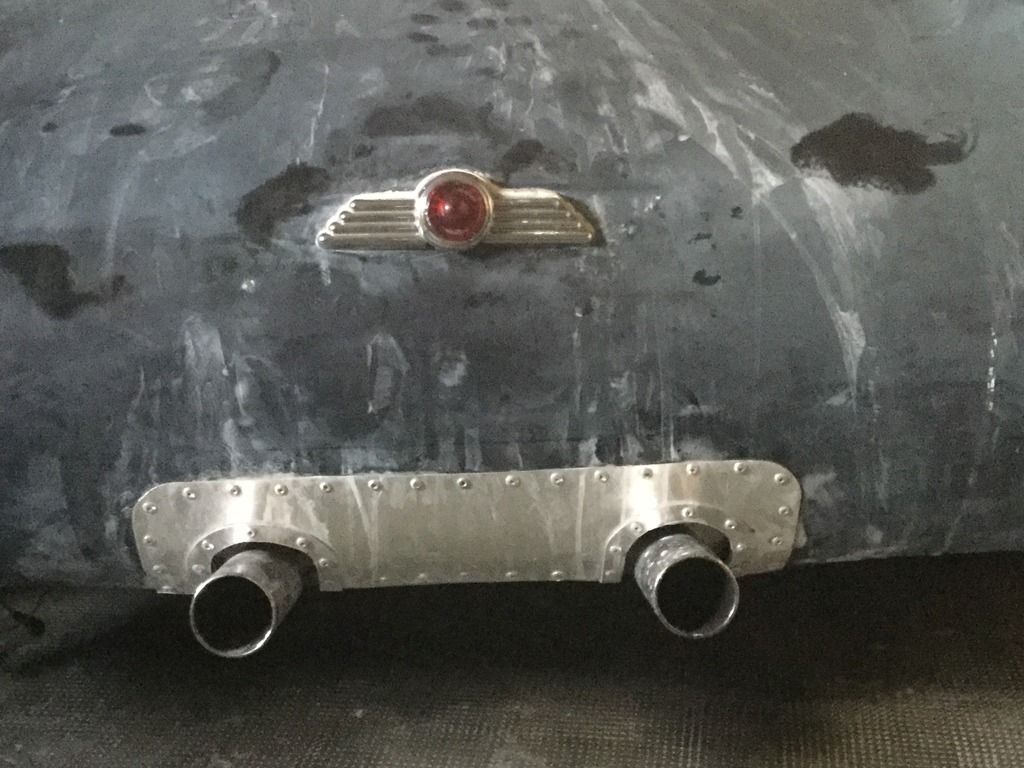
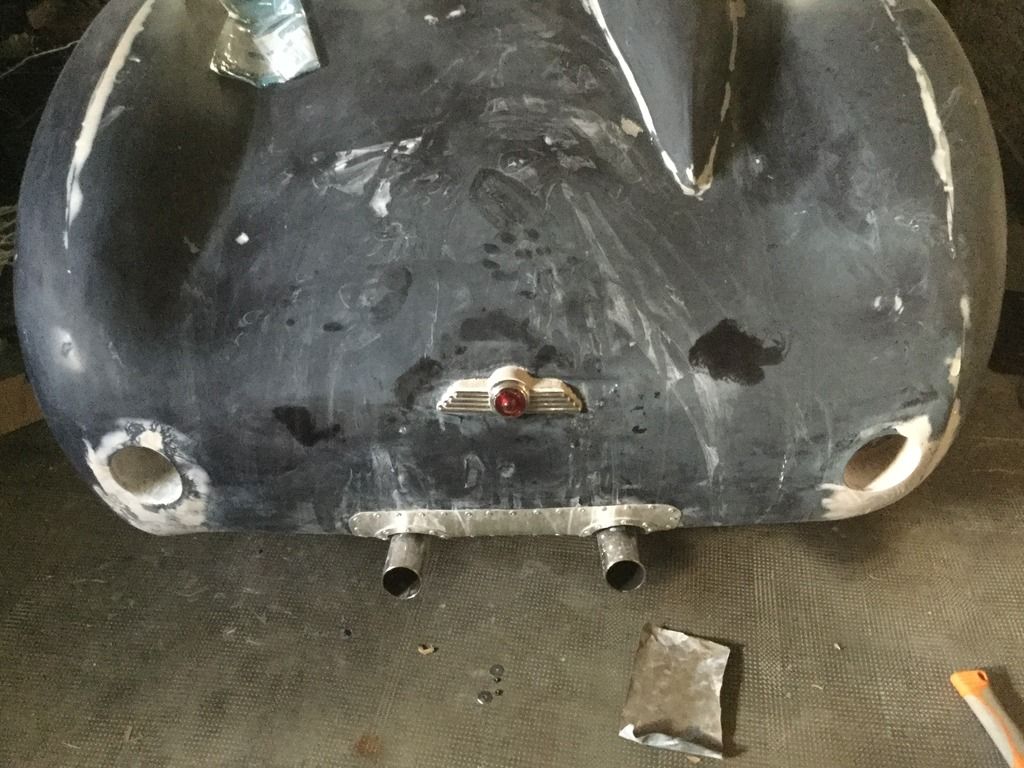
My eBay purchase arrived so made up the third brake light and feel it's going to be fine .....
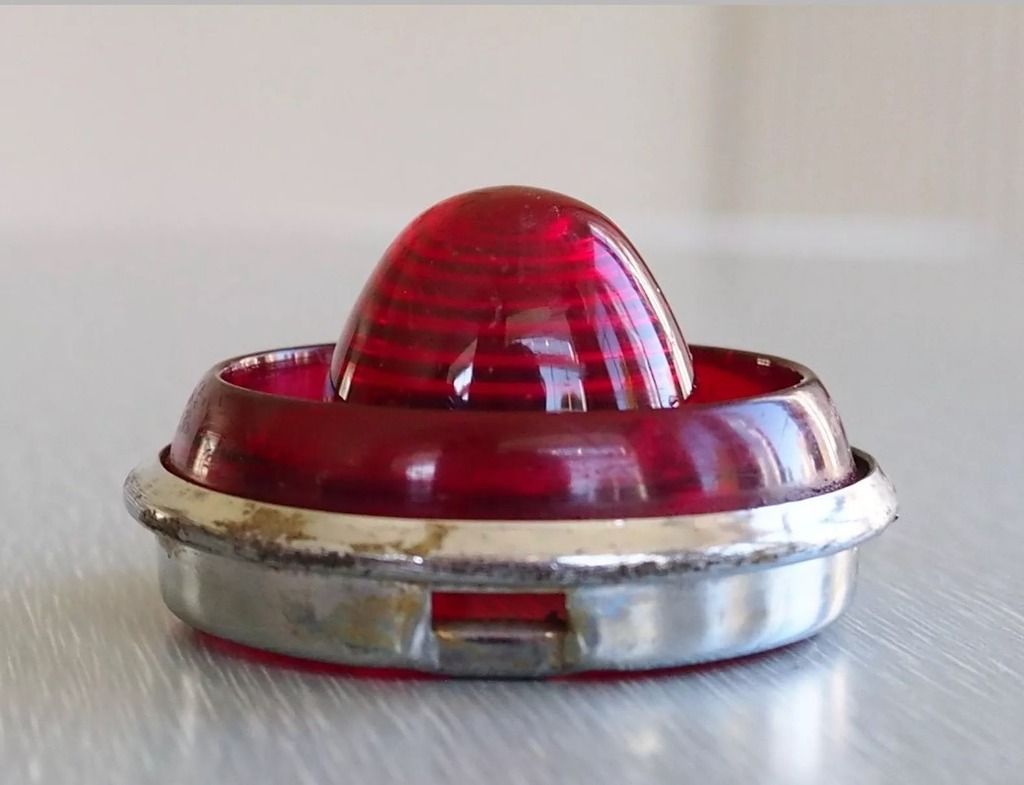
Real bit of luck finding a lense the right diameter to fit my number plate light.
Every little step is one closer to finishing.....Pops
Small progress,
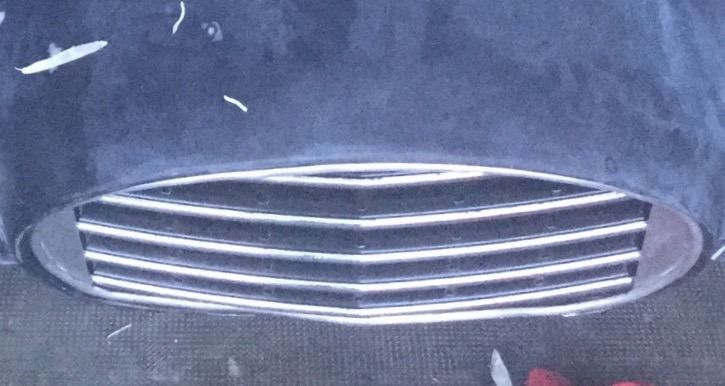
Managed to mask off and spray my grill Satin black fit the surround and end blanks to hopefully direct the air flow to my radiator.
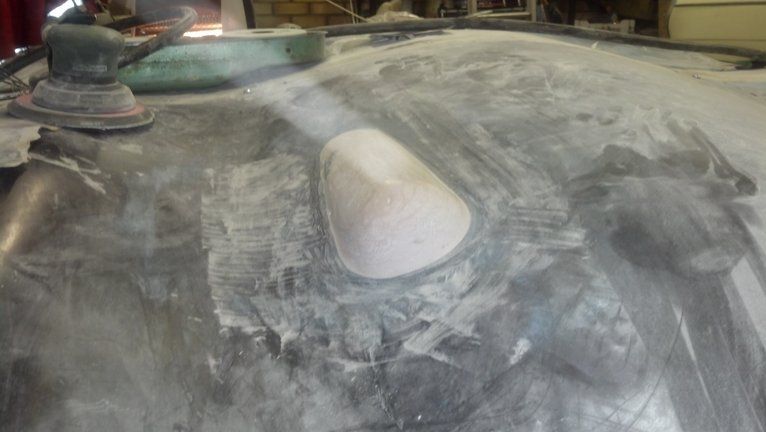
Had a tinker with the carbs, fitted the trumpets that I've had on the shelf for a while only to find they were slightly smaller than carb inlets, so thought I'd try the Spitfire air box, that's when I found a flaw in my original bulge...
I hadn't realised it only covered the carb pots and left no room for a filter,
Decided I needed to go larger and thought I'd try a scoop..
Blue peter style cut up a 25 litre container, just to see if it could work
Near enough so cut it to shape and made a mould.
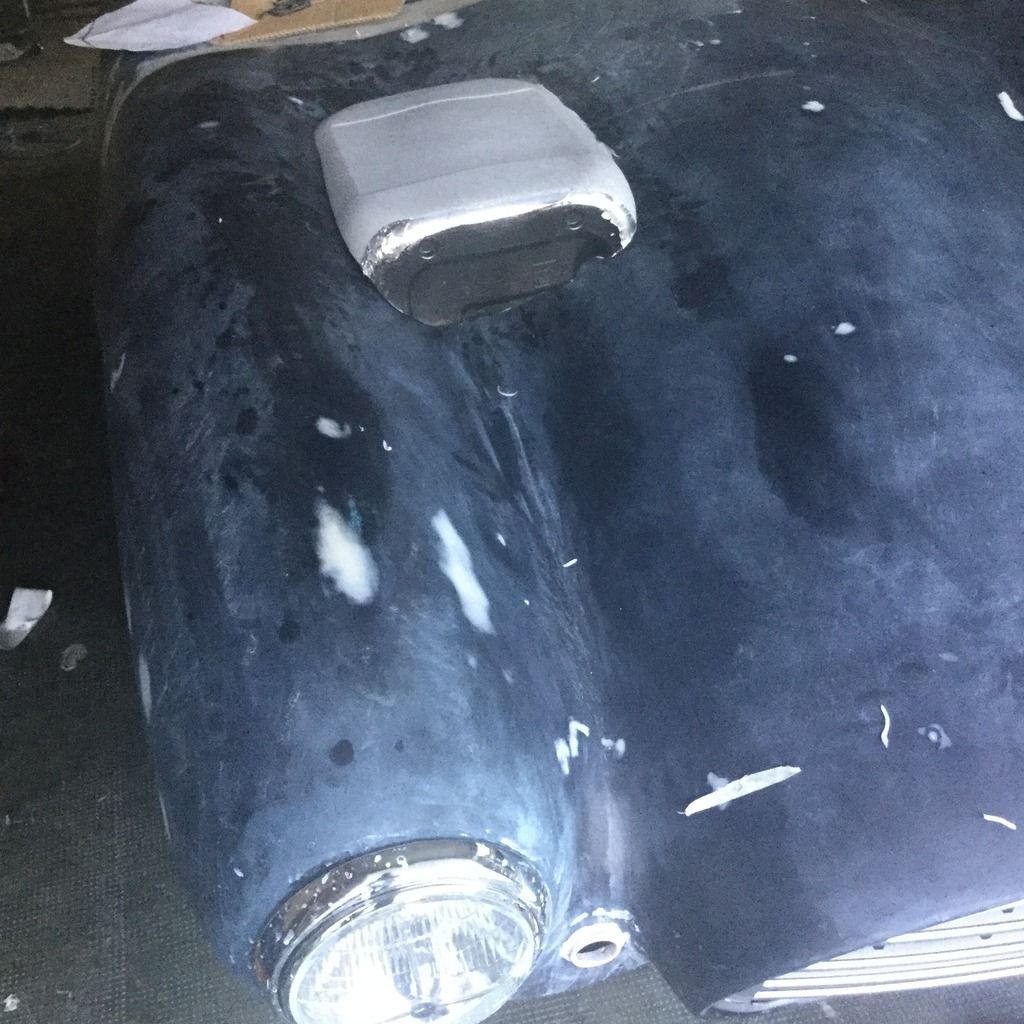
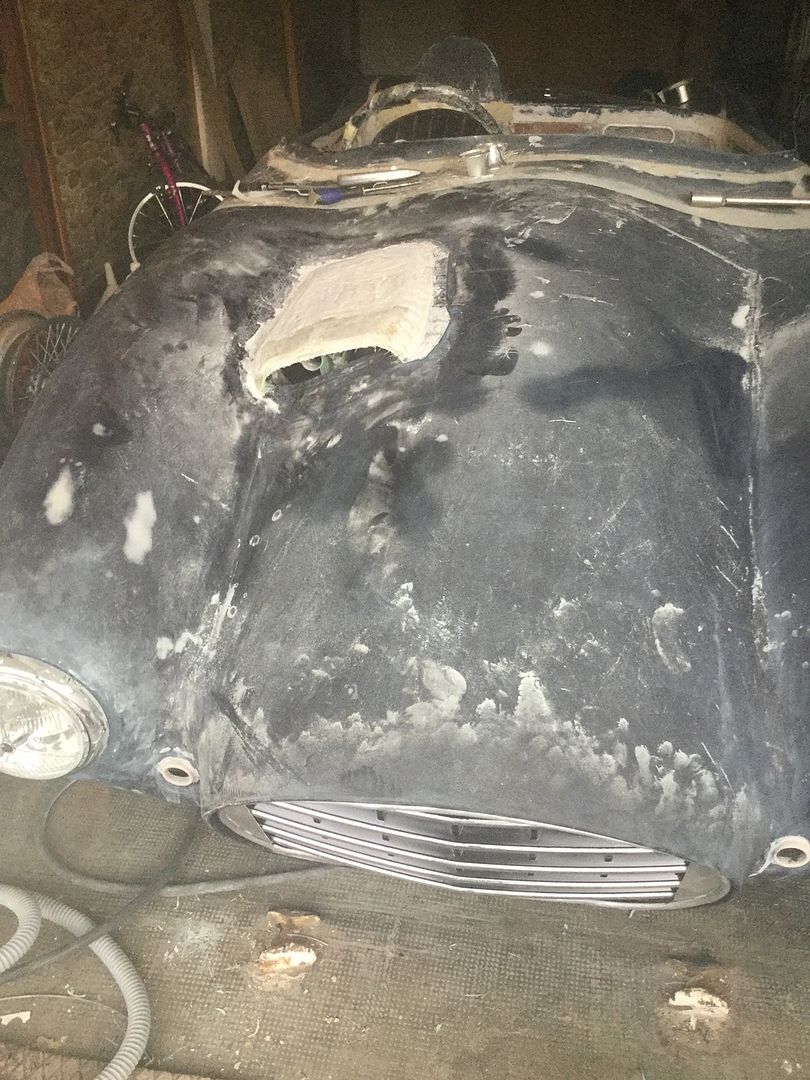
Committed to this new idea, cut off the bulge opened up the bonnet hole and started on the new scoop
Very much work in progress but quite liking the result.
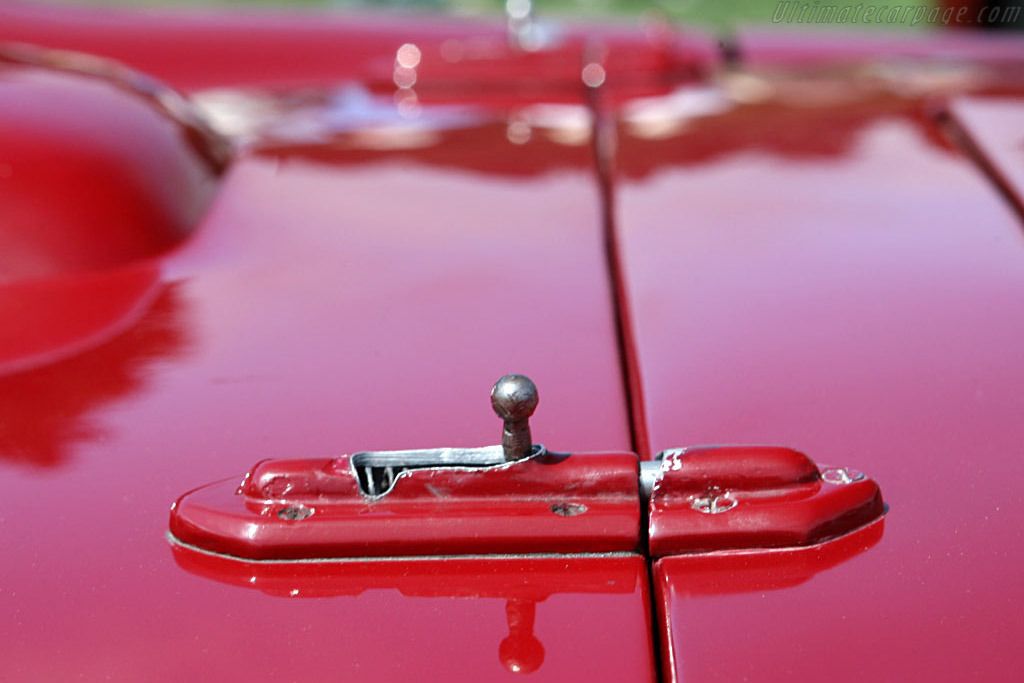
Finally have been trying different ways to secure the bonnet top, ( Dzus fasteners worked ok but not quite right), then I noticed how the original Lancia's bonnet was secured
So think I may try two of these
No harm in trying and it's only for securing top as sides lock
Roadster, Paul thanks for the positive comments I'm keen to keep to keep the rear simple much like the roadster
Rubbing down all day today paying the price for being over enthusiastic with the orbital sander as the swirl marks are quite deep and a nightmare to remove. Not sure how deep a mark the high build primer will cover but at the moment 600 wet and dry seems to be the answer but weeks of sanding ahead......��
Pops
380 grit will cover nicely with the high-build primer. It's the primer you want pretty smooth.
Really liking your carb scoop and the ally bonnet draw bolts. Nice.
Now, I'm only an amateur car painter and know feck-all about how it's supposed to be done, but when I did the prep on mine I found (by happy accident) that the fine/very fine sanding sponges from Halfords worked a treat giving a top quality (read good enough to make me happy) finish to the primer surface in a quarter of the time it was taking me with 'proper' wet'n'dry.
I put this down to the curved surfaces being very difficult to sand with a flat block without going through the primer on the high points to the 'glass beneath, while the sanding sponges mold themselves to the shape really well.
Not concerned about locking as I have a lock either side of the bonnet, however this will do the same job and lock just not as pretty...
And slightly cheaper 🙂 https://www.ebay.co.uk/itm/301851595127
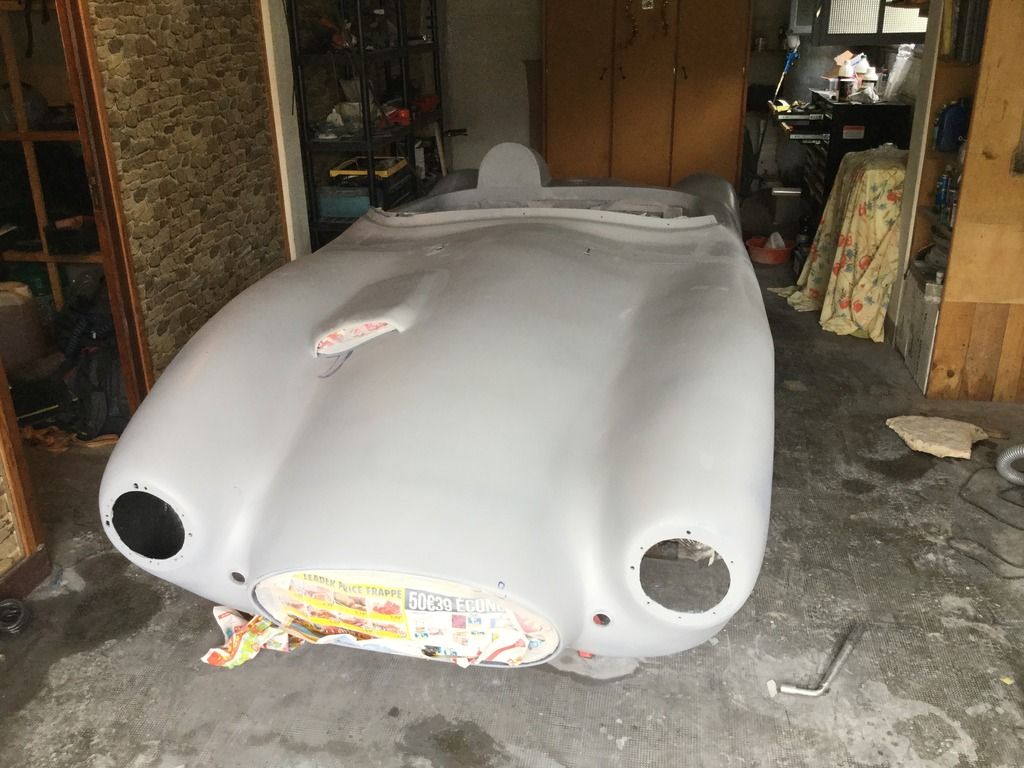
Well finally applied my first coat of etch primer,
While it has highlighted a few cracks,uneven or missed filler and some ripples in the original body work it has also given me a clear indication of what needs attention and completely changed the look of the car, at last I feel I can finish the epic build.[IMG][/IMG]
Hi Paul, the bonnet cut was fairly recent in my 5 year build, I was fed up with the alignment and kicking out of the leg so took the drastic action.
It's actually improved access with the bonnet raised .
For the return edge and bonnet closing I fabricated a 90 degree length in fibreglass and attached this inside on the extension, I fixed the backside 5-10 MM. higher than the bonnet edge to give something to butt against, once it was set I bridged across to the bulk head just for strength. Will try to get a picture tonight as I forgot at the time.
Well in the end I bit the bullet and went for it
Primer, colour and top coat all done,
All went ok except for the clear which ran in a few places, and in hind sight I could have spent another week on the prep as there's places that looked fine until the colour went on. The clear running was down to my total inexperience but learned a lot, the Liddles compressor wasn't chasing very much and coped well,
Just to wait for it to harden then I can start the interior fitting
Pops
ANOTHER SILVER ONE ....I do like them in silver , when I first started , I had the plug hung up in the workshop painted silver and loads of people commented on it and then went away and painted them a different colour !!
It was BRG intially , the first batch were pretty much all green , then 66 changed the game and they were all red for a bit ... I think red is still the most popular colour , but because I started with a 550 styling in my head , the silver is always going to appeal to me ....well done , it looks good ...silver isn't an easy colour to paint under any conditions and it looks like you have gotten a decent gun finish on it ...
Don't worry about getting the runs (fnarr, fnarr) and the odd blemish - the paint on some of the exotic racers at Snetterton on Sunday was nothing to write home about. There was a Lister Jaguar in particular that had been painted a week earlier and then run into a gravel trap (not deliberately) leaving the paint above the rear wheels looking like a map of the Himalayas at about 1:1 scale. Looking forward to seeing it with all the lights and trim fitted and out on the road. Keep up the good work!
Lancelot, wasn't happy with the colour when it went on( too light) but it's growing on me and changes depending on the angle you look at it from, Roundels, was going to go classic Black n white but now undecided, will wait till its trimmed up and see.
Towed I'm over the runs Although quite a bad case it's curable, strangely now we both have silver the cars are very different takes on the theme.
Paul, I still have plenty time on my hands while the oil price has dropped through the floor and exploration all but stopped, sadly it means I can't fund the build and the all important hub adaptor will have to wait, that paint has been on the shelf two years surprised it went on and wasn't solid in the tin..
Trimming start once paint hardens
Pops..
Nice paint job it looks like you have a great finish. Did you go for celly or two pack?
When you spray paint it yourself you do get great satisfaction plus when people ask where you had the paint done and you say yourself they generally look at you in disbelief especially when it was done in a garage at home.
Look forward to seeing the finished car on the road.
Hi Swifty thank you, it's two pack paint, have only sprayed once before and that was celly, two pack was a different game, all was fine but the clear coat although shiny is a bit bumpy, have plenty of time so will be sorting that out in due course.
I had to paint it myself that way I can hand on heart say I built that car in its entirety, yes I see every flaw but no one else seems to worry.
Will be a long time before its road legal as its U.K. Registered and I'm in France so will need a trip back for its mot..





 [/IMG]


