MadaboutKitcars

This is a read-only archive of the old Madabout Kitcars forum. New posts and replies are no longer possible, but every thread is still here to browse and read.

Another Cordite Is Born ...

16 Apr 2017, 10:38pm
Hi Paul,

Your car looks great to me already and I am sure it will look great too when you paint it, no matter how you paint it and to what standard.
Also, I will have to agree with you, I really like your boot cut out.

Cheers,
Deni
17 Apr 2017, 11:55am
Paul,
How about after you paint it give it the distressed used look to keep everyone guessing?
22 Apr 2017, 1:43pm
Dave P, Deni & RedRatBike - Thanks for the encouragement chaps. :cool:

I'll certainly try my best to get a decent paint finish, but the paint must be seen within the context of the whole build.

As I abandoned any quest for perfection many years ago in an attempt to actually get the car on the road, warts and all. :rolleyes:

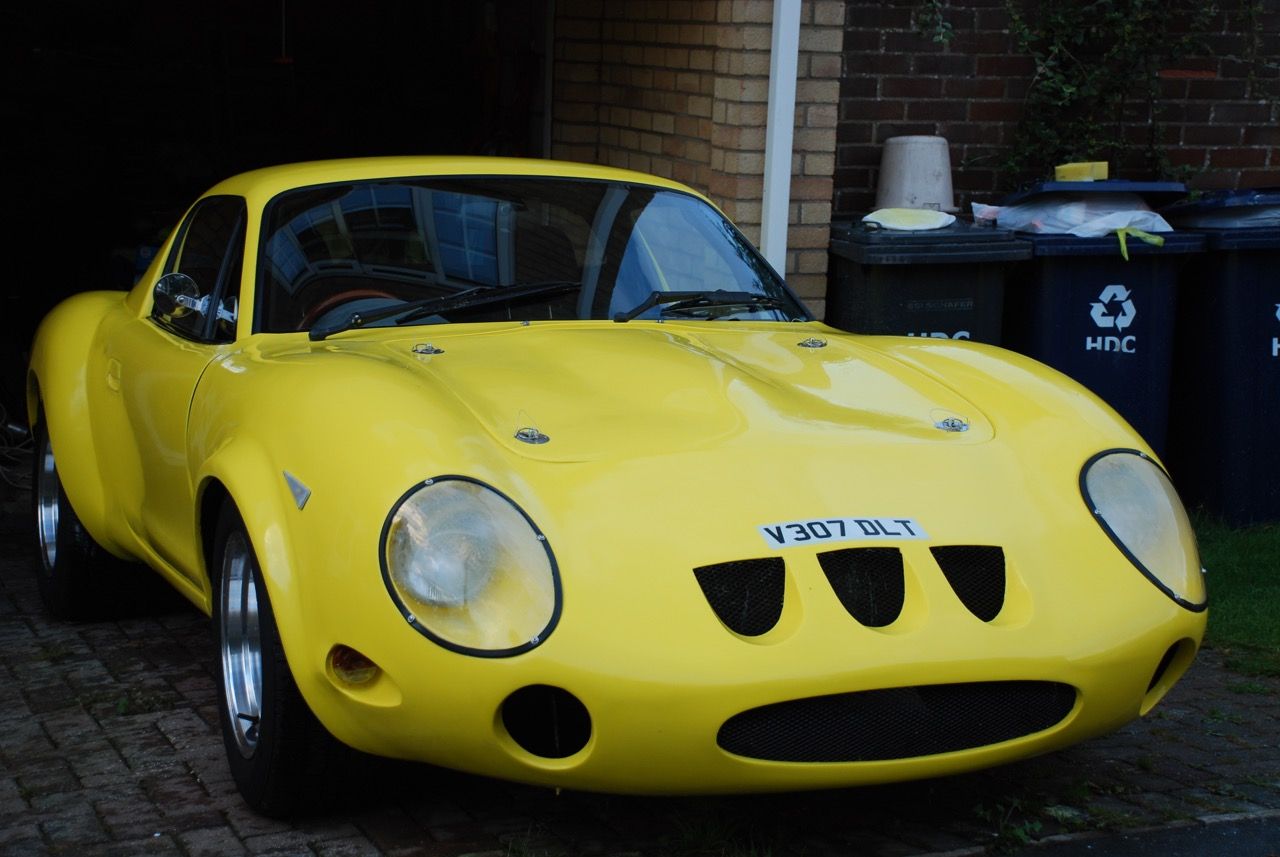
I am sure I read something about there being over 30 million cars in the UK, yet my Triumph Swordfish is a genuine one off. :D

The entire (extended) Sammio family (Spyder, Chevaux, G-46, Cordite, revised Ribble Navigator + Miglia Speedster) must be less than 200 cars.

And not all of those are on the road, so I will take pride in the unique nature of my build and refer back to one my favourite comments on this build thread…

oxford1360 wrote:
It's all looking good and solid - like a 50 year-old race car that has been into the hay bales a few times in its life - perfect.


Which was certainly the approach I took when I painted my last racing MZ, complete with a big dent in the tank. :icon_wink:


- - - - - - - - - - - - - - - - - - - - - - - - - - - - - - -

Next Steps:
'Real' work has been hectic since I got back from Ireland and I seem to be very tired all of the time. :icon_sad:

So whilst I had planned to do some basic prep work on the car in the evenings this week, I never got around to doing anything.

I'd booked the engine in for Tuesday (25th April), but make some last minute arrangements to drop the car off earlier today.

As the garage closes at 12 noon on Saturdays, this meant a bit of last minute work this morning…

Washed the engine bay and underside of the bonnet:

Before:


After:


Note: Sorting out some inner front wheel arches is still on my "To Do" list. :rolleyes:

Noticed a bad paint reaction along the bulkhead where clutch fluid was spilt.


Finally re-fitted the Frankenlid inside the boot.


Although I've been trying to ignore the damage inside the boot area caused by the car falling off the axle stands. :icon_sad:

So today I just made a token gesture towards the repair work needed, by applying some Kurust.
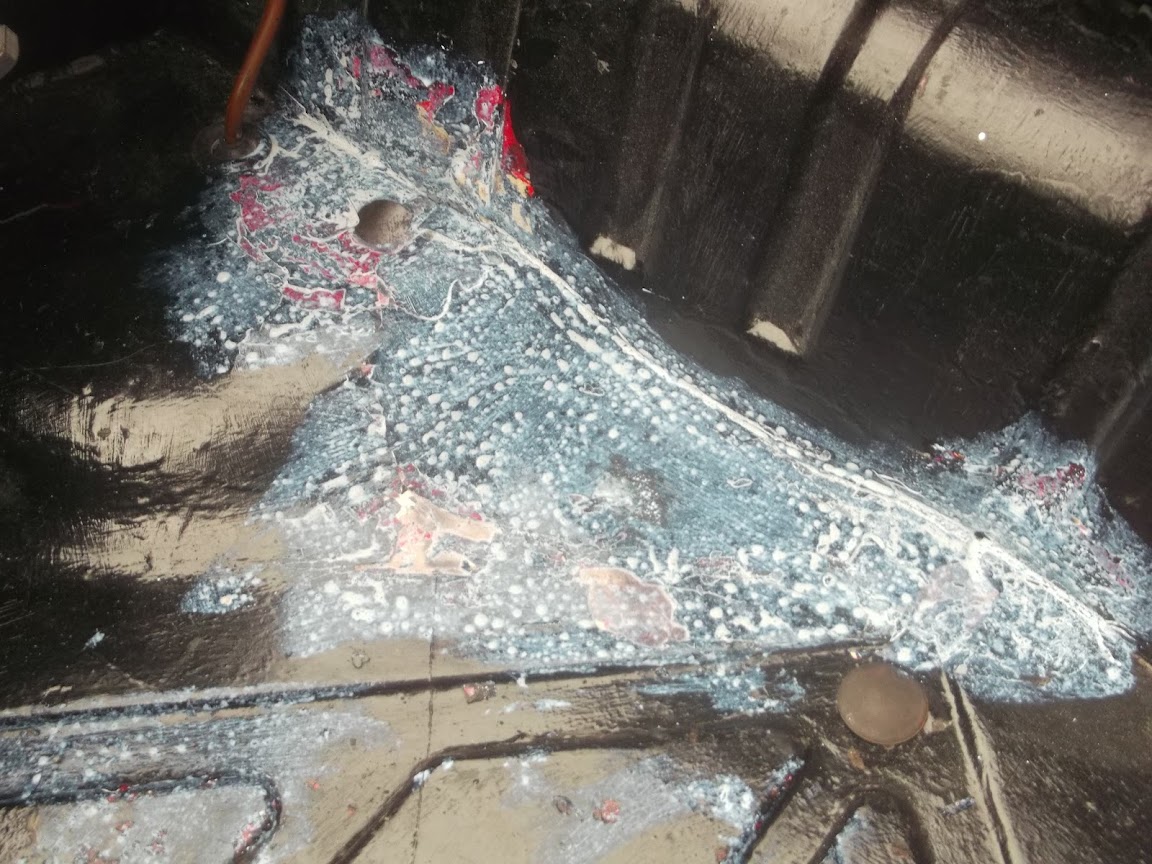


I'll finish hammering out the dents when I get the car back.

- - - - - - - - - - - - - - - - - - - - - - - - - - - - - - -

Then it was time to head off to Acton to find the garage.

I knew I was getting close when I first saw an old Herald coming the other way, closely followed by a TR6. :D

Outside:


Inside:


Had a good chat with the guys there and it looks like my car is in safe hands. :cool:

The journey home involved a couple of trains, but cost just £1.50!

Until next time, take care, Paul. :)
28 Apr 2017, 4:33pm
Enginuity - Acton W3
A big thank you to the team at Enginuity for working their way through my "snagging list". :cool:

Oil Leak:
- Replaced the oil seal on the timing cover, the main culprit for leaking oil all over the place.
- The timing chain tensioner was also replaced while they were in there, as that was knackered too.

No Heater:
- I'd supplied the new thermostat I previously bought based on the heater problem suggestions on here.
- Turns out the old one was indeed stuffed and the entire manifold tube also needed to be unblocked.
- So although I forgot to test it on the way home, apparently I now have a working heater! :D

Engine occasionally running on after switching the ignition off:
- This was due to parts of the engine overheating due to the blocked cooling system.
- So two problems fixed for the price of one.

Overdrive on the blink:
- A new gear level overdrive switch and new switch wiring has resolved this.
- As I did remember to test this on the way home and it is all working well.

Occasional clutch failure:
- Every now and then, there would be 'nothing' when I tried to pull away.
- Turns out this problem was also connected to the dodgy overdrive wiring.

High Idle:
- The car has started to tick over around 1,750 revs. :eek:
- Once everything else has been sorted out, the idle was reset around the 800 mark.

With dark clouds overhead and the odd drop of rain falling I had to head straight home.

So if I get the chance, I will try to take the car out for a longer spin at some point.

Until next time, take care, Paul. :)

"What a lovely pair."


Local Parking:

29 Apr 2017, 6:34pm
Just a quick one...

I have been weighed down by domestic/gardening chores and only managed less than 20 miles out in the car. :icon_sad:

But the good news is that I remembered to check the heater today...

And the even better news is that my little micro heater now pumps out real heat. :D

So I am sure it would have made a big difference when driving around on those seriously cold days.

Until next time, take care, Paul. :)
1 May 2017, 8:13am
so you and the car be running up to norfolk then
1 May 2017, 12:48pm
Phil - I will definitely be heading to Norfolk at some point this year. :pray:

I know Mister Towed is currently re-working his Spyder's bonnet.

So I am going to try an get my car painted ASAP and then we can form a cunning plan.

You have no idea how much I am looking forward to lining my Swordfish up with the Three Musketeers. :cool:

Cheers, Paul. :)
7 May 2017, 5:58pm
I've Made A Start…
It has been a bit of an odd week for me, I was ill for a few days, followed by being snowed under with work.

Today I took the car out for a quick blast to see if the fresh air would clear my head.


Unfortunately, I don't think driving through all the pollution in London does much for my health. :rolleyes:

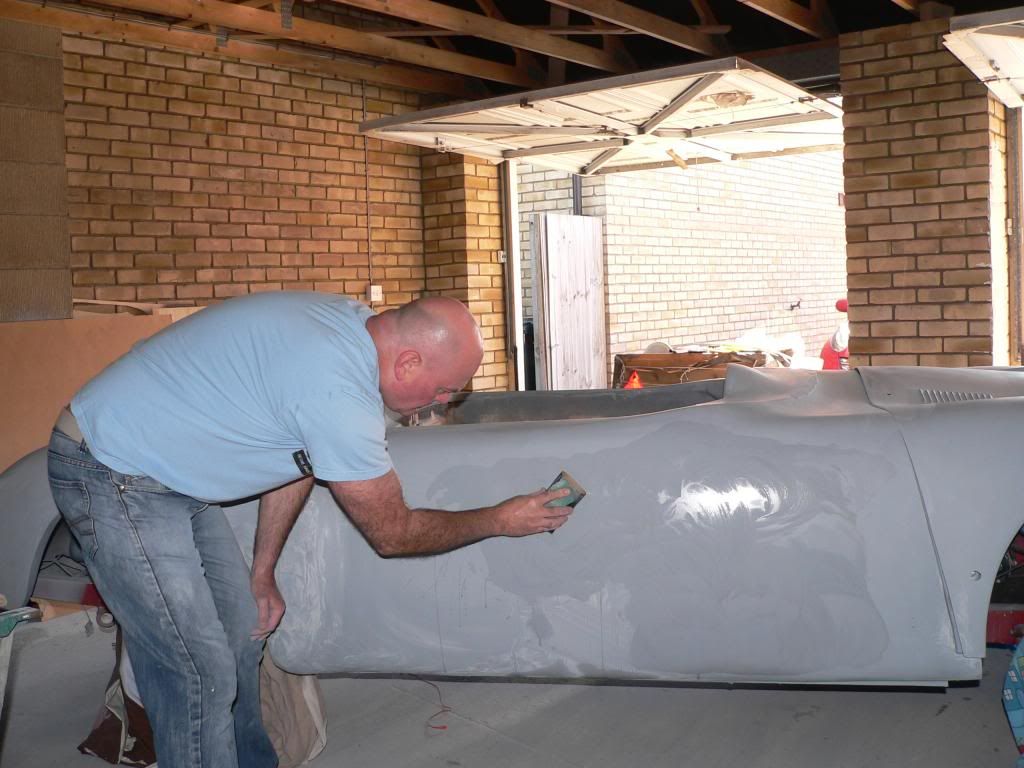
But I was determined to at least make a start on the body work, or this car will never get painted.

I'd ordered some of this filler as I remembered Swifty recommending it.


Unfortunately, whilst it said this on the tin…


The reality was it was very stiff to both mix and apply. :icon_sad:


At which point I stopped to check the date on the tin…


And if I'm reading that correctly, it should be good until 2018, so something has gone amiss somewhere.

The next problem was that is then quickly set like concrete. :rant:

As I started to put some effort into the sanding, I realised that I am still not fully recovered, as it was taking far too much out of me.

Still, at least I have finally made a start. :cool:


Until next time, take care, Paul. :)
7 May 2017, 10:02pm
Get well soon Paul, you have a large audience waiting to see your car painted.
8 May 2017, 7:30am
As Froggy says, get well soon.

As for your tin of filler, maybe it's just me, but I read that data to mean it was manufactured in 2011 and was 'best before' April 2016, so it's possibly a year out of date.

There are other factors that could affect the malleability and setting time though - cold weather will make the filler stiff while the amount of hardener you add dramatically alters the setting time.

When it's cold outside, consider keeping your tin of filler near a radiator indoors to keep it soft. Also try mixing in only about a third of the usual amount of hardener when you're going to fill large areas. That will keep it workable long enough for you to smooth it off with a spreader instead of it going stiff half way through and turning into a diorama of the Himalayas.

The only downside with that is that you'll need to leave it a lot longer before it does set and I find it stays tacky for about eight hours if it's mixed to be workable for ten minutes. I just leave large areas for the last job of the day and allow it time to set fully overnight.

As for which filler to use, I've tried loads of different ones that all use terms like 'easy sand', 'flexible', 'lightweight' etc., and they all seem to be exactly the same, so I buy what's cheap at the time.

This appears to be the cheapest at the mo' (unless anyone can suggest a cheaper alternative?) with the added bonus of them including ten spreaders -

http://www.ebay.co.uk/itm/291066743356?_trksid=p2060353.m1438.l2649&ssPageName=STRK%3AMEBIDX%3AIT

Anyway, good luck with the prep and paint, and can you just remind me which colour you're going with as I've forgotten.

*just looked at that tin again, I now see it was filled at 08:02hrs on 11th April 2016 and presumably has a shelf life of two years, so it's probably the weather/catalyst that's making it difficult to work with.
8 May 2017, 8:13am
I agree with MrTowed, the can is out of date. If it has previously been opened the date will be even shorter.
I have been using the Upol filler as I was also using the Reface and dolphin glaze as the stopper (great product, if you haven't used it give it a try).
Any deep filling I used GRP paste, much harder to flat down but may way of thinking it is less likely to crack. I also used filler with a fibre content, again with the idea it wouldn't crack so easily. Best to get a reply from Jeff as he is the resident professional.
8 May 2017, 7:10pm
If you have a Euro Car Parts near you , its a little known fact but they do sell bodywork materials too ...

We got through over 40 tins whilst making the buck for the Formosa and I negotiated it down to around £13 a tin if I bought 3 at a time ...

I think even at full retail they only wanted around £17 a time ...we used the UPOL EASY as well ...it does what it says on the tin , it can leave a few pinholes as its not the best quality , but for price and the average amateur user , its hard to beat ....
8 May 2017, 8:14pm
Paul, I would attribute the issue with styrene evaporation, old material.
8 May 2017, 8:53pm
Agreed , the lid hasn't sealed properly or sat for a while ..it goes quite chewy after a while ......

Really would be better buying fresh ...
9 May 2017, 5:35am
Froggyman – Cheers. :cool:

- - - - - - - - - - - - - - - - - - - - - - - - - - - - - - -

Mister Towed, JaguarTVR, Lancelot Link & Molleur – Thanks for the feedback gentlemen, I really appreciate it. :D

Just to cover all the points in one go…

Flyweight Filler
- There was a dent in the tin when it arrived and I didn’t think much of it at the time.
- However, as this dent covered the lid area, I guess it wasn’t fully airtight and has gone off a bit/lot.
- So I’ve ordered a new tub just to make my life easier.

Jeff H
- I’ve already picked up a few painting/preparation tips from Jeff.
- It is also clear that his great paint finishes are directly linked to his detailed preparation work. :cool:

- - - - - - - - - - - - - - - - - - - - - - - - - - - - - - -

Setting Expectations
To be honest, I did seriously consider just driving the car to Jeff to get a professional paint job.

But part of me really wants to paint the car myself to complete this whole ‘warts and all’ build.

In an ideal world, I would just throw a serious amount of time at this preparation stage.

As I’ve been re-reading other builder’s threads and I know this is the key to getting a great finish.

E.g. Mr T


Unfortunately, I just do not have the spare time available at the moment to prep the car to a very high standard. :icon_sad:
( Especially as there is a list of small, but time consuming ‘odd jobs’ to do too. )

Therefore, I am left with a stark choice:
- Paint the car in the next few weeks/months to finally get some colour on it with a less than perfect base.
- Put off painting until ‘sometime in the future’ (which may never actually materialise) when I can do a better job.

So I have spent the last few weeks reconciling myself to living with a lower standard paint job.

My dark Brunswick green paint will definitely highlight any flaws in the bodywork, but so what?

There is a list of things that are less than perfect on this car and I still love it.

Actually, I shouldn’t be comparing my work to professional painters in the first place. :rolleyes:

Instead, I should just take pride in completing a difficult build, outside on my driveway, with no prior experience.

So if I can achieve a smooth, but slightly undulating surface, I’ll take that for now. :pray:

Cheers, Paul. :)
9 May 2017, 4:45pm
Even if you paint it in an afternoon with a 4" roller it'll still look good :peace:
9 May 2017, 5:10pm
Agreed. Just get as good a prep that you can accomplish in a reasonable time and paint it yourself.
9 May 2017, 7:49pm
Paul,

It will be fine the way you want to do it.

Fatbloke (Patrick) was at Stone leigh with his 250 MX, he had rollered his paint on and it looked very presentable.

Good luck with it, oh and a good filler has just come on the market, it has been developed by a couple of guys from U pol who have set up on their own, stuff is called Pro worx Swift lightweight filler, it is easier to work than Upol easy no1.

The other one to try is the Upol fantastic filler.
10 May 2017, 7:09pm
Micky1Mo & Molleur – Cheers chaps. :D

- - - - - - - - - - - - - - - - - - - - - - - - - - - - - - -

Jeff H – Thanks for the encouragement and the filler tips. :cool:

I’d almost forgot what a great job Fatbloke did with his paint job.

The fact he went from this…


To this…


Gives me hope. :pray:

- - - - - - - - - - - - - - - - - - - - - - - - - - - - - - -

A Bit More…
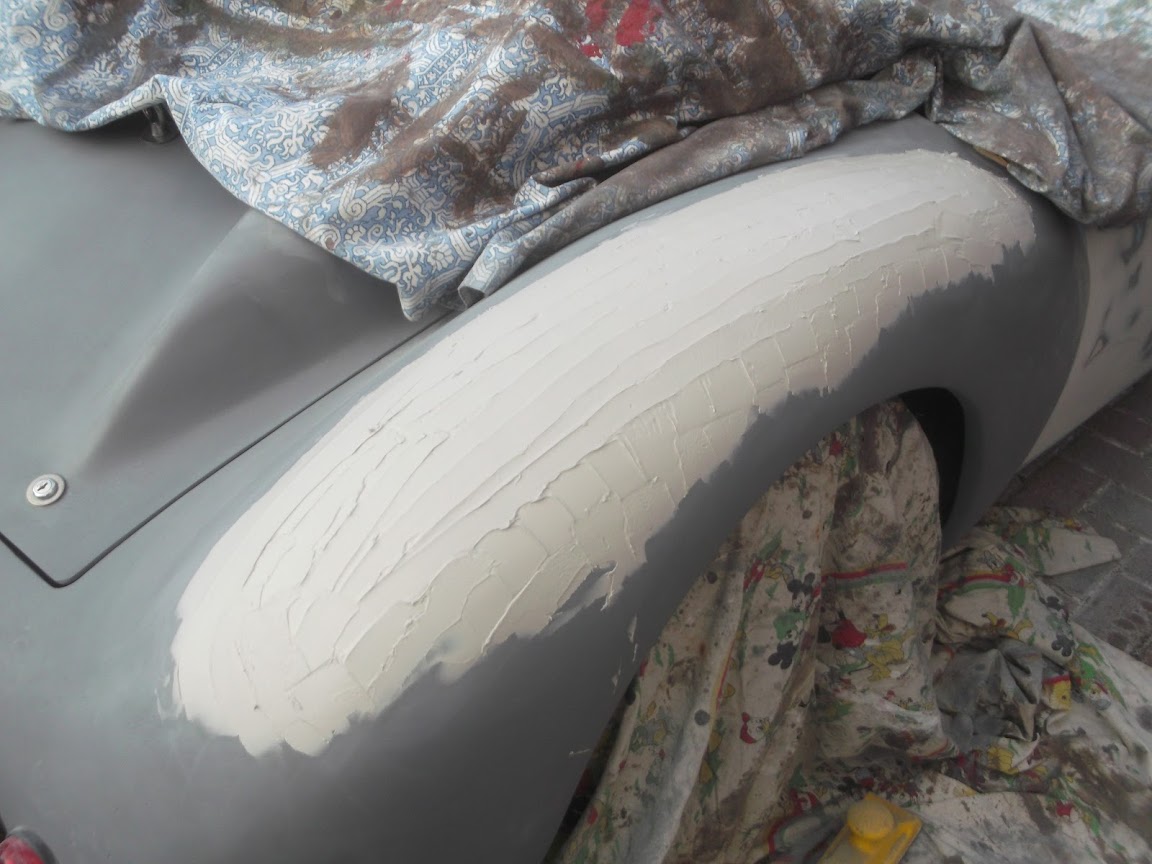
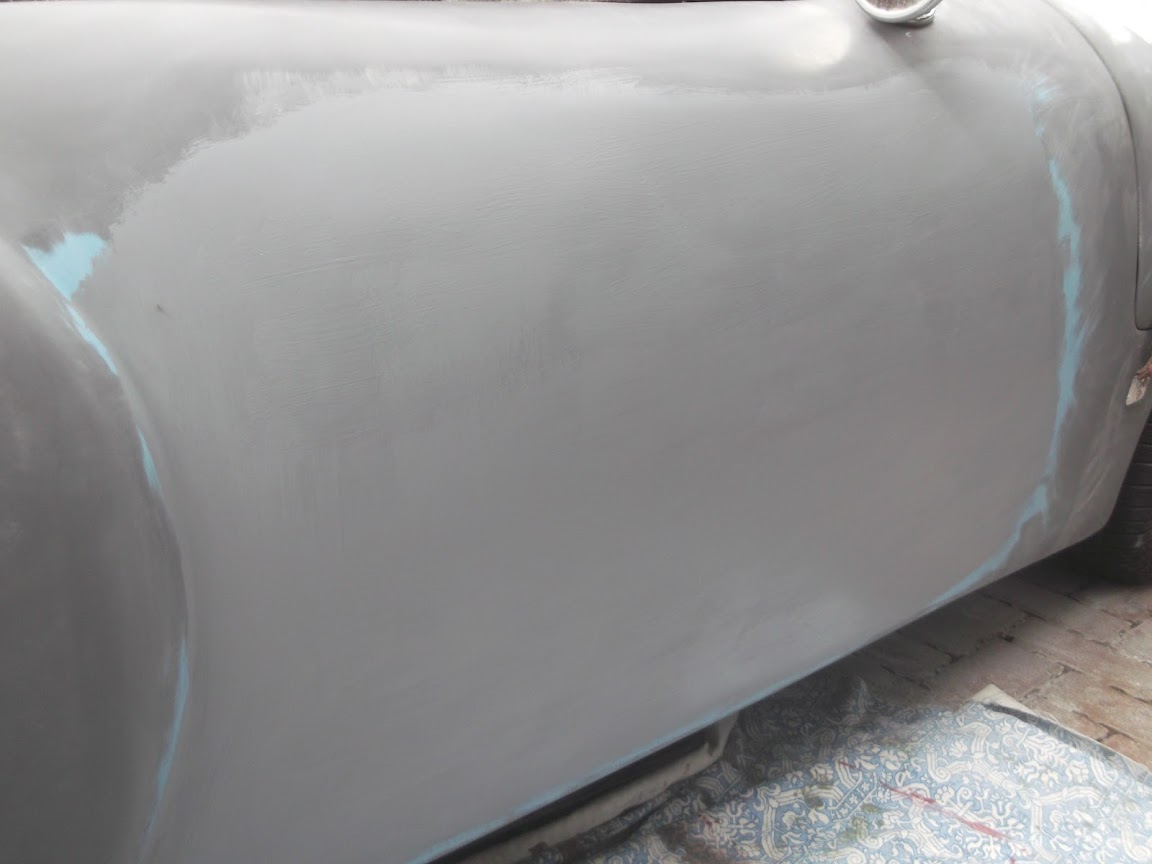
Added some more filler to the driver’s side.


Which is now a lot smoother than before.


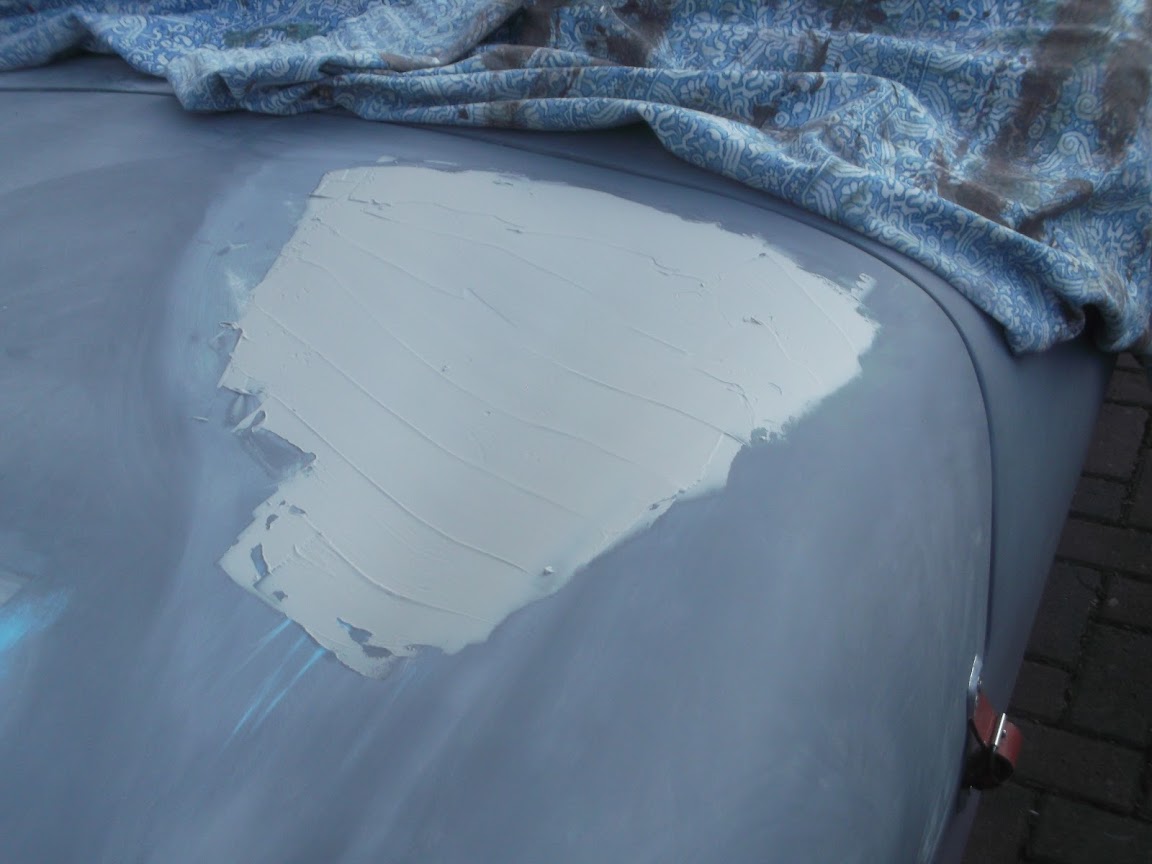
The other area that needs major attention was the bonnet.

Which isn’t really surprizing given that it looked like this at one stage! :eek:


The angle of the sun made it had to get a good photo, but this is where the join is a bit lumpy.
( Not sure why the photo is so small either. )


Until the new tin of filler arrives, I’m still struggling on with the other one.


Again, what I am left with is a lot smoother now than it was before. :cool:


That was all for this evening, although at some point I will need to start washing down my driveway again. :rolleyes:


Until next time, take care, Paul. :)
10 May 2017, 7:45pm
Keep plugging away Paul and you will end up with a fantastic finish, it may seem that it takes for ever but once you have finished you will stand back with a huge grin on your face and now it was all done by yourself.

Good luck matey.
11 May 2017, 8:01pm
Swifty - I will definitely end up with a 'finish', although I doubt it will be 'fantastic'. :icon_wink:

But don't worry, I will still take pride in whatever standard I manage to achieve.

Especially as the filler work I am doing now reminds me of just how much chopping & changing I did! :eek:

- - - - - - - - - - - - - - - - - - - - - - - - - - - - - - -

Still chipping away…
There was one small dip/dent in the bonnet that needed to be fixed.


Which is easier to see after the first round of sanding.


So that has been filled.


And sanded back.


I also sanded down the rear of the bonnet on the passenger side.
( As that was pretty lumpy due to all the 'cut & shut' work in that area. )


Filled and sanded that too.


Finally, I tried to improve the rear driver's side arch, where more Frankenstein wounds were inflicted.


Once I have tackled the worst of defects I will get some more etch primer on and see where I stand.

Unfortunately, the more time I spend up close to the bodywork, the more imperfections I see. :icon_sad:

But I simply do not have the time to get OCD about chasing a glass like surface at this stage.

So I'll just see how close I can get over the next few filler sessions.

Cheers, Paul. :)
13 May 2017, 1:44pm
Perspective - Part 1:
I've been re-reading a number of old build threads to remind myself how other people painted their cars.
( Including Misted Towed, Viatron, Swifty, DaveCymru, Scottie22 & FatBloke. )

First of all, hats of to everyone for putting so much effort into prepping/painting their cars and sharing the details. :cool:

The other day, I posted a photo of my chopped up bonnet to remind myself why there was a lumpy join.

Which lead me to dig out a few old photos to illustrate the whole Frankenstein Hillbilly nature of my build.

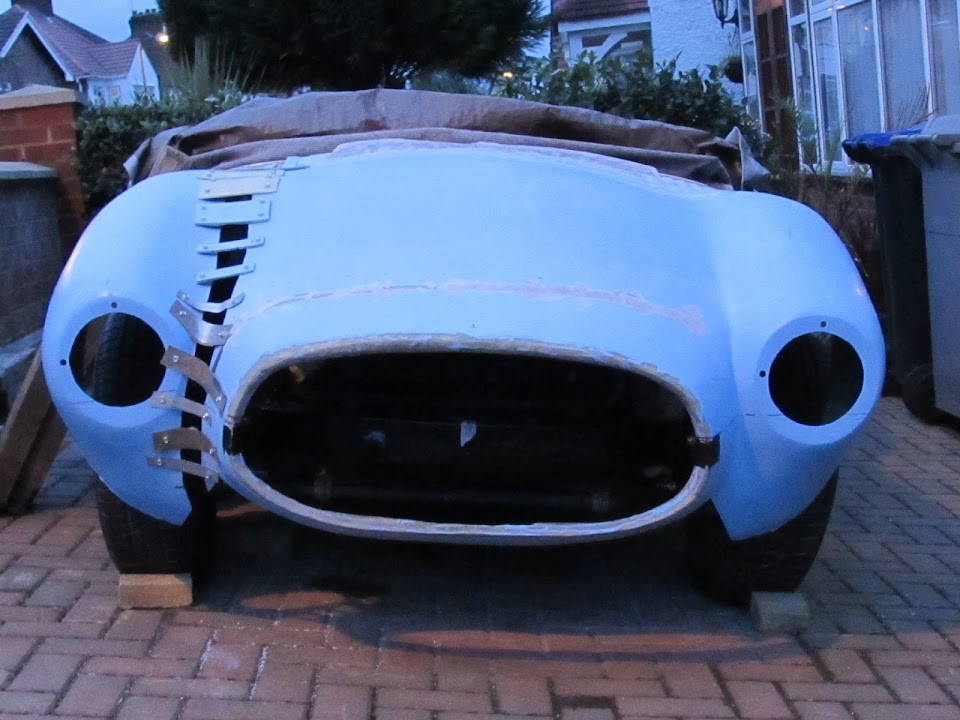
This was the body shell before it got its first coat of etch primer.


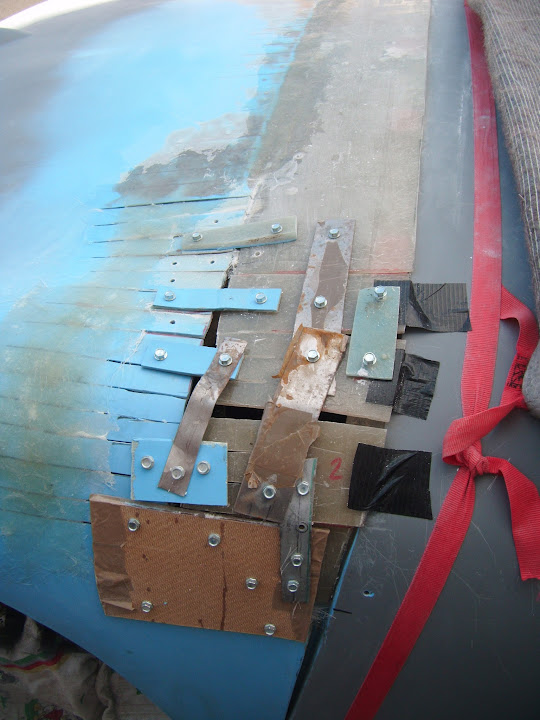
And this was before I cut out the boot lid, added two tail pipe cut outs, added part of the bonnet to extend the bodyshell & reshaped the wheel arches. :rolleyes:

Similarly, the bonnet was extended at the rear and re-profiled to match my home made scuttle.


Plus I gave it a 'nose job', reshaped the lower front valance to clear the chassis when opening and reshaped the wheel arches.

So before I start beating myself up for not achieving the same high standard of other people's paint jobs…

I must take comfort from this simple fact that I have managed to get my Triumph Swordfish on the road…


Despite the fact it has ended up with a long list of significant differences to the Sammio Cordite I started off with.


End of Part 1…
13 May 2017, 1:45pm
Perspective - Part 2:
Whilst all the above it true, I had a real "Every cloud has a silver lining" revelation/moment earlier on today…

It had all started off well enough when I took my long board to the passenger side of the body shell.


Then I extended the area at the rear edge of the bonnet on the driver's side.


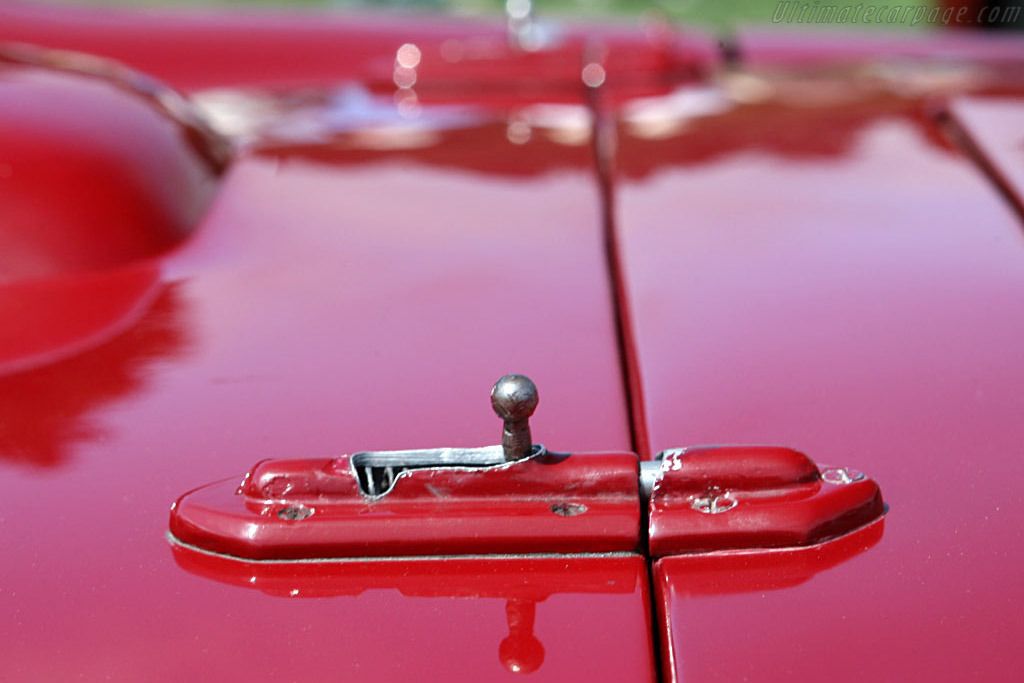
Next, I had a look at possible locations for attaching brackets to hold the bonnet locking pins in place.

At which point I quickly realised this job would have been a lot easier if I'd done it before fitting the heater and dash. :rolleyes:

As there seems to be very few options for evenly spacing the pins out that doesn't clash with something else on the bulkhead.

Thankfully, I may have found a potential solution due to the way my body shell's scuttle area overhangs the Spitfire bulkhead underneath.

So if I had the pin/bracket located around somewhere around here…


The other end of the bracket could have a bolt going straight through the scuttle around here.


Note: This is not the 'real' bracket, I was just looking at the spacing.

As this may turn into a bit of a mess, I will also look at Psycho Pops' approach which was to copy racing Lancias.


So far, so good, with the slight exception that the clouds overhead were a little bit darker than the weather forecast had predicted.
( Not a great photo. )


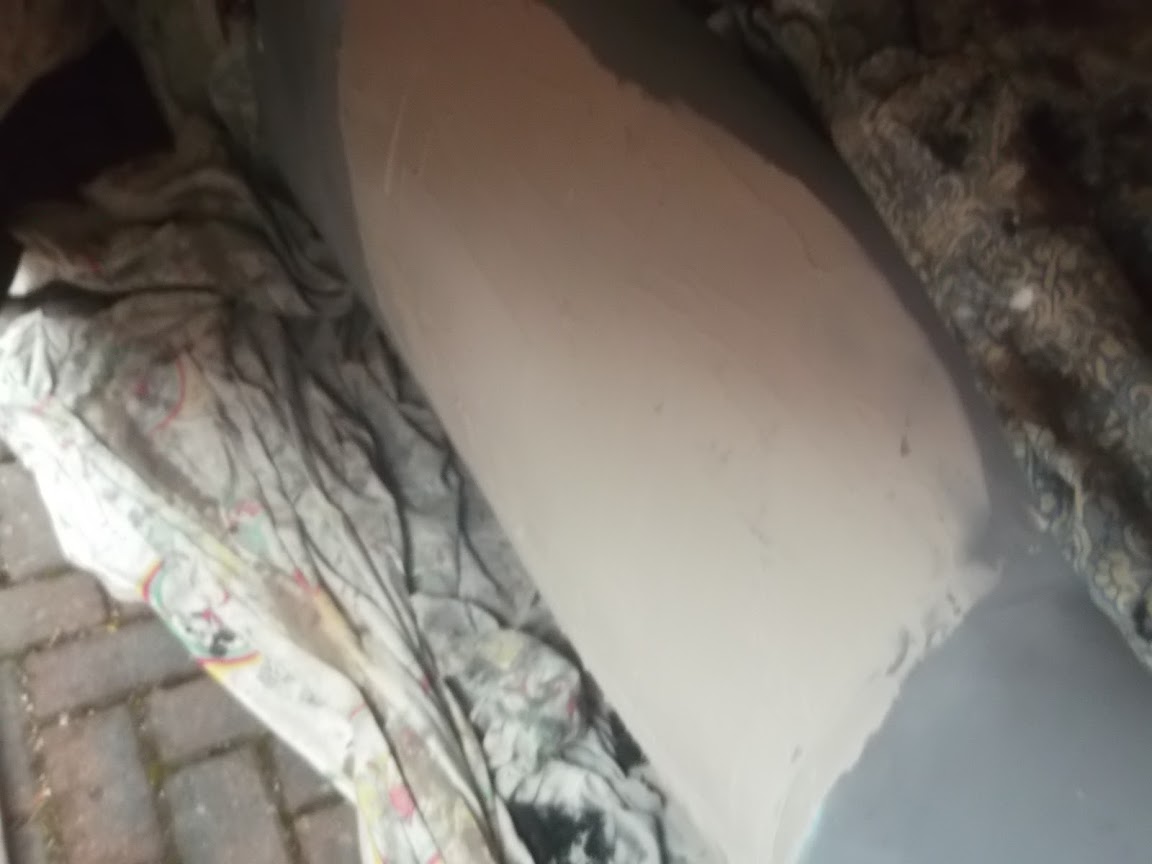
Undaunted, I mixed up and slapped on a skim coat of filler on the passenger cockpit side.


You will notice that this isn't a particularly good photo.

And that is because in the time it took me to get the last bit of filler on, the sky went black and the rain starting lashing down. :rant:

To say I was turning the air blue around me would be a serious understatement. :tape:

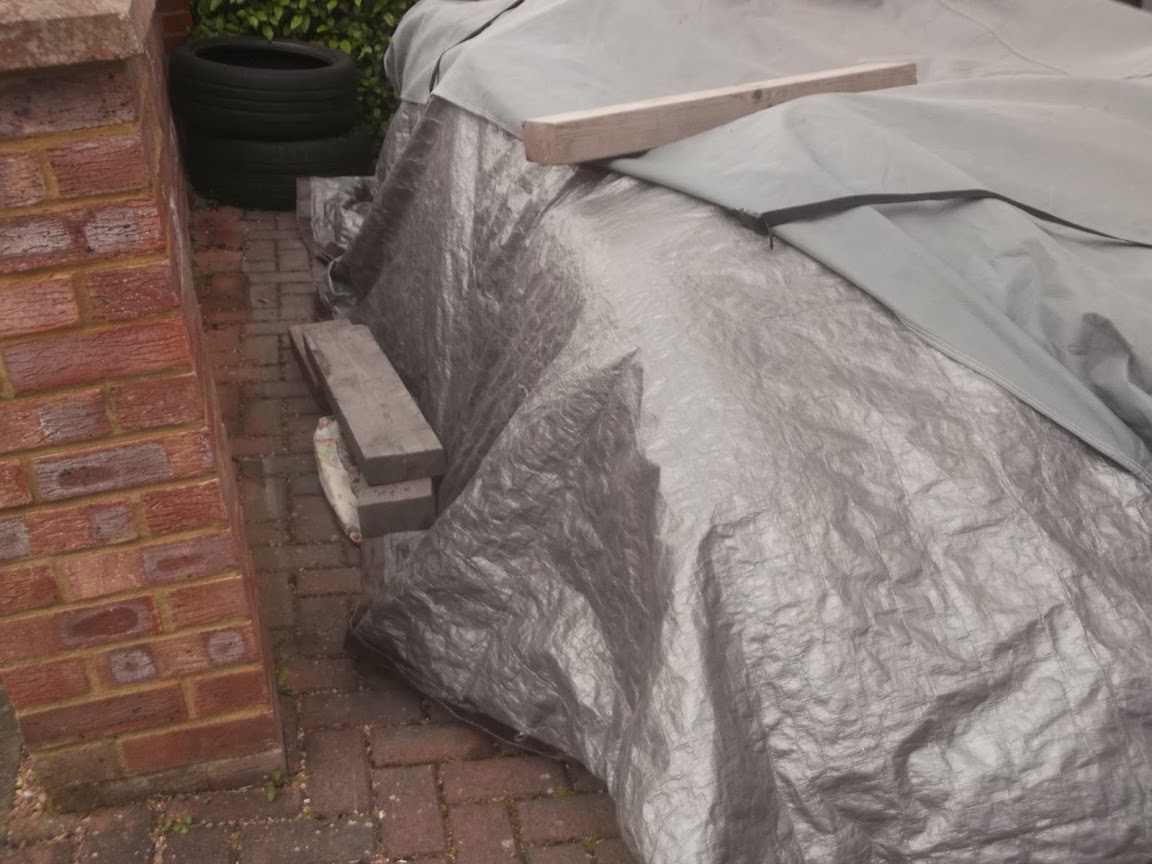
I had to stretch out the tarpaulin to keep it from sticking to the filler…


Before I dragged everything else back into the porch.

But it was after this that I could really accept that I will not end up with a high class paint finish and that is really OK.

Building this car outside is the real achievement and a 'somewhat rough and ready' paint job will not take anything away from this.

( Well in my eyes at least and woe betide any tyre kicker who wants to highlight the faults in my car when I'm done. :icon_twisted: )

Anyway, it the time it has taken me to write all this up, the sun has finally returned outside so I'd better carry on…

I'll be back with more updates later, cheers, Paul. :)
13 May 2017, 2:09pm
Paint it metallic silver and at worst it'll look like bare aluminium with a sixty year patina, but it's more likely that it'll turn out looking like it was sprayed an hour before the big race back in '53. Silver hides a multitude of prep sins...
13 May 2017, 4:31pm
Mr T - As I was re-reading your build thread it did occur to me that painting my car silver would be a good idea.
( As I loved your story about the two guys discussing how your car still had it's original paint with 60 years of wear. :cool: )

But, for better or for worse, I am going to stick with British Racing Green.

Especially as the yellow band around the nose will hopefully help to tie in my yellow #7 roundels. :pray:

- - - - - - - - - - - - - - - - - - - - - - - - - - - - - - -

Quit While You Are Ahead…
Turns out the fresh filler on the passenger side got a bit 'smudged' when I was throwing the covers on. :icon_evil:

Plus it was now rock solid which made sanding it back into some kind of shape a lot harder.


Next I decided to brush on some etch primer I bought in a tin.


This would let me test brushing and highlight which areas I had prepared.


It is not easy to tell from the photo, but the driver's side...


Is now miles better than what I started with. :cool:


This is a close up of a section of the rear wheel arch which was just outside the area covered with filler.
( But had the original etch primer layer sanded off when the filler was been sanded down. )


So at some point I will be working my way around the body with some knife putty.

I was just getting ready to start mixing the next round of filler for the bonnet, when I felt it turn cold.

And, sure enough, the dark clouds were rolling in once more. :icon_sad:


I just couldn't risk getting caught out in another shower, so I packed up and called it a day.

Obviously, by the time I finally got the cover back on, the sun was back out. :rolleyes:


But that will do for today.

Until next time, take care, Paul. :)