MadaboutKitcars

This is a read-only archive of the old Madabout Kitcars forum. New posts and replies are no longer possible, but every thread is still here to browse and read.

New Cordite Build, with a twist....

5 Nov 2013, 4:28pm
Mac - It looks like the body is coming together nicely. :cool:

Good luck, Paul. :)
9 Nov 2013, 2:45pm
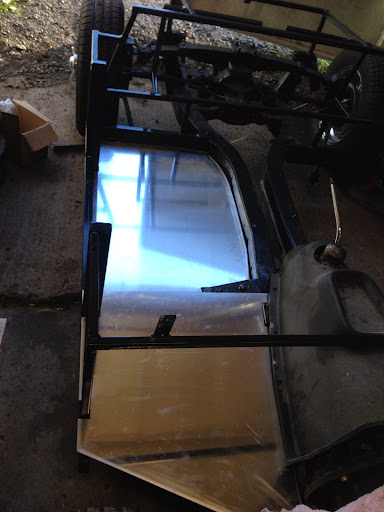
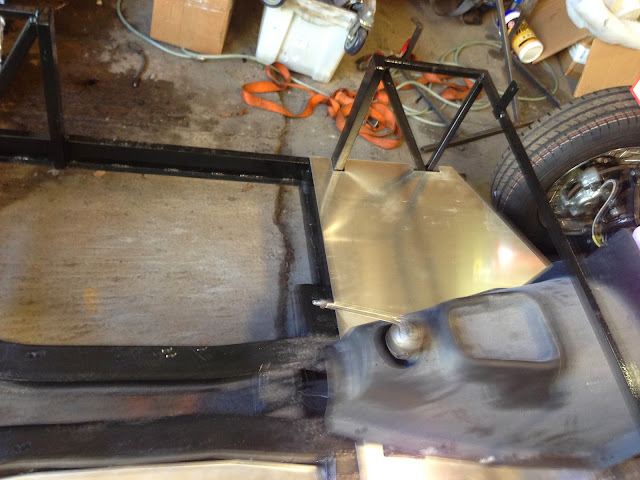
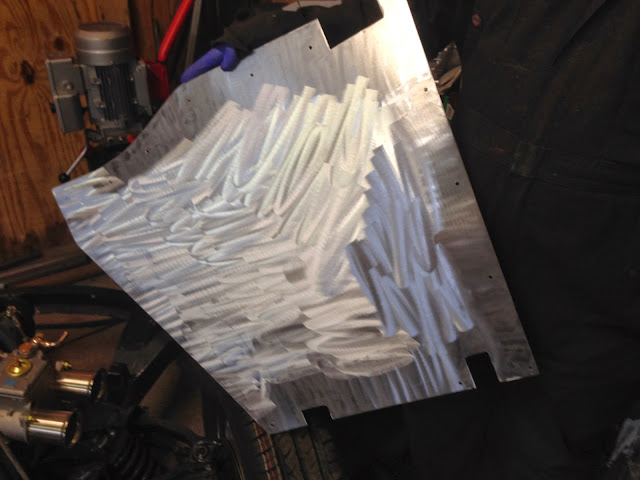
Been busy with the tidy up, 4 bin liners and counting and 2 empty toolboxes decanted into the beast but couldn't spend the rest of the day without making some progress on the Navigator, picked up by 4mm Ali floors last night so got them fitted, bit of trimming hear and there but on the whole they fit really well.


The rear floors drop down nicely so they are pretty much flush with the chassis so as low as I can go and the front ones sit on top of the chassis, with the floor mounted pedal box this should give a pretty good driving position whilst being as low as is practical. Just need to fab up the curved angle for the inside edge up against the chassis and they can go in. I will be using bed liner on them as its a tough finish but looks quite period as well.
TTFN back to the tidying up.
9 Nov 2013, 2:51pm
looking very nice ..:icon_biggrin:
9 Nov 2013, 2:54pm
Even though they are 4mm Ali they are as strong as the steel floors but lighter. I plan to tig weld 2 19mm boxes across the width of the rear floor to ensure they cant sag and also to mount the seat runners to but cant do that until the runners arrived.
10 Nov 2013, 5:42pm
Floors look good. :cool:

I do like the way you have worked around the main chassis rail to give a full size lowered section for the seats.

Good luck, Paul. :)

PS
Your "mega" tool chest is something else.
16 Nov 2013, 6:25pm
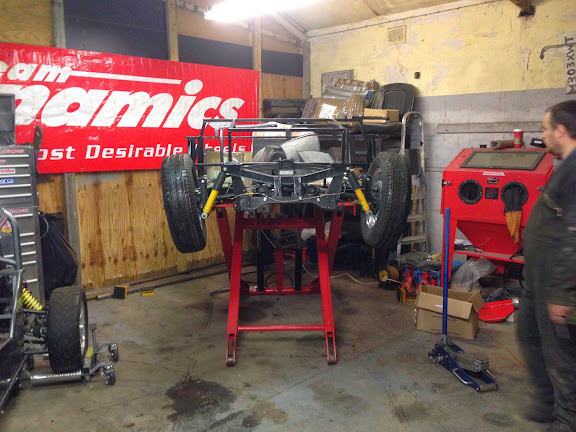
Well the clear up is finally done! With Daves help we even got the scissor lift in. Just a couple of boxes of tat to sort through Monday and it will all be done and i can get back onto the Ribble, look for an update monday night.


20 Nov 2013, 3:49pm
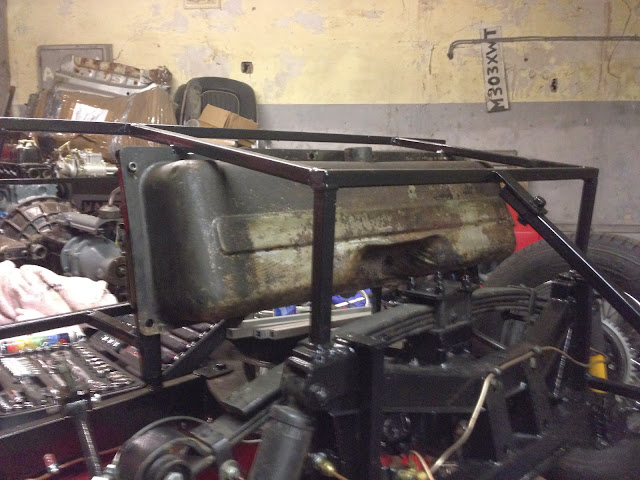
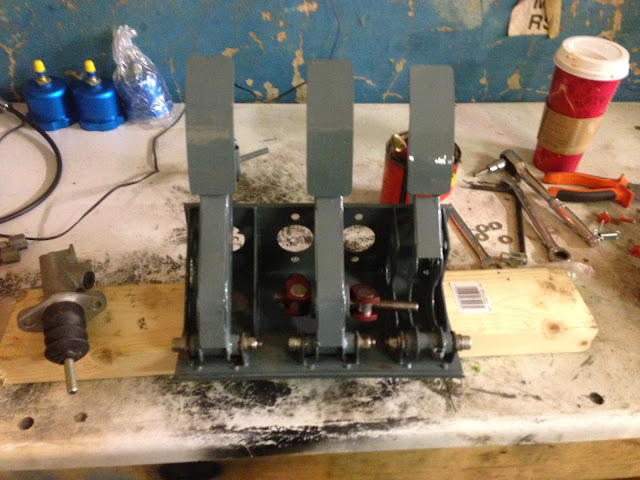
Well Monday and Tuesday ended up being taken up by a last minute training job in Poole but finally managed to make it back to the workshop today. Want to get the body on ASAP so I can figure out where my seat rail supports need to go on the floors so the next 3 jobs will be the running of the fuel and brake lines, building up of the pedal box and fitting of the fuel tank.
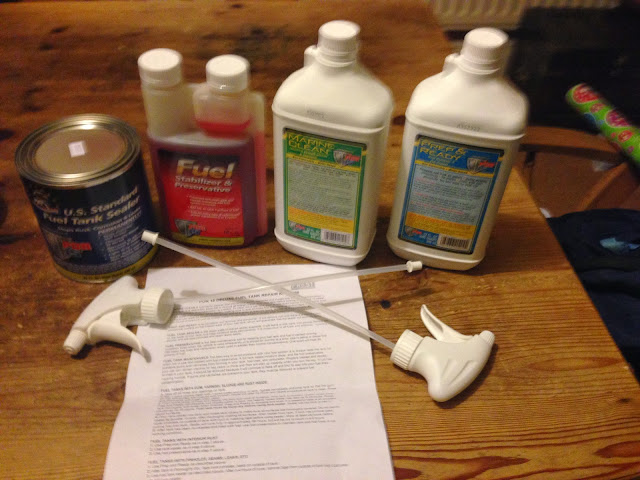
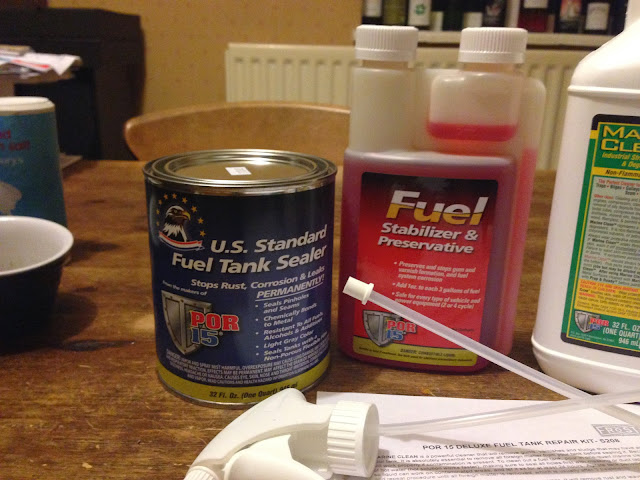
I have a couple of tanks here and both are by no means new so have spent the last hour going over both and selected what I think is the best one. I have just ordered the Frost Deluxe Tank Sealing Kit and decided to strip the exterior of its paint so I can do a proper inspection before throwing £67 quids worth of stuff into a colander!
Just using some old paint stripper I found during the tidy up, don't know how effective it will be because I think its a bout 3 years old but I will leave it overnight then use the steam cleaner to give it a good blast both inside and out.


22 Nov 2013, 7:45pm
Made some good progress today
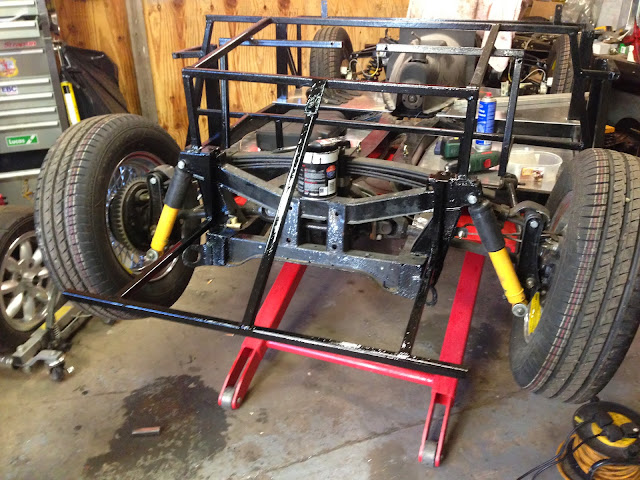
A. Install rear frame addition for hanging exhaust from
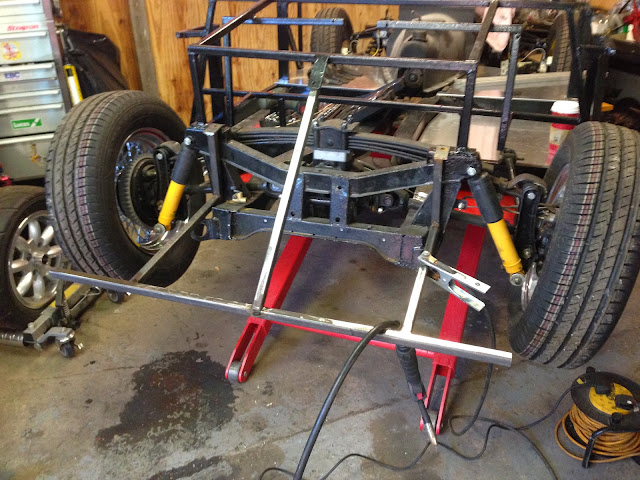

At least it fits! All the joints need re welding though as the pigeons have had a field day on it....
Grounds the welds back
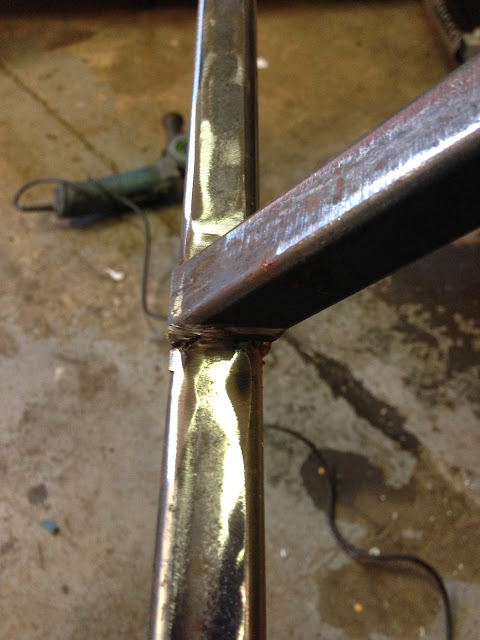

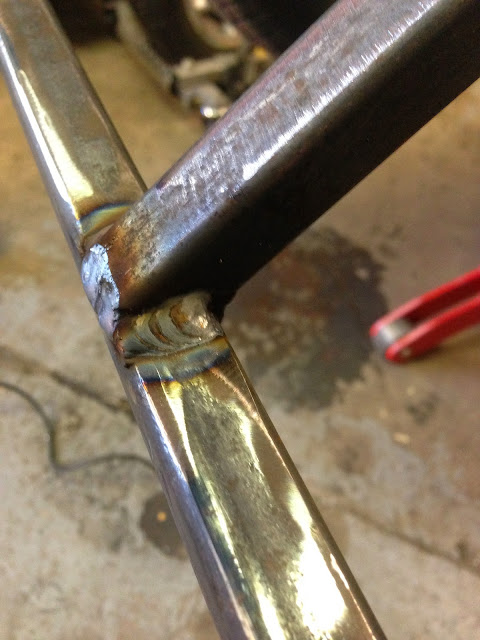
And rewelded
Had to weld the 2 feet on as i don't have a bolt-able mounting point thanks to the galvanising locking the sliding plates in the top way off centre, drilled the centre mount and bolted it up,
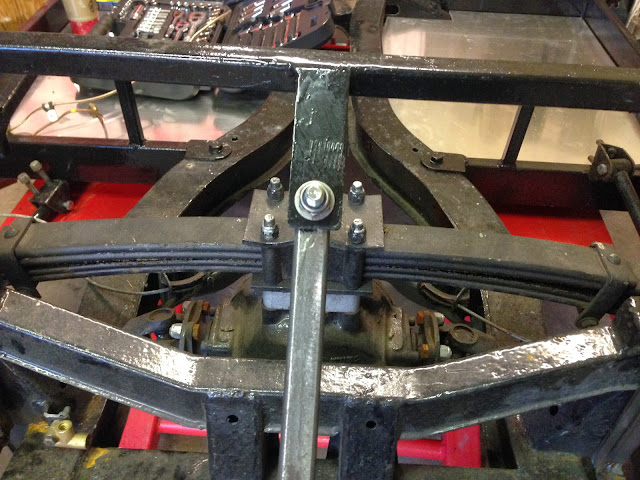
Couple of coats of chassis paint later and its done

B. Seatbelt mounts
Spent a very frustrating hours cleaning out as much of the zinc in the seatbelt mounting holes in chassis as possible with a needle file so i didn't wreck the threads, ran all three taps through though and its all good so popped in the belt eyes.


Then turned my thoughts to how and where to mount the outer lap belt mounts, i ordered some belt mount plates from Rally Design this is what i came up with
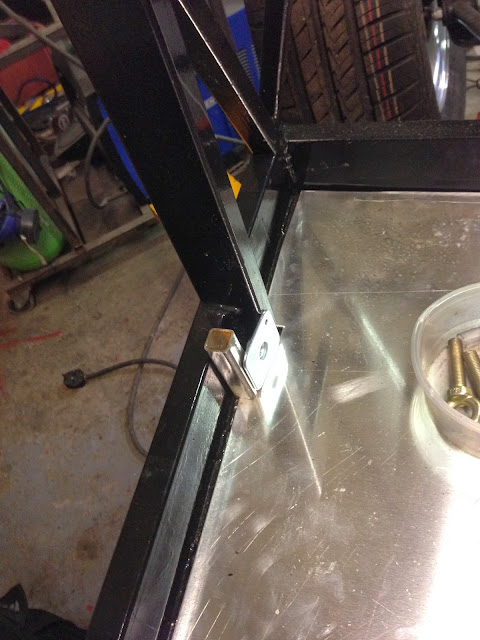

Just trimmed about 10mm off one side of the purchased mounting plates

The piece of box needed the end capping up so decided to do it before welding the box to the frame.

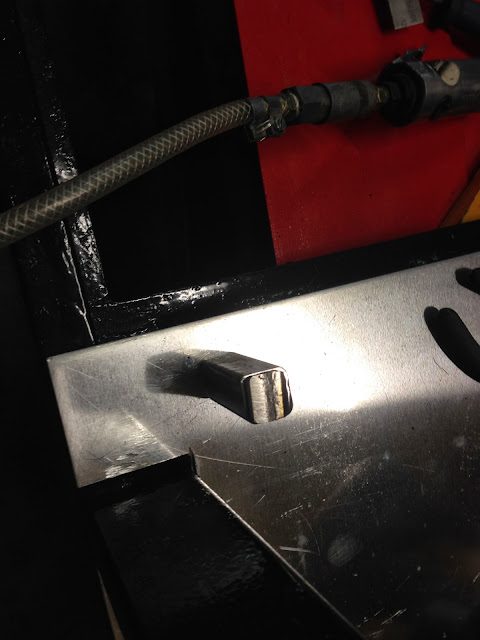

A little fine welding around the edges
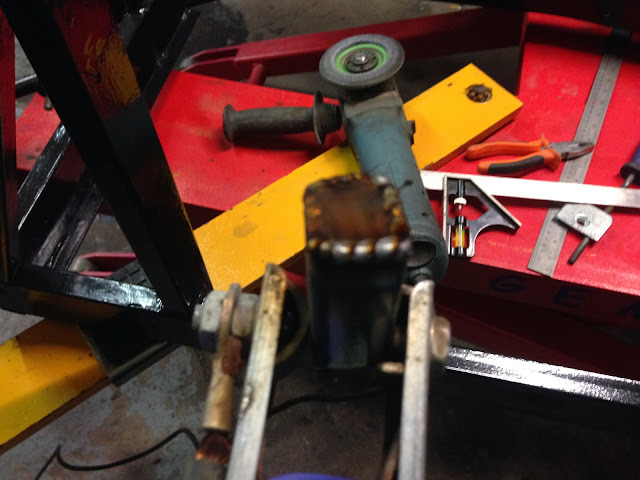

Quick clean up with a flap wheel later


Clamped it up and welded it in, not my prettiest welding but it was in a very awkward place , thats my excuse and I'm sticking to it!

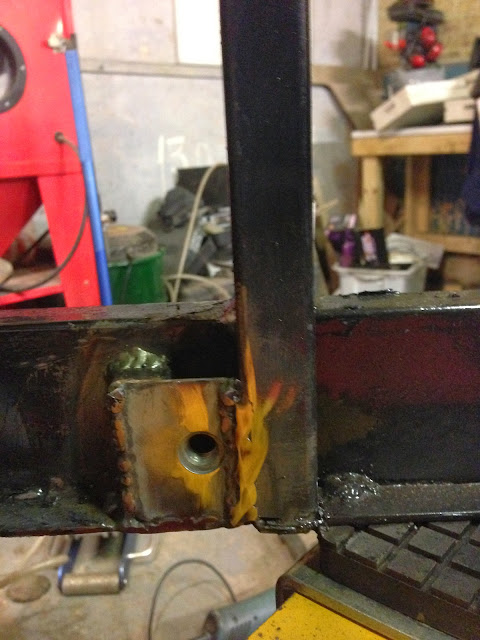

Couple of coats of paint later and the eye bolt installed, had to trim the thread back about 10mm as it was bottoming out against the frame


Then did the other side


C. Clean up the fuel tank
Borrowed next doors steam cleaner and gave it a good going over inside and out


Pleasantly surprised at how clean the inside is


Back at it tomorrow and will have Dave's help so should be more progress to report tomorrow.

Mac
23 Nov 2013, 5:54pm
Mac - I'm sure you are glad to be car building again after all that cleaning up.

I am thinking about adding some extra support at the back of my frame too.

So it is good to see how you have approached this.

Hope you had a productive today as well.

Good luck, Paul. :)
23 Nov 2013, 8:31pm
Just spent the last 30 minutes posting a progress update only to have it all dissapear in a brawser crash....arse! So if it looks a bit fragmented i apologies but im taking no chances

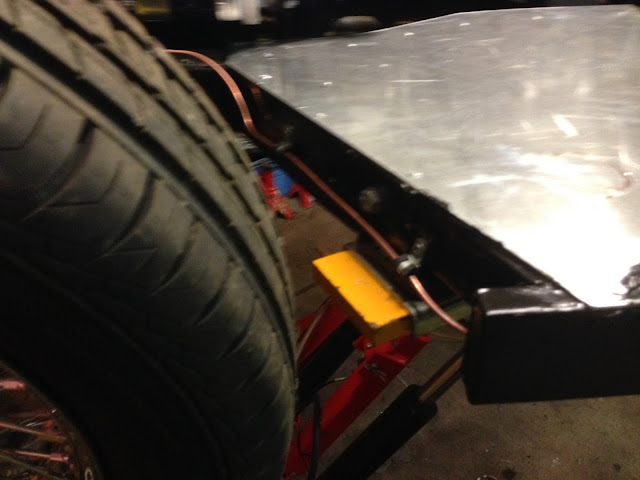
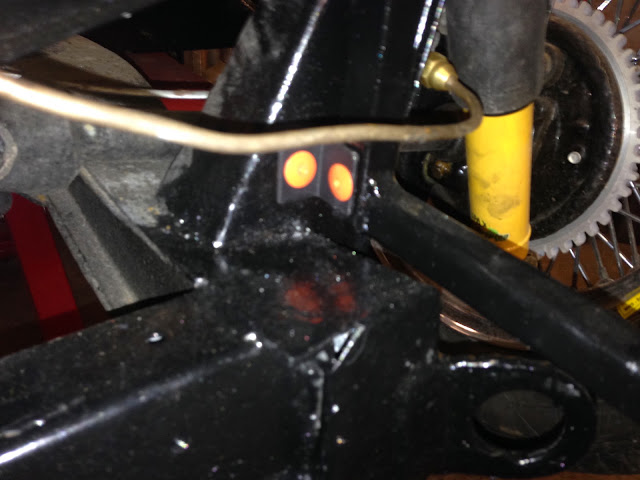
Refitted the rear brake link pipe that had to be removed to fit the Ribble supplied rear frame extension
23 Nov 2013, 8:36pm
Next on the list was fitting the front floors, basically pre drilled them both, scuffed the backs up well in preparation for the bed liner application next week and help key them for the PU adhesive i am using as well as rivets. Quick session with the air riveter and they were in.


Dave still has to learn that trying to push a drill bit through steel sometimes ends in humorous results!

23 Nov 2013, 8:39pm
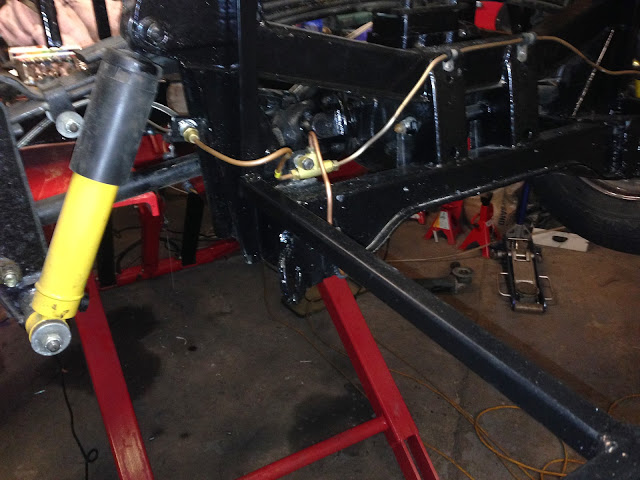
Next we ran the brake line from the front 4 way to the rear t piece.


23 Nov 2013, 8:41pm
Trial fitted the tank, unfortunately all the holes were 1/2 hole out so the easiest option was to notch the top tank flange,, Te he he i said flange..........


Once we had done this it fitted fine.


My tank sealing kit still hasn't appeared from Frost even though i paid for 48 hour delivery and placed the order wed morning.grrrrrr
23 Nov 2013, 8:42pm
Found a nice spot for the fuel pump so we got that fitted including the earth.


23 Nov 2013, 8:45pm
When i finally got back home the part i ordered to hopefully convert the fuel tank outlet from a threaded boss to an 8mm push on fitting had arrived, ill try it monday and fingers crossed that will allow me to re run the fuel line although i haven't decided exactly how to route it yet.


Back at it Monday so more updates Monday night

TTFN

Mac
23 Nov 2013, 9:17pm
Some good progress there . looking good.
It will be good to see a few well finished Cordites .
24 Nov 2013, 7:01pm
Viatron wrote:
... Just spent the last 30 minutes posting a progress update only to have it all dissapear in a brawser crash....arse! ...

Hi Mac,

My top tip for big updates is write them all up in a Word / Text Editor type programme first.
That way you can save all the words / photo links before you try to post them on here.
Then it is a simply Copy & Paste from one to another after hitting the Reply key.
You can then use the Preview button to check it all looks OK before posting the update.

Cheers, Paul. :)

PS
You are really making good progress now. :cool:
25 Nov 2013, 6:51pm
A bit more time in the workshop today after some work.
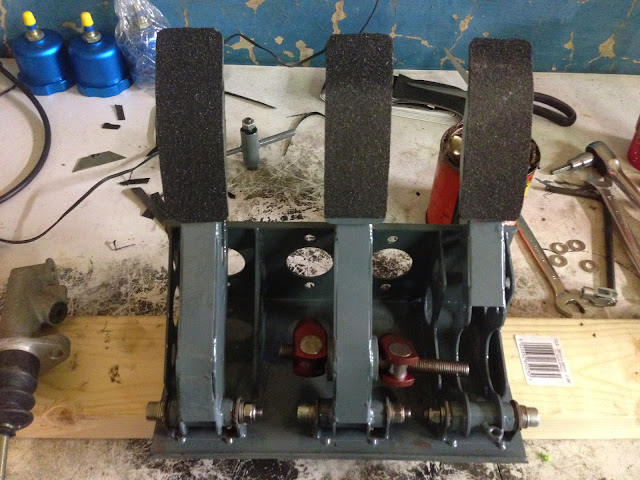
Pedal box now fully painted and reassembled


Skateboard grip tape added to the pedals and trimmed


Was a bit worried about the rear frame extension moving so made a couple of small l brackets out of some steel angle and riveted them using some nice big 5mm rivets to the bottom of the frame extension and the chassis, seems to have stopped any flexing now


Dropped of my template tonight on the way home to have the curved pieces plasma cut so i can finish the floor supports on the inside next to the chassis.

Back at it tomorrow and am hoping to have fuel line in and maybe another tial fit of the body so i can work out where the seats and steering column need to go.

TTFN

Mac
25 Nov 2013, 6:58pm
When i got home my fuel tank sealant kit had finally arrived from Frost


So thats something else i will be trying to get done tomorrow so i can get the tank fitted.

Mac
26 Nov 2013, 10:30am
Mac - I might steal that skateboard grip idea for my Spitfire accelerator pedal. :cool:

Is it self adhesive, or do you need to glue it in place?

Good luck with the petrol tank, Paul. :)
26 Nov 2013, 11:06am
Paul, its self adhesive, PM me an address and ill send you some, got about 5m of the stuff!

Just started the fuel tank, mixed the Marine clean 1:1 with boiling water and its definitely working! The plane is to get the marine clean and the Prep and Ready done today so it can dry out overnight then apply the actual tank sealer in the morning.

Bit of a change of plan with the fuel hose as I'm not sure where I want to run it until I have the body back on so am just about to start trimming the spitfire tunnel I got off the spitfire graveyard.

Mac
26 Nov 2013, 2:29pm
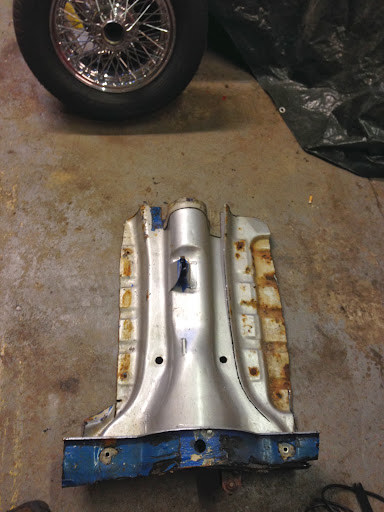
Tunnel is now trimmed,
Started with this:


Trimmed the edges to end up with this:


Had to trim a bit more to get it to fit at the back ok:


26 Nov 2013, 7:07pm
Got the first 2 stages of the tank lining done, cleaned internally using Marine Clean then used the prep and ready for prepping the surface in anticipation of applying the lining in the morning. If the lining goes as well as today i will be very happy, the inside of the tank now looks almost new!


Just. Had time to give the exterior a coat of Hammerite primer i found in the paint cupboard


At it again tomorrow
TTFN

Mac
27 Nov 2013, 1:41pm
Well the tank sealer is in....looks like a silver metallic paint to me buts its in now and the excess has been drained off and its done. One way or the other!!!

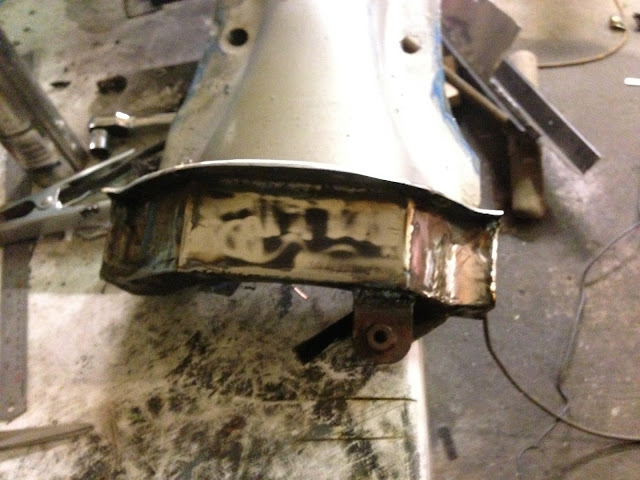
Whilst waiting for it to dry I have been plating up the bits of tunnel I had to cut to get it to fit properly, they are behind the rear bulkhead and as such are open to the elements so they need to be sealed. Started with this:


And after about an hour had this:


The more observant of you will have noticed that the top of the handbrake relay lever bracket was missing earlier. The company I bought it from were a little happy with the cutting and cut through it about 90% so I removed it totally then bolted the relay lever in to make sure it was all aligned and welded it back up.

Just got to figure out how to remove the remains of the underseal now and do a final trim on the edges and it will be ready for final cleaning in preparation for a coat of bed liber when I do the floors as I think the stippled black effect might look ok and period enough.

Onwards and upwards peeps.

TTFN

Mac
27 Nov 2013, 4:04pm
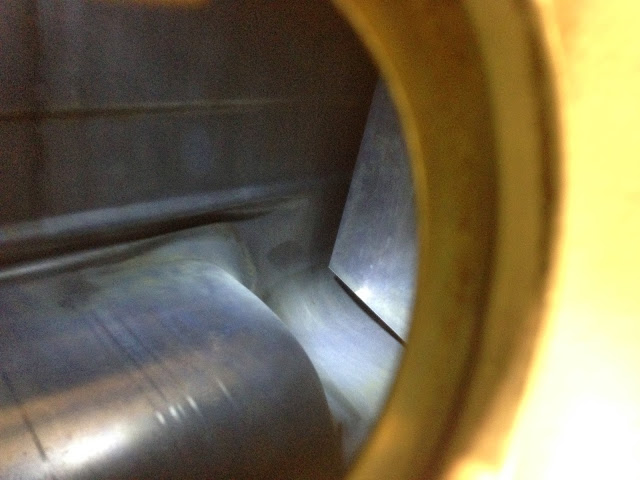
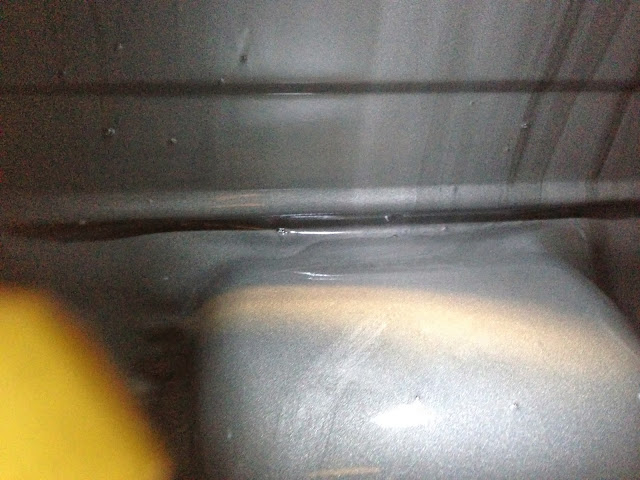
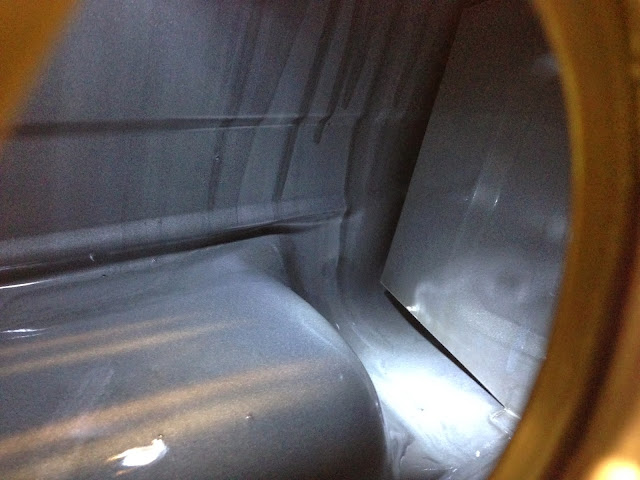
The tank has finally stopped dripping so have now hung it back up for the coating to cure, fingers crossed it should be touch dry in the morning, couple of pics of the completed job, to be honest it just looks like I have swilled a couple of litres of silver smoothrite around the inside but it does seem to "cling" to vertical surfaces better than straight paint would.


The dark steaks are runs where drips have slowly made their way down the walls of the tank, I have turned it every 20 minutes for the last hour and a bit to make sure it doesn't pool but it seems to be staying put now.

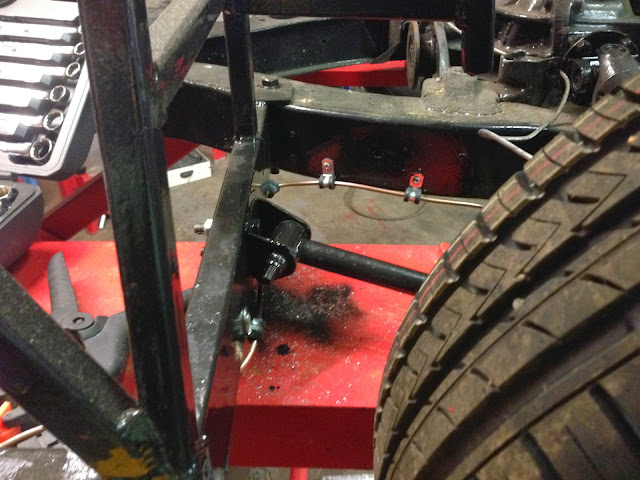
Also finally got the rear trailing arm brackets installed.


Had a bit of a moment when I tried to check the range of movement on both sides as I thought one was binding badly. Quick check though revealed that one shock was set to full soft and the other full hard so have set them both to a mid range setting and the range of movement and resistance now seems the same.

Hopefully by the morning the paint stripper should have done its work on the tunnel and I can steam clean it off and get a coat of primer on it.

As long as the tank looks ok I will also get a coat or two of chassis black on it and get it installed so I can then start to run the fuel lines.

The list of things to do before fitting the body is now reducing quickly and fingers crossed I'm on target to get the body at least semi fitted at the weekend.

TTFN

Mac