This is a read-only archive of the old Madabout Kitcars forum. New posts and replies are no longer possible, but every thread is still here to browse and read.
,
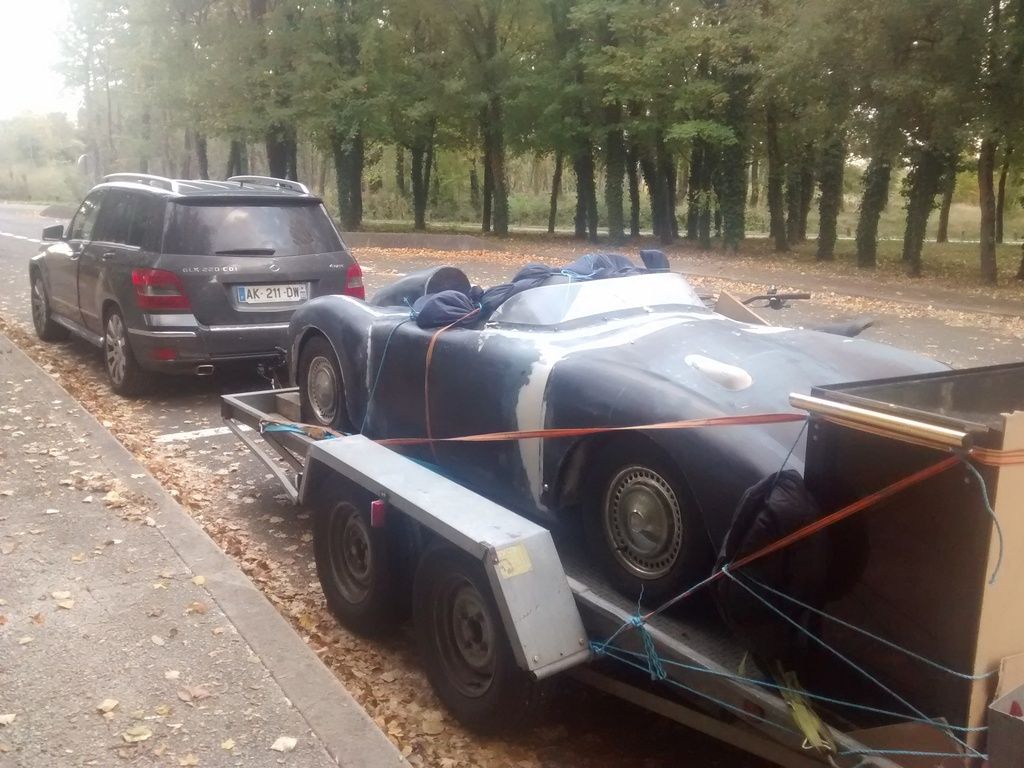
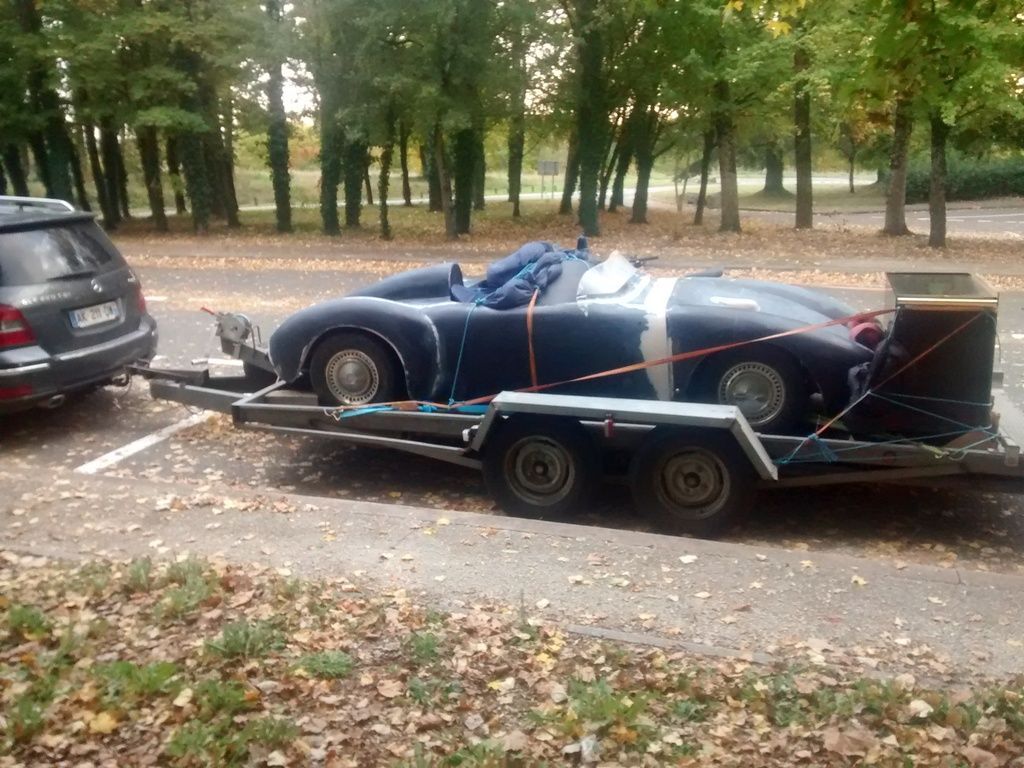
It was 24 hrs drive but made it with load intact, car attracted a lot of attention at services along the road, a small crowd and photoshoot near Le Mans, a bit embarrassing considering the state of it, now to start some progress again....
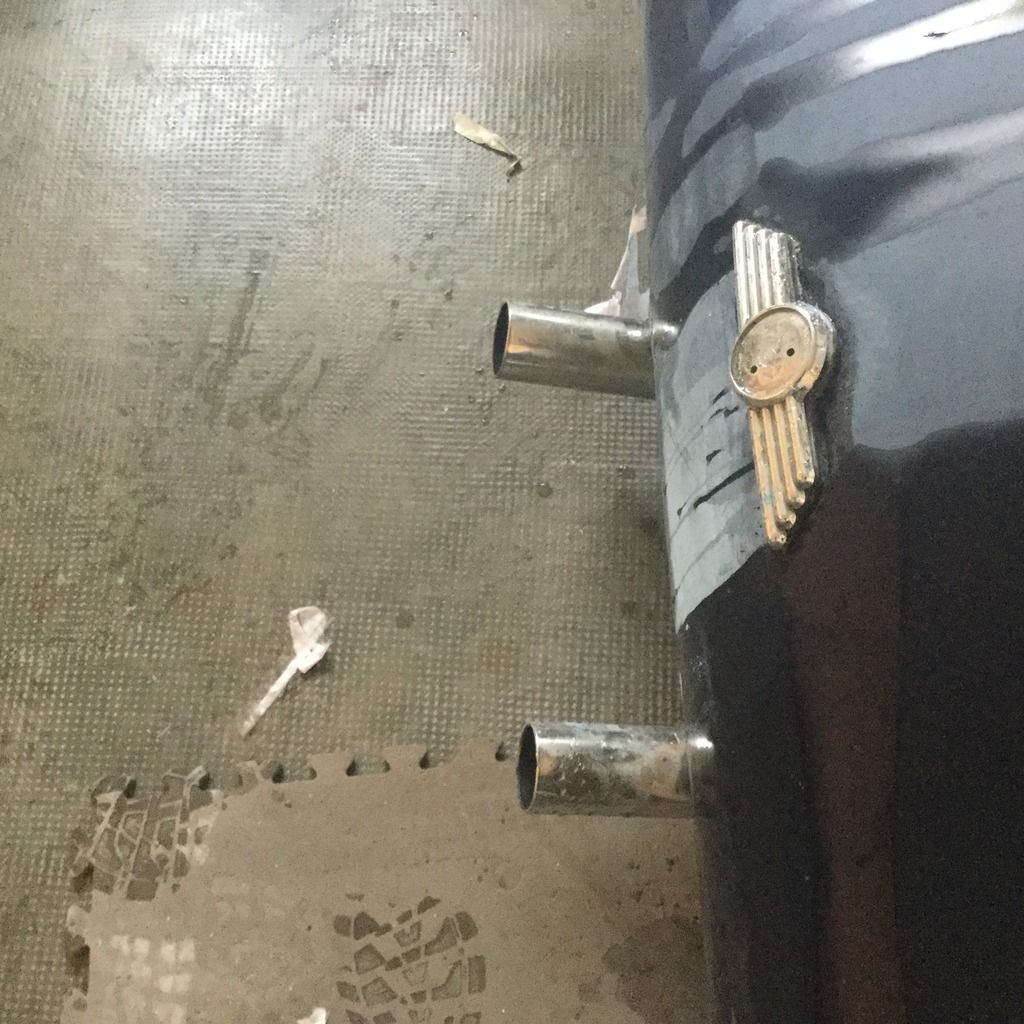
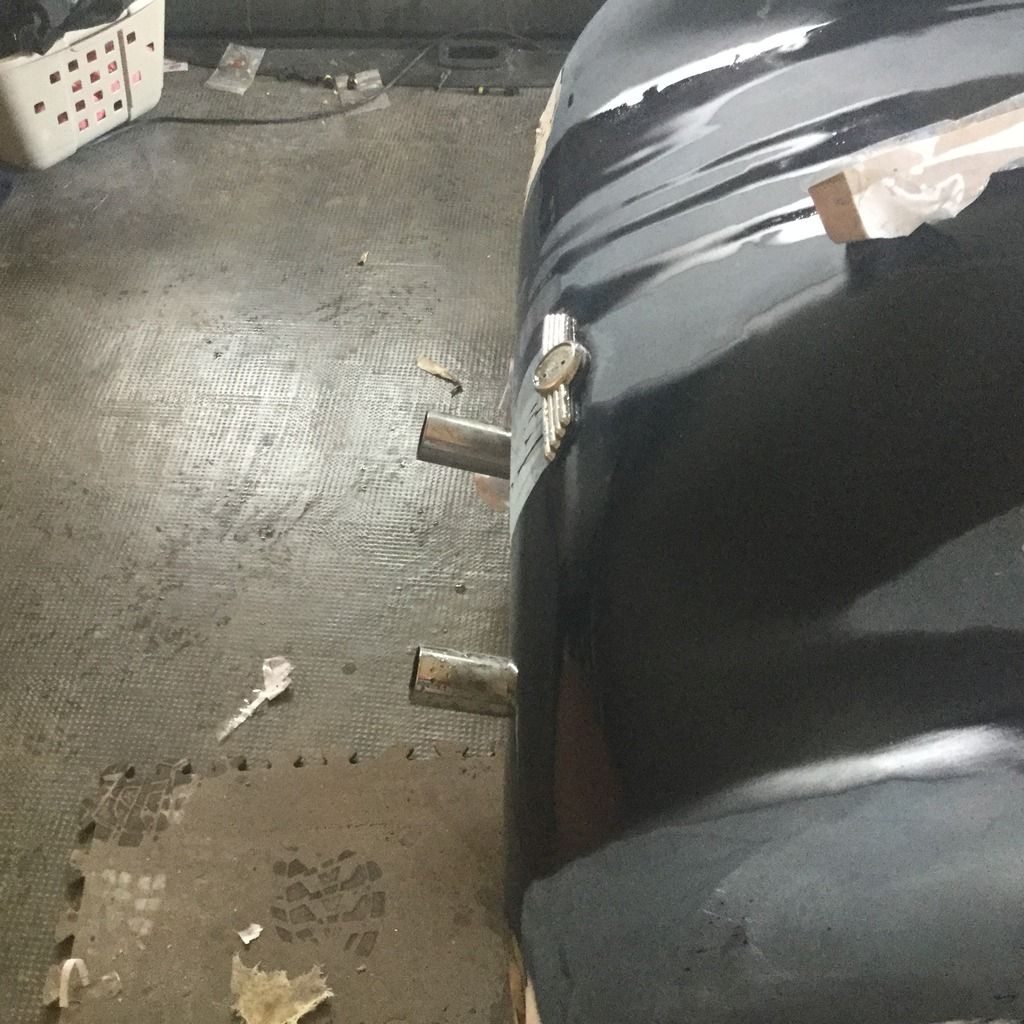
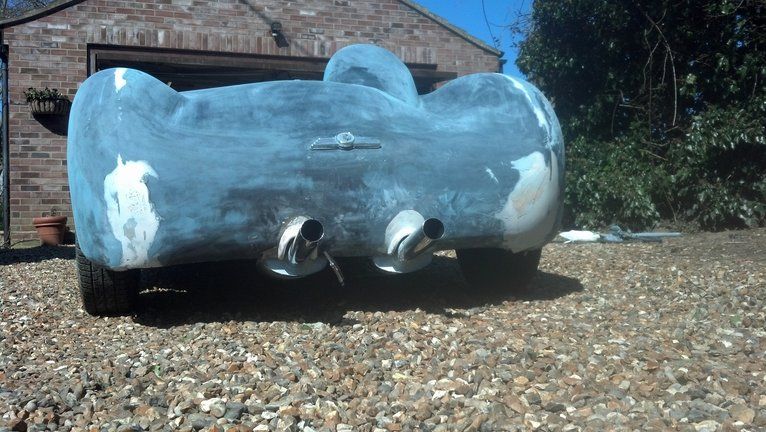
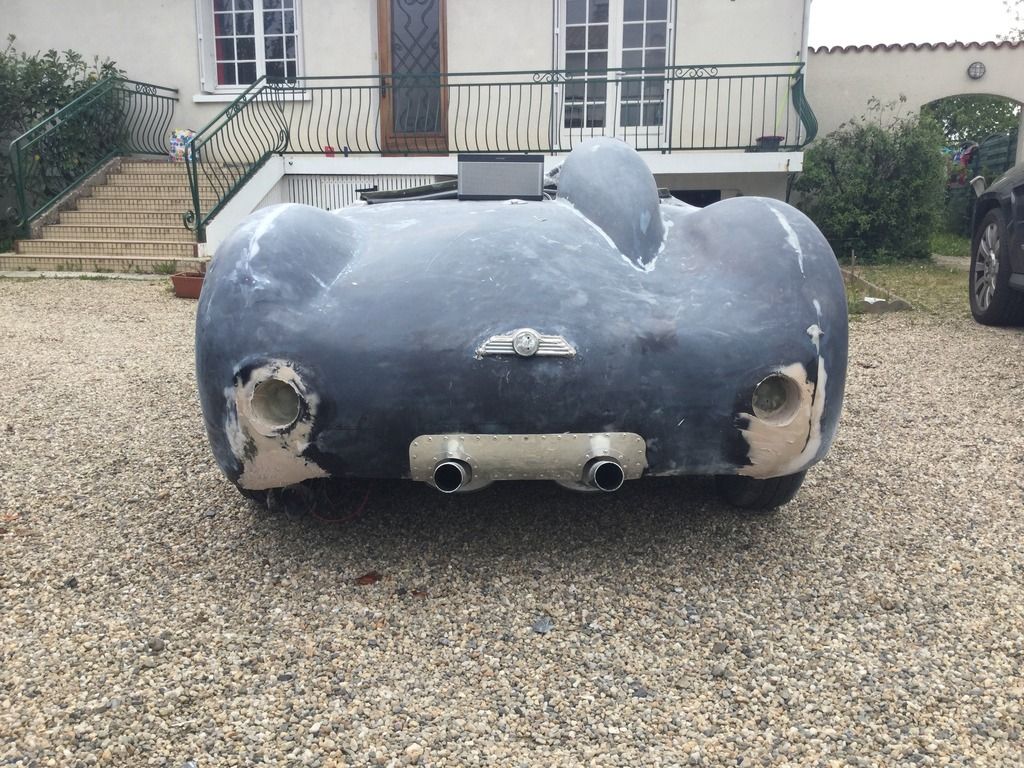
Wow time passes so quick since I posted any updates, still plugging away. Finally gave up on the slammed look when I altered the exhausts, have managed to cut the final one into two prong back by 10 cm and pull the tail pipes in the same making them a lot more acceptable protruding at the back, however when I pulled out of the garage I caught the rear apron on the floor ripping it up the rear seams, this was the final straw so lowering block out, with the swing Spring fitted it's still relatively low but not impracticable as before, repairs are complete, now just sanding and sanding. Got a scare reading the dangers of two pack so may take the outdoor spray route and sacrifice a little on the finish, better to be alive and see it....
This was before, will have an after shot this evening....pretty sure yours are already shorter than mine began, must be another difference between Herald and Spitfire
Paul, this is how the exhaust ended up, much happier with this length tail pipe, be aware if you shorten the y piece and pull in the box to reduce length the up turn of the tail pipe increases, this ended up in me rearranging the cut outs in the apron and remodelling the previous work I had done..
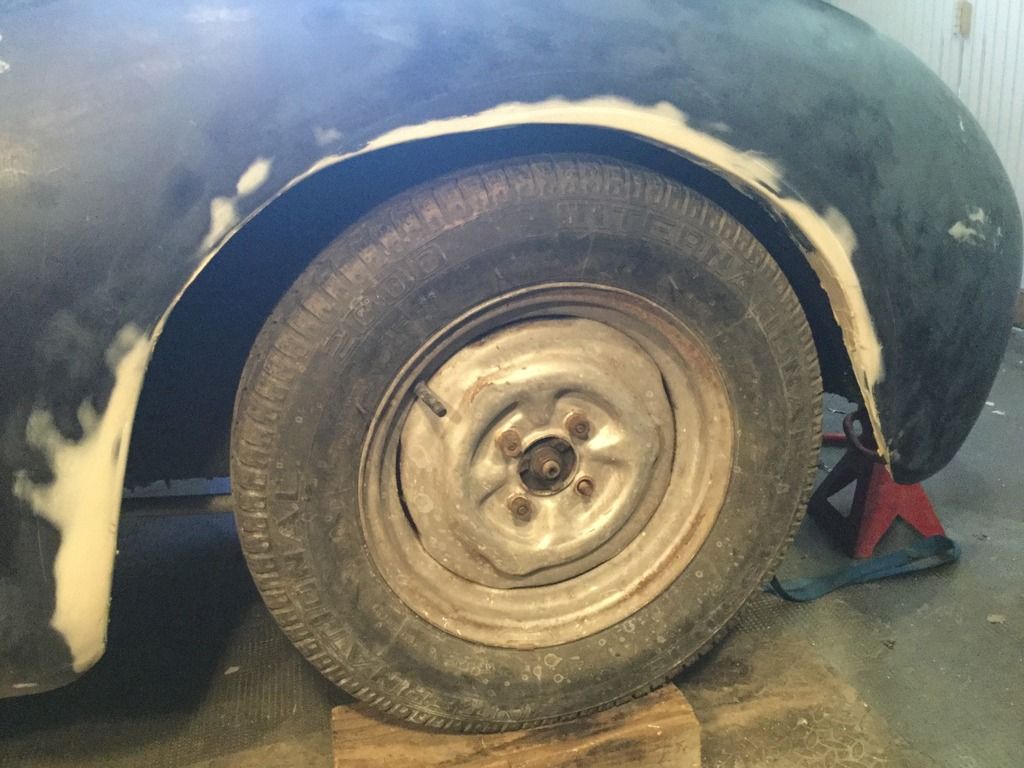
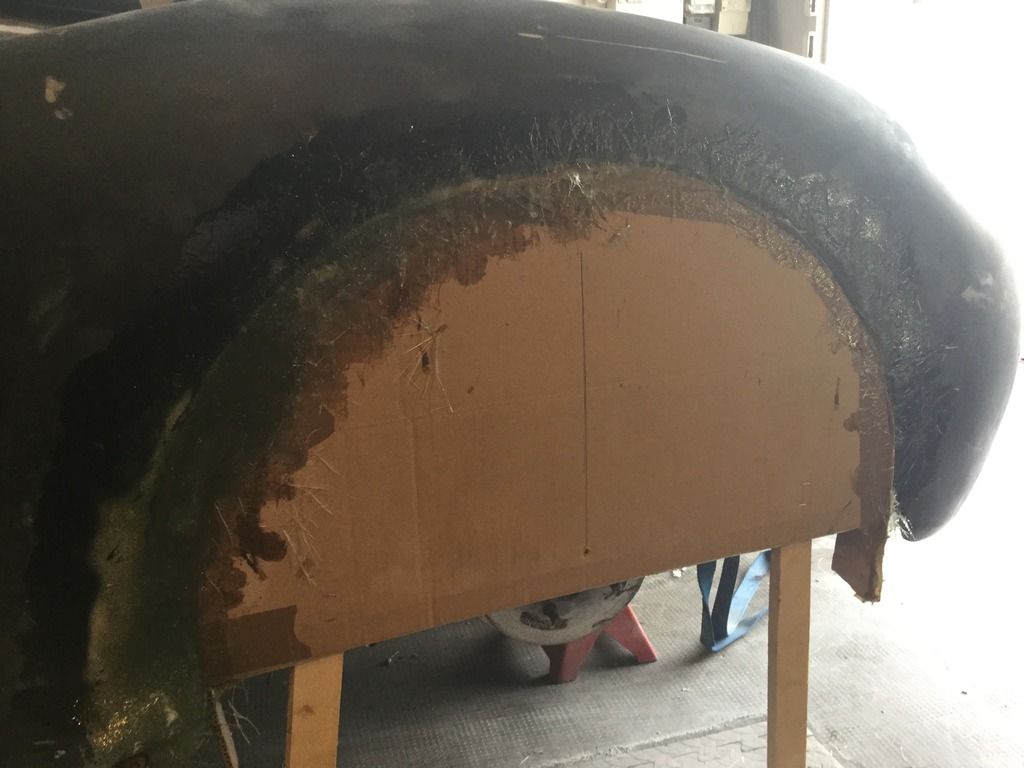
Continued rubbing down today removing brush marks from the gel coat, dissapointingly found stress cracks in the front quarter panel, believe this is where the body wraps tight around the framework, gauged out and filled, unexpected but better to find and fix now than after painting
Pops - Thanks for the photos, looks like we've ended up with a similar length.
In terms of Spitfire vs. Herald, my exhaust is the standard set up, but there is no room to move the silencer boxes back any further.
( As they would foul the chassis. )
Good luck with the rest of the body work preparation, Paul.
Now the nice weather is here and the nights drawing out
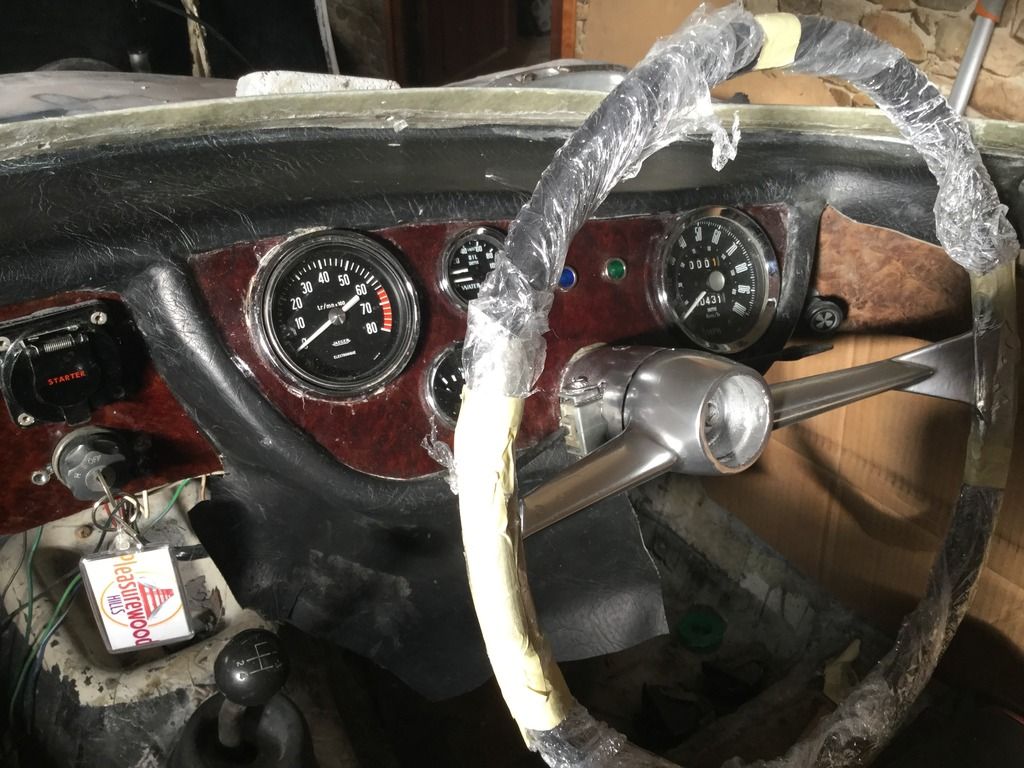
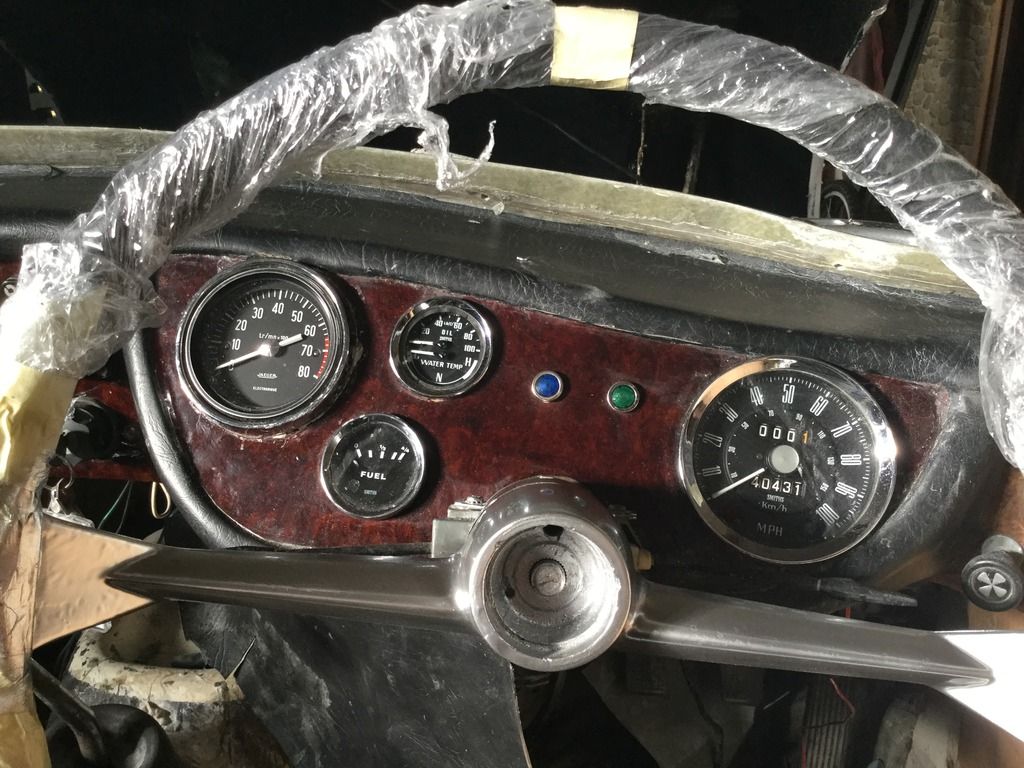
Thought I'd take a brake from sanding and filling and spend some time on the cockpit, instruments wired up only to find Tacho was broken so time to fit substitute, problem the new one was smaller diameter then original cut out so some new ideas needed, managed to fit the new Bezzle into the old so although doubled up its functional and fills the hole, starter button fitted and working main beam and indicator light on dash,
Sourcing parts over here is a nightmare car carpet ordered from eBay but shipping same cost as purchase☹️
Hope to have etch and primer on soon so I can see where I am with rubbing down, will be a great boost to have the car all one colour even if t is just primer....
Glad to see you're back on track. Also been suffering from 'lifegettingintheway-itis' so quite inspiring to see there's a way forward! Will be down your way this Summer - PM me if I can help with any parts transport.
Richard, very good of you to offer thank you, there are a couple of bits I need but will have to wait to see how funds are nearer the time��
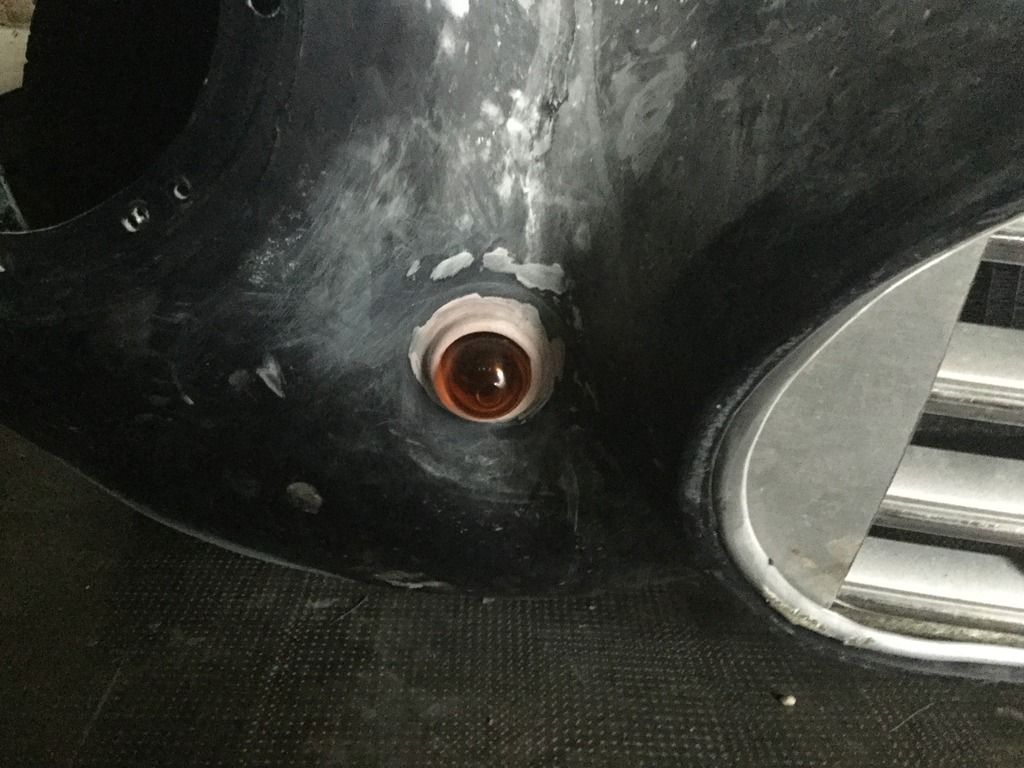
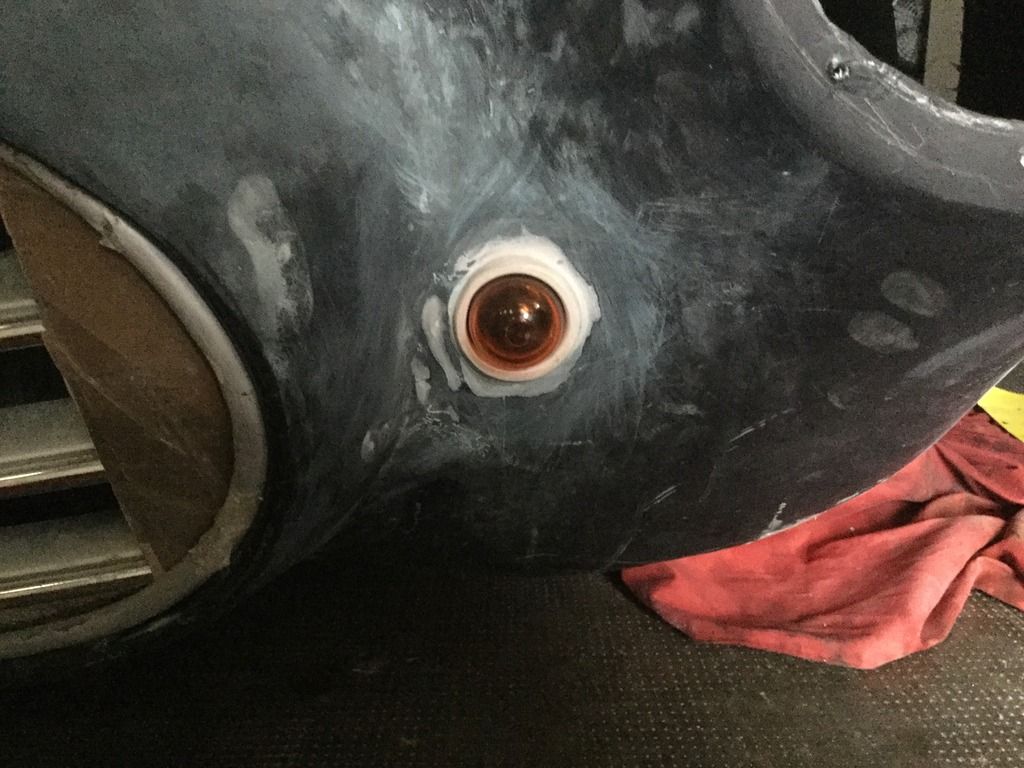
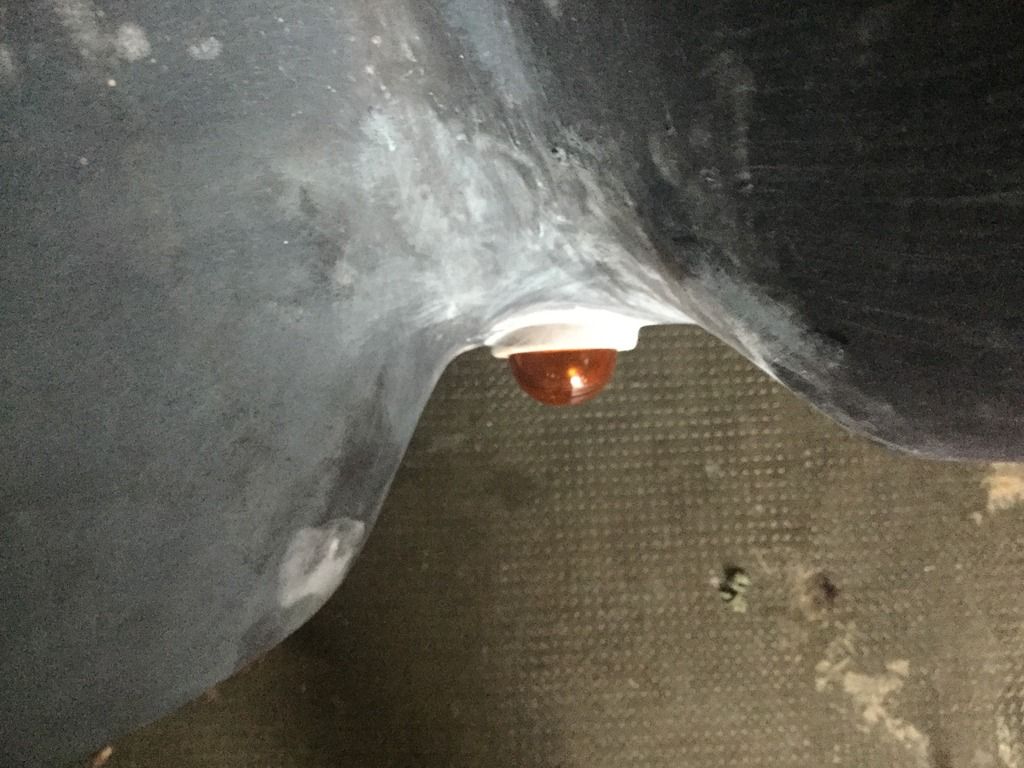
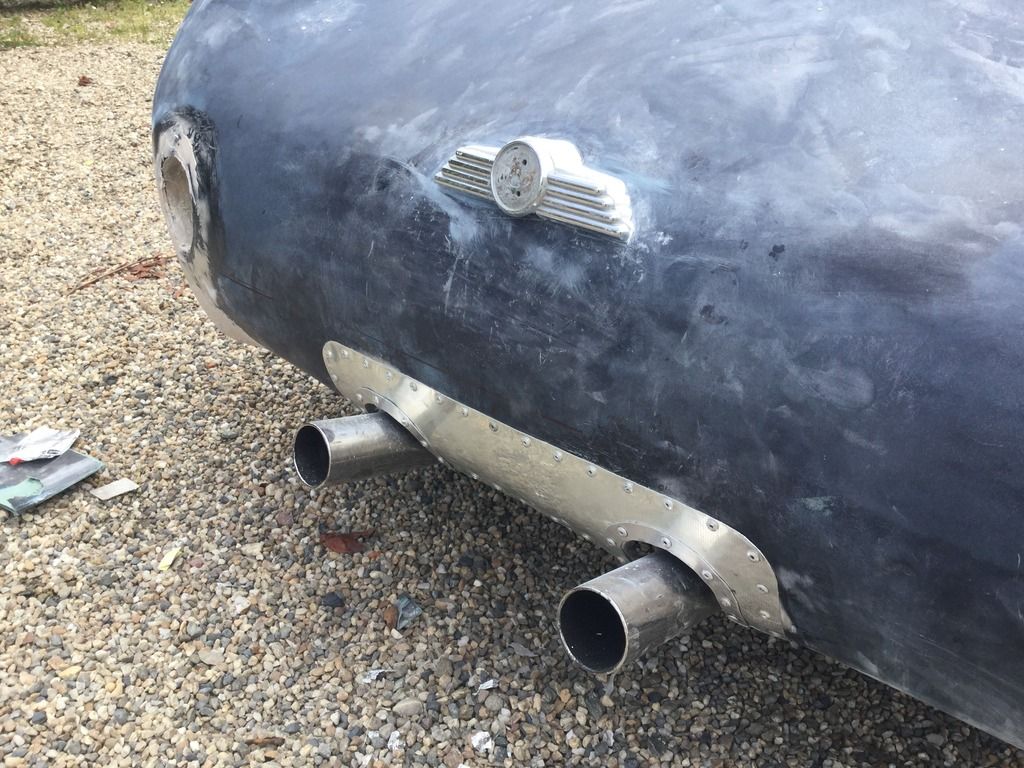
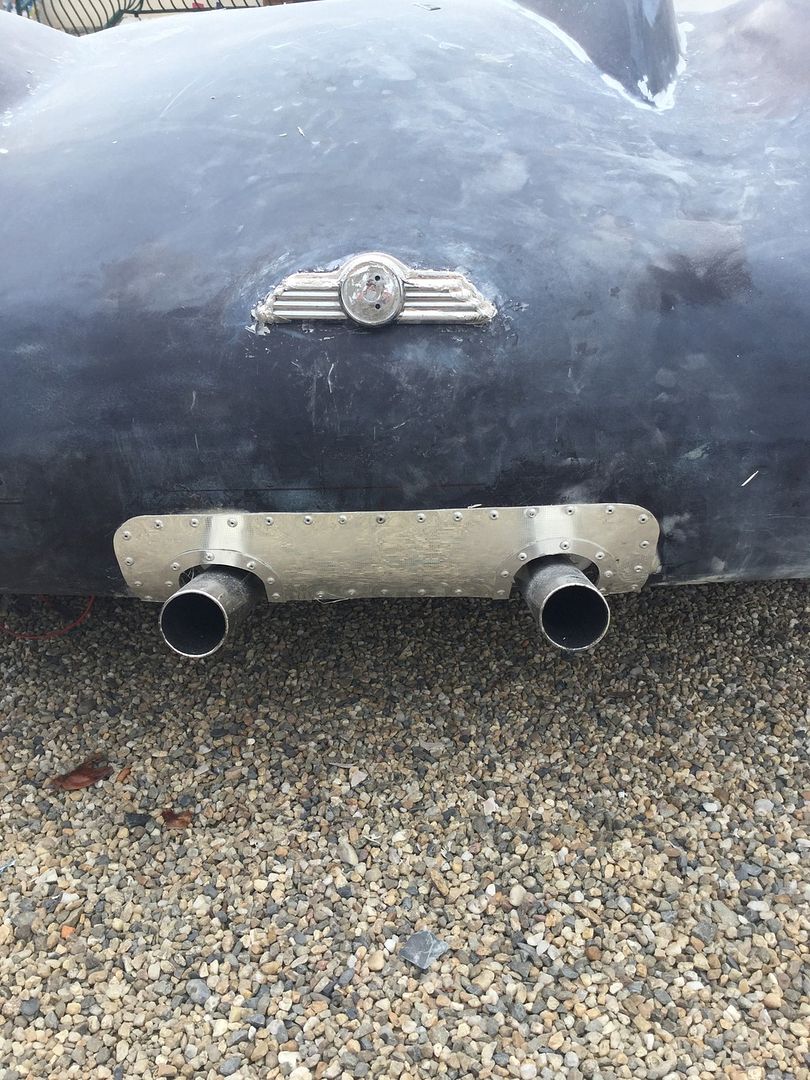
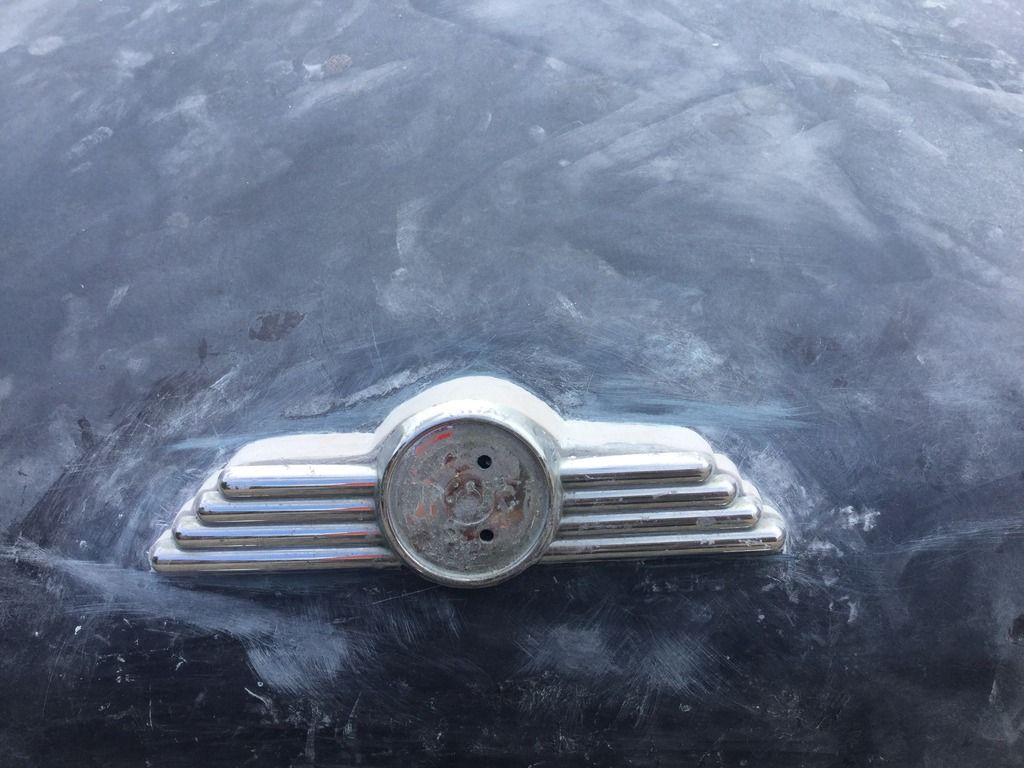
At last something to update, was not happy with my rear end something was not right so after a long time planning decided to take the plunge and shape the rear apron cutting it back by about 30mm, recut the exhaust again and made up a shield to go around the pipes. Finally decided to move the number plate light previously stuck directly to the body I thought I would try forming a shroud and mount it on this, this altered the angle thinking I will try and find a red lense to fit and make a third brake light in the centre, overall quite happy with the results and feel it's a bit more pleasing to the eye..
Roadster, Paul thanks for the positive comments I'm keen to keep to keep the rear simple much like the roadster
Rubbing down all day today paying the price for being over enthusiastic with the orbital sander as the swirl marks are quite deep and a nightmare to remove. Not sure how deep a mark the high build primer will cover but at the moment 600 wet and dry seems to be the answer but weeks of sanding ahead......��
Pops
I love the tunnelled tail lights Pops , thats a nice touch . Centred exhaust looks cool too ...some nice little features that make all the difference ...
Bodywork is a ball ache ...I hate it ...but it is always very rewarding at the end ...dont bust yourself up about getting it too perfect ...If you look at the genuine cars of the period , not the over restored investments that turn up at Auction , but a day at Goodwood types ...they are not finished to a high standard ...and , in my opinion , look better for it ...
 ,
,