This is a read-only archive of the old Madabout Kitcars forum. New posts and replies are no longer possible, but every thread is still here to browse and read.
WelshKiwi – Looks like you are making good progress.
I’m also sure that even seeing something as small as the side indicator in place helps with motivation.
Good luck, Paul.
Cheers Paul, appreciate it. Feeling well motivated at the moment but a slow week this week, my boys cricket and my daughters dance show have derailed the flow, but that is life! Hoping for a bit more over the next week or two.....
Good to see 'MY' bumpers being used, did Chris say that royalties would follow . . .
The side repeaters look fine, I sealed them with some soft butyl and had enough bolt length to fit well. They are certainly an item of beauty.
Is the panel base for the front indicators facing straight forward ?
We fitted some uprated bonnet struts, but it is tricky with a lack of space. Really need even more force to hold the bonnet up.
Lovely to witness your progress.
Hi Kidge, yeh sorry in respect to your bumpers/moulds taken from them. I was just made aware that you knew moulds were taken for future use and that they would be supplied with the kit I ordered. As far as royalities, tricky one.....you may have to squeeze a bit for those!
The fwd indicator pods do have a slight sidewards face to them, not directly fwd facing. same as yours? Did you straighten yours?
Will be looking further into the bonnet struts to see if a local company can sort an up rated strut for me. Also need to upgrade the springs on the catches when all the lights are in so the bonnet “pops” and allows me a one man operation.
Thanks for the good wishes tho, mild progress at best but progress all the same.
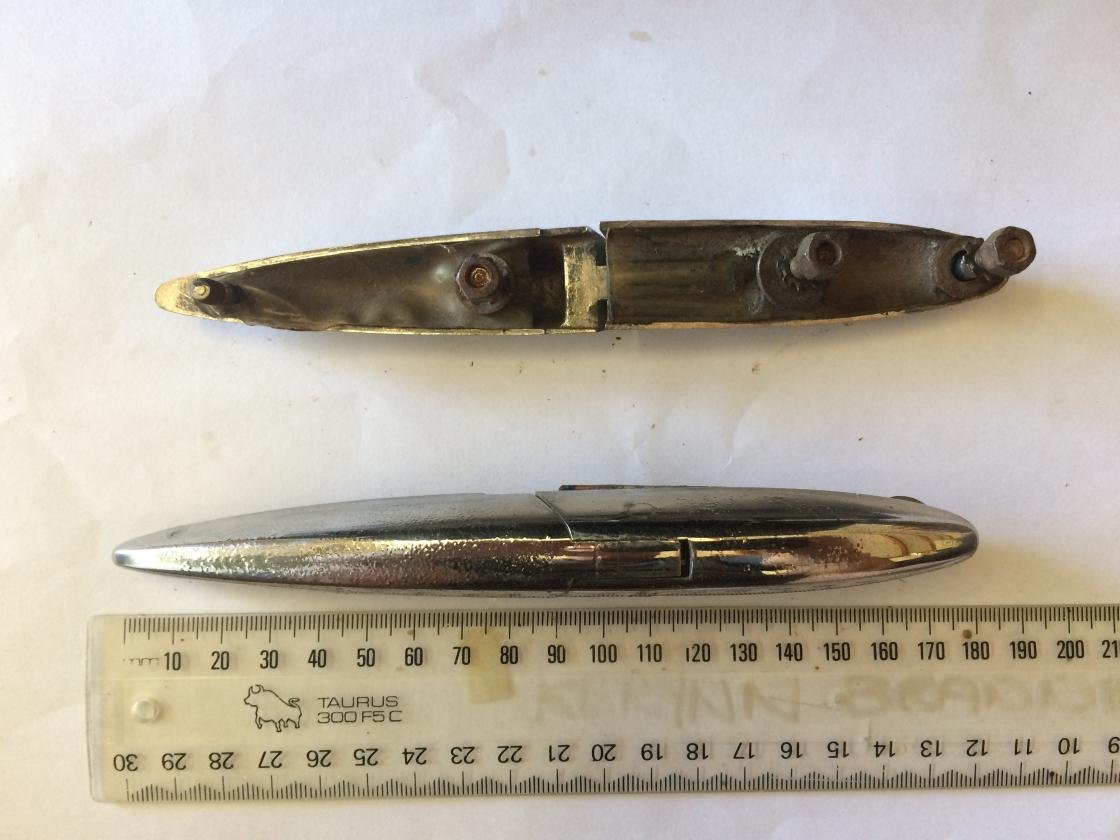
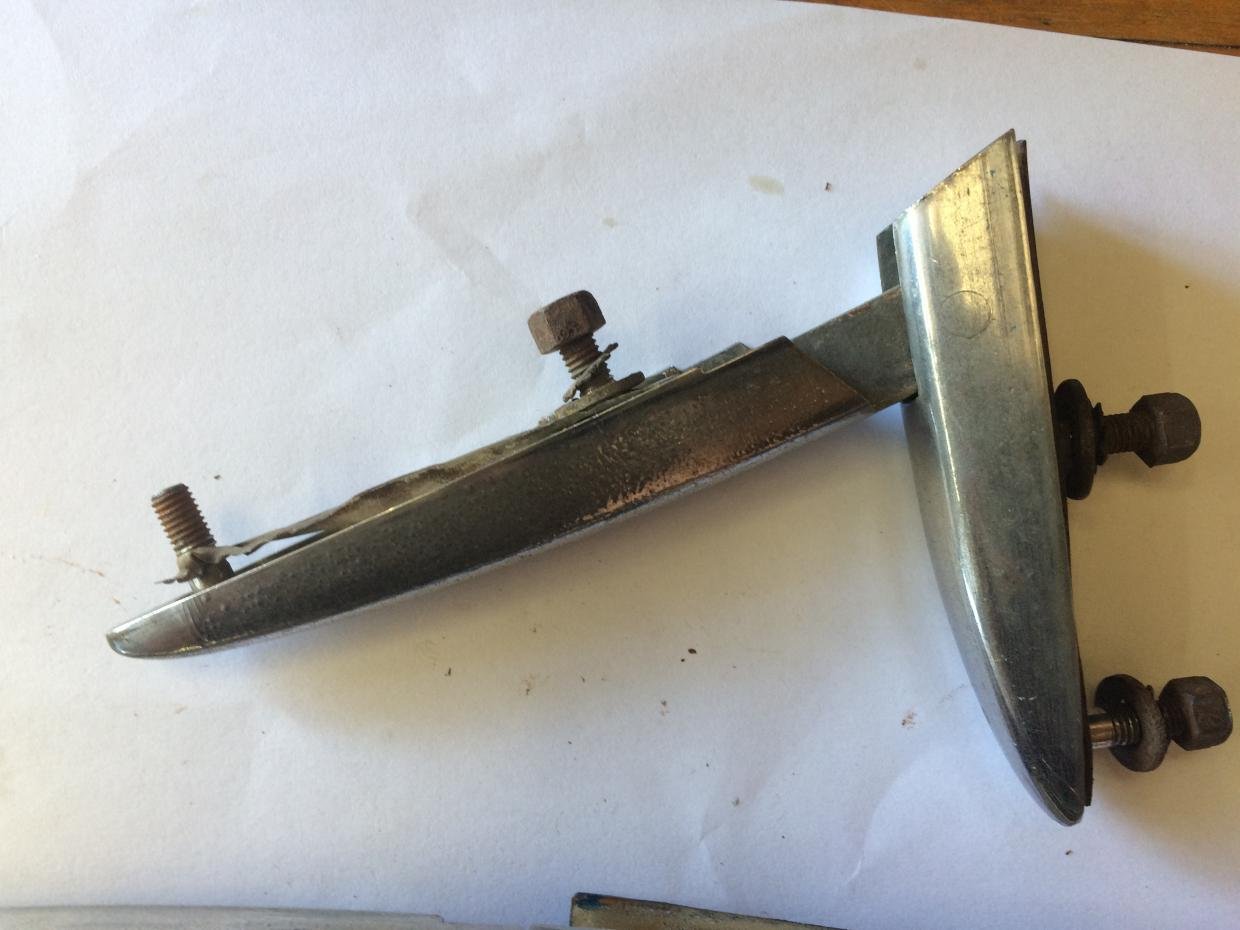
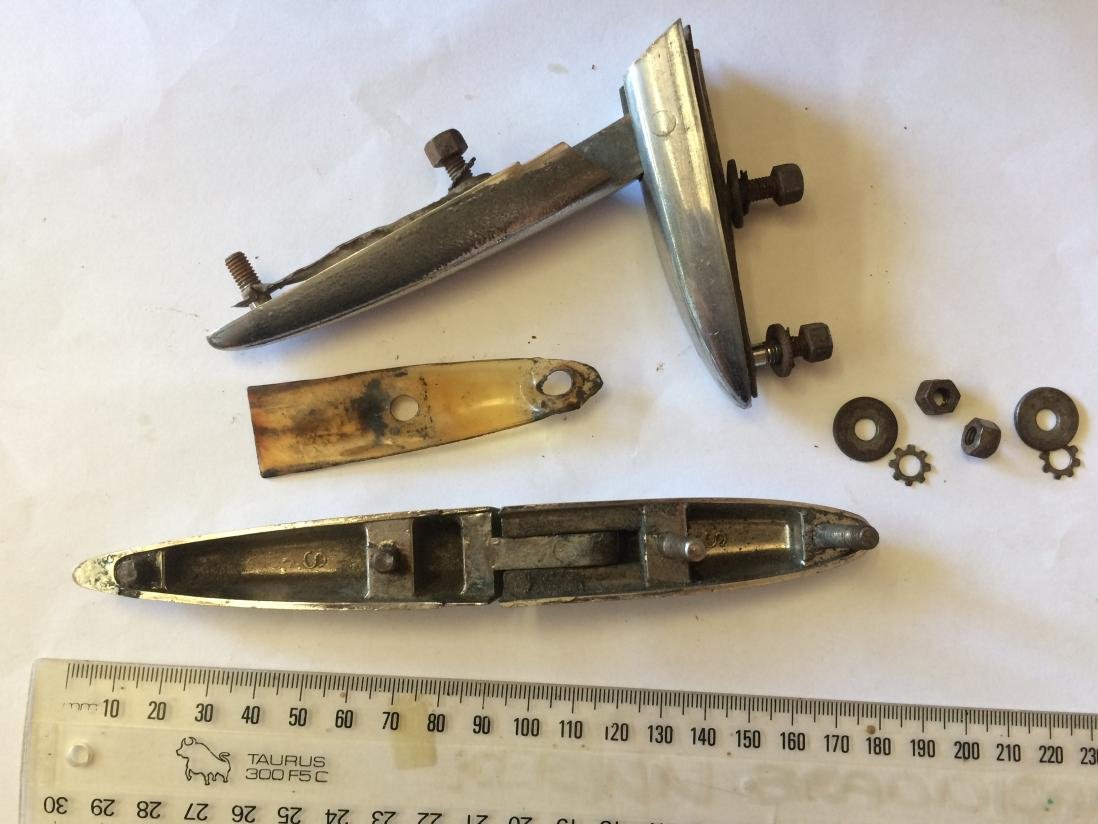
Hey Welshkiwi, I'm in Auckland too. I hope you are taking advantage of the glorious weather to make progress on your project. Did you ever find boot hinges? They look suspiciously like a pair I have in my garage from a FIAT Dino Sider (also built by Pininfarina). I want mine for my own project but you could easily use them as a pattern to cast and then chrome some for your boot. Superformance used to stock the FIAT items at 75GBP but I see they are out of stock at the moment.
Best of luck
Ross (in Blockhouse Bay)
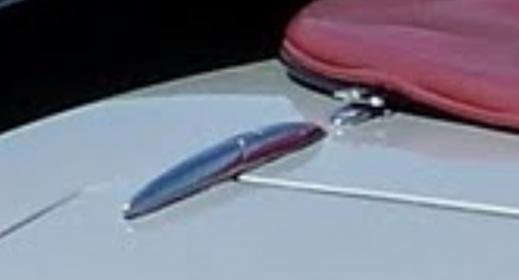
Those Morris Oxford / Hindustan ones are quite similar (didn't pinin have a hand in it too?) apart from the hump around the exposed axle. I saw genuine used ones on Ebay.com for USA$2000.....
The fiat Dino ones are identical apart maybe from being a bit shorter - easy and affordable to cast them a bit longer in sand then polish then chrome - all depends on how much authenticity you're after.
cheers
Ross
Hey Welshkiwi, I'm in Auckland too. I hope you are taking advantage of the glorious weather to make progress on your project. Did you ever find boot hinges? They look suspiciously like a pair I have in my garage from a FIAT Dino Sider (also built by Pininfarina). I want mine for my own project but you could easily use them as a pattern to cast and then chrome some for your boot. Superformance used to stock the FIAT items at 75GBP but I see they are out of stock at the moment.
Best of luck
Ross (in Blockhouse Bay)
Hey Ross, apologies for the delayed reply, have been away on summer hols etc enjoying our sunshine! Really appreciate the info etc and the offer on the hinge possibilities, will certainly bear that in mind. I am in Howick for your info.
I currently have Morris Oxford hinges on the back, not sure whether they will be the finals as they needed a bit of fettling/tidying. The backend is still in the crate and hasn’t seen the light of day yet due to other things taking over so pretty poor progress so far. I have had health issues which means I am heading for surgery in the next few months, my boy has had health issues which has sucked a lot of other time but one day the priorities will change!
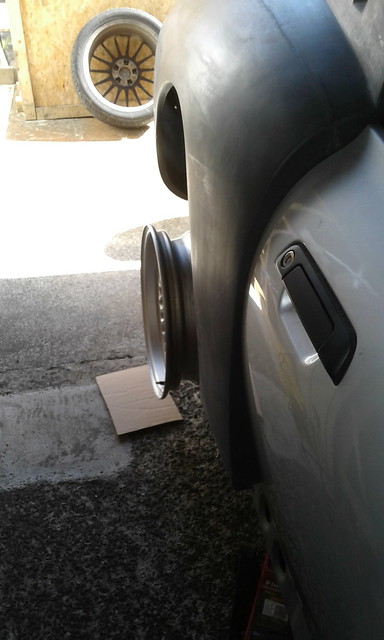
I have a lot of potential energy just waiting to turn kinetic. Steering wheel and boss ready to fit once tidied the electrical ballast. Seat belts arrived so ready to fit. Have got some 15” style 5 crosslace BMW alloys which I have trial fitted to the car. Could be an option with some 195/65/15 balloon rubber wrapped round them, need the panels fitted before I make final decision on that look.
Lots of wiring to run in front clam and rear section still and then going to start bonding for top of screen/front of roof.
Look forward to catching up sometime and thanks for the photos of your hinges, they look very similar and very nice! Cheers Mark.
Stimulated by Hugh and his steering boss questions I have made some progress - Cheers fella!
Initial fitment of the Nardi Steering wheel, PCD spacer and OMP boss kit tonight.
Temporary fit of wheel due to need to change the clock spring fitment to three locations (need to modify the plastic support) and probably need to grind down the OEM original hub spacer washer as it is now too thick and with the face of the column being angled it will be needed to be fitted.
Jacked the front up and steering lock and indicator cancelling all works. Even temporary rigged a rocker switch and the horn works ok so I know now the clock spring is good.
Had the car running as you can see below with no lights - ABS light comes on with ignition, self checks and goes out so happy days! Double stage wheel airbag needed two 3.3 Ohm resistors for that. (As well as the previous SRS work I listed before)
Managed to complete the fit of the steering wheel today as well as route the rear brake light high level harness, fit the seatbelts (new for LVV cert) as well as 95% complete the rear parcel shelf (some carpet covers to make up for the vertical roll cage supports/belt areas). Also prepped the top of the front screen ready for bonding on the support for the front of the roof.
The steering wheel clock spring had to be modified as the holes in the OMP boss were not quite the right PCD and only one hole would align at anyone time. So to fit the three screws I slotted the plastic supports, managed to fit all three screws snug and tight and threadlocked for security. The steering column washer/spacer had to be re-sized, it mic'd up at 10.3mm but to match where the original M series OEM wheel was positioned it needed to be 8.3mm approx. Got the file out and the wet/dry etc and it worked a treat. Just need to fit the horn button now, waiting for my order on E-bay to arrive, gone for a Pininfarina logo button.
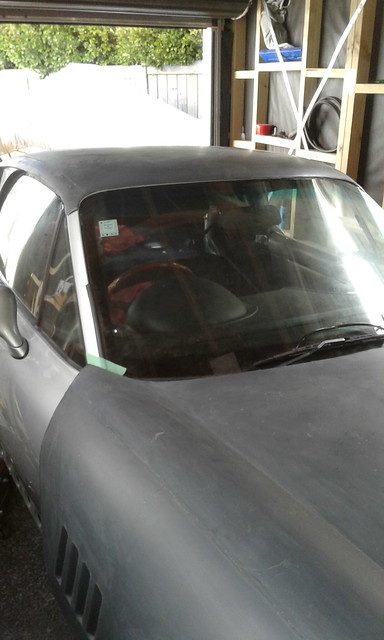
Managed to trial fit the roof/bodyline tonight. So happy to get to this point! There will be some challenges ahead as I have a few things that I think that may cause a bit of scratchy beard time, but hey what else do we have to do!
Main challenges will be:
- Security of the rear shell to the kit and forward roofline to car bonding - especially for LVV cert pass
- Gapping and spacering, body is sitting away from some of its support structures.
- Style 5 wheels at the rear may be too far out - May need to consider z4 hubs to bring the wheels under the arches if I go that route
- Fuel filler tubing clearance is not good with the rollcage and boot structure - I may be forced to change shape of the filler tube going through that area or even just fit the filler as a "dummy" and keep the fill original on the side with a fill flap. Hopeful I can sort the former....Here's some pics.
Looking good so far. What are your plans for the area behind the side windows ? Fill it so it follows the shape of the window ?
Hi Lucky, thanks for the comments. No plans as of yet on the window, I spec’d that shape with Chris/Dan as I wanted to see what the relief of the original window shape looked like, especially when all in one final colour.
I think at the moment I like it enough to keep, but as I will be running the car round in bare fibreglass for a wee while, I will get enough time to think before making a final call. Cheers.
Looking great Mark, I hope your family's health issues are sorting themselves out.
Ross
Thanks Ross appreciate it fella. Been a bit of a perfect storm since the kit arrived really, I have had a long term knee issue that has only just been confirmed is a torn meniscus so need the surgery in the next few weeks. My boy has had three issues over the preceding months which has taken up a lot of visits etc with the last one a fractured toe. To cap it off daughter has just done the same this week! Always something going on.....
I have finished the steering wheel now, Farina horn button wired up just need the battery connected to test. The heat over here though is making even the simplest task taxing! (Apologies to the blighty brothers who are freezing their proverbials off!) Cheers Mark.
Managed a bit of work over the last few days, no photos though due not really visual progress.
Constructed all the looms for the front clam and first fit in conduit on brackets. Battery refitted and all tested out so no mixups or wiring fails yet. Can start terminating at the lights etc now. Horn checks out as well so all steering wheel now complete and tested.
Tried a trial fit of the sills, but with limited room in the garage unable to get the doors wide enough open so left that for another day when the car is pushed out. Got to keep pushing for progress as I don’t know when the surgeon is going to call waving his knife at me with a smile on his face!
Oh also had a great weekend at Hahei at the leadfoot festival. If I get a chance I’ll download the camera and see what I can post up, but look on google for leadfoot festival if interested. It is a yearly hillclimb event ona private estate driveway that has been designed by Rod Millen to represent his favourite parts of goodwood, pikes peak and forestry stages. Awesome event with awesome cars.
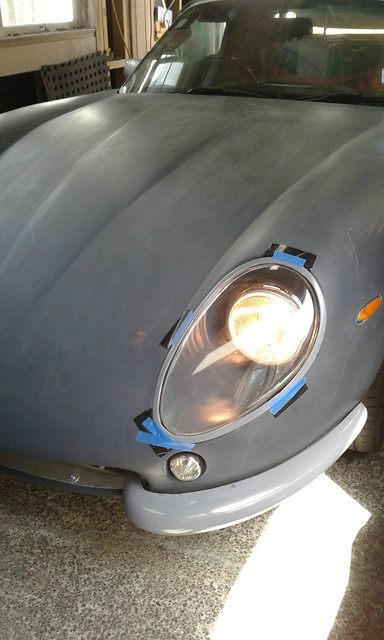
Be a few pictures soon, just been doing the hard graft under the bonnet with non visible stuff. Front indicators and side indicators in and working, R/h headlight in, pilot works and both beam circuits active, now need to fit 5 pin relay so that I can run the low beam and switch them off when high beam selected. Once I have that sorted will post a diagram for a record and others info. May have bought the wrong trims for the headlights as they seem not deep enough to cover the headlight assy. Need to work that out before I buy anymore! Might just be I need to adjust the light assy a bit. Once R/h side complete need to work on the bonnet safety catch mech extension. At present need to fit my hand in the l/h headlight bucket to open the front clam! That should fill my weekend upcoming........
Hi guys, thanks for all the good views and enthusiasm so far!
Made progress as planned over the weekend, the heat though is making it pretty difficult to work in, NZ is cooking at the moment!
Wired in all the front lights - All working as planned and low/main beam working through the relay's that I have fitted both sides. (Mini auto relay/5 pin) 20amp Normally closed (NC) and 40 amp normally open (NO) side. Have rigged the low beam to use the NC side so that it operates normally. Once either high beam is "flashed" or put on with the stalk switch, then that powers the relay switch, uses it to feed the high beam and of course the NC side becomes open circuit and cuts the low beam. (This is using all the original wiring extended from the front of the car, so all bulb circuits had a +ve and -ve lead.) I have used the low beam ground wire for the H4 plug and the high beam ground lead for the relay switch ground, but it wouldn't really matter either way round. Works well.
Also extended the bonnet safety catch lever so that I can reach from the grille and pop the catch. Needs a bit of tidying and polishing a bit but works well.
Hoping to start looking at sills and front wheel arches/guards soon......
As you can see from the photos - gaffer tape if my friend at the moment to give me an idea of the look! Happy plodding!
Dull and raining here so looking at your pictures is a ray of sunshine to me! The headlamps fitted with those covers and surrounds look great. Keep at it. Every little task completed moves you nearer your goal.
Dull and raining here so looking at your pictures is a ray of sunshine to me! The headlamps fitted with those covers and surrounds look great. Keep at it. Every little task completed moves you nearer your goal.
Thanks Froggyman, appreciate the motivation. I have the cert guy coming round tomorrow for a good chat on the rear body fixing amongst other things. There are a few areas I may have to do a few mods to for ensuring the certification side is happy. I’ll keep you all posted! Generally though I do feel heading in the right direction just! Cheers.


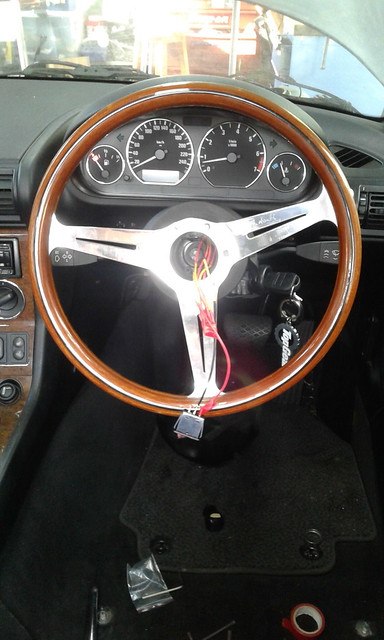 Nardi Wheel 1
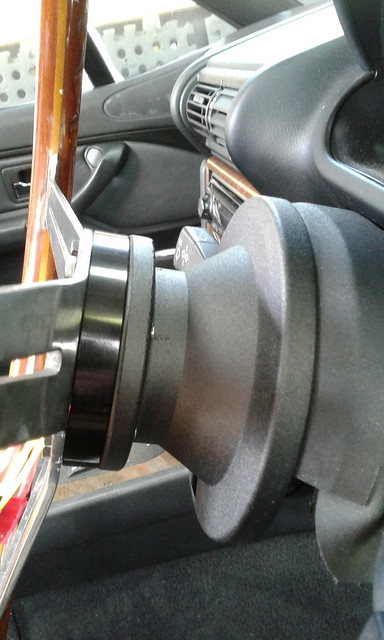 Boss Adaptor and OMP Boss
  Wheel Wiring Initial double ballast
  Running - No Lights
 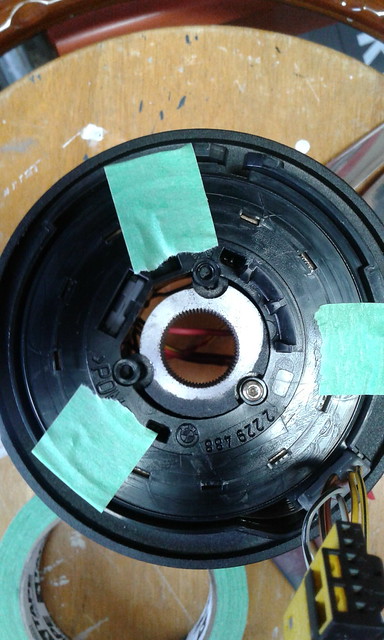 Clock spring - unmodified
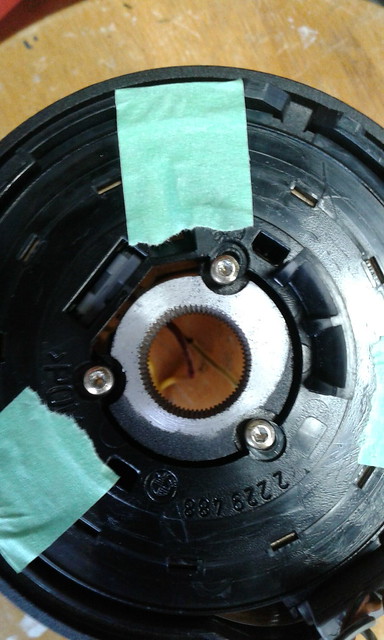 Clock spring - modified
 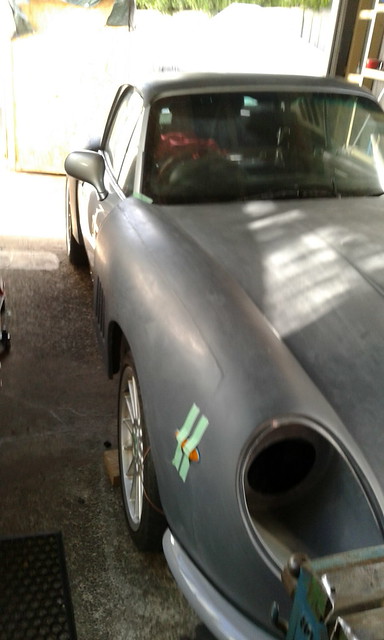 front quarter
  Rear quarter
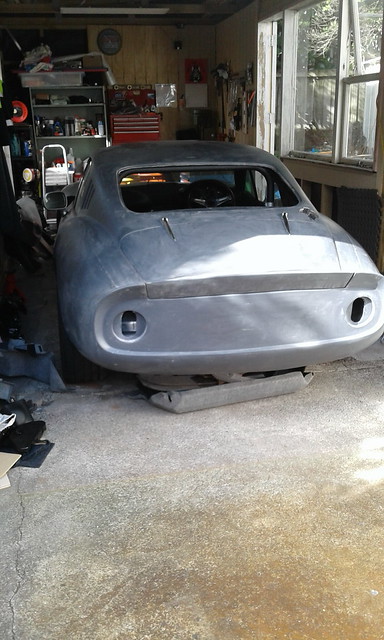 Rear view
  Roof trial fit
 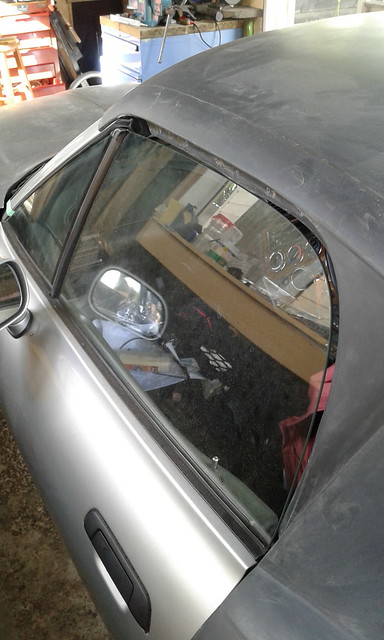 Side window
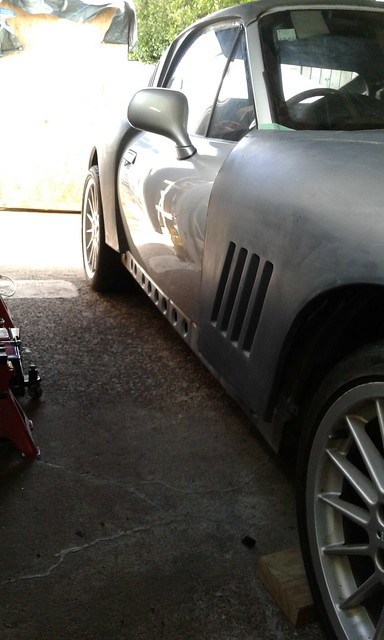 Side
Side 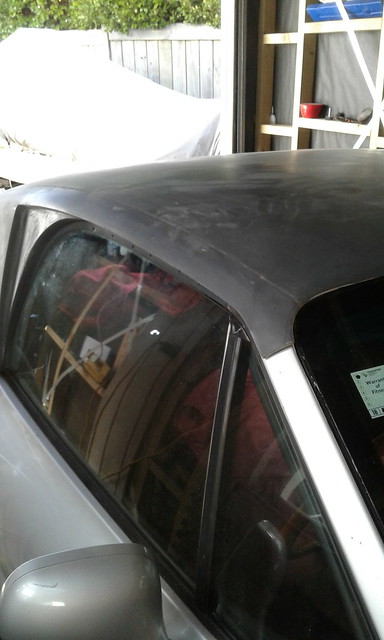 Trial body 2
  Trial body1
  trial style 5 wheel
 RH Light main
  Pilots and indicators
  LH light main
 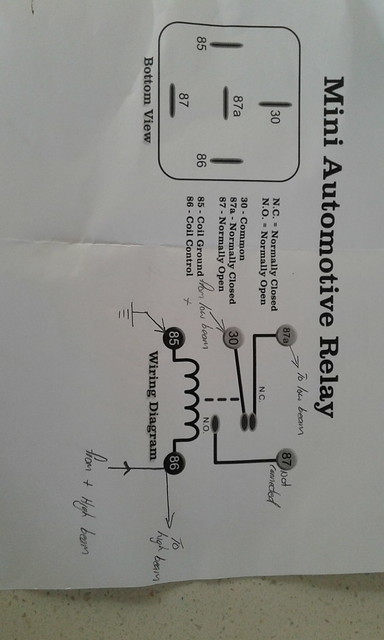 Front light relay setup
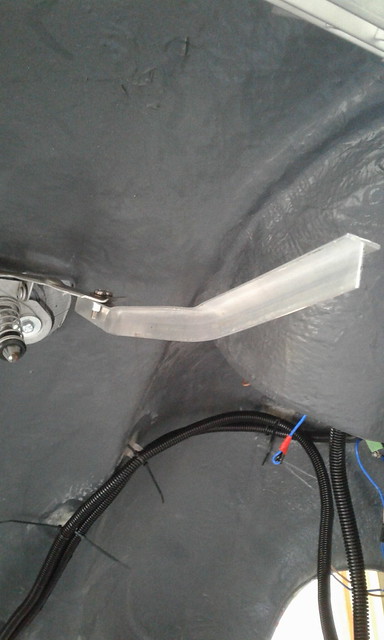 Safety catch extension
  Safety catch rivnuts
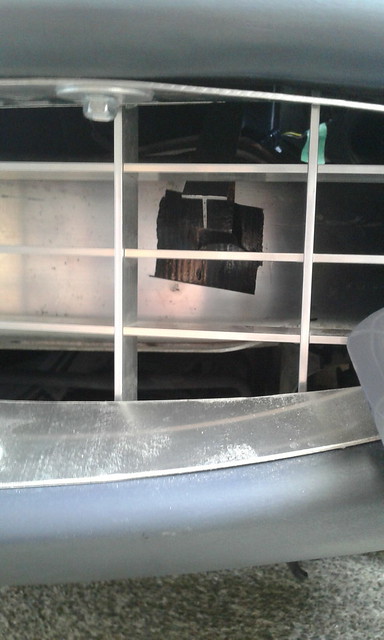 Safety catch end thru grille