This is a read-only archive of the old Madabout Kitcars forum. New posts and replies are no longer possible, but every thread is still here to browse and read.
My name is Deni. Approx. 2 years ago I've bought Triumph Herald rolling chassis and it included a Spitfire 1500 engine and a single rail 4 gear box as well as a Miglia kit. As you can see, it took a while to get the build going, for all sorts of reasons, but I have now finally started!!!
Just to warn you all, I am probably the least experienced car builder you will ever 'meet', but reading your threads I was inspired and thought I am going to give it a go.
This might be a slow build but I hope to finish the car and will do my best to persevere and muddle through to the end.
I have started only a few weeks ago and had a chance to go to the garage a few times, so you did not miss a lot - mainly cleaning and painting the chassis and other attached bits, which is probably not the most interesting part anyway. I was very lucky to buy, what I think is a rolling chassis in a very good condition, which should make the build a little bit easier hopefully.
I will try to upload some photos to bring us to a current point in the build.
Hi Barber and Paul L - thank you guys for your posts. I will post a few more photos later on and that will bring us to the point in the build where I am now (mainly cleaning and painting the various bits!).
Next time I can work on the car will be Weds and I will make more photos and post them afterwards.
I know that a lot of you replaced suspension bushes at this stage for polyurethane bushes but for now I'm going to keep it simple as these look in decent condition. I'd like to build this car as quickly as possible keeping the costs down, and wait and see how it drives and then keep tinkering on it when it's finished. I have also bought a one inch lowering block but for now, I'll keep the original shock absorbers before I decide about GAZ adjustable shocks.
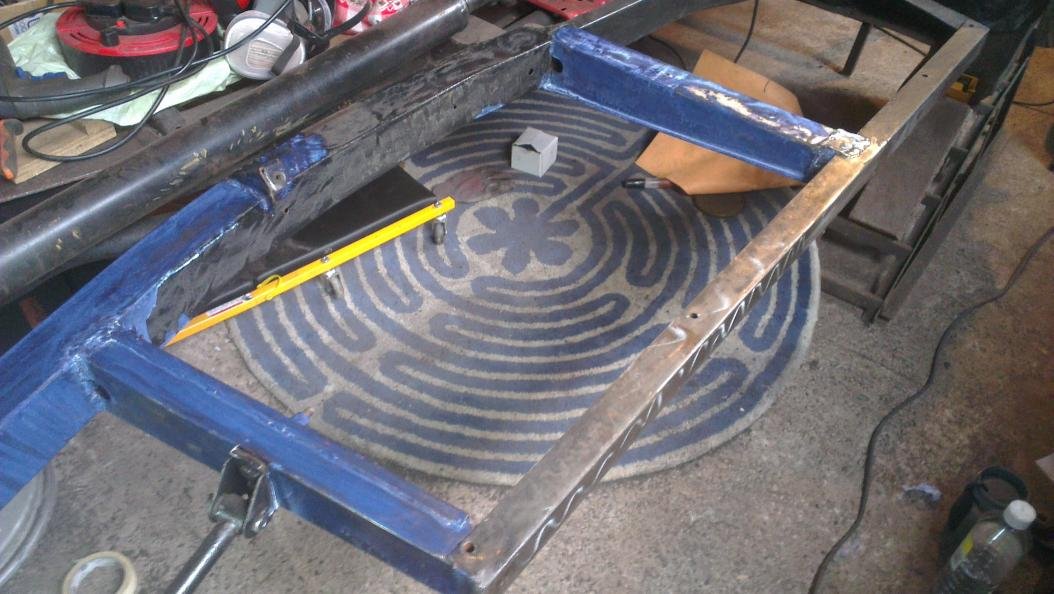
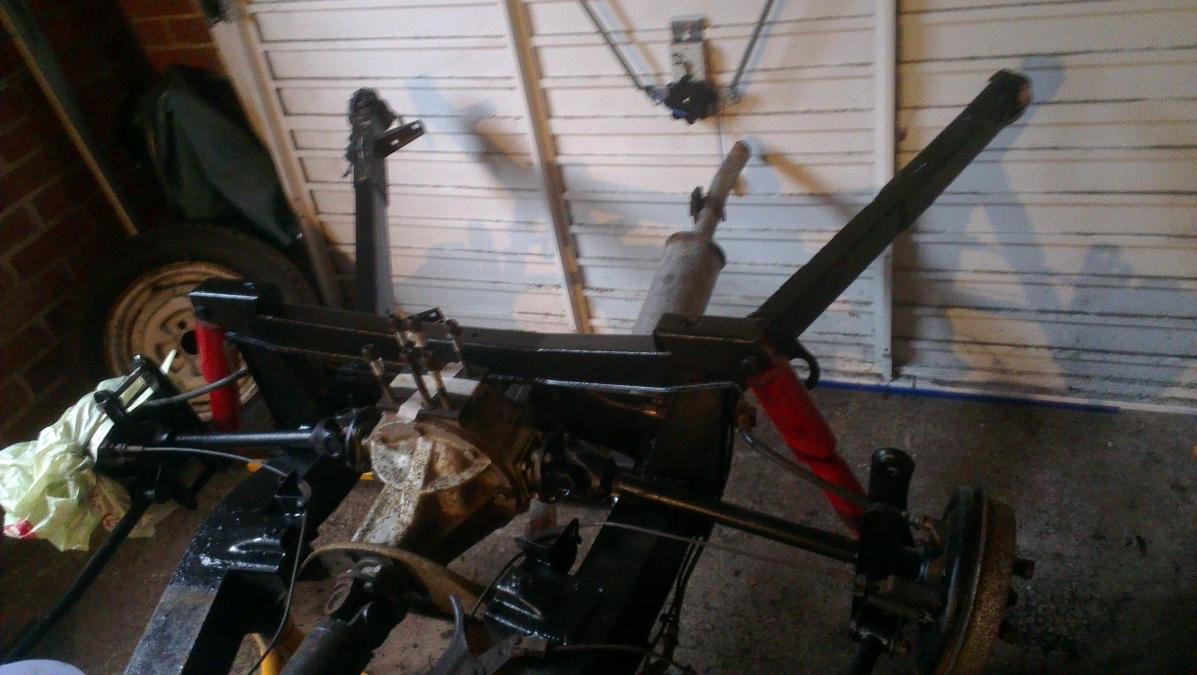
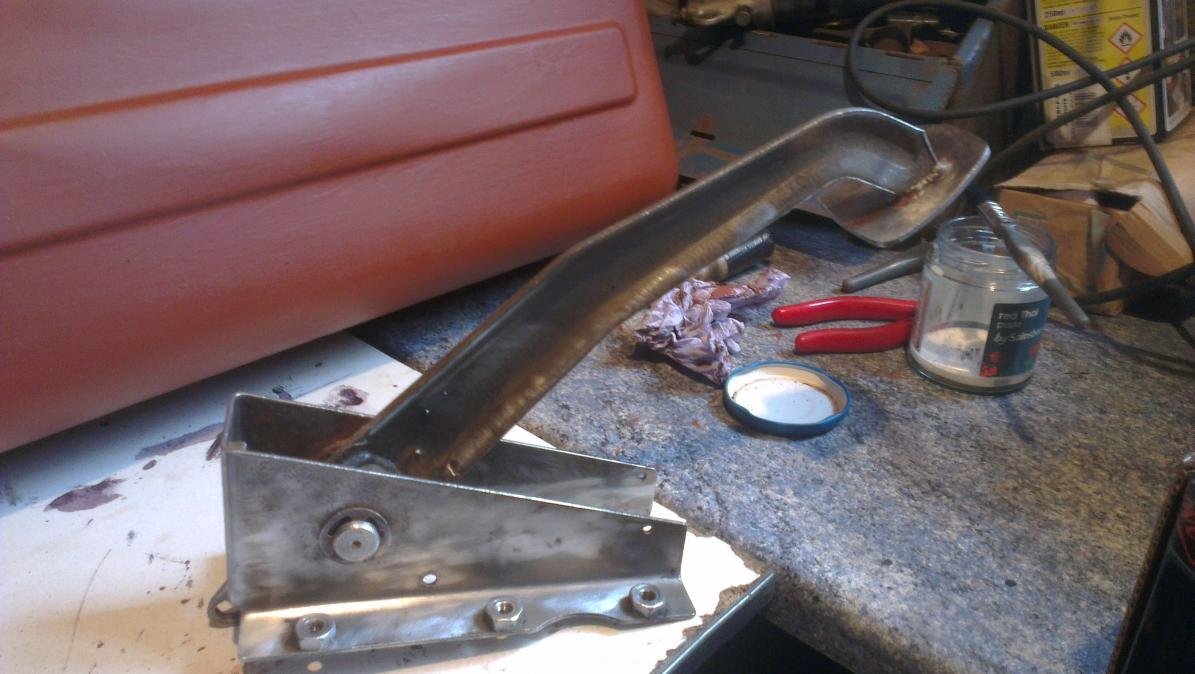
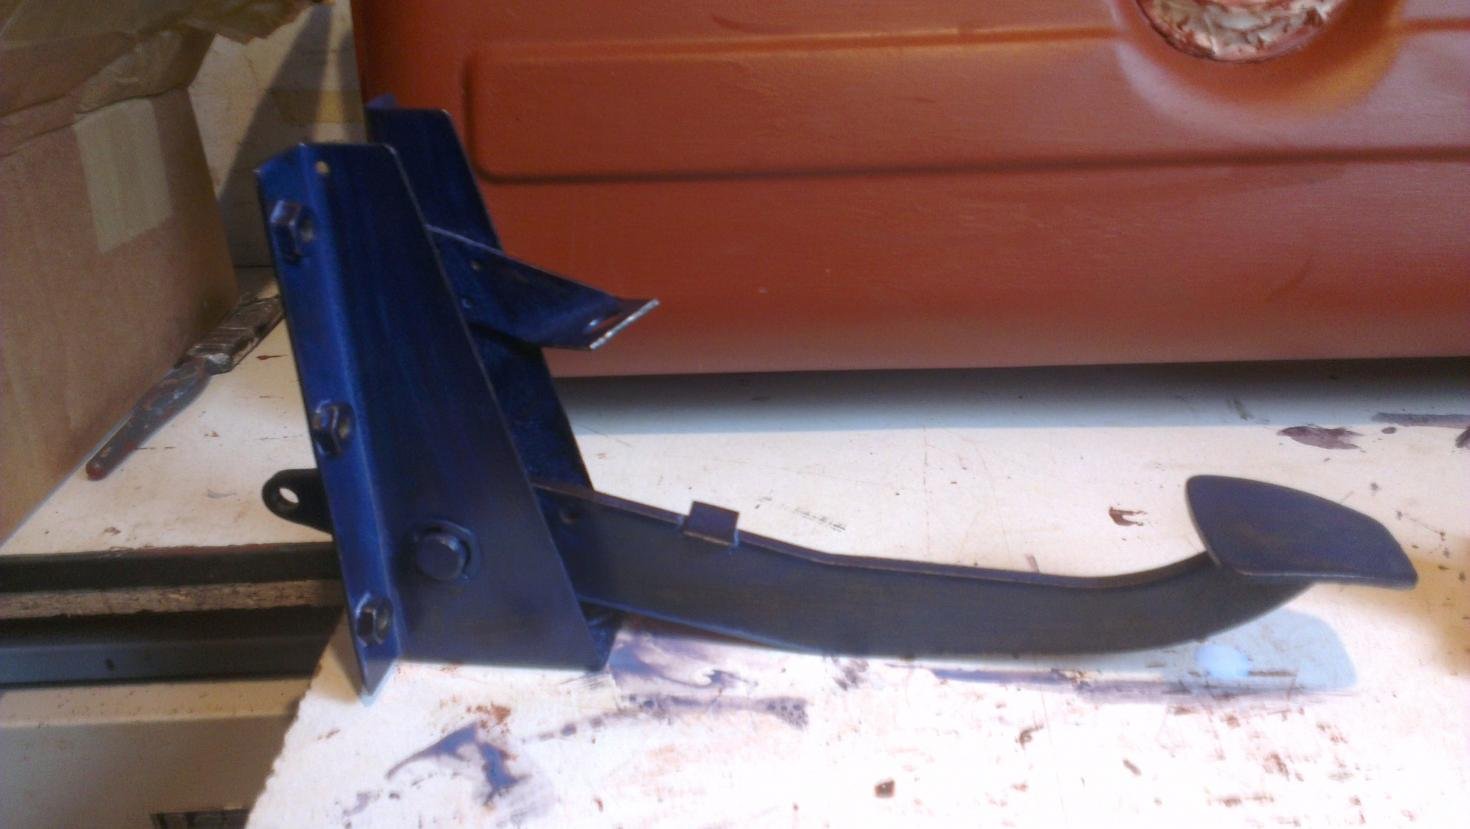
Chassis is paint stripped and treated with Kurust (everything except the main middle bit which was in excellent condition) and everything is painted with 3 layers of chassis black.
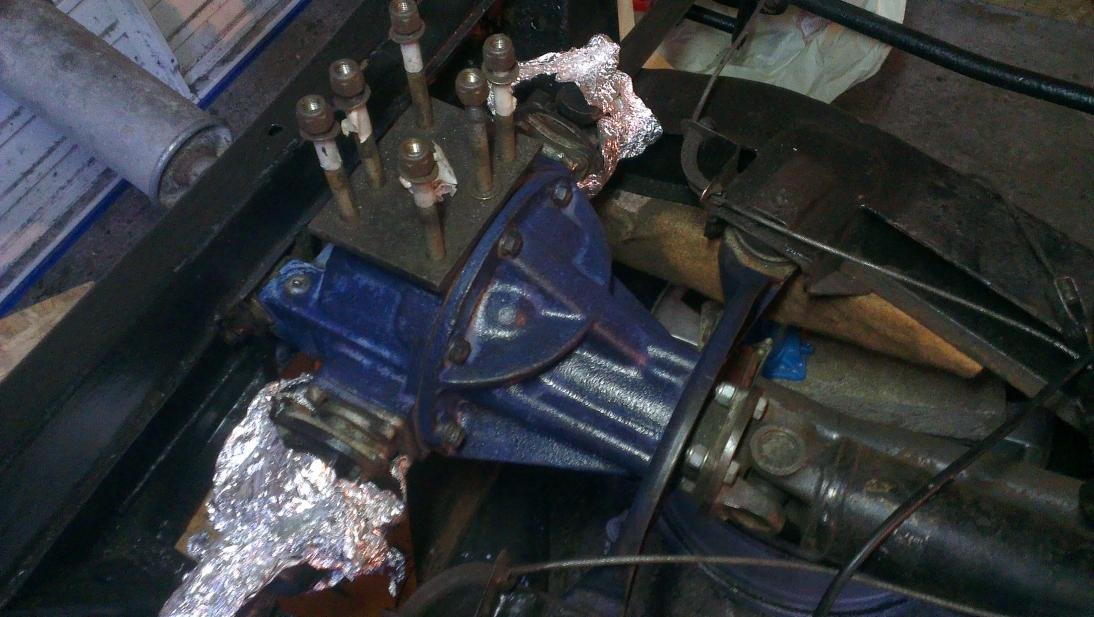
Diff casing is also cleaned, treated with Kurust and painted
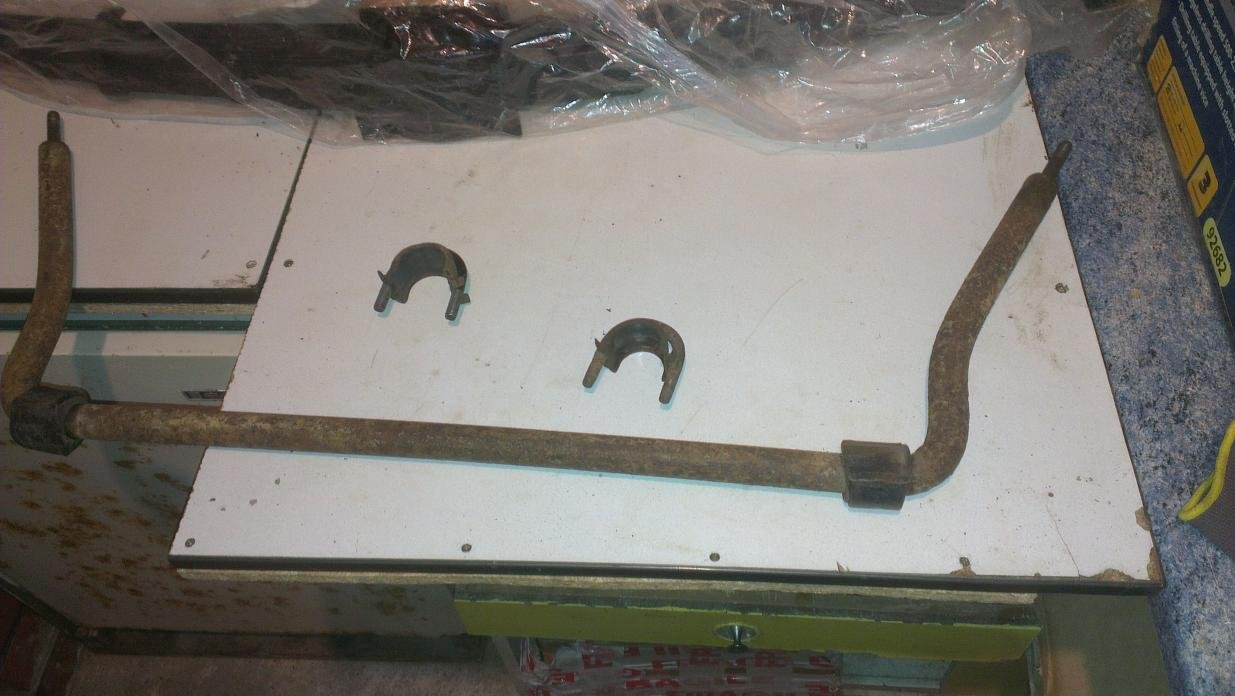
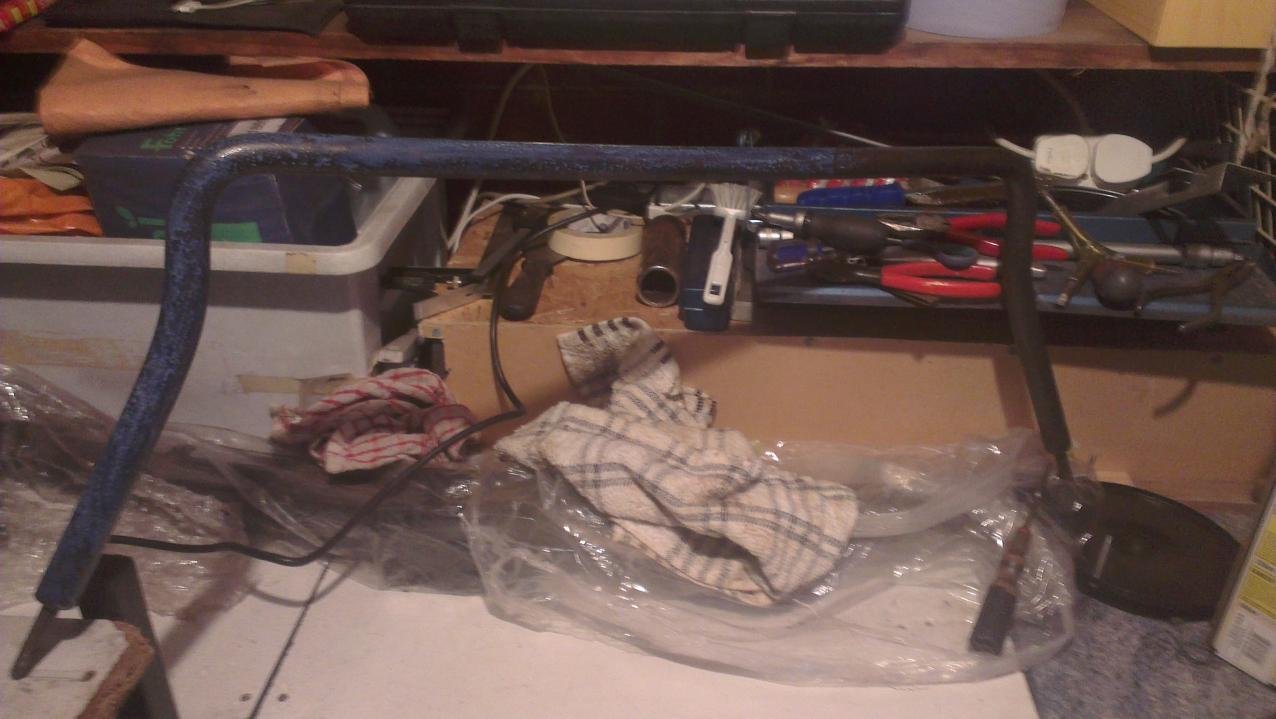
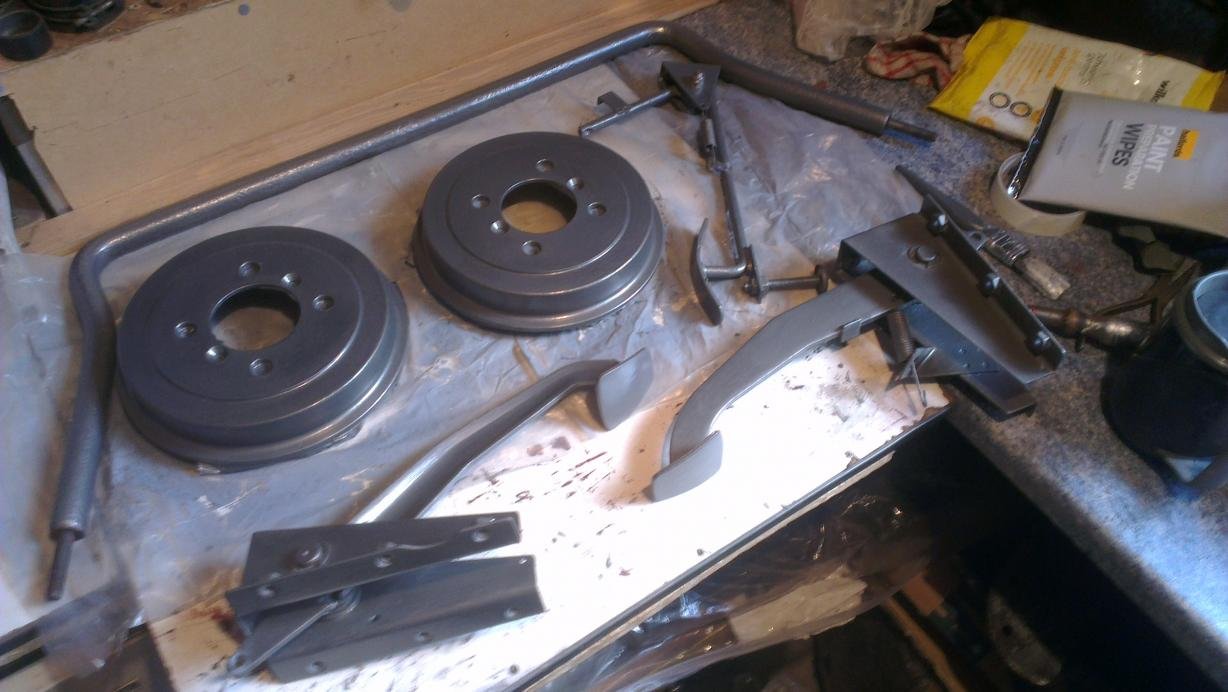
To balance the car handling, the anti-roll bar at the front needed to be upgraded too. I have bought 7/8" Spitfire one and this will replace the original Herald one.
Cleaned and treated with Kurust.
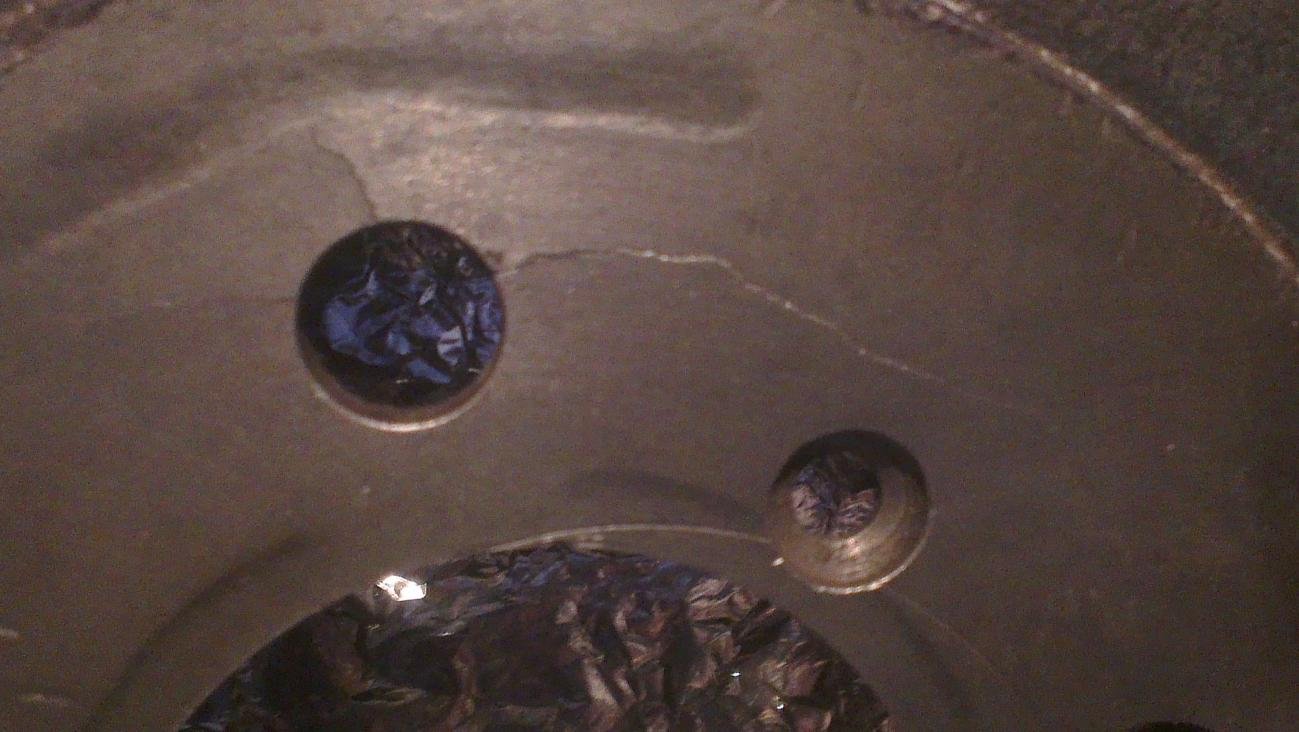
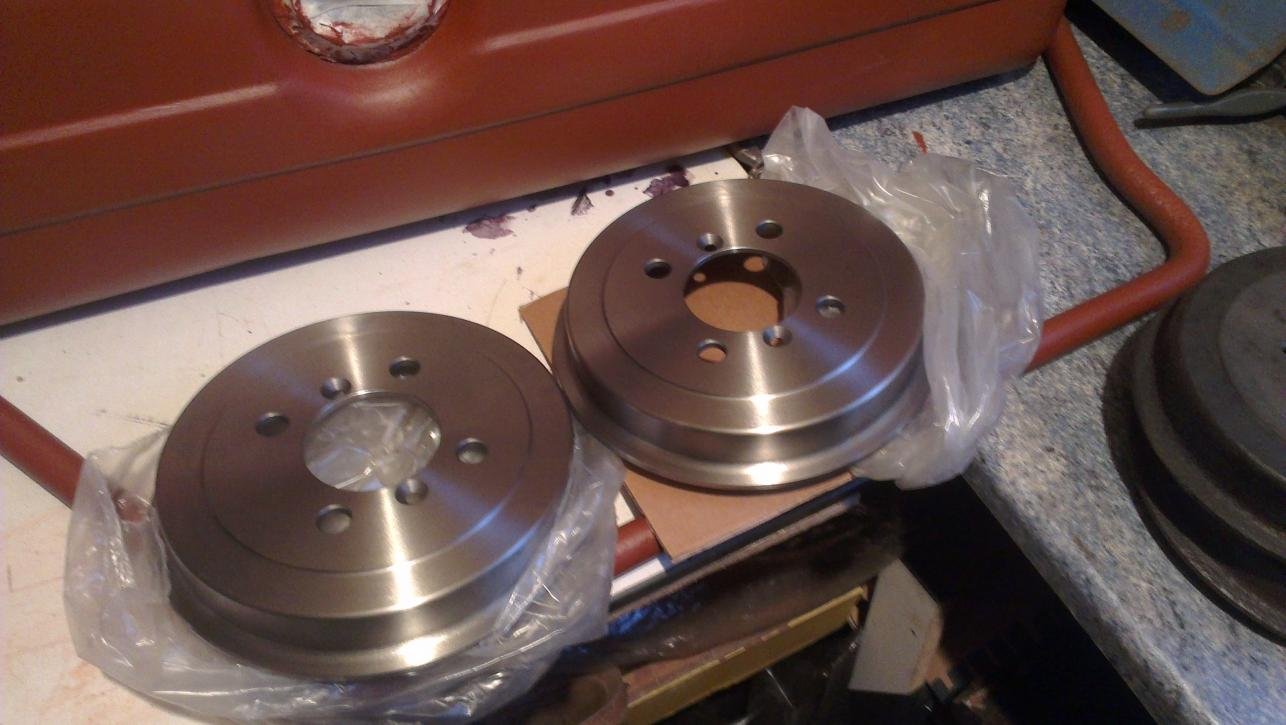
Both drum hubs had some cracking on them and were replaced with brand new ones. I have inspected the condition of the rear brakes and it was excellent.
Gary - thanks, I will keep uploading the photos. I will have some time tomorrow to work on the car and will make more photos.
Swifty - welcome! I have a rough idea about the interior. I have bought second hand MGB seats and the panels (I'm not going to use the panels but the material they are covered with as the colour matches the seats). The colour is autumn leaf, which I like. They are in the storage at the moment, so I will make a picture later.
I know that the seats could be a bit big, but we shall see...for the rest, I would like to use aluminium panels and rivets to do the paneling inside, and try to do some detailing using the material I've bought, but I still do not have a clear idea. Part of the challenge is to do it as you go I guess.
I've followed your build, and your fabrication skills are amazing, so I guess you can visualise things and just make them, and your car turned out a stunner.
I will just try to learn as I go and we'll see what I come up with.
Hi Deni, I bought a pair of MGB seats to put in my Spyder and they turned out to be too big. You might struggle to get them into your Miglia as the bodies are somewhat similar in size I believe.
The problem is the width when you lower them enough to avoid the dreaded 'Noddy' driving position.
It looked like they'd be fine on first trial fit -
Still looked okay with the floorpan dropped to lower them -
But then you add the frame and, oh dear, they don't fit -
Don't be tempted to fit them above the chassis rails (as in the first pic above), you really won't enjoy the car if your seating position is too high.
It would be very uncomfortable and your head will ruin the aerodynamics.
Ideally you want your eyes to be level with the top of the flyscreen and your shoulders to be just above the edge of the cockpit so you can drop your elbow over the side while you're out cruising.
If you get some MGB seat covers with the vertical panels, it's easy to remove 1 panel...... this is an ideal width as the seat frame can then be cut and welded 2 1/2 inches (or whatever the panel width is) to get the seats just right!
Mister Towed - thank you for your detailed reply, much appreciated. I thought that I've read it in your build thread. Hope you're enjoying your freedom and I hope you have made some progress with your new project.
Mitchelkitman - Thank you too. I am glad you have said that, because I was thinking the same and my covers are with vertical panels, so I will try that first.
Dave P - that is a great idea too, thank you. If my plan with MGB seats doesn't work I will check Streetka seats.
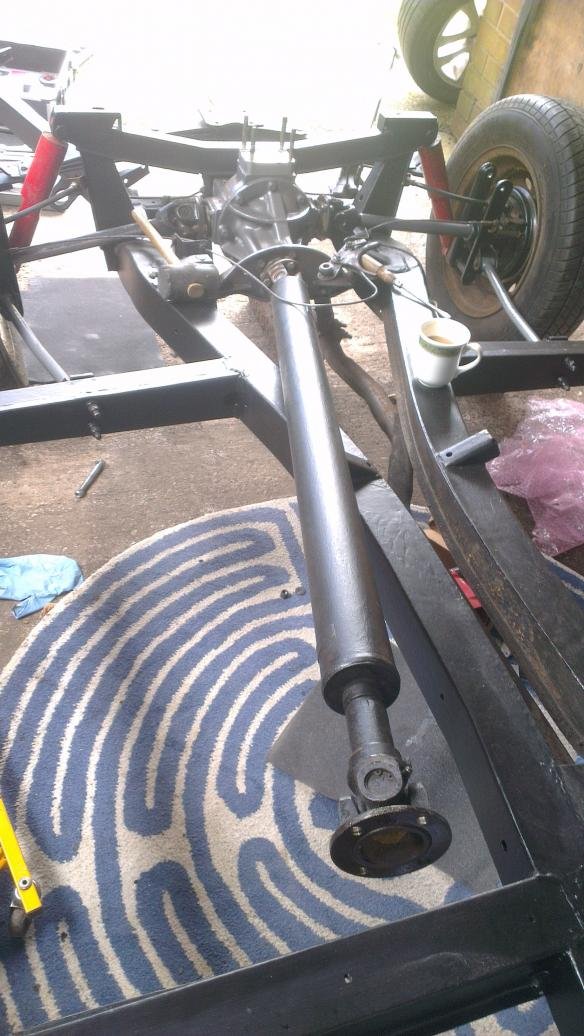
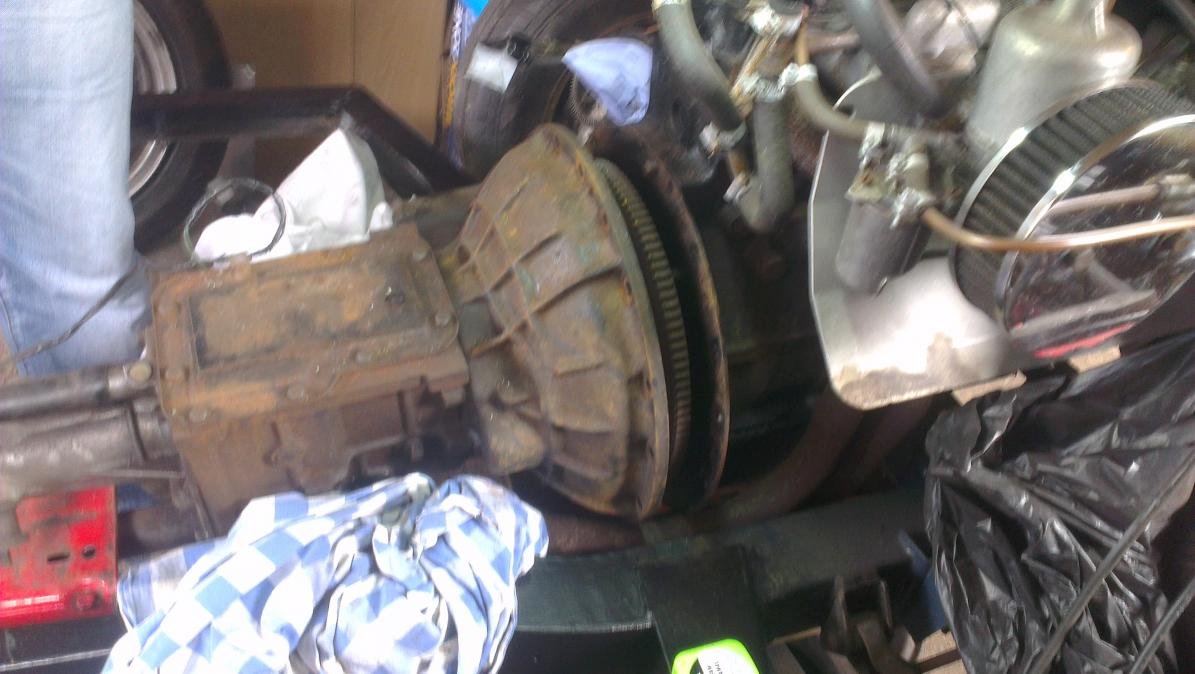
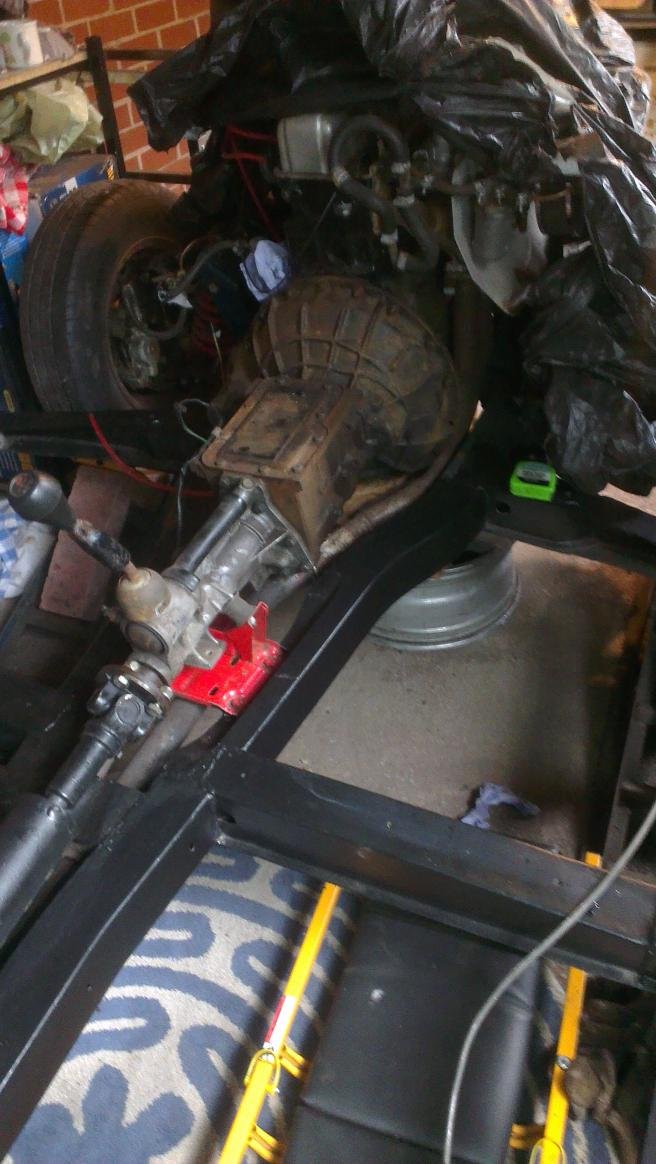
Had a couple of hours on the car this week. My friend Johnny came over to help me with the gearbox removal. I wanted to inspect the condition of the clutch. So, we marked the prop shaft for later alignment, and removed it.
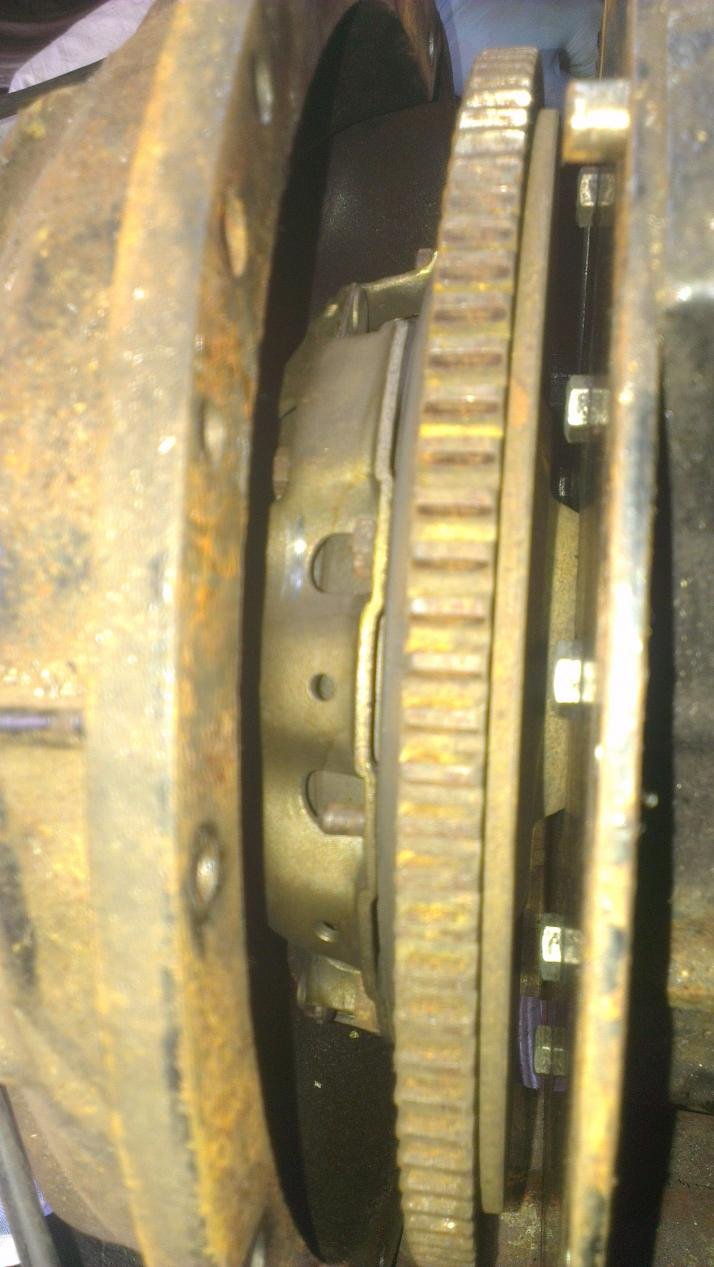
We saw that the clutch was nearly new and didn't have to remove the gearbox completely, which was great news.
Close up of the clutch
Next job is to clean and paint the gearbox and to continue with the front suspension and the engine.
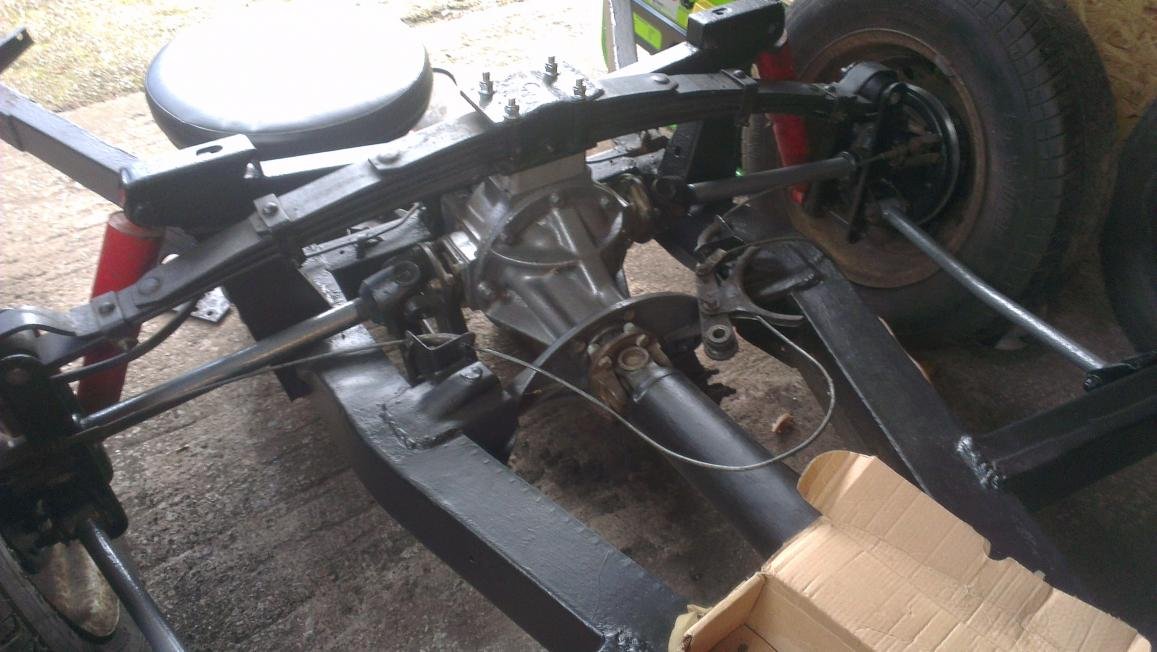
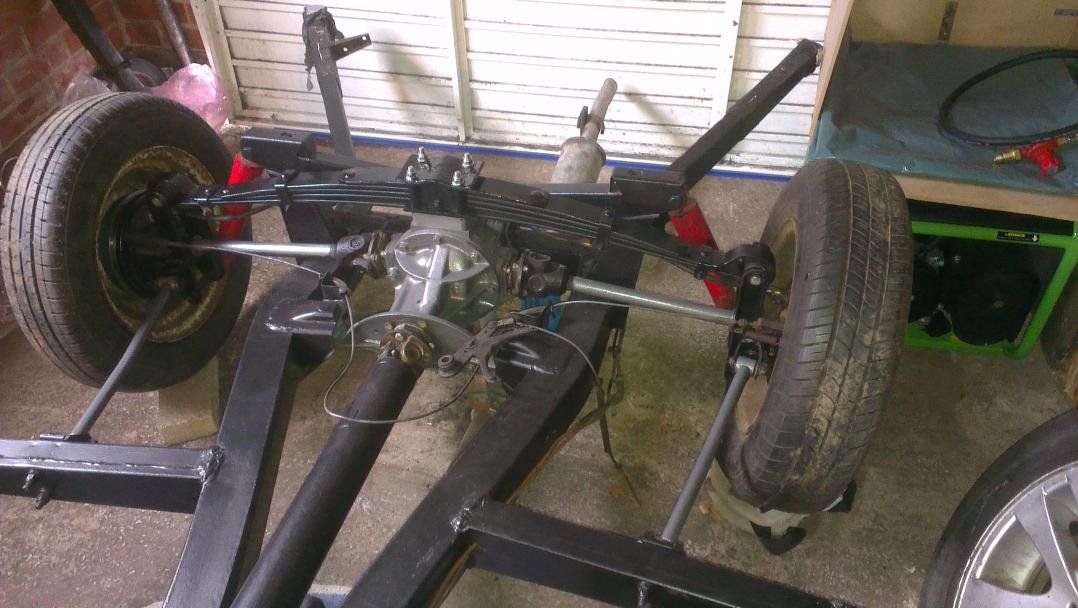
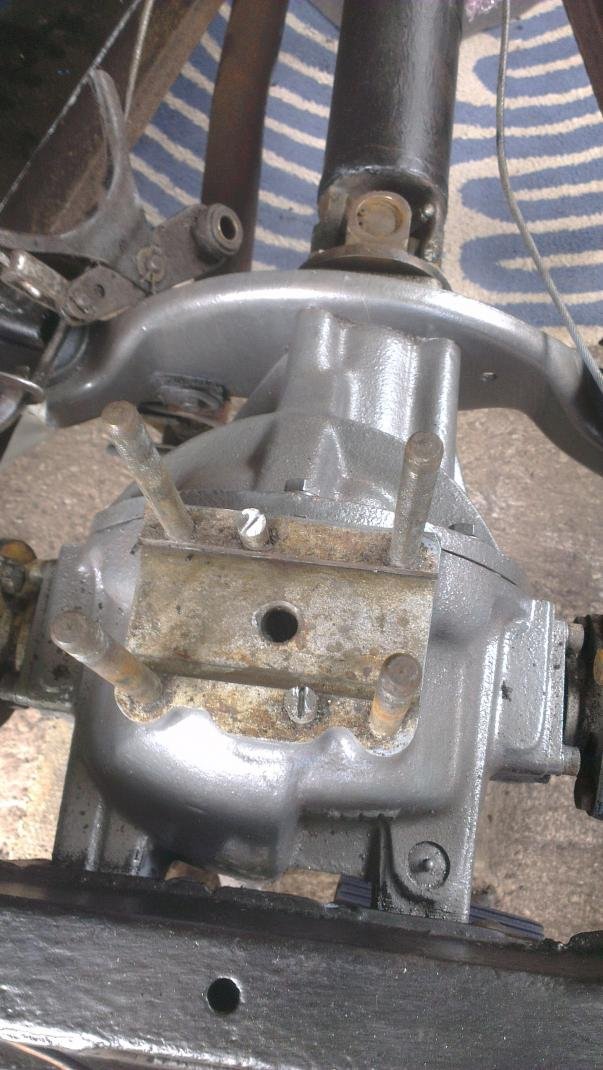
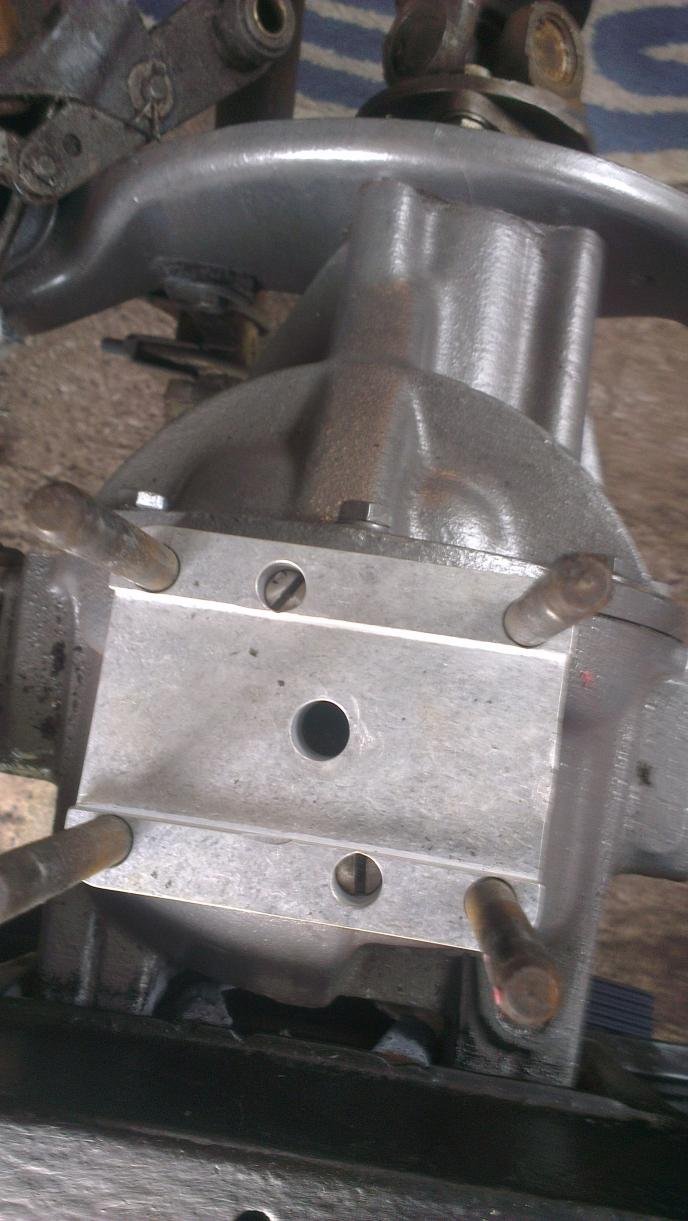
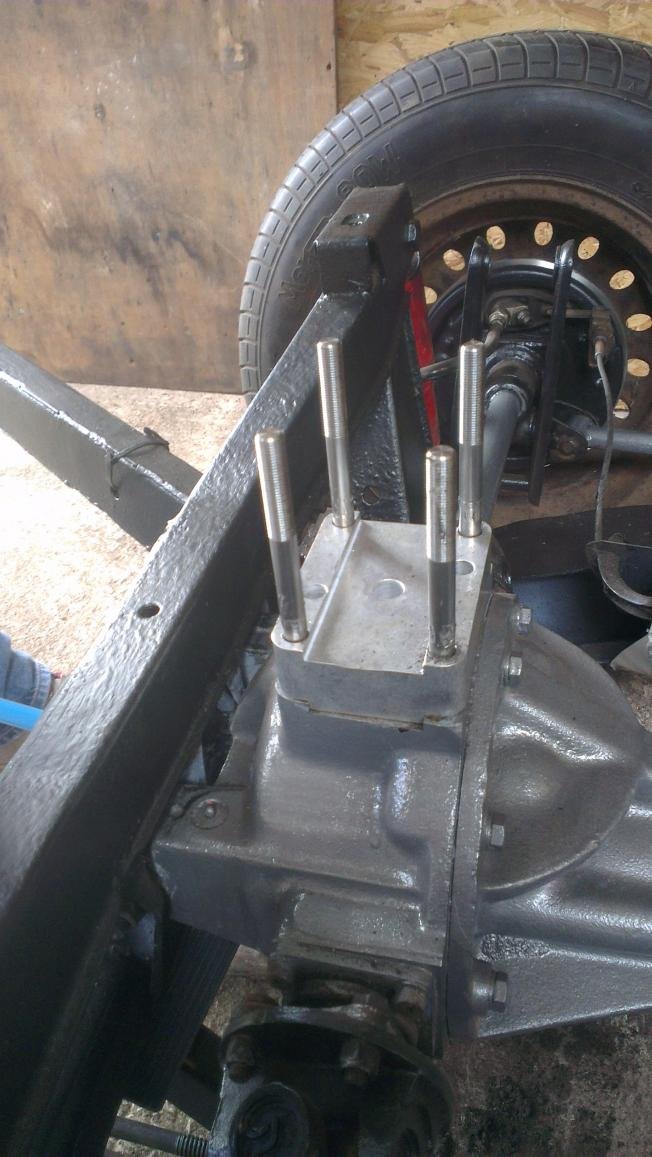
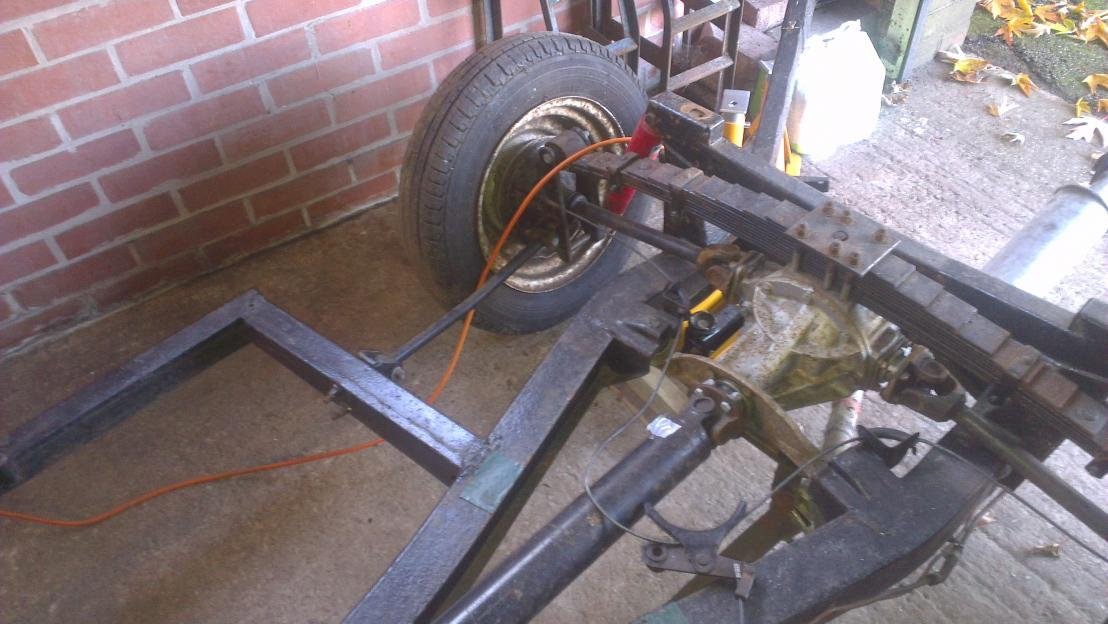
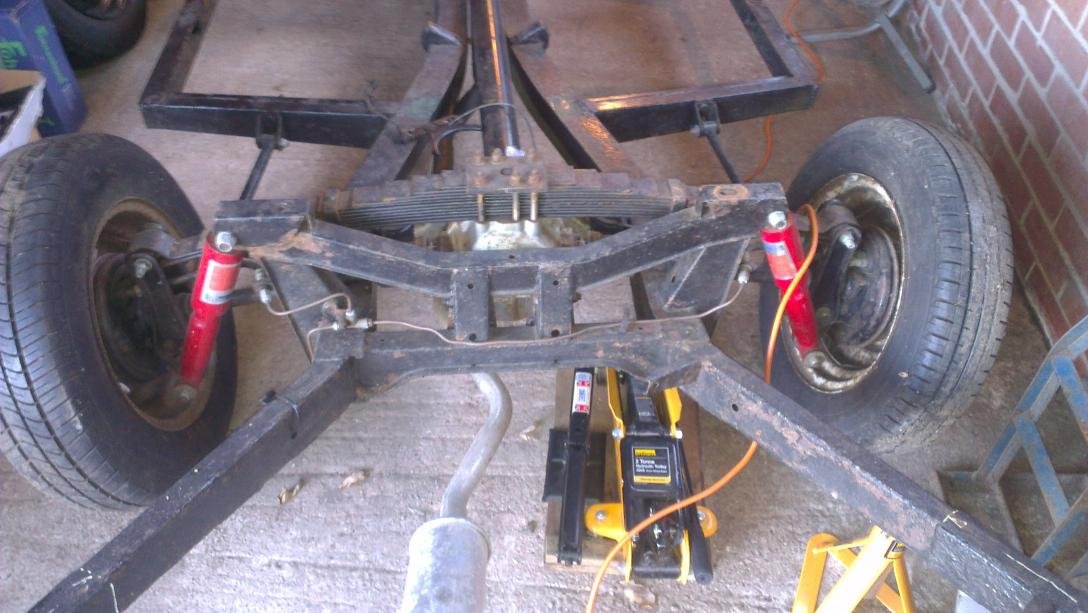
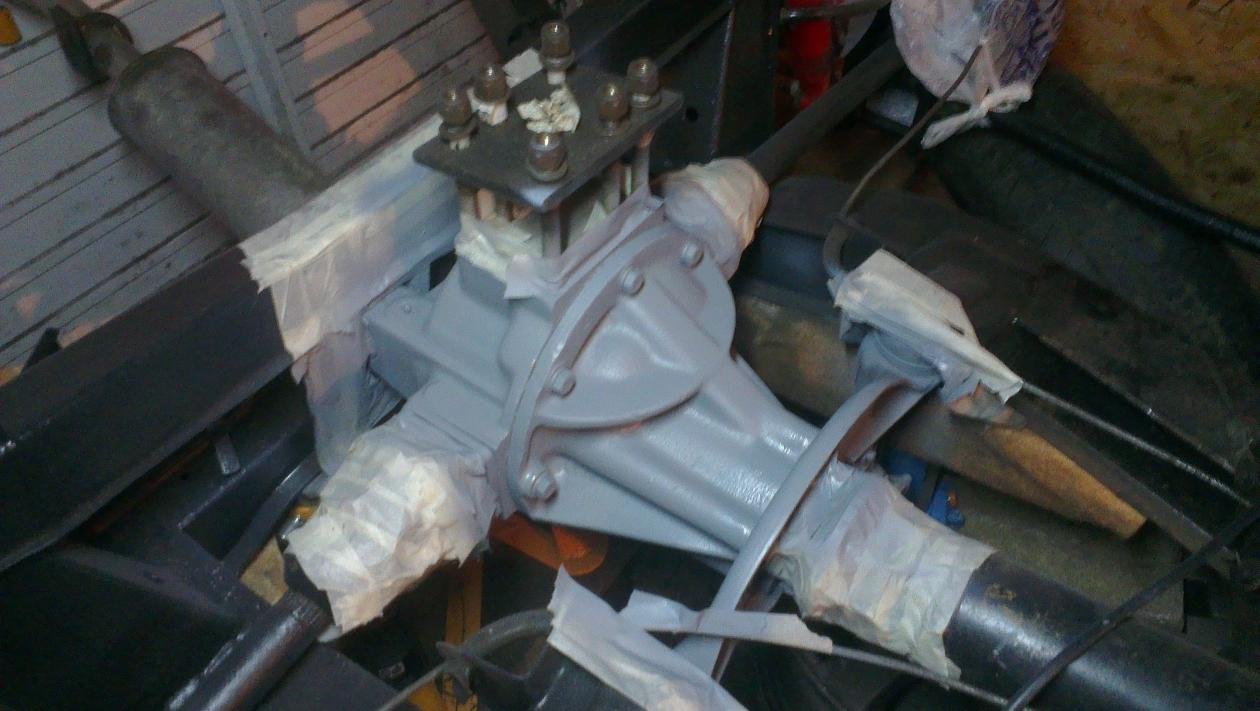
Also, installed the swing spring and 1" lowering block. Lowering block was a tight fit and needed a bit of "persuasion" with a rubber hammer, but we managed to insert it on to the diff casing.
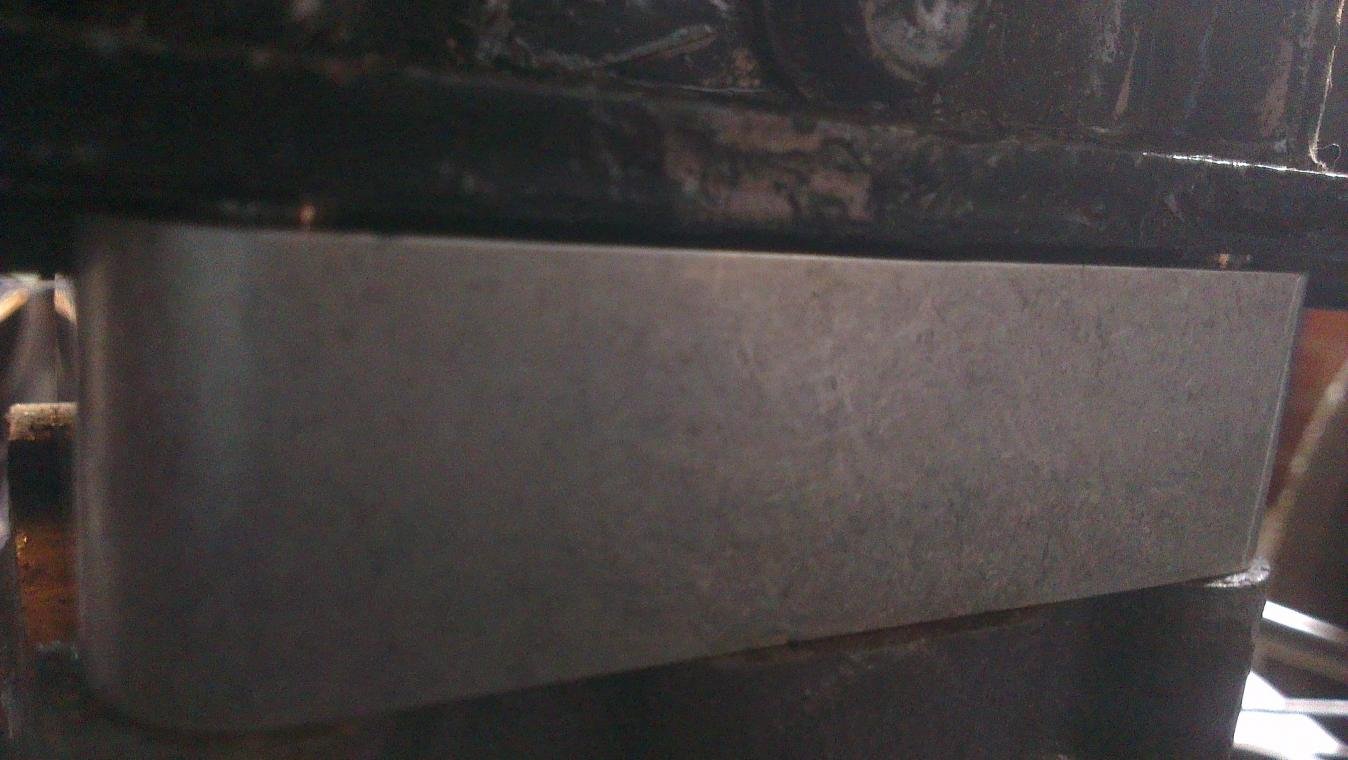
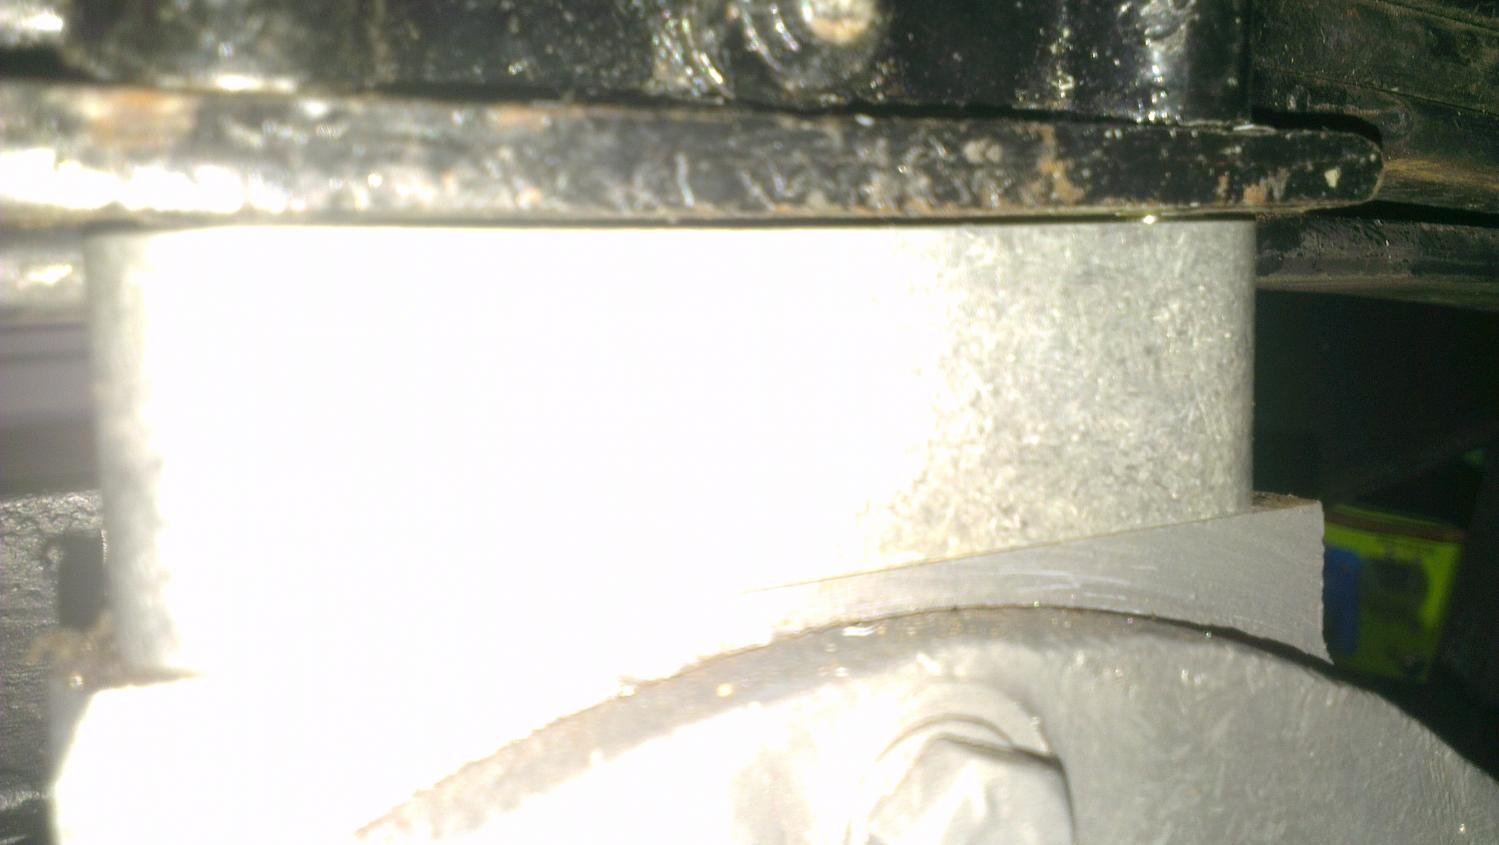
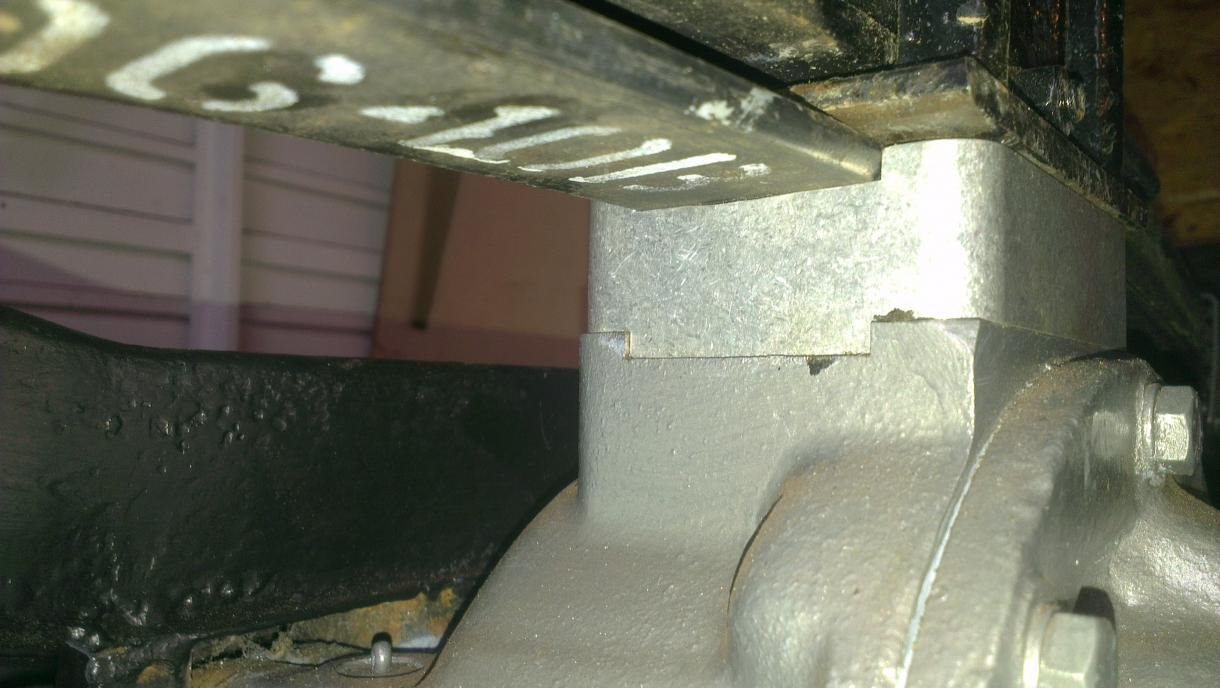
All went well, but there is one thing I am not sure about so please, if anybody can advise it would be great. I have tightened the screws as tight as it was possible but I still have a small gap between the lowering block and the bottom plate (first two pictures below), even though the bottom leaf of the spring fits quite well in the gap of the lowering block (last photo).
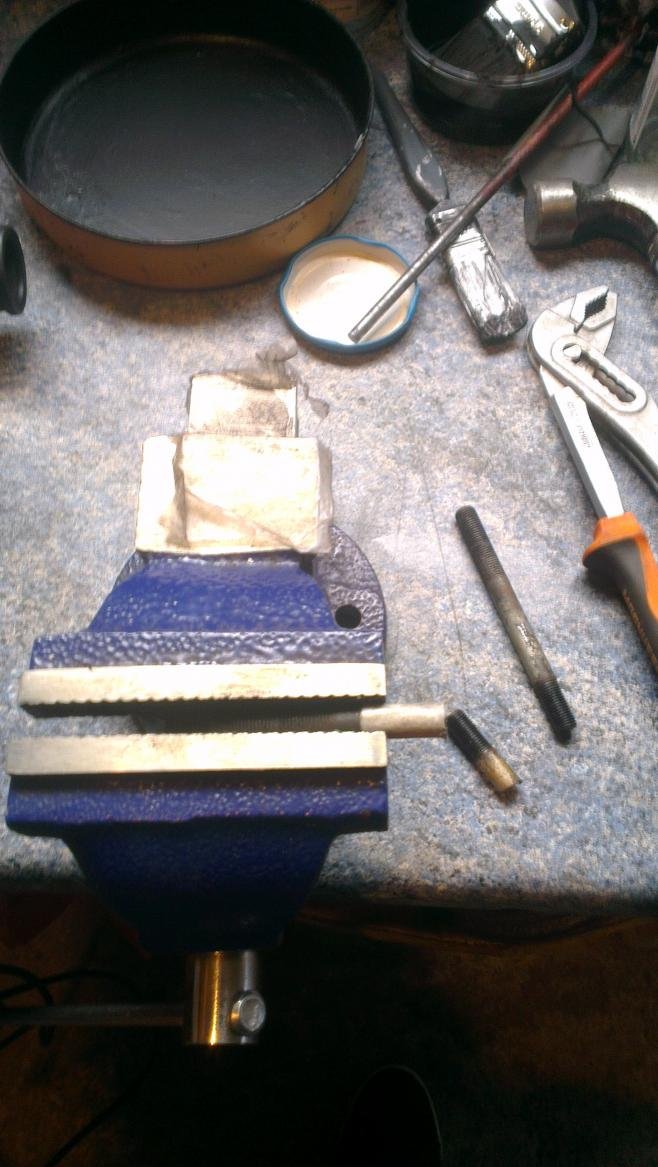
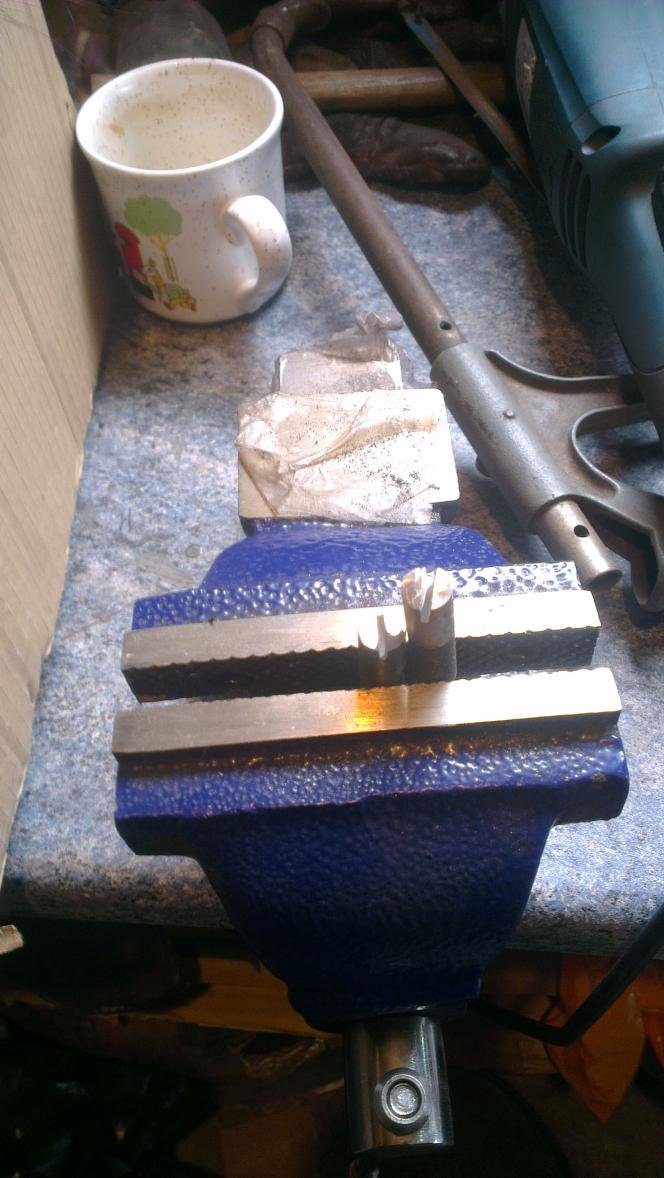
Nice work. Just a thought, did you loctite the blanking studs in to stop them dropping into the diff casing?
The slight gap between the lowering block and bottom leaf could be to prevent the rest of the leaves in the stack from being clamped in place and allow them to move laterally. As far as I'm aware, the bottom leaf should be fixed to the diff and the rest should be able to slide from side to side -
Mister Towed - Thank you for your reply. I did not use Loctite, so thank you for pointing this out. I've only tightened them as much as I could with mole grips, but now you've mentioned this I think I should use Loctite, as the studs are not held with the nuts above the spring like before. So, next time I'm working on the car I will fix this.
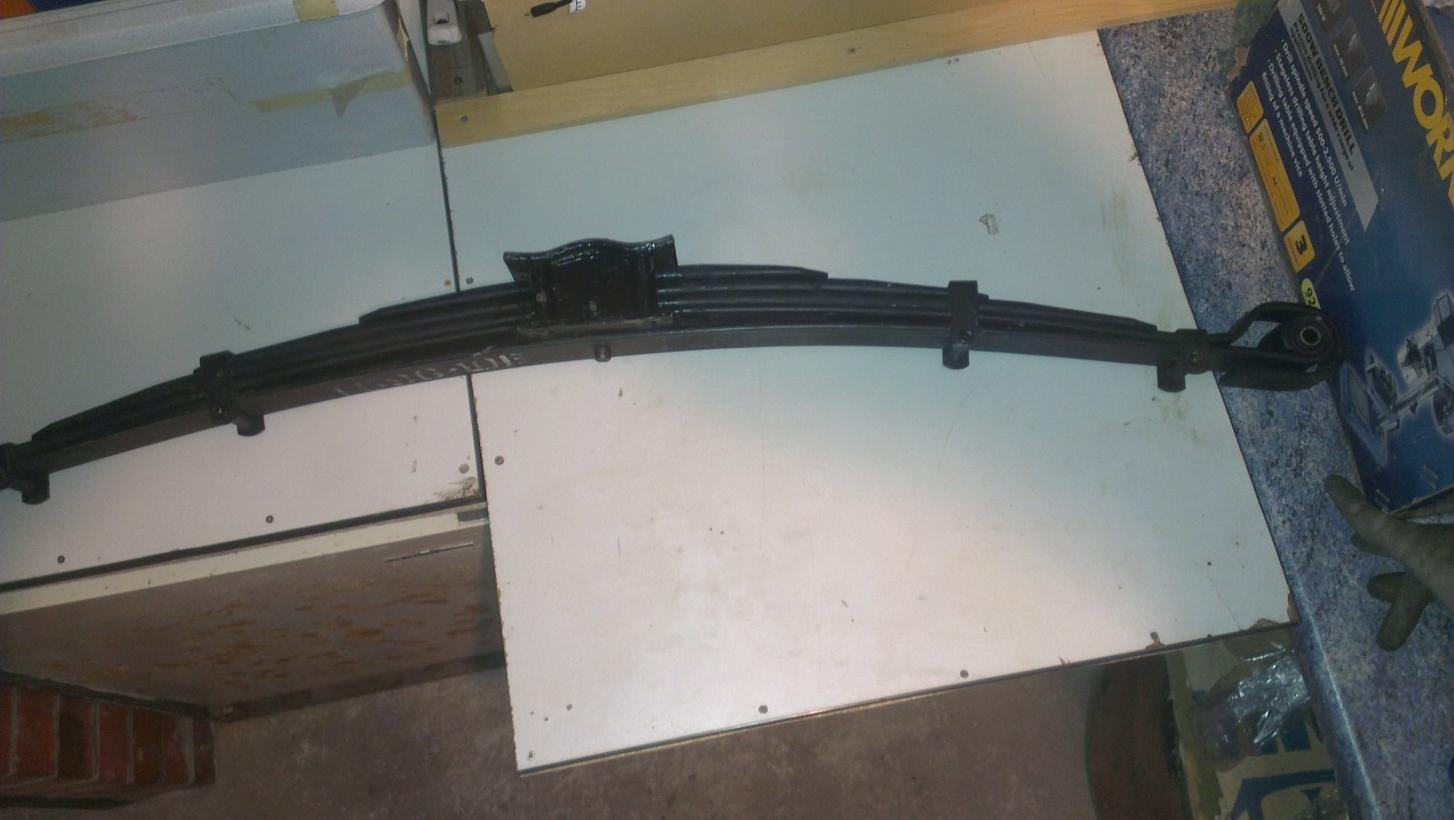
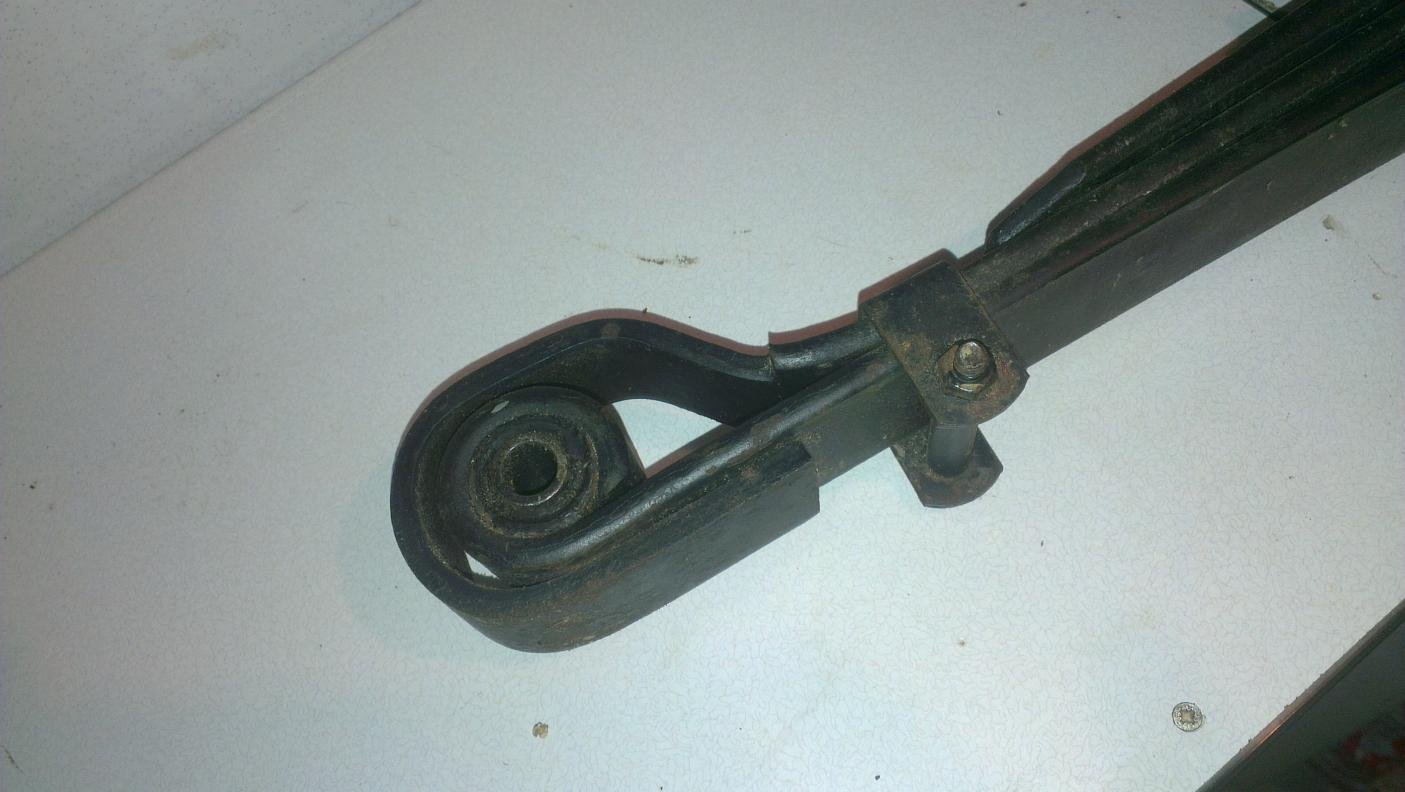
I have another question I hope someone can help me with please. I was reading in a Herald manual that the original spring has the front and the back side, and should be positioned accordingly. I've checked the old spring and I saw the markings. However, I could not see such markings on swing spring. Does a swing spring has front or back side, i.e. the side of the spring that should point towards the engine?




 If you get some MGB seat covers with the vertical panels, it's easy to remove 1 panel...... this is an ideal width as the seat frame can then be cut and welded 2 1/2 inches (or whatever the panel width is) to get the seats just right!