This is a read-only archive of the old Madabout Kitcars forum. New posts and replies are no longer possible, but every thread is still here to browse and read.
I must be a glutton for punishment or just enjoy build kits one or the other.
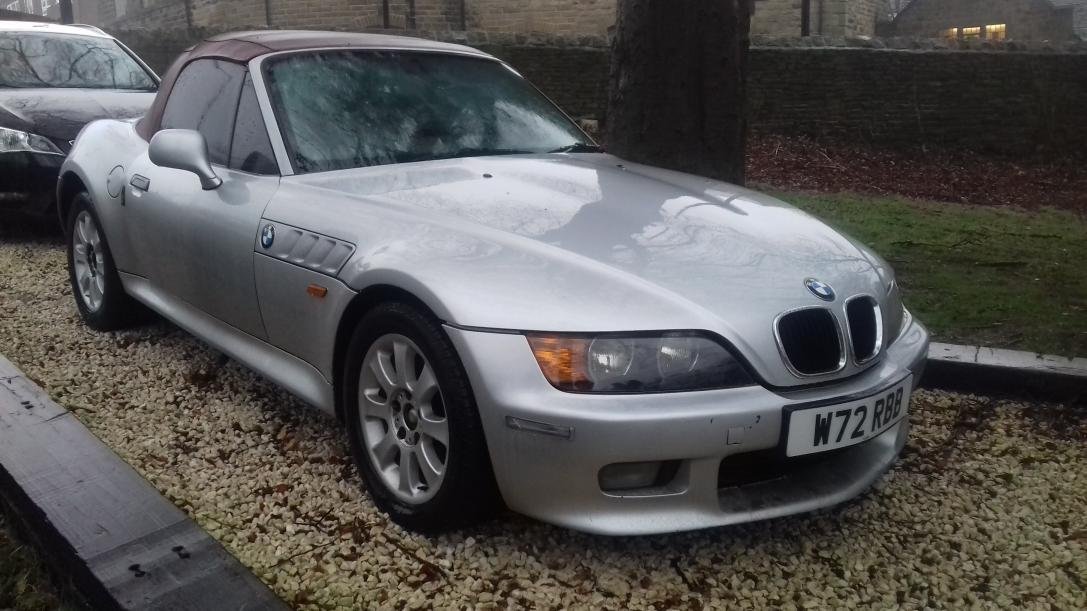
Kit on order swb convertible for a change planning to have it ready for stoneleigh I did say planning.
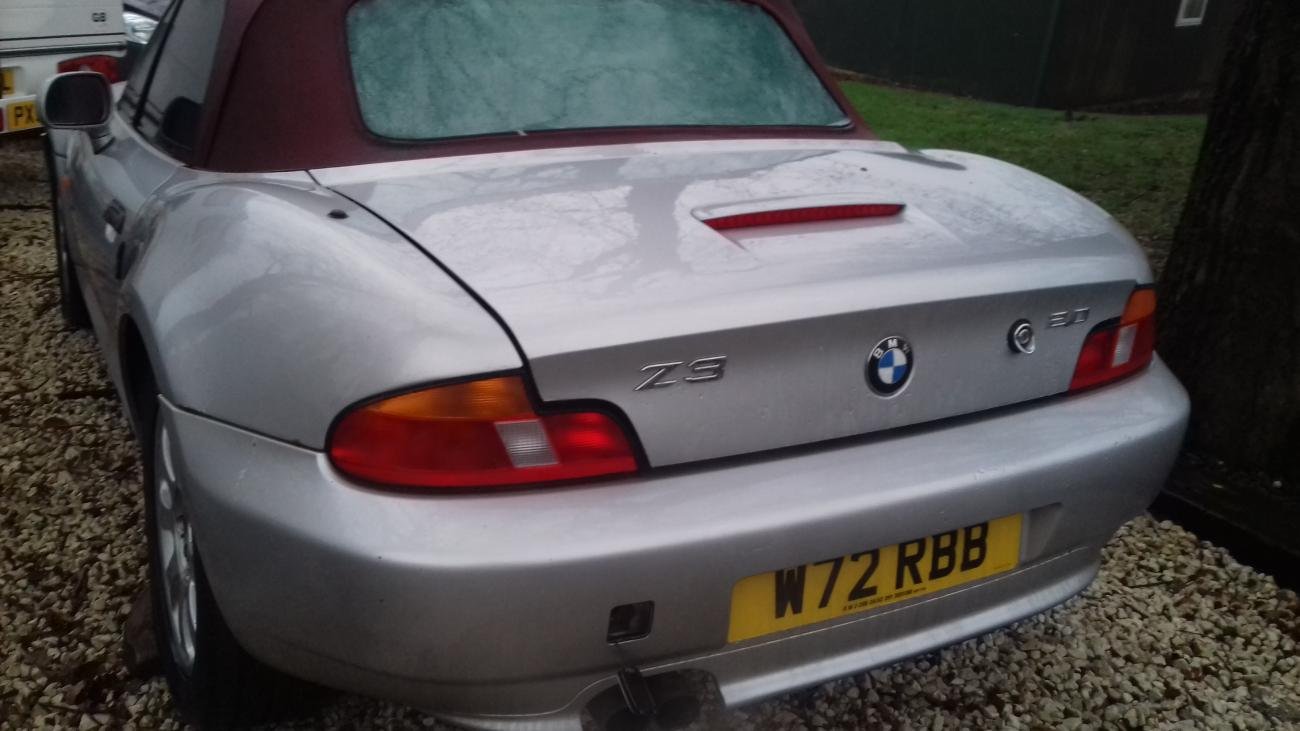
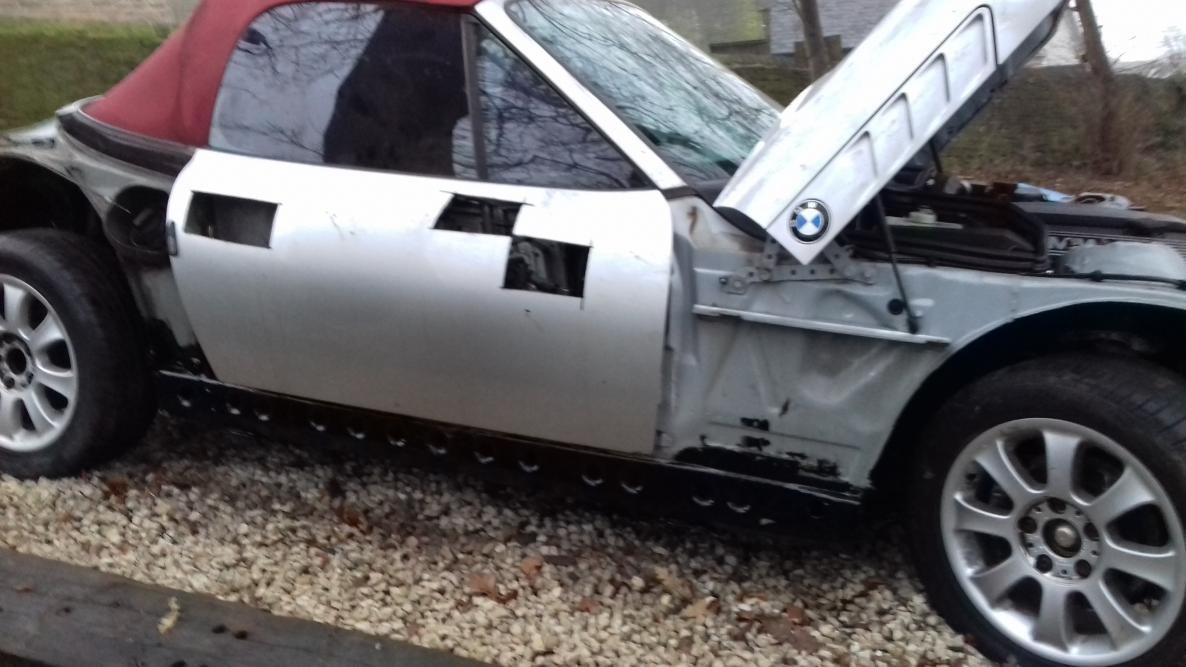
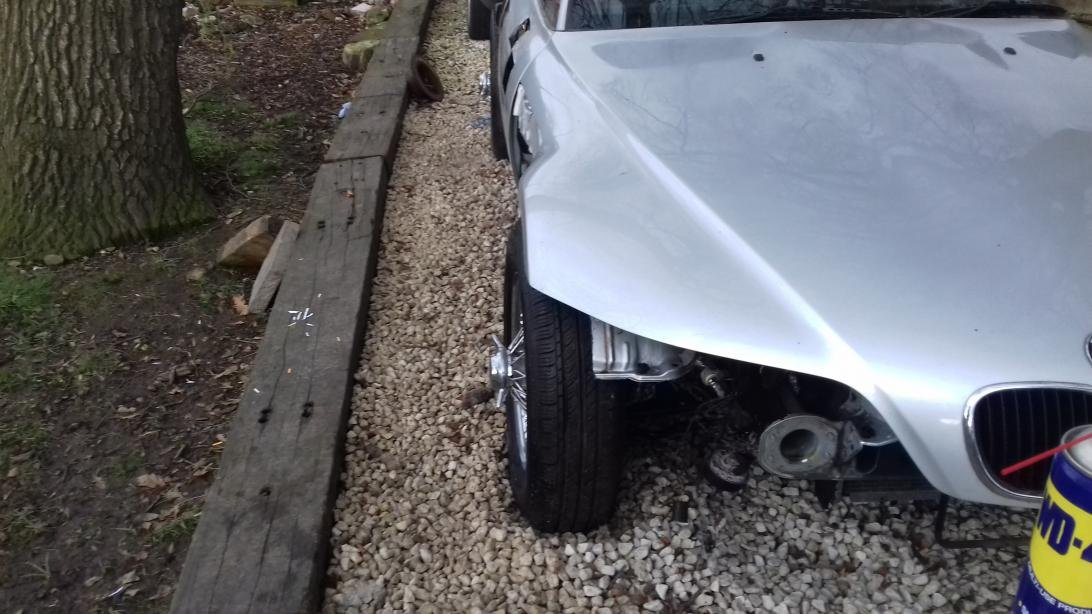
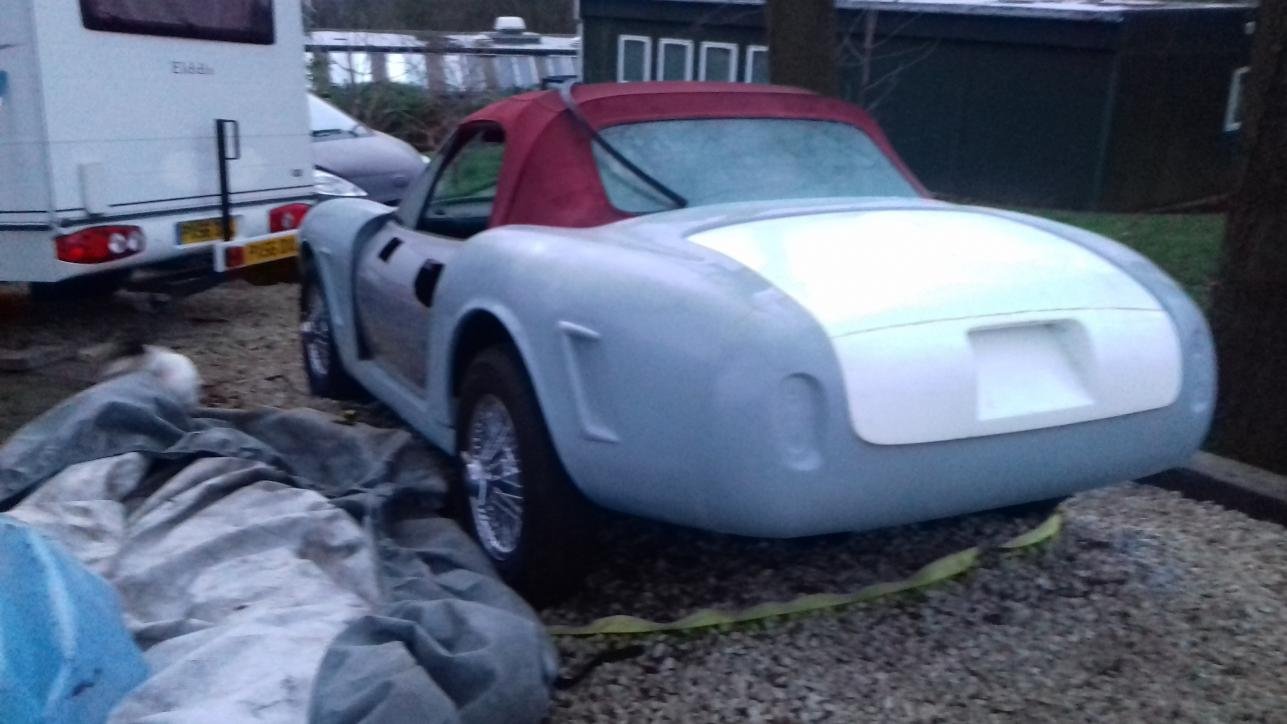
car arrived thursday had the weekend in the rain stripping it
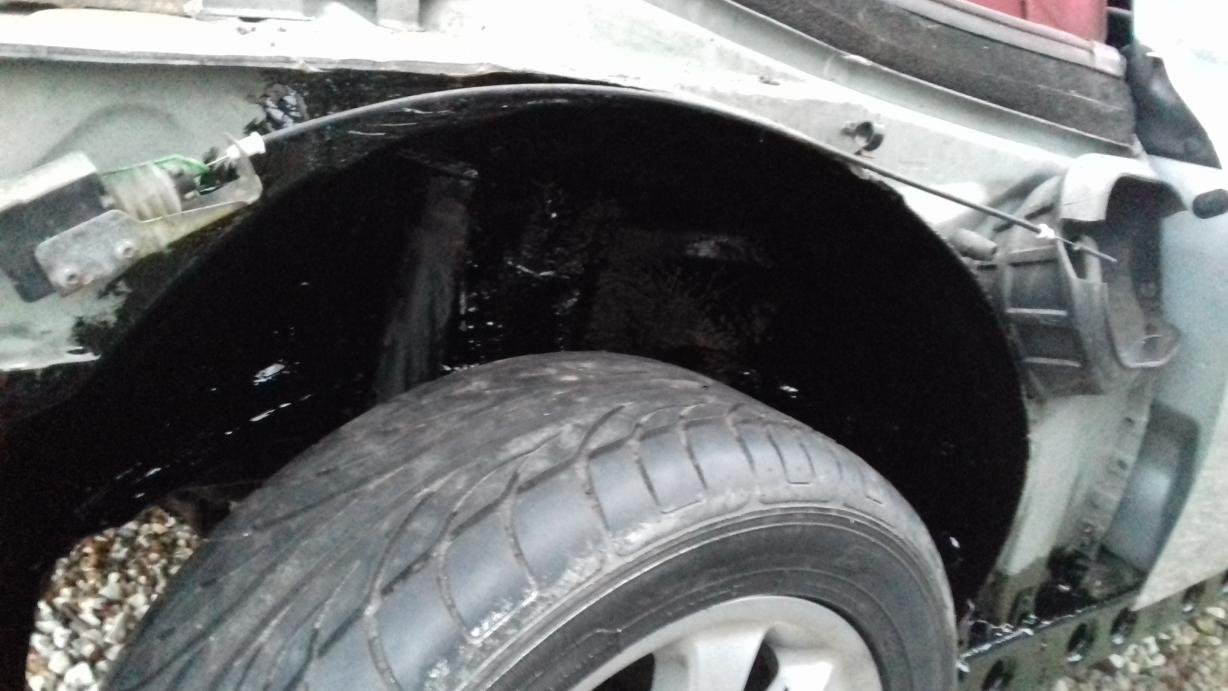
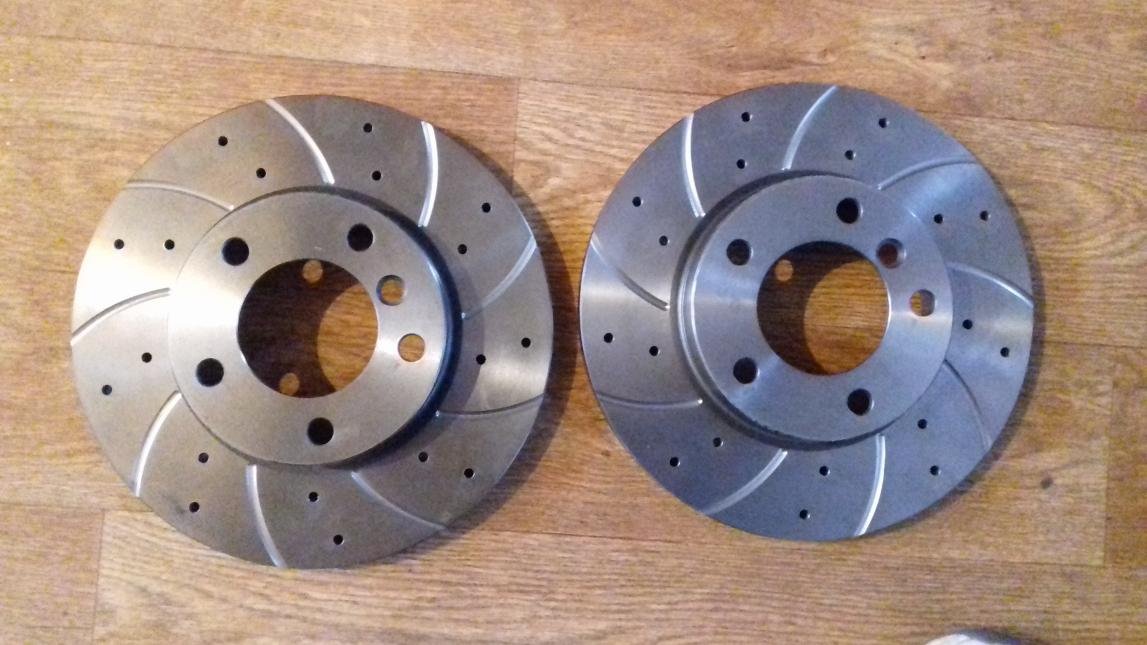
as I am waiting on the kit I decided to go through the car, so I have ordered vented discs and new pads all round and splashed some under seal in the soon to be unseen areas.
from experience makes life easier to adjust and fit the door handle same again with the mirror. no point been bashful and struggling with small holes been there pain in the backside. you will not see it when the new skin is fitted. cars wrapped up and its raining but will take you a pick next time working on it . think my last swb thread had some pics of the door handle set up. andy
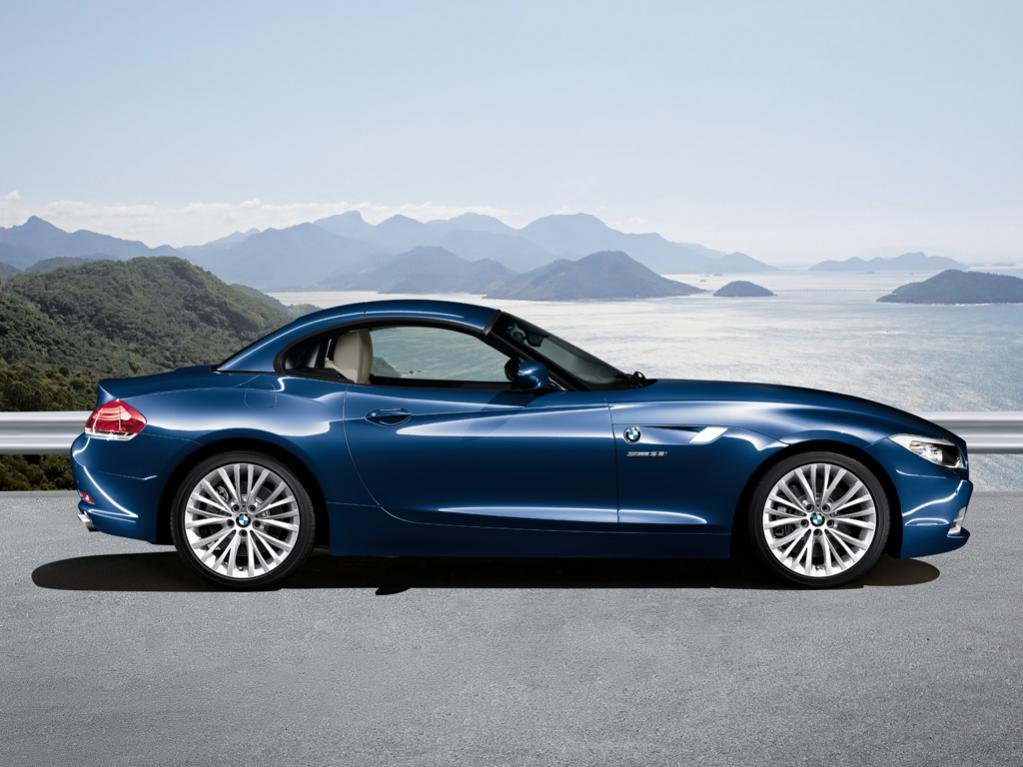
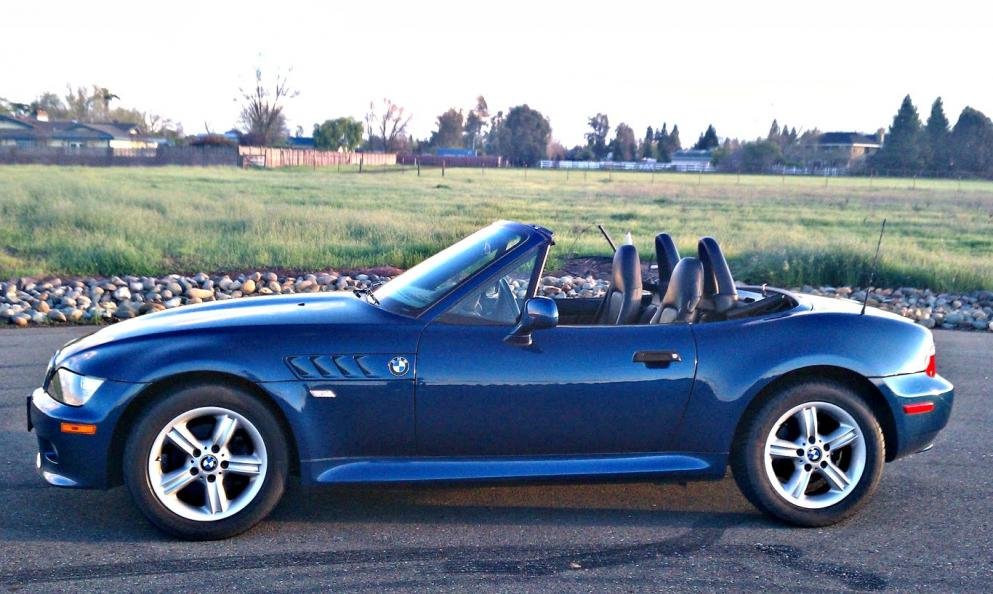
2lt lower end but straight 6 could not do the 1.9, shame its not based on the z4 they seem to be selling cheaply and all seem to be the bigger engine nice interiors tooooo
Z3's are still considerably cheaper than Z4's but the 4's do all seem to have larger engines. I've been looking at Z4's for a donor for DNA's 365 Daytona but nothing much coming along in the bargain basement department. My Z3 2.8 donor was pretty much free after I had sold off all the parts, can't see that happening with a Z4.
As the Z3's become too old to warrant the expense of a conversion, I'm sure Chris won't have too much trouble converting it to a Z4 version, he's already done all the hard work.
I'm not sure how the sill sections fit to a Z4 , they look far more involved than the Z3. Otherwise they would be a better, more available donor. The Z3's look like they are on the verge of becoming collectable in their own right and is reflected in the prices being asked at the moment.
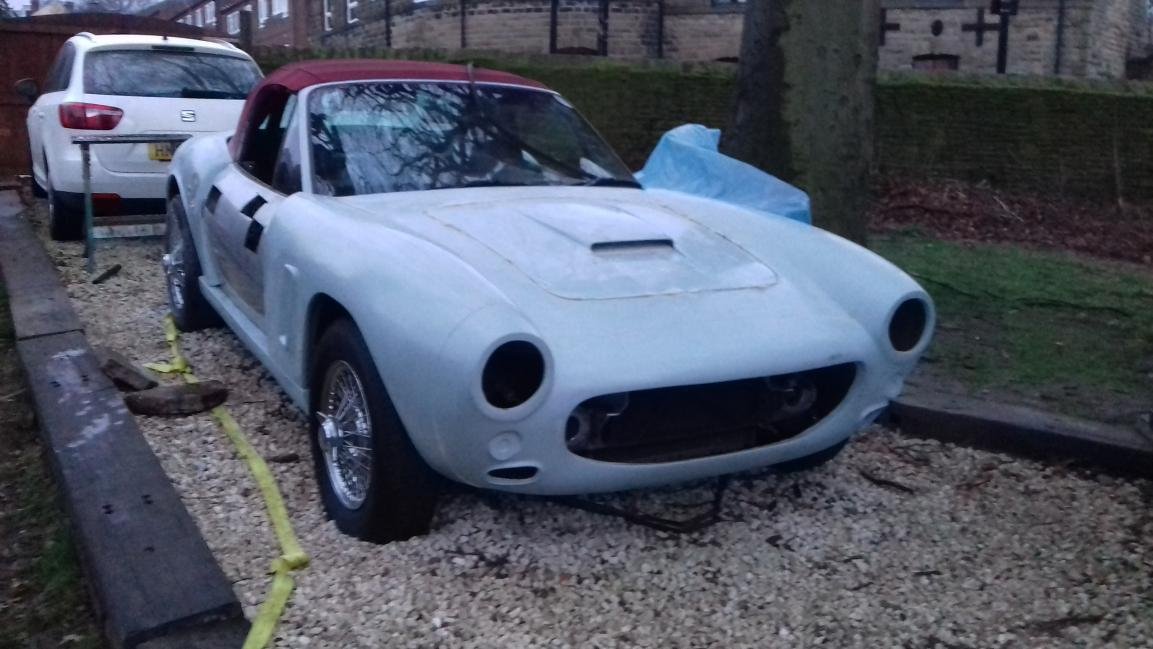
nice to see the bumpers and improved side widows, the windows in the swb hard top were not the best. If I did another hard to I would work on changing them more to the stock not sliders. When or is it coming into production not that I want one this year I already have 3 projects on the go a divorce would be in the air. but maybe next time
Attachment could not be found in the archived database.
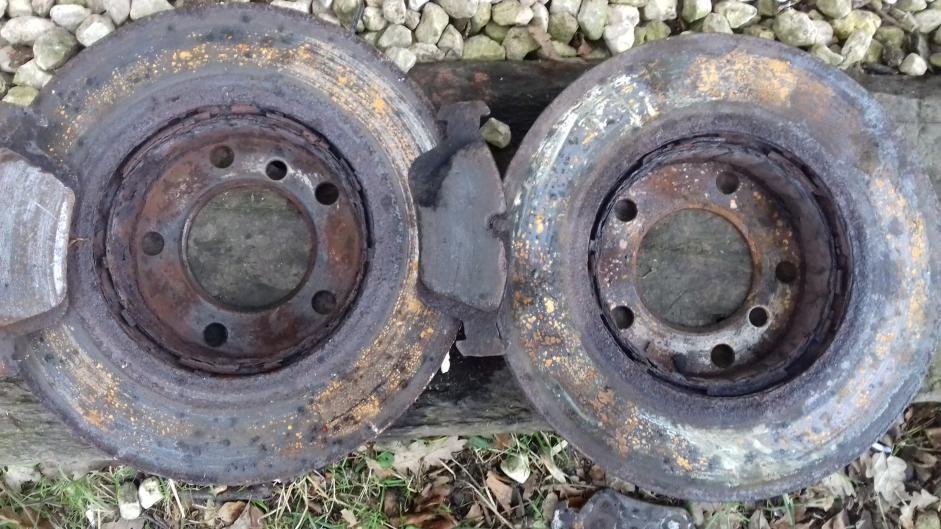
The brake disc did not look to bad no groves etc all the surface rust is from the rust stop I used. but I ordered a full set anyway good job I did when I finally got them off.
nice new ones
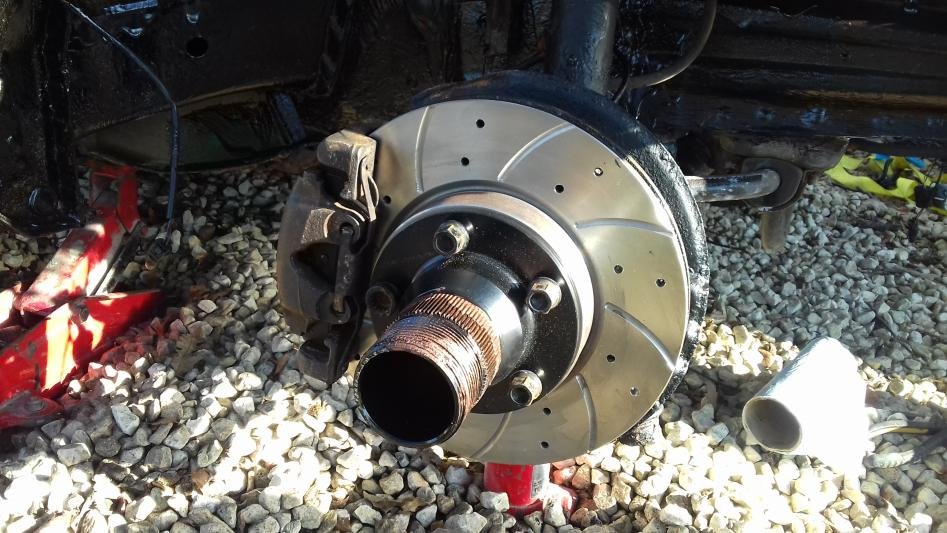
what a pain in the arse think they were original to the car and it did not want to give them up it took twice as long as it should have but worth it.
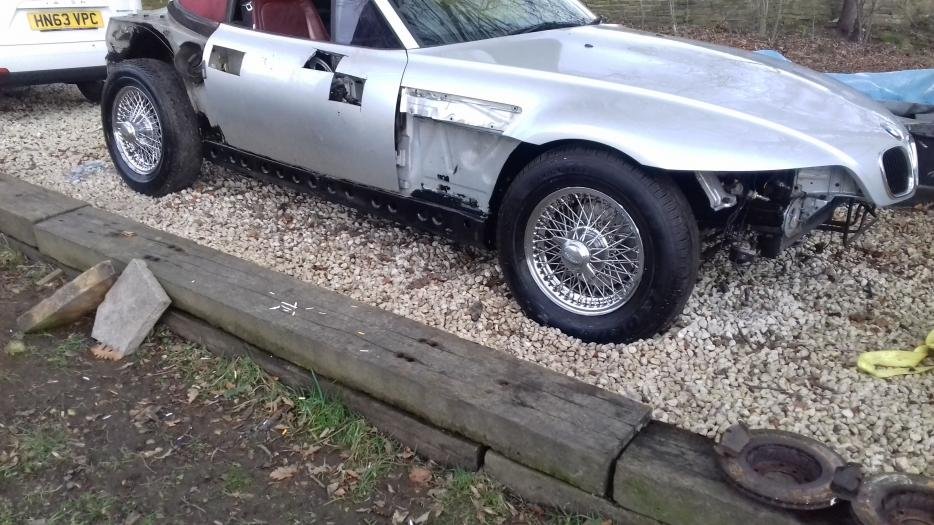
The second picture from the bottom looks quite cool in a rat rod sort of way. I wonder how far from legal it would be to drive. A couple of discrete front light clusters hidden somewhere and go cruising...
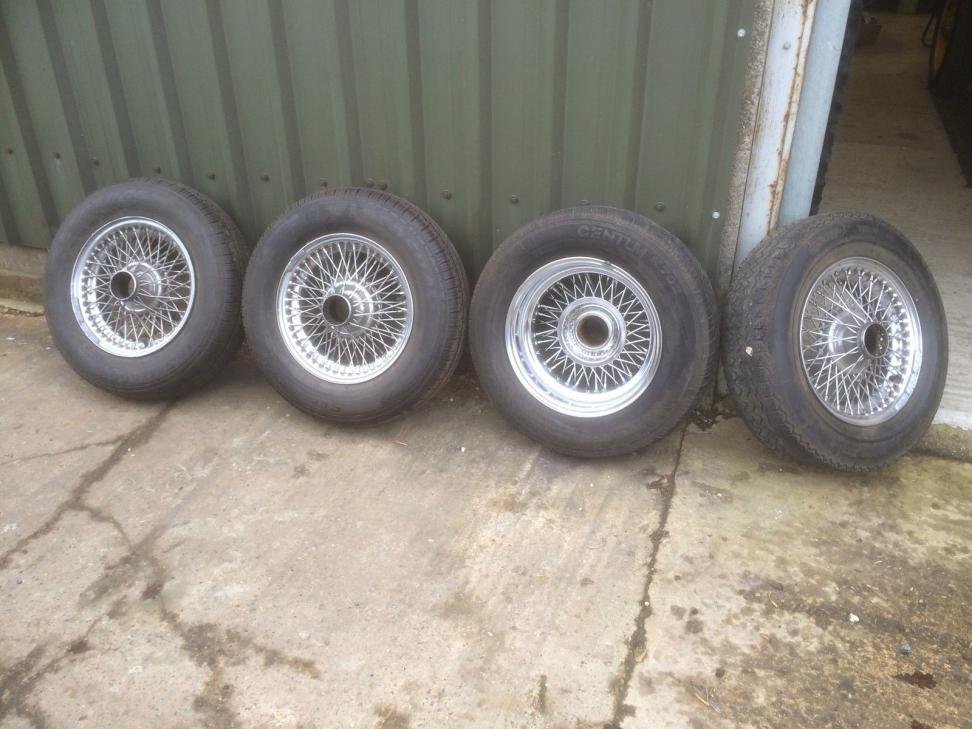
He also makes them for 2 eared spinners, he made me one a few years ago for my Jag. You can tighten and remove them without damaging the spinner.
A lead mallet will damage them, I have tried the wooden tool and and it isn't worth buying as it splits and splinters very quickly. There is also a metal version available but it marks the spinner as well so not worth bothering about.
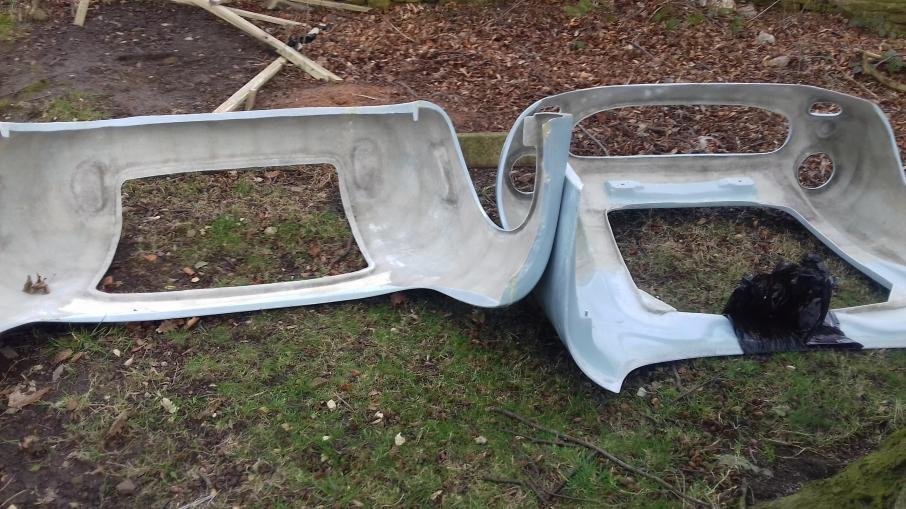
kit arrived this morning I would have photographed it on the pallet as you do but the wind was 40mph and raining typical.
so part under a sheet and part getting wet heres where im at day one
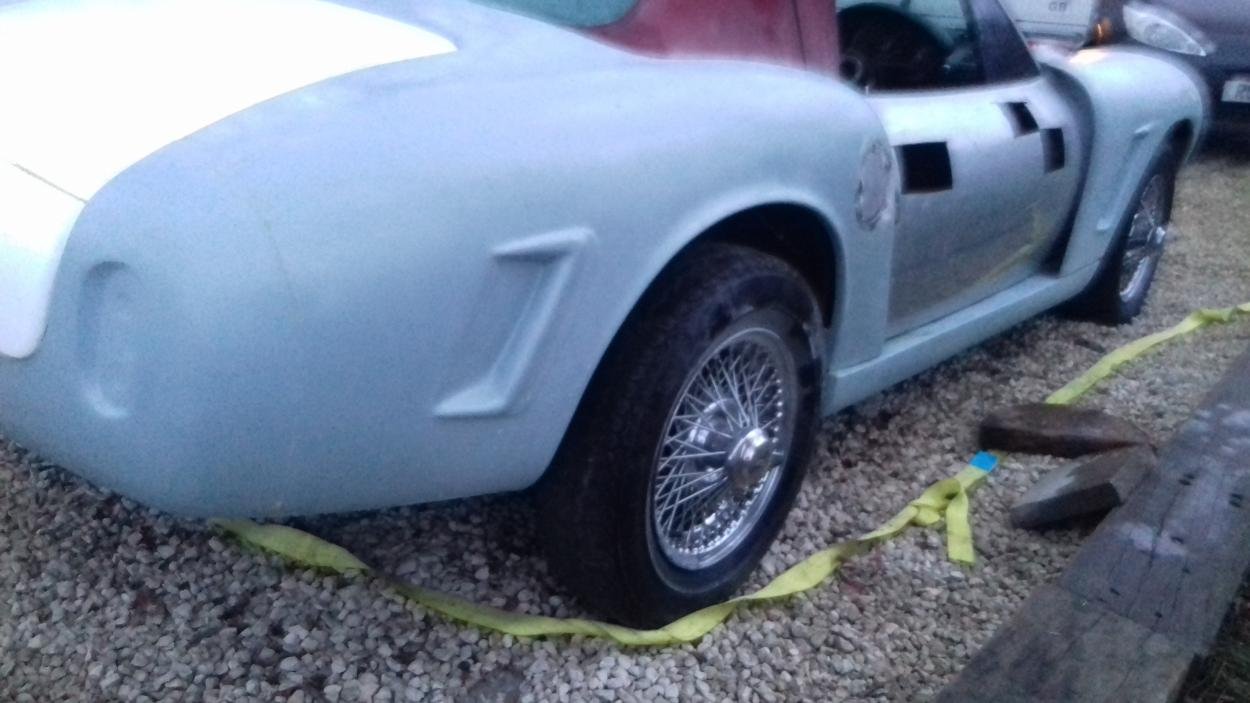
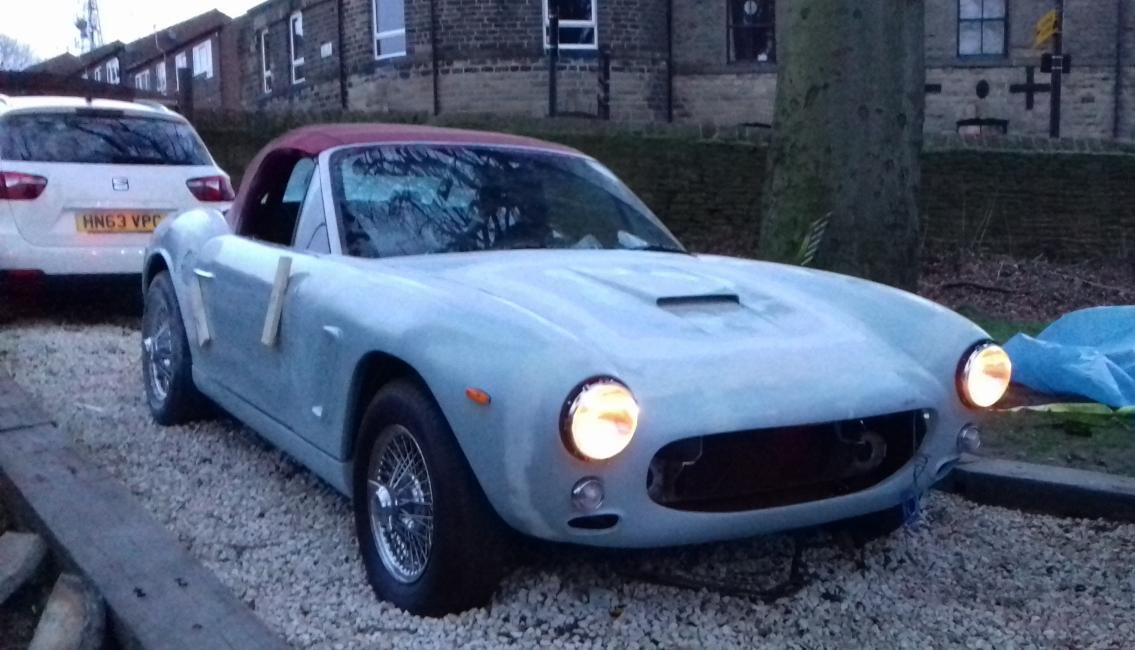
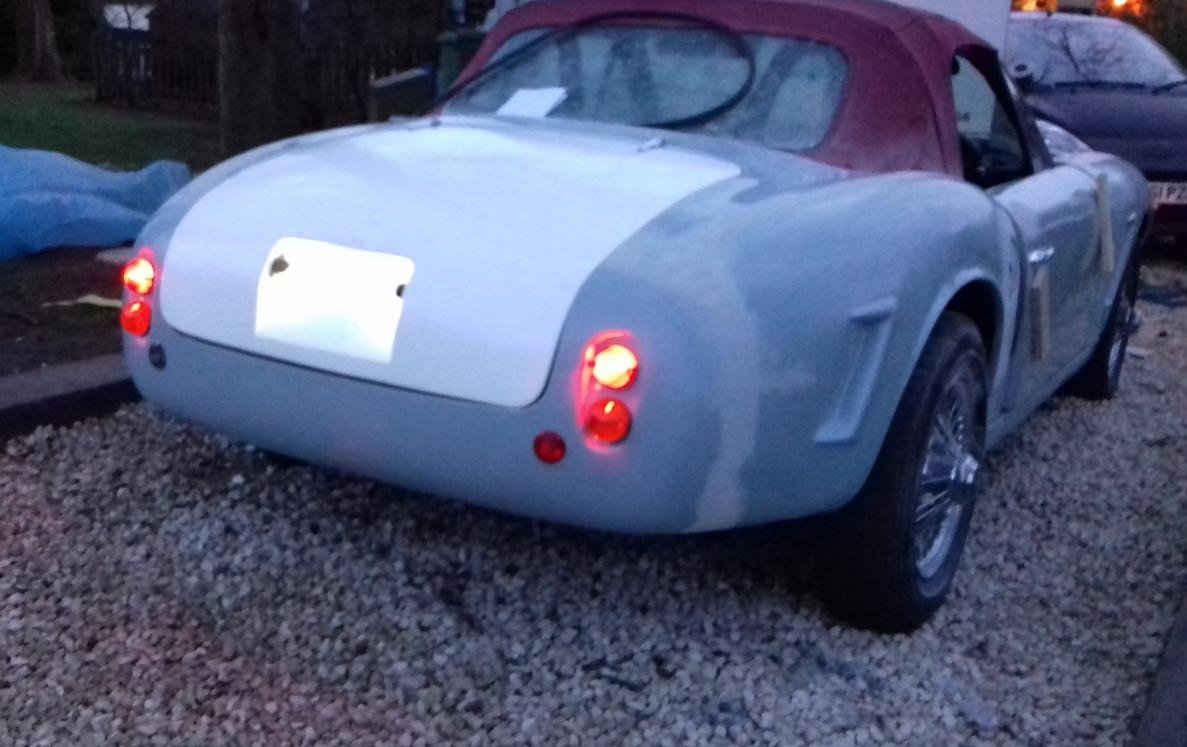
quality of the kits is getting better from the first one I did to this the gelcoat has a much better finnish . The wheels fit the arch so no flaring out this time saves me and the bodyshop work another plus. If it stops raining for long enough tomorrow I can get the rest of the body on and start on the tweaking.
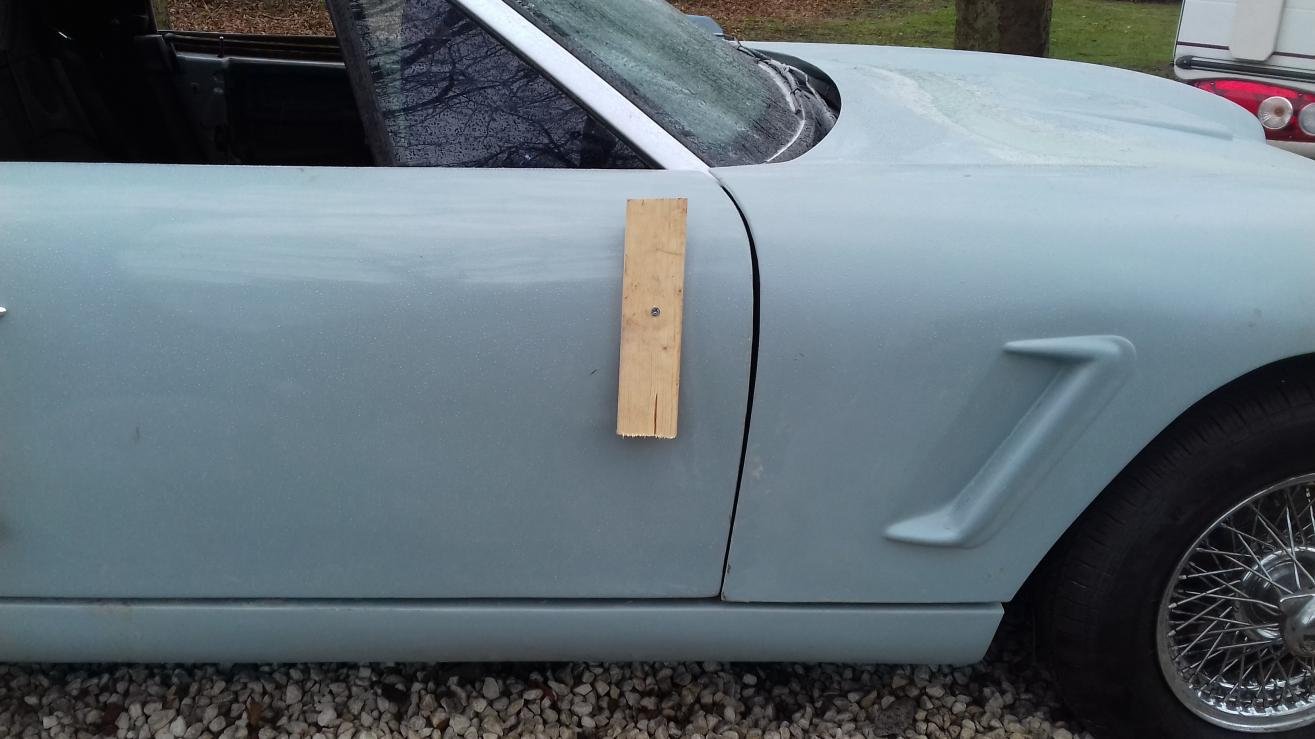
To be honest it all fits together very well except for the doors, hopefully yours may well fit better as it is a later kit. It wouldn't take much to produce a new door skin.
I don't think the door gaps are bad for a trial fit the drivers side I got a bit happy with the sander and trimmed it back a bit too far.
still adjustments to do but I am waiting on the PU18 to arrive to do the final fix and fit.
passenger side was a much better fit because I put the sander away.
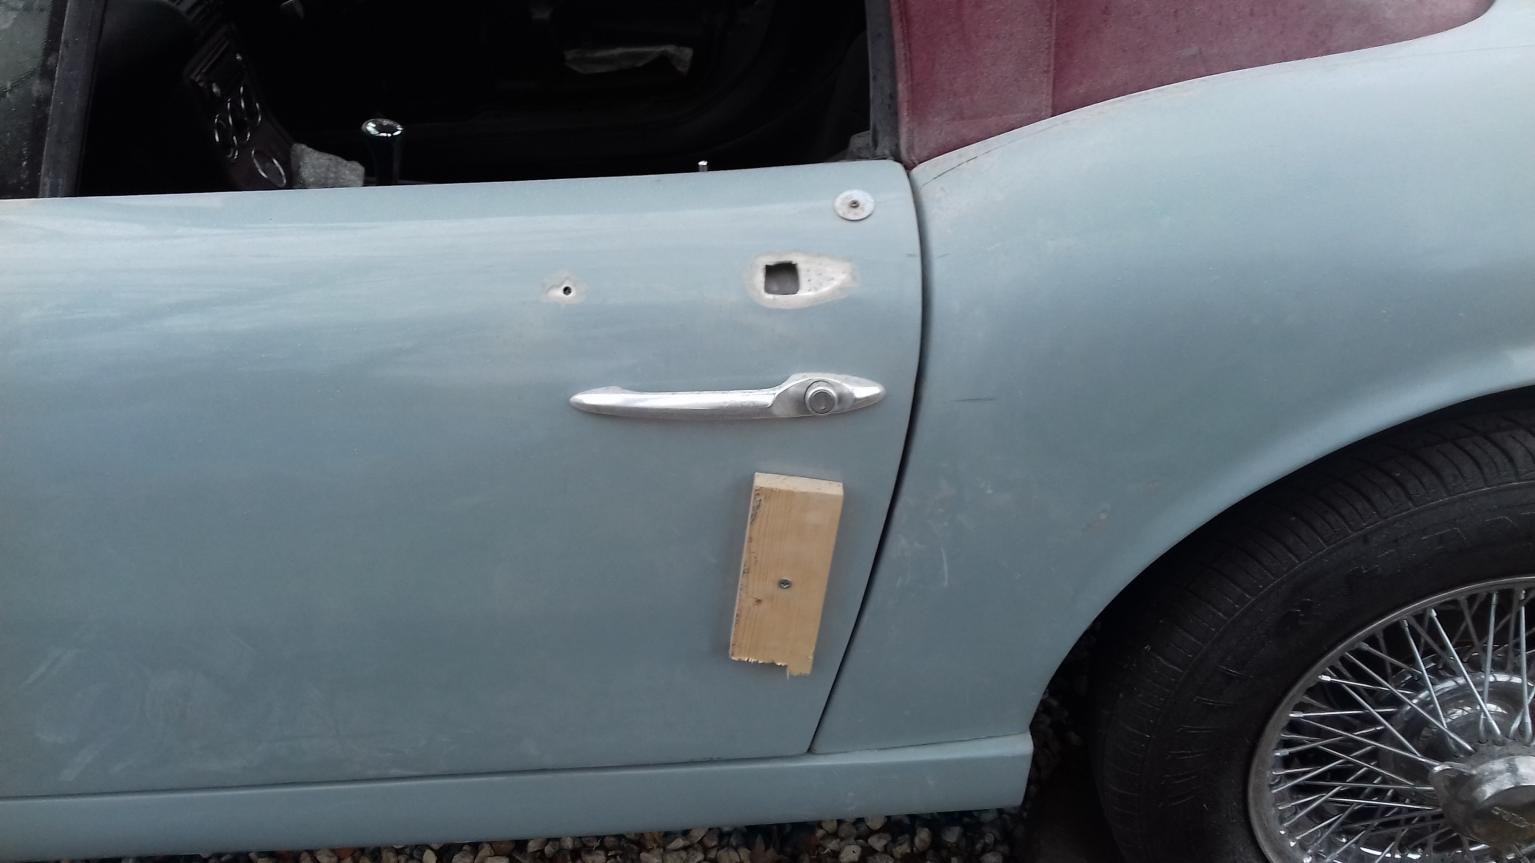
For anyone wondering why the wood a screws it's so I can adjust the skin and get the gaps better. first one I ever did I used clamps with the door open. When it was dry I removed the clamps the fit was crap so now do it with the door shut.
fitted the door handle way to high using the marks in the gelcoat for a reference school boy error .
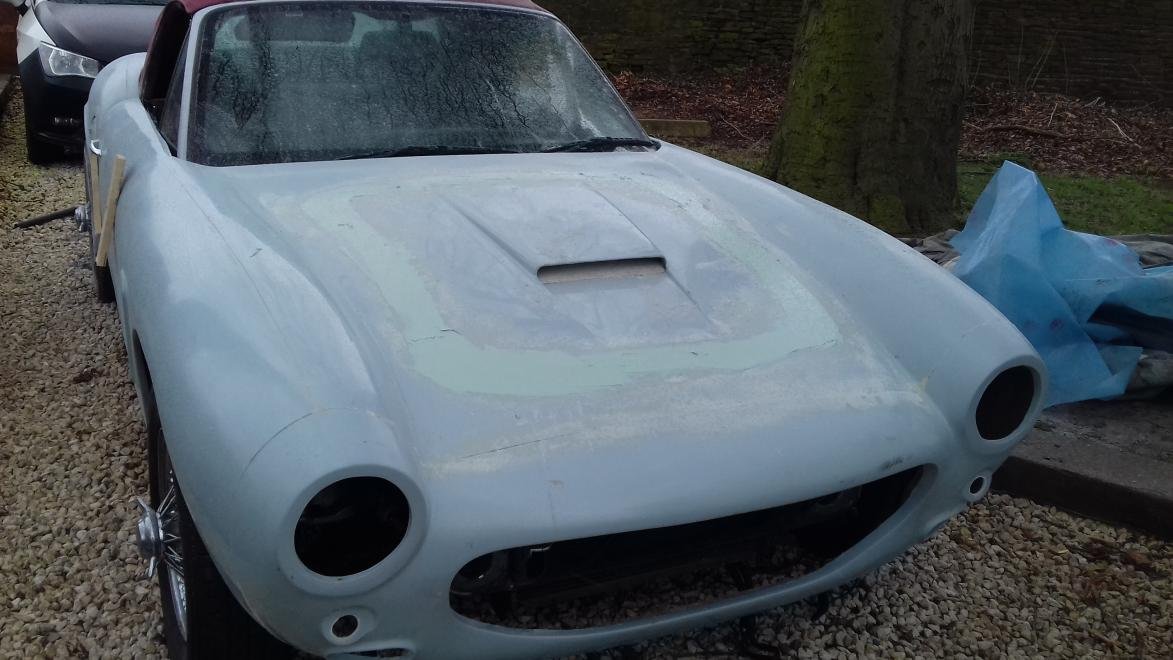
I have glassed the bonnet in and started to fill it out
plan to hold it down using these bad boys they are the bigger 60mm top fixing
Attachment “s-l1600 (2).jpg” from the original forum could not be reliably recovered.
you could make your own
Everything's from Home Depot. Here's a photo of most of the parts for one (I had extra). The only things missing from the photo are stainless grommets - one to mount on the car's hood and one for the base of the hood pin.
Image
They're all stainless, 5/16". (The eye bolt shown is actually a bit bent, which I did when I was experimenting)
I machined the rod coupling nut's sides to make it round after drilling and tapping it on one side. The U bolt was cut and bent just a bit to get the curve I wanted, then I cut the threads down as needed. Then assemble as shown using Lock Tight:
Looking good ! Are you on it full time or just a couple of hours a day? I know once you've built one car the subsequent ones go together much quicker .