Gardener's World
I've invested a lot of time over the years to ensure my garden is a "lower" maintenance one.
But my wife and daughters really wanted to try their hand at growing some vegetables.
So most of today was spend as a family activity preparing the ground & sowing seeds.
There was a corner of the garden that I needed to sort out anyway so that was sacrificed.
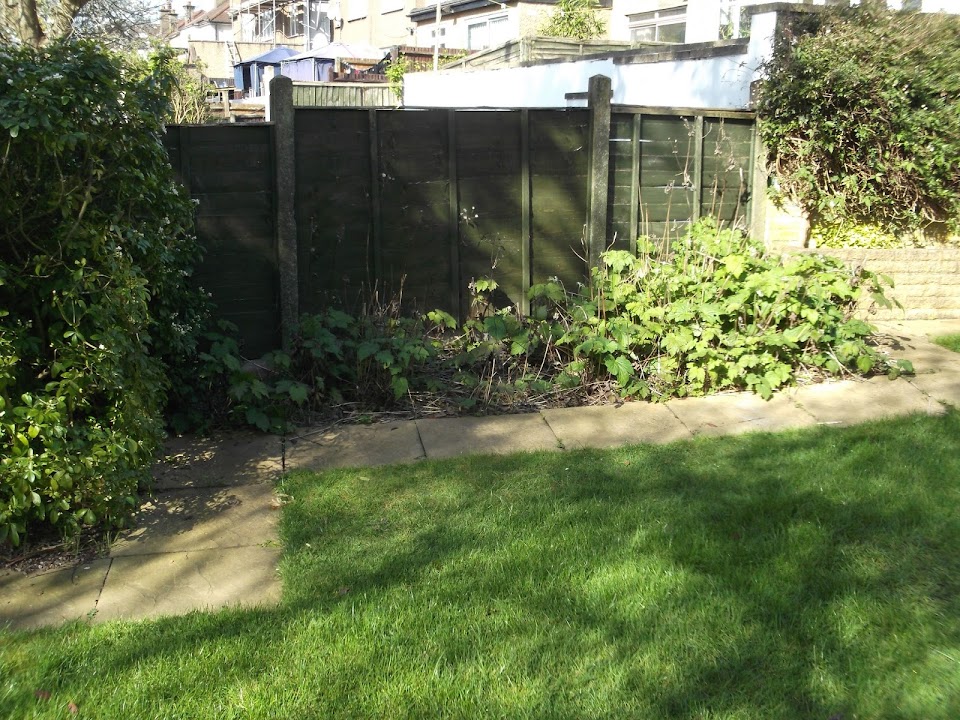
After cutting the plants down and digging out the roots it looked like this.
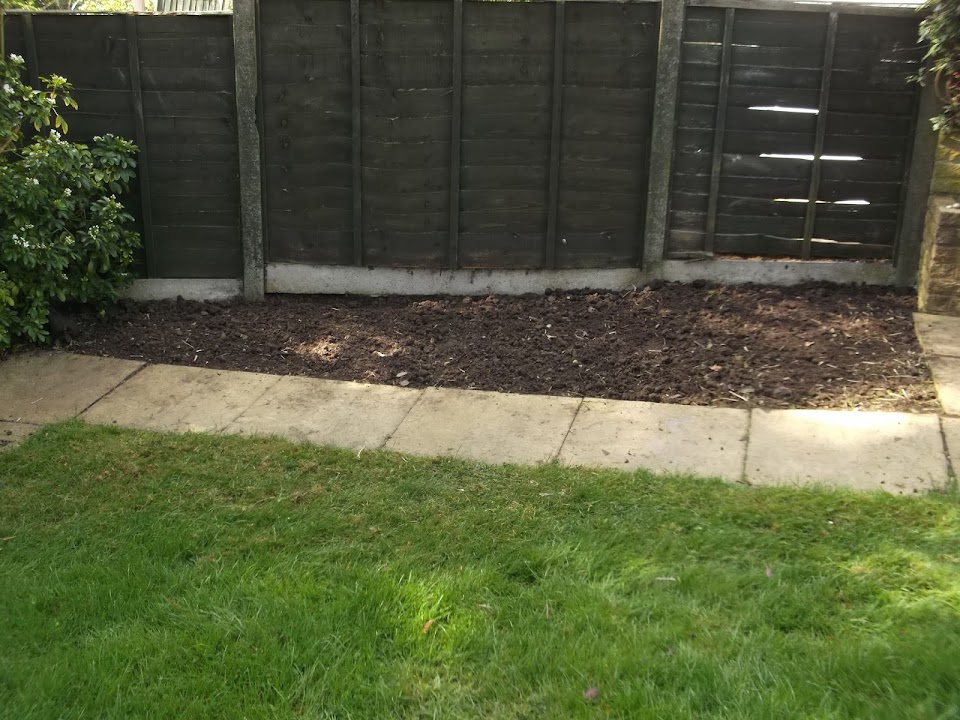
Then we had to add in some compost & sharp sand to improve our "London Clay".

You may notice that we are going to cheat & use a grow bag for the tomatoes (which initially will start indoors).
Then the area was marked out and the seeds sown (carrots, mini leeks, beetroot, peas, lettuce).

We also planted some "Flanders Poppies" as my eldest daughter has just been on a school trip to the WW1 sites.
Finally we gave the area a light covering of bark chips which we hope will throw the birds off the scent.

Overall, bloody hard work, but great to do something like this as a family.

I was then left to continue working in the garden for a few more hours.
But I did get a few more small jobs on the car under my belt at the close of play.
Lowered Floor Pans
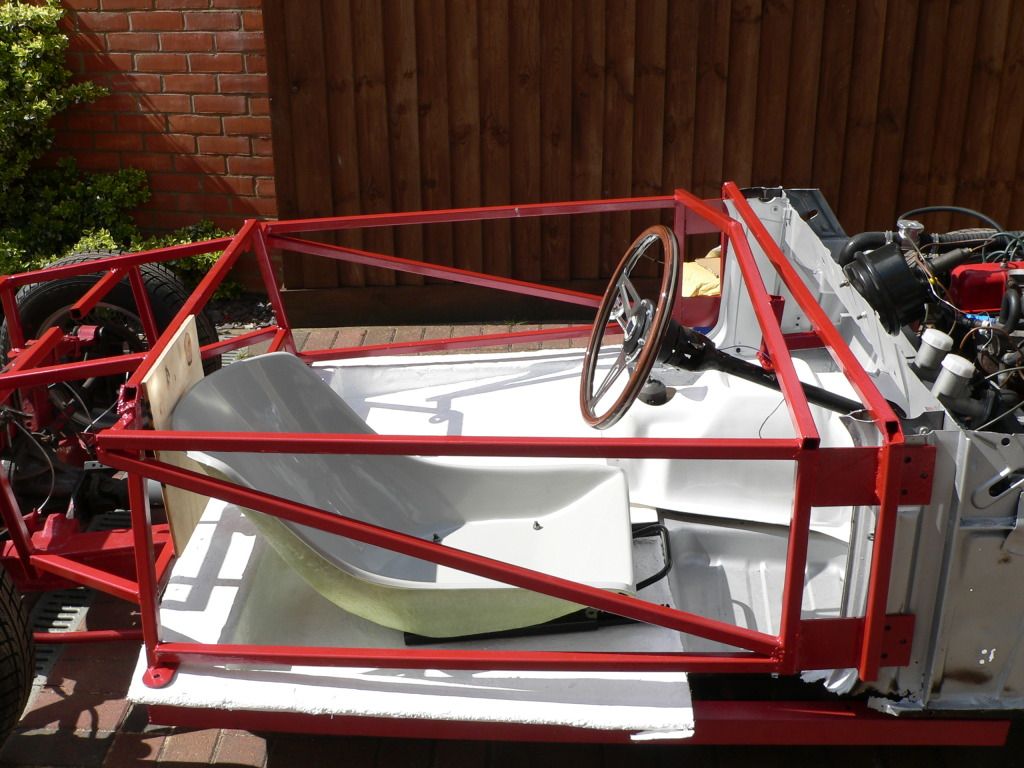
Part of me wants to remove the slope in the floors, as this exaggerates the rear slope in my seats.
But sticking to KISS principals, it would be less hassle to change the seats, despite the potential extra cost.
So with no radical changes to make, I could start to finish out the floors as they were.
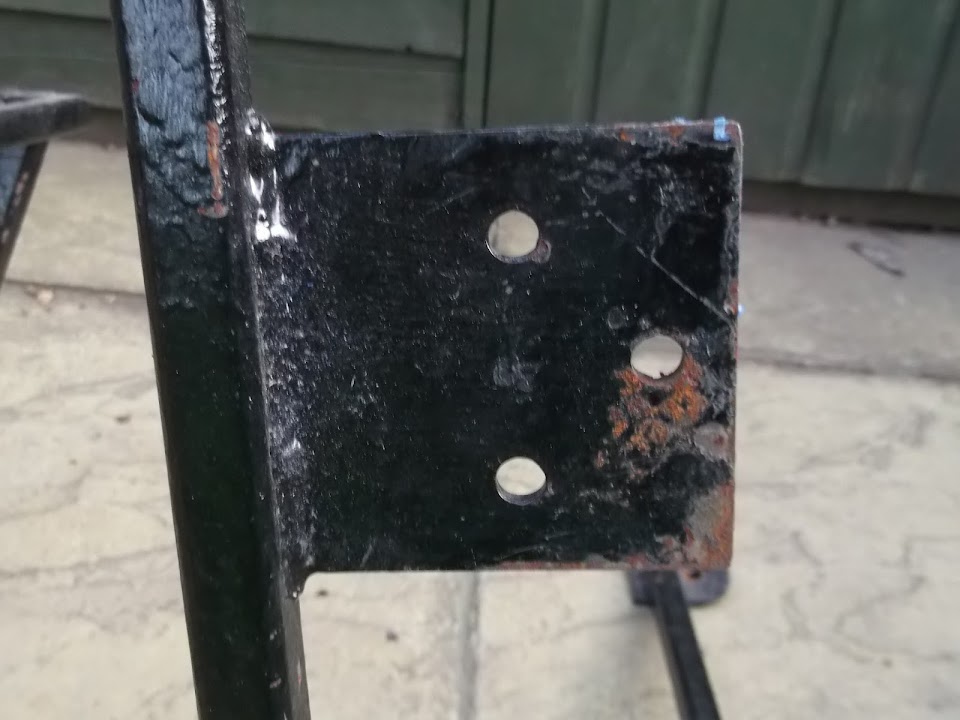
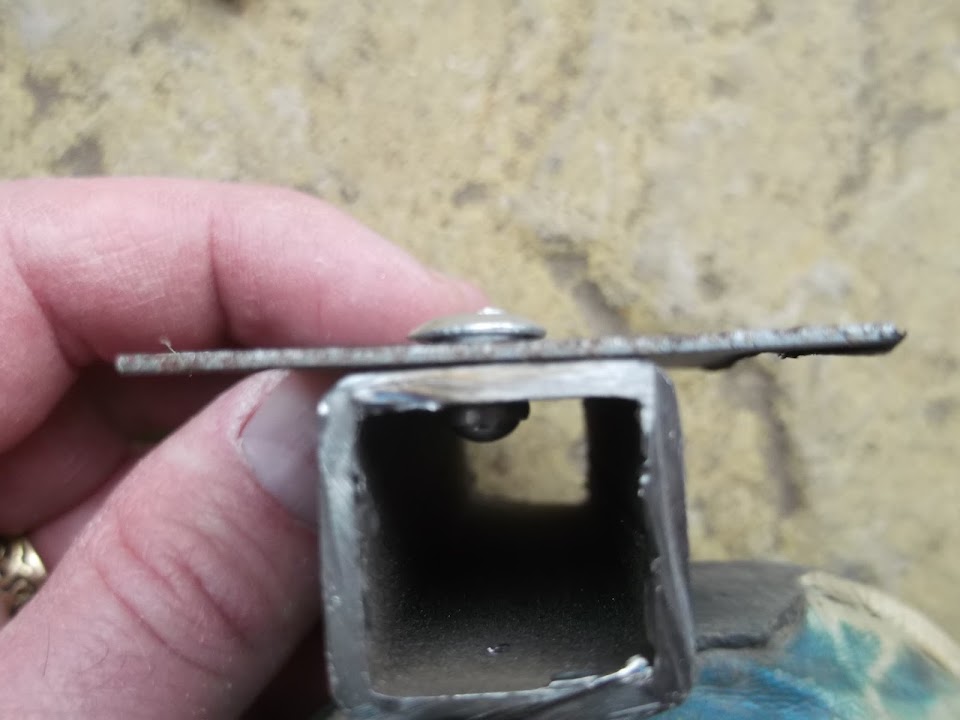
I was short of time (and energy) so I needed a way of marking up the passenger floor without removed the framework.
So I made another cardboard template to help me located the hole to bolt the frame to the chassis.

I then cut out the red dot I'd marked and with the floor back in place I could then mark that.

I also marked up the outer edge of the floor, & the front edge, for some light trimming.
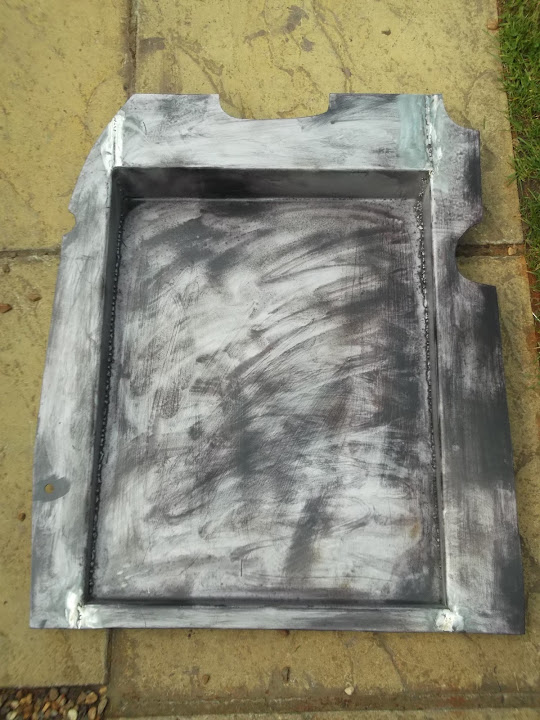
This was the floor before:

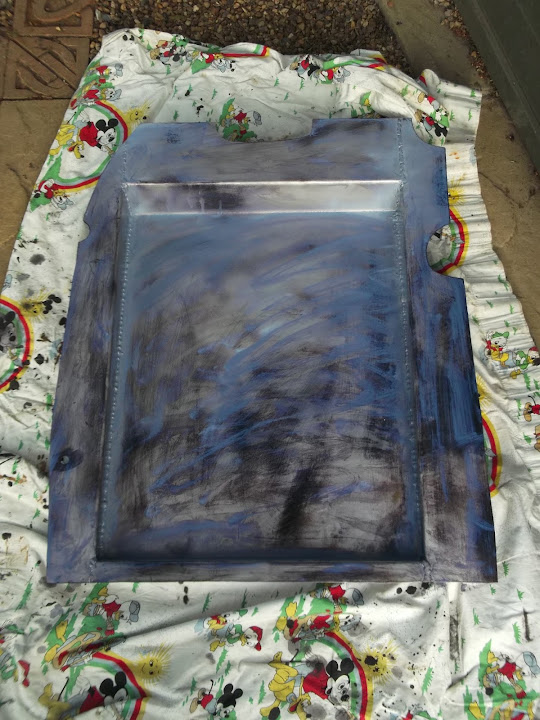
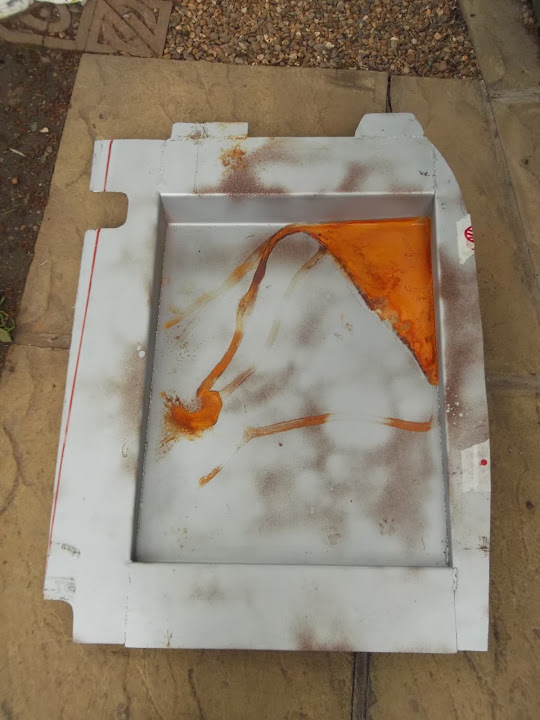
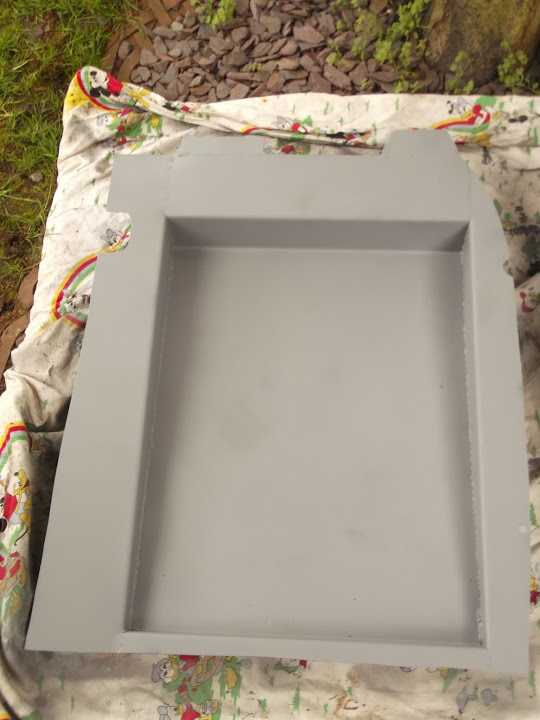
With two sides trimmed, a hole drilled, a notch cut out for the seat belt mounting point & a light sand, it looked like this.

A liberal coating of Kurust later and this was how I left it for the night.
The only other thing I managed to do was to start work on the connectors for the rear lights.
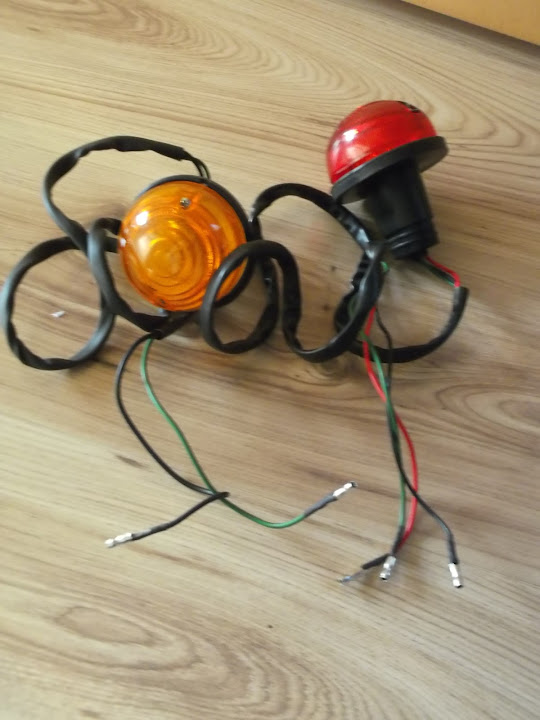
I'd made yet another school boy error when I ordered the connecting blocks.

I'd been thinking about the wires required in the loom for these lights on each side:
- Stop
- Tail
- Indicator
- Common earth
That is why I ordered a 4 pin connecting block, but that would permanently join the two lights together!
So what I should have ordered was a 3 pin and a 2 pin, in the end I just orders some more "double" connectors from ebay.

I will now use the 4 pin for the 3 stop/tail light wires.

And the new two blade connectors for the indicators.


Right, I'm off for a hard earned beer, take care, Paul.


 , I didn't realise you had a car, body and frame. You should be really proud of your achievements so far. When the car is parked on the drive and you are looking at it just come back from a long sunny days driving, with a cold beer in your hand, you will not be thinking about any little mistakes you may have made while learning all the new skills you have, you will be grinning from ear to ear thinking, I built that, I BUILT THAT. Although as some one once said " if you have never made a mistake, then you have never tried anything new". I personally think It's our duty as humans to constantly push ourselves to do things out of our comfort zones, its what all the great people in history have done before us. Will you build another when this is done as I'm concerned that the most prolific posters car will soon be done.
 . Top work.


 Hybrid Mode

